Give your friends £10 off their first order!
Refer a FRIEND








A project from our live show FRIDAY START TO THE WEEKEND - BACK IN STOCK SPECIAL - Broadcast 13th Oct 2023 · 13/10/2023 · watch it from 19:15
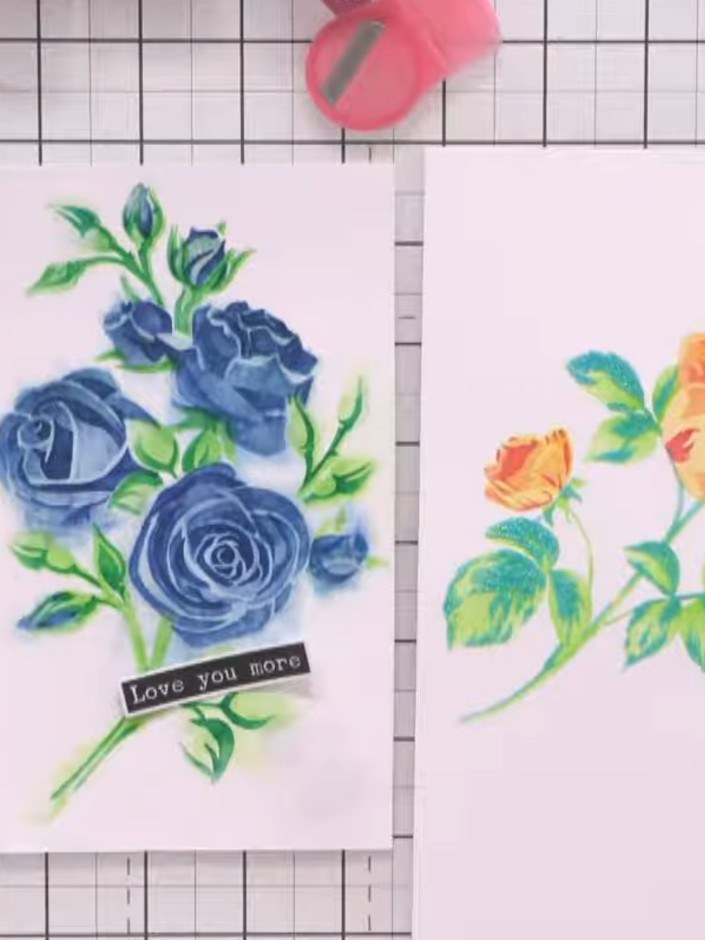
Create three stunning floral cards featuring classic roses in different colour schemes. Using yellow, orange and pink inks for a peachy rose, blue tones for an elegant arrangement, and rich browns for poppies, you'll build layered botanical designs with the same stencil set. Add sentiment labels and sparkly glitter paste embellishments for a glamorous finishing touch.
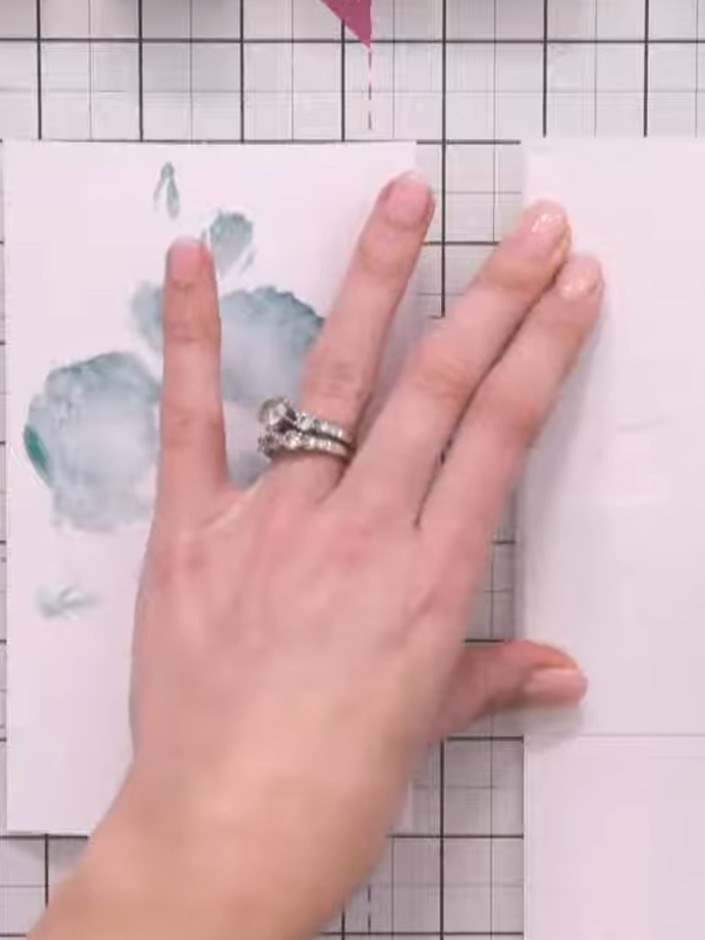
Position the classic rose stencil on your white card and secure it in place using magnets to hold it steady during application.
▶ watch this step (19:30)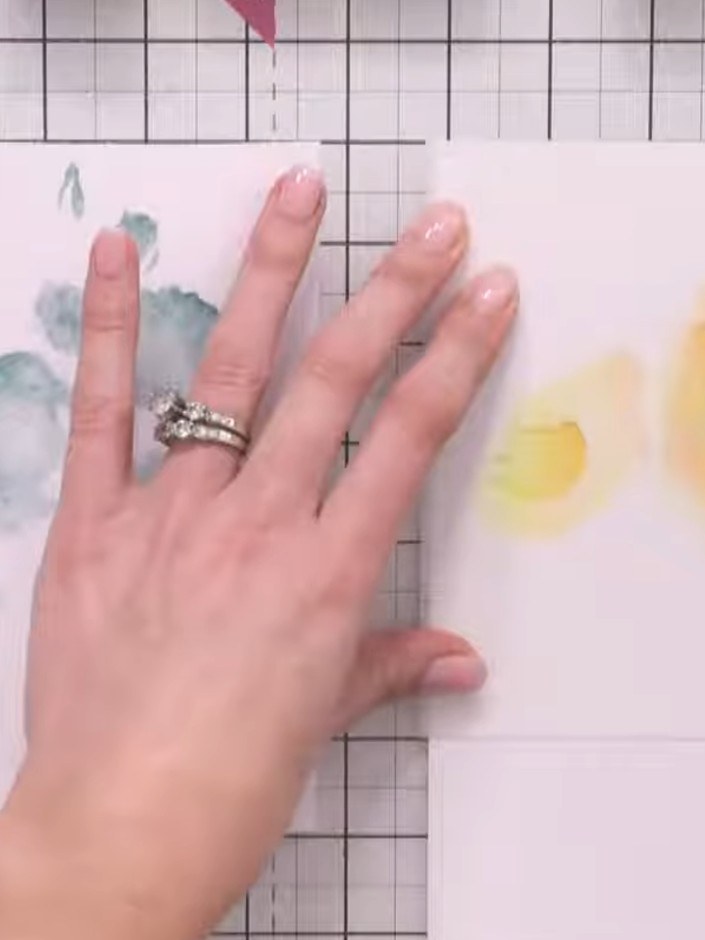
Apply yellow ink through the first stencil using a blending brush. Build up the colour gradually with light dabbing motions.
▶ watch this step (19:45)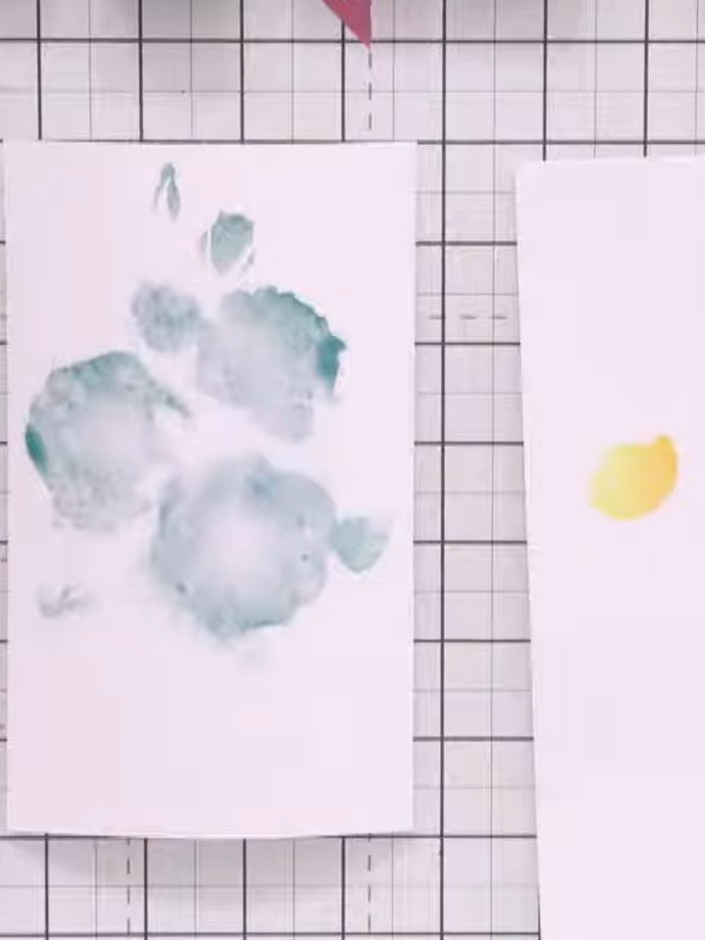
Carefully remove the stencil from the card. Position the second layer of the stencil, ensuring the alignment guides line up correctly with the first layer.
▶ watch this step (20:00)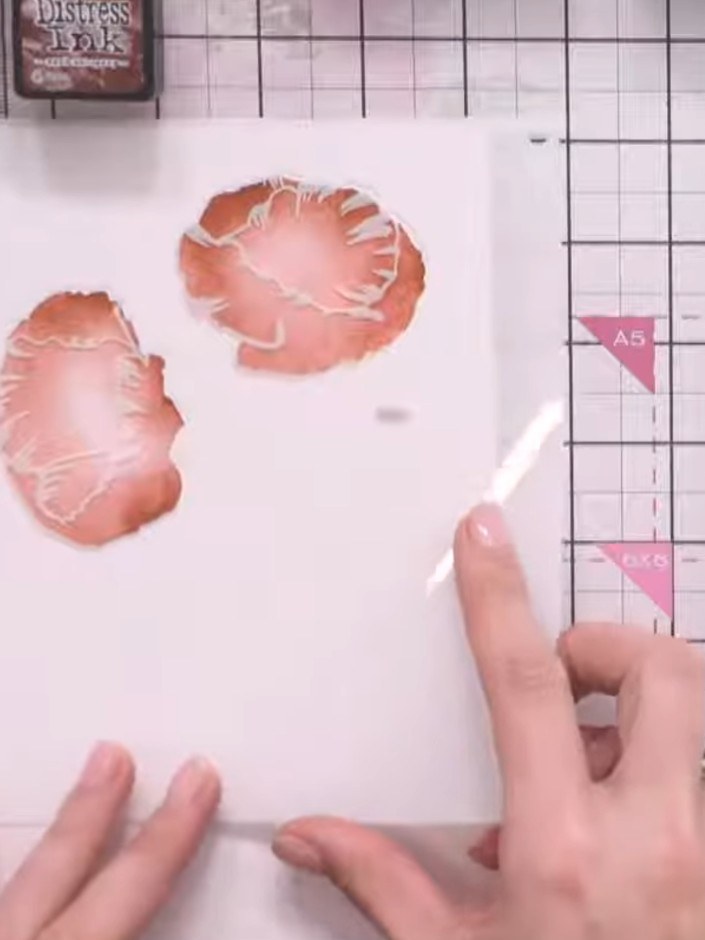
Position the second poppy stencil over your card and apply orange Distress Ink through the stencil. Press firmly with your blending tool to build up the colour intensity on the petals.
▶ watch this step (20:15)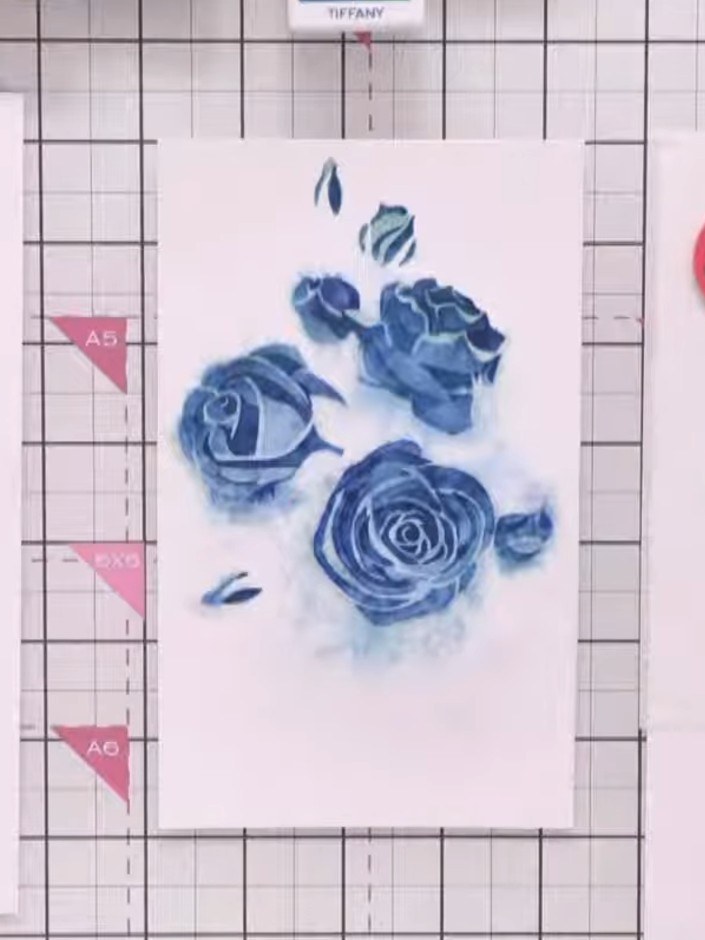
Position the third layer of the Classic Rose stencil over your stamped image. Using a blending brush or sponge, apply pink ink through the stencil to add colour to the rose petals.
▶ watch this step (34:30)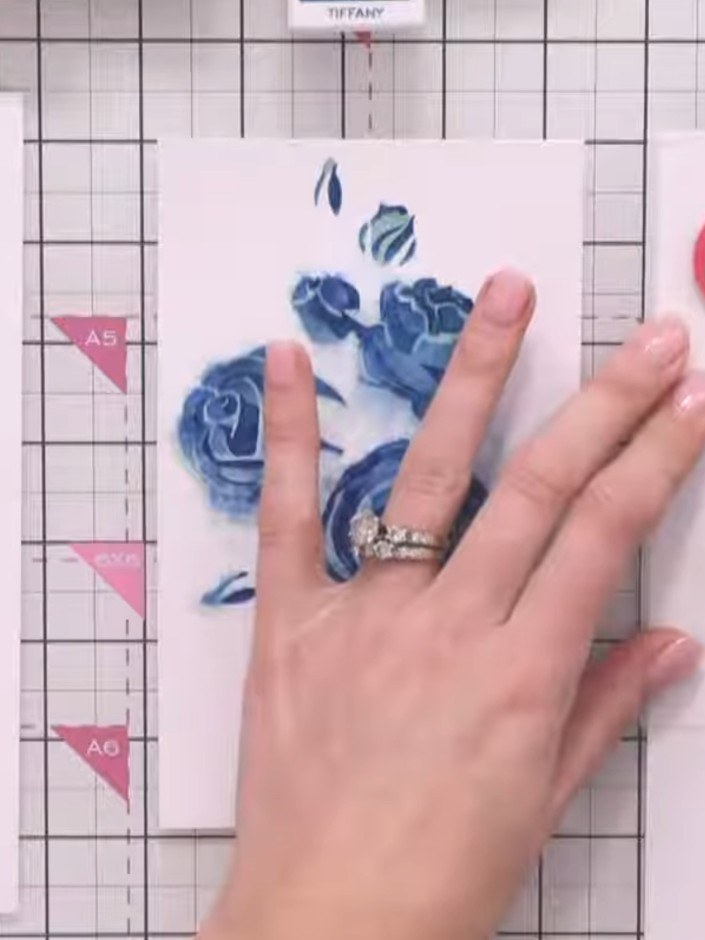
Position the fourth stencil layer over your card and apply green ink using a blending tool to create the leaves and stems of the rose design.
▶ watch this step (35:00)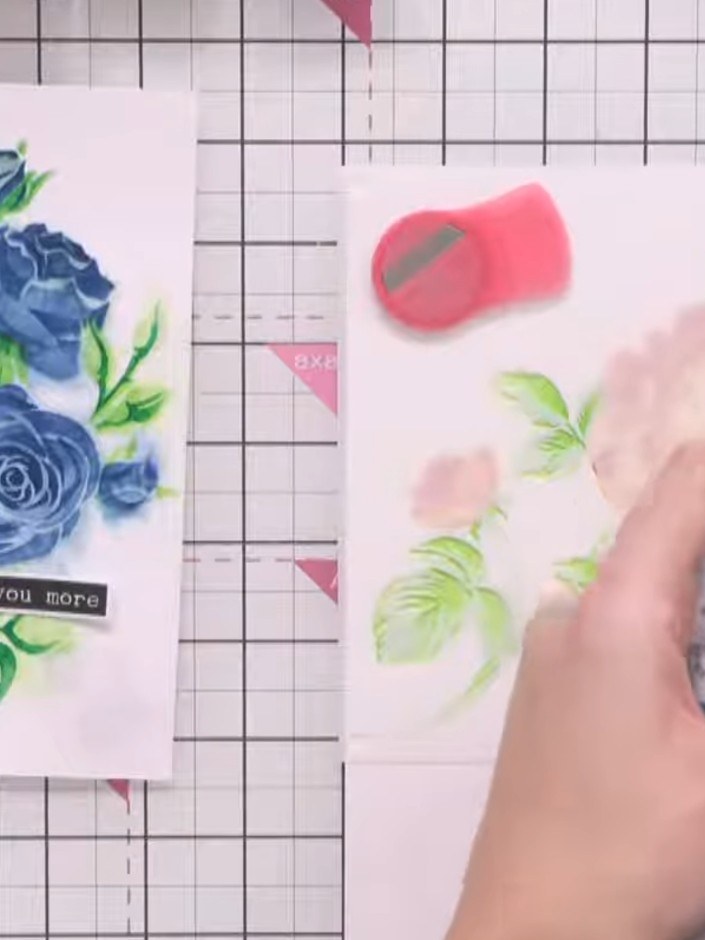
Use a heat gun to thoroughly dry the card before proceeding to the next step.
▶ watch this step (48:45)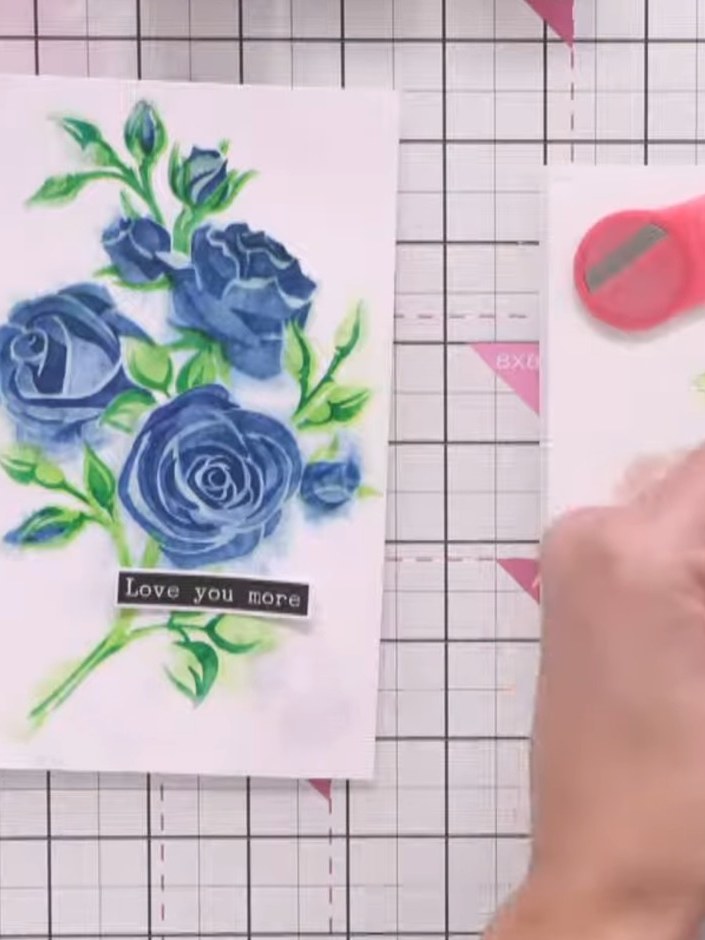
Using a spatula, carefully apply blue glitter paste through the final stencil layer onto your card, working in small sections to ensure even coverage.
▶ watch this step (49:00)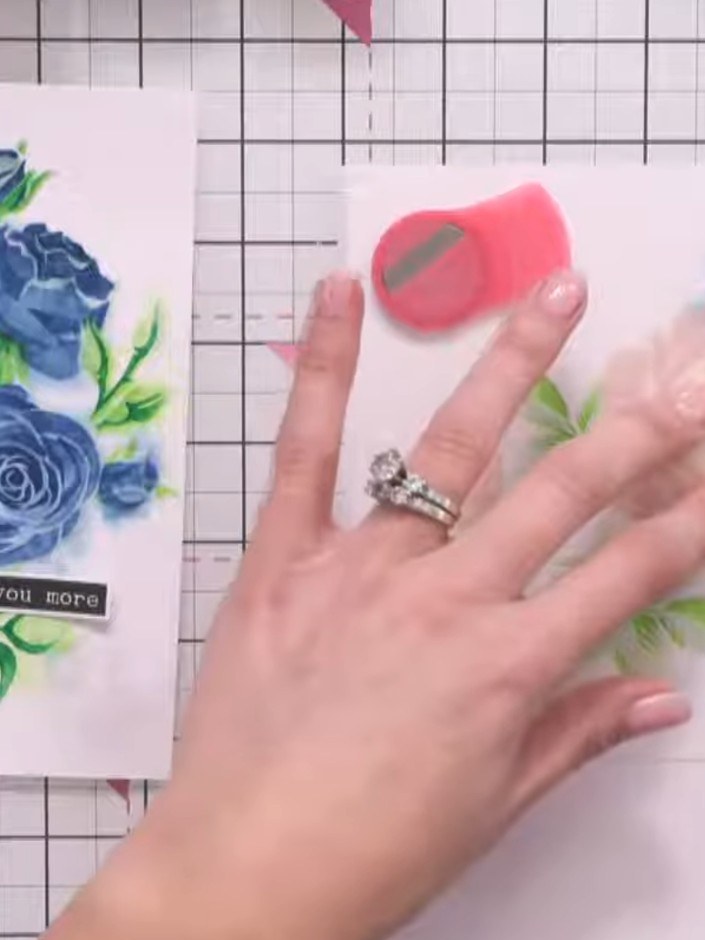
Use the pink glitter paste applicator to carefully press the paste through the stencil onto your card. Take your time to avoid smudging underneath the stencil.
▶ watch this step (49:30)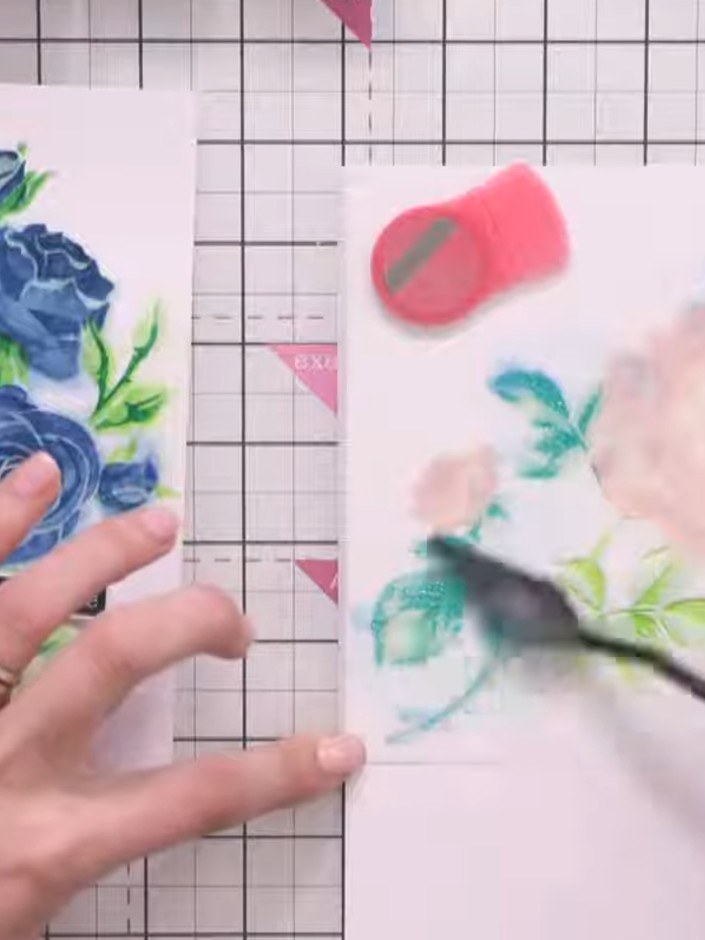
Carefully lift and remove the stencil from the card to reveal the sparkly embellished floral design underneath.
▶ watch this step (50:15)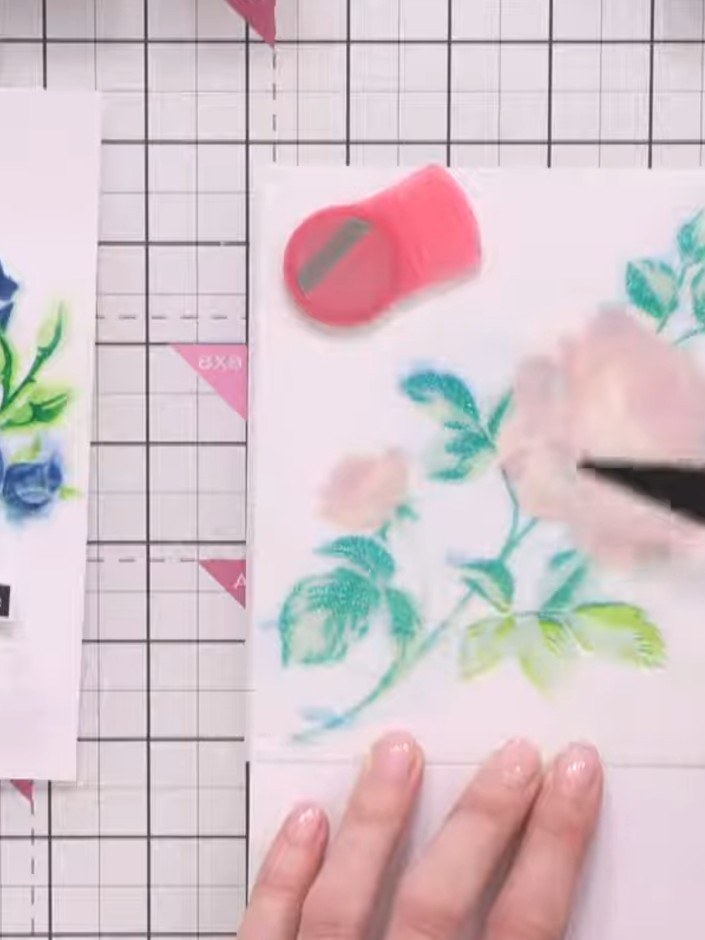
Clean the stencil immediately after use with a damp cloth or baby wipe to prevent the glitter paste from drying on it. Wipe gently to remove all residue from the stencil openings.
▶ watch this step (50:30)Written up from the show itself. See every guide from our shows · free how-to guides · watch live on My Telly
