Give your friends £10 off their first order!
Refer a FRIEND








A project from our live show FRIDAY START TO THE WEEKEND - BACK IN STOCK SPECIAL - Broadcast 13th Oct 2023 · 13/10/2023 · watch it from 17:30
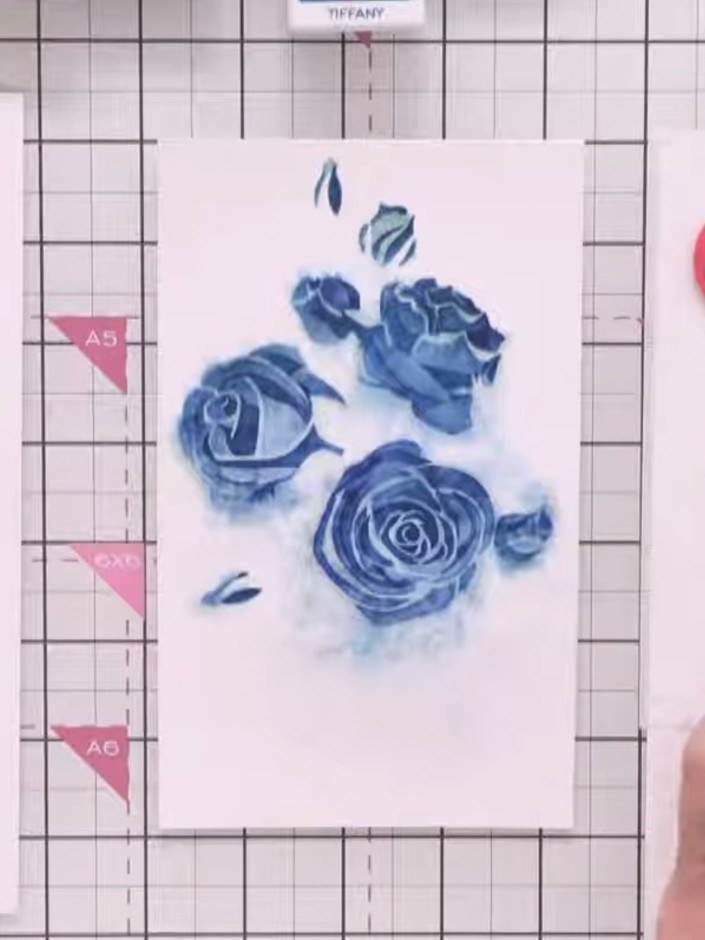
Create a beautiful teal-coloured rose arrangement with a soft, watercolour effect. Using layered stencils and a water spray technique, you'll blend inks to achieve an artistic, painterly finish. The result is a delicate floral design with subtle colour gradations and a dreamy, ethereal quality.
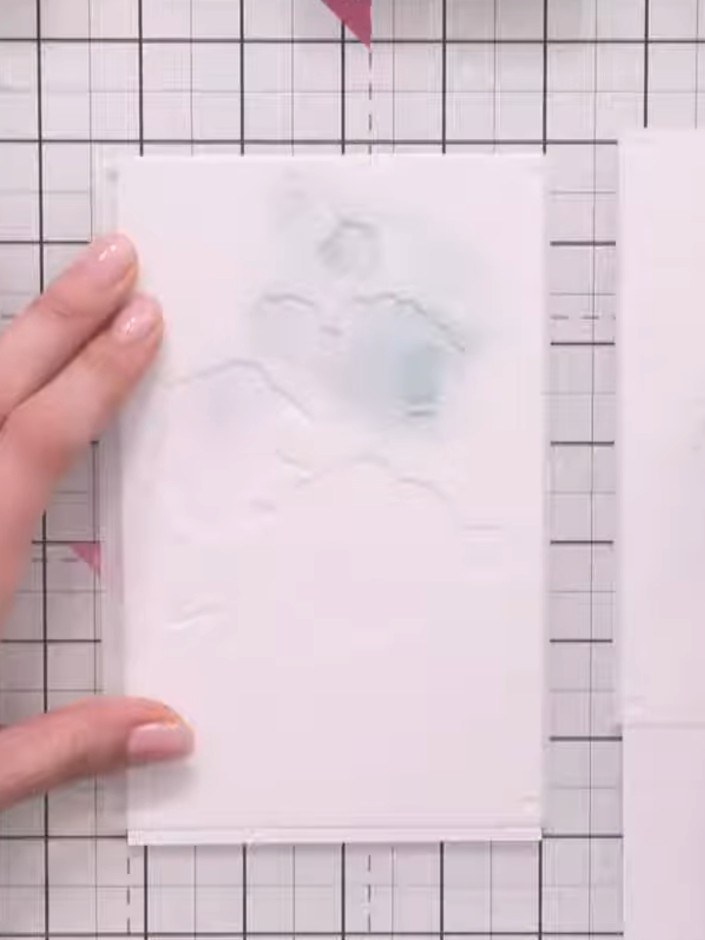
Position the rose branch stencil on your white card base and secure it in place with magnets to hold it steady whilst working.
▶ watch this step (17:45)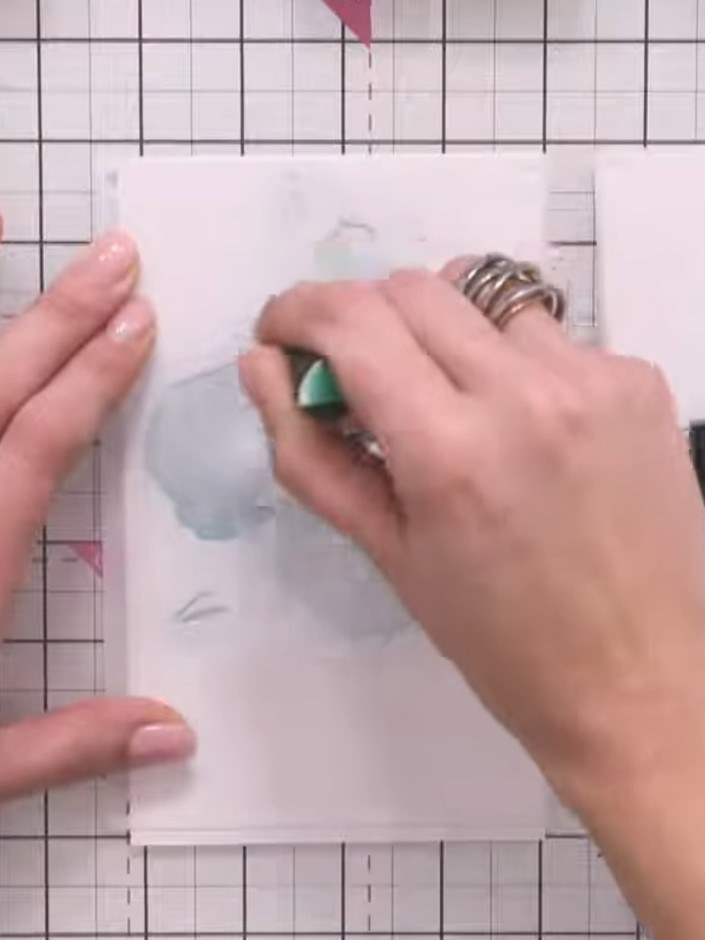
Apply teal-coloured ink through the first stencil using an ink blending brush. Hold the stencil in place with one hand whilst applying the ink with circular motions.
▶ watch this step (18:00)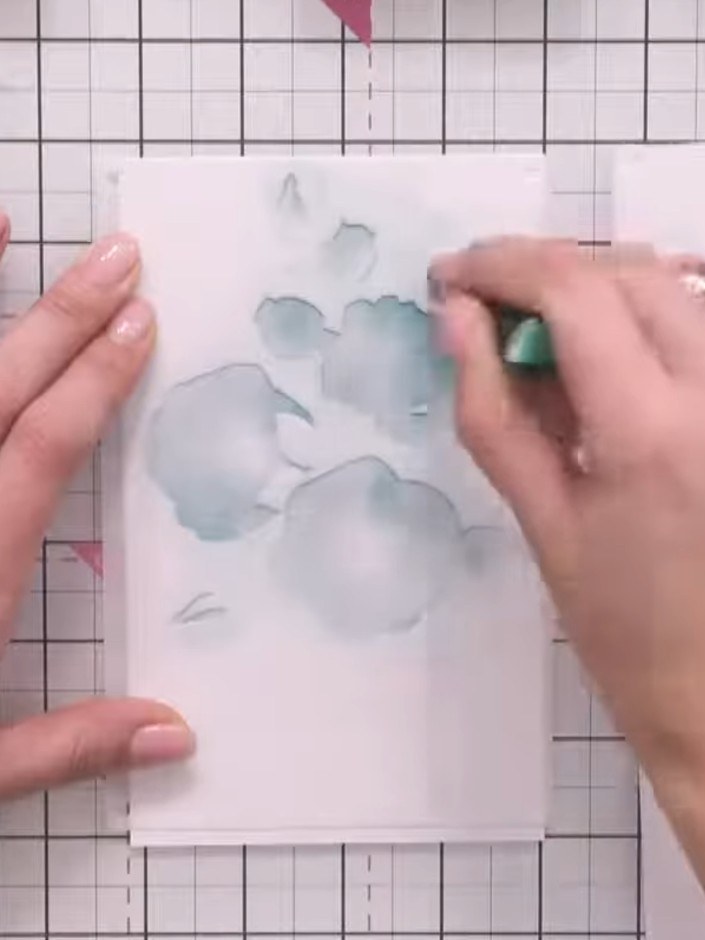
Carefully remove the first stencil layer. Position the second layer of the rose branch stencil on your card, aligning it carefully with the embossed outline from the first layer.
▶ watch this step (18:15)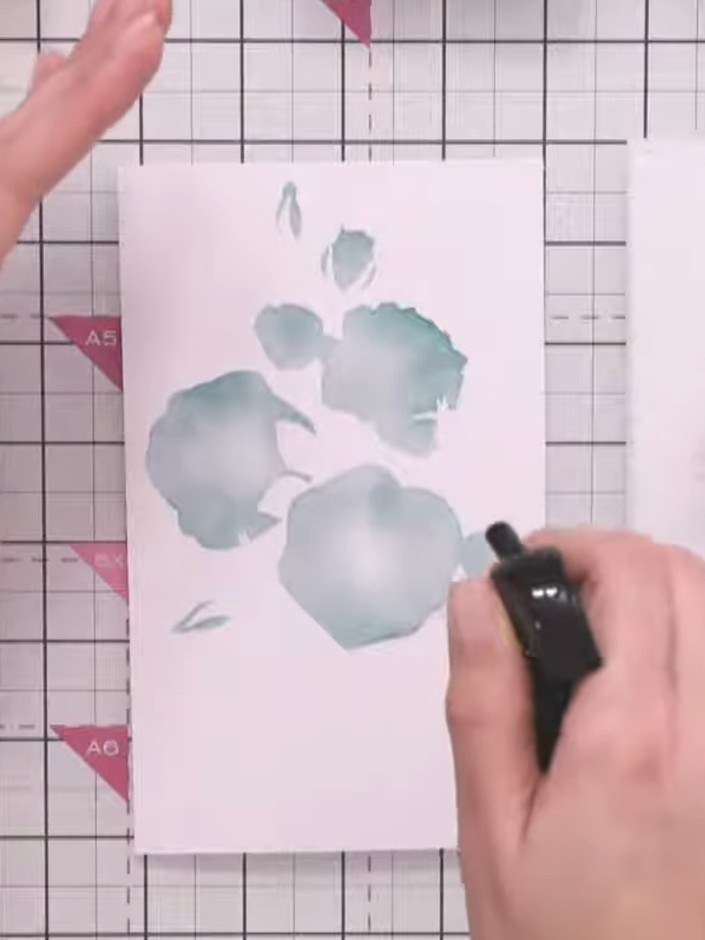
Apply a darker teal ink through the second stencil layer, pressing lightly to avoid over-saturation. Use gentle pressure to build up the colour gradually without making the paper too wet.
▶ watch this step (18:30)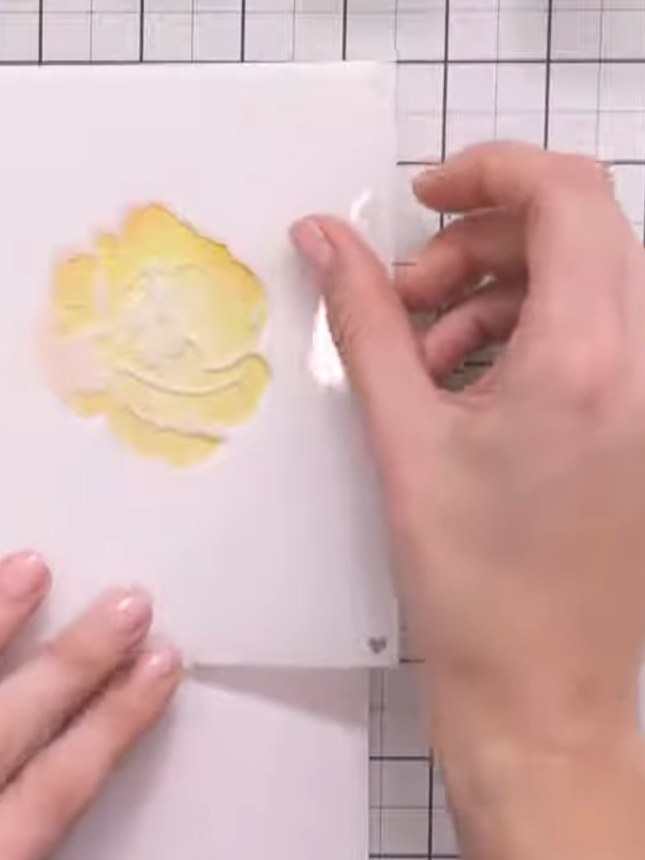
Lightly spray water around the edges of the yellow stamped design to create a soft bleed effect. The water will cause the ink to spread gently outwards for a watercolour appearance.
▶ watch this step (26:15)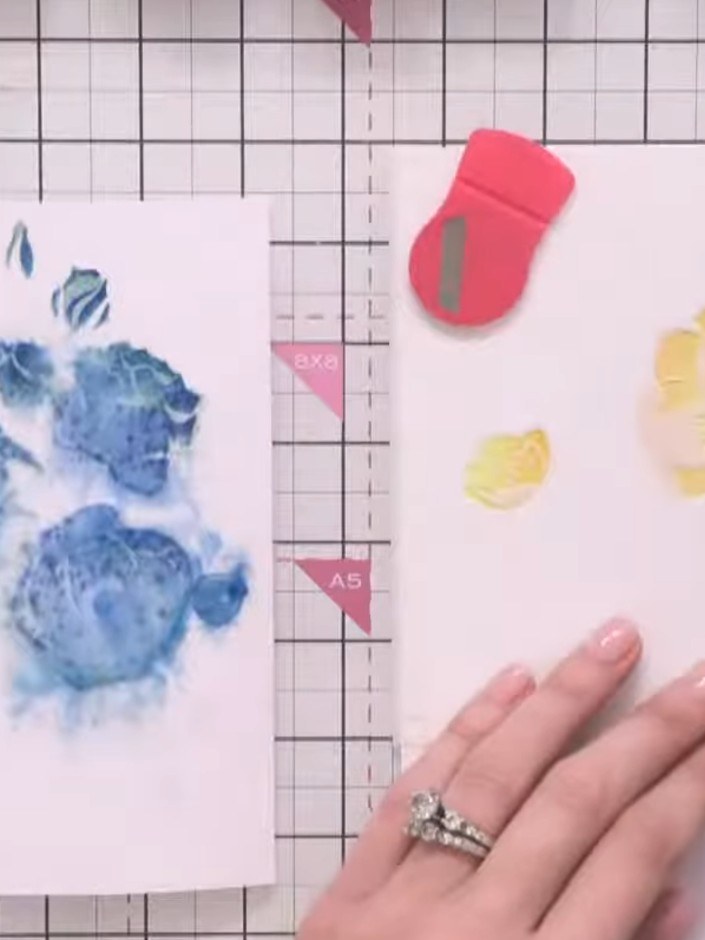
Allow the water to work its magic and soften the ink naturally. Let the water sit on the stamped image without disturbing it, allowing the colours to blend and create soft, organic effects.
▶ watch this step (26:30)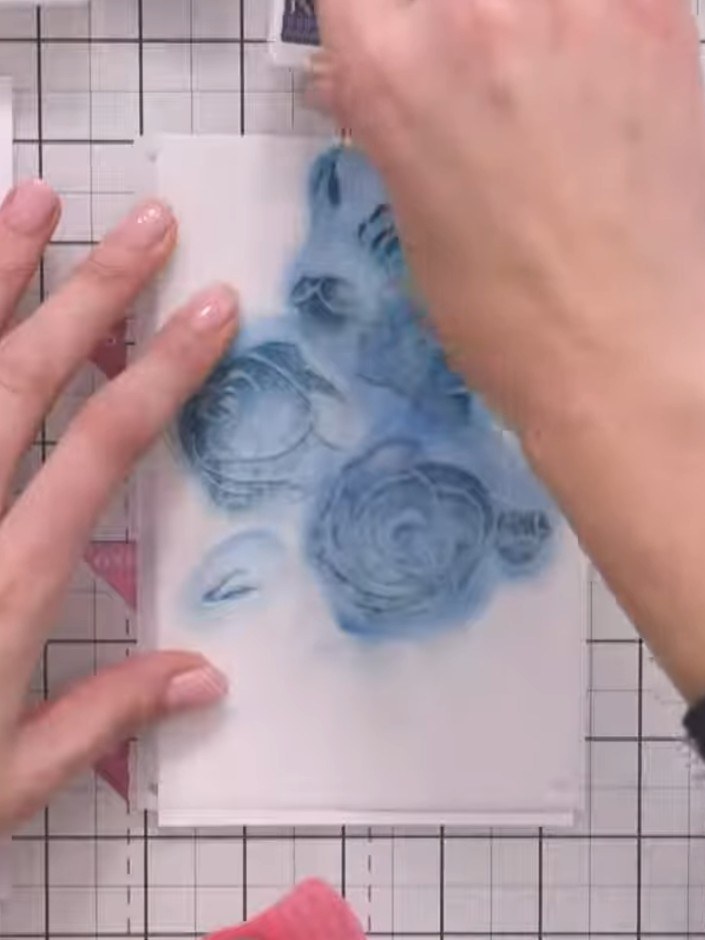
Position the third stencil layer over your design and apply the teal shade with blue undertones using a blending tool or sponge. Build up the colour gradually to create depth and dimension in the rose design.
▶ watch this step (32:00)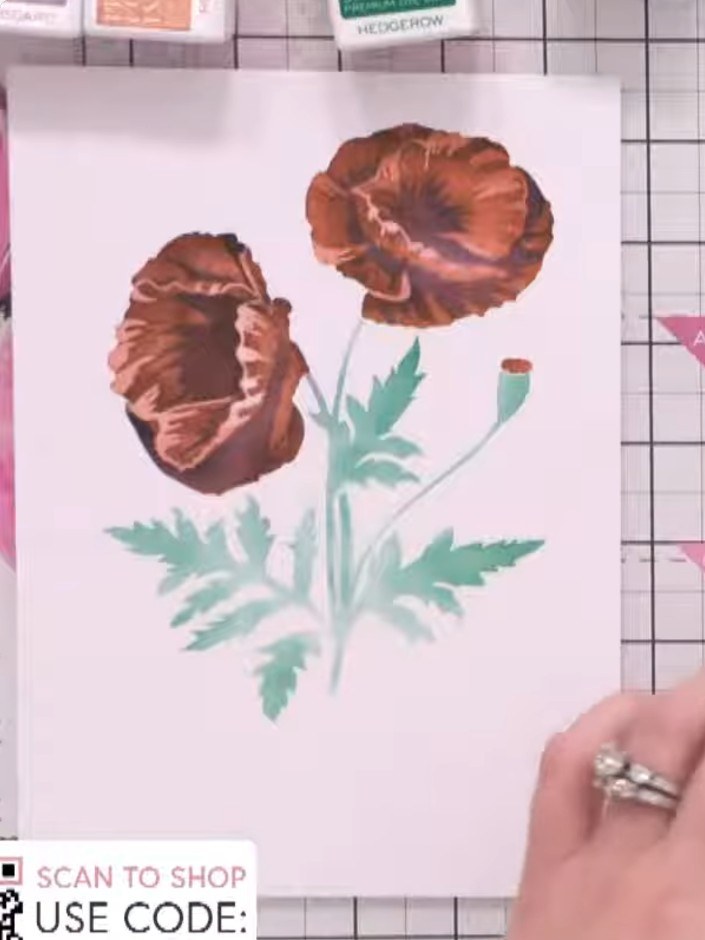
Using green ink, add the final details to complete the foliage on your design. Apply the ink to enhance the leaves and stems created with the rose branch stencil.
▶ watch this step (33:00)Written up from the show itself. See every guide from our shows · free how-to guides · watch live on My Telly
