Give your friends £10 off their first order!
Refer a FRIEND








 Hidden GemsWed 18 Nov 10am
 The Thursday DropThu 19 Nov 6pm
 The Friday Final CutFri 20 Nov 10am
Prices change straight away. Every language is our own translation, not Google.
A project from our live show HOBBYMAKER TV - Join us for the latest show - Broadcast 6 p.m. (UK) 19th June 2026 · 19/06/2026 · watch it from 2:45
Create a charming forest animal design using stamps and stencils, then bring it to life with vibrant colouring pens. Die-cut your finished coloured image with the Sidekick machine to produce a delightful hand-crafted animal element, perfect for adding a woodland touch to handmade cards and papercrafts.
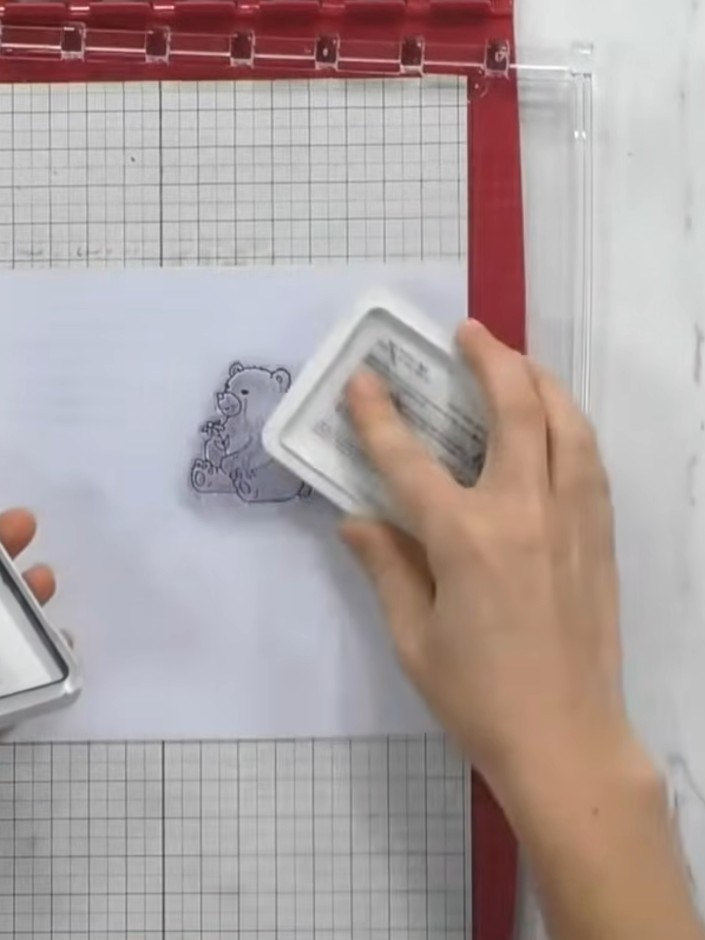
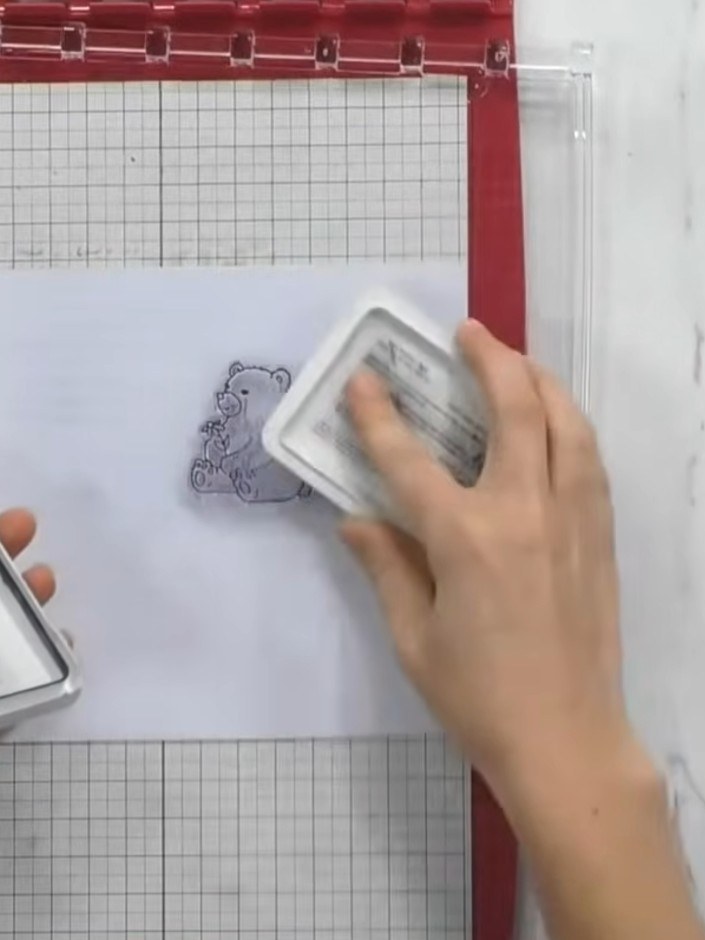
Stamp a forest animal design onto white card using the stencil and stamp tool with pink ink. Press the stamp firmly onto the card to transfer the image clearly.
▶ watch this step (3:00)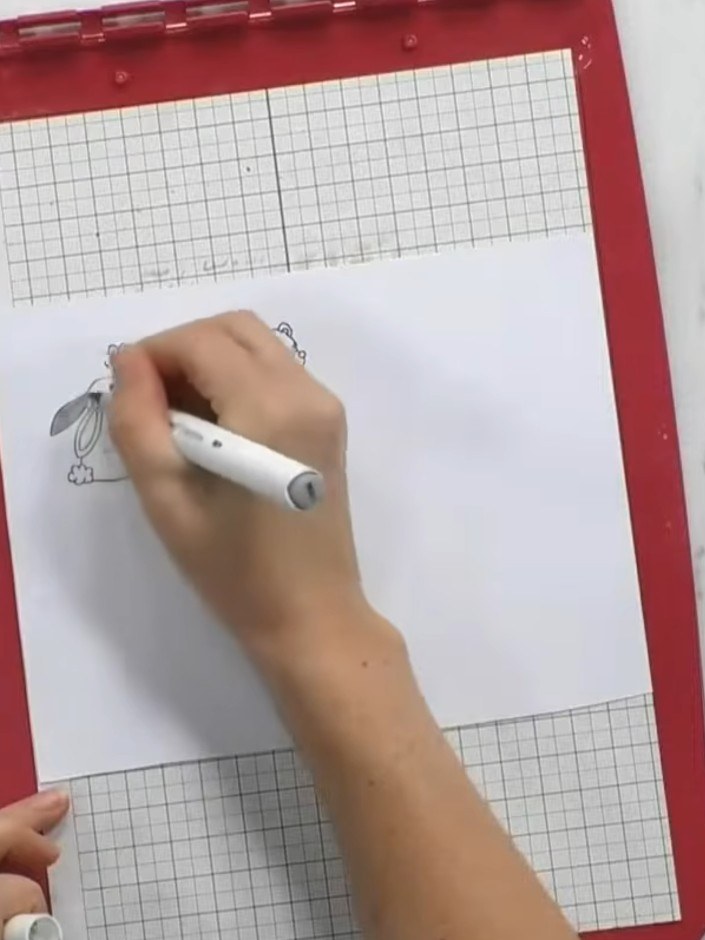
Colour in the stamped animal using coloured pens, keeping the paper on the stencil platform for a flat surface. Work carefully to add colour to the rabbit design.
▶ watch this step (4:30)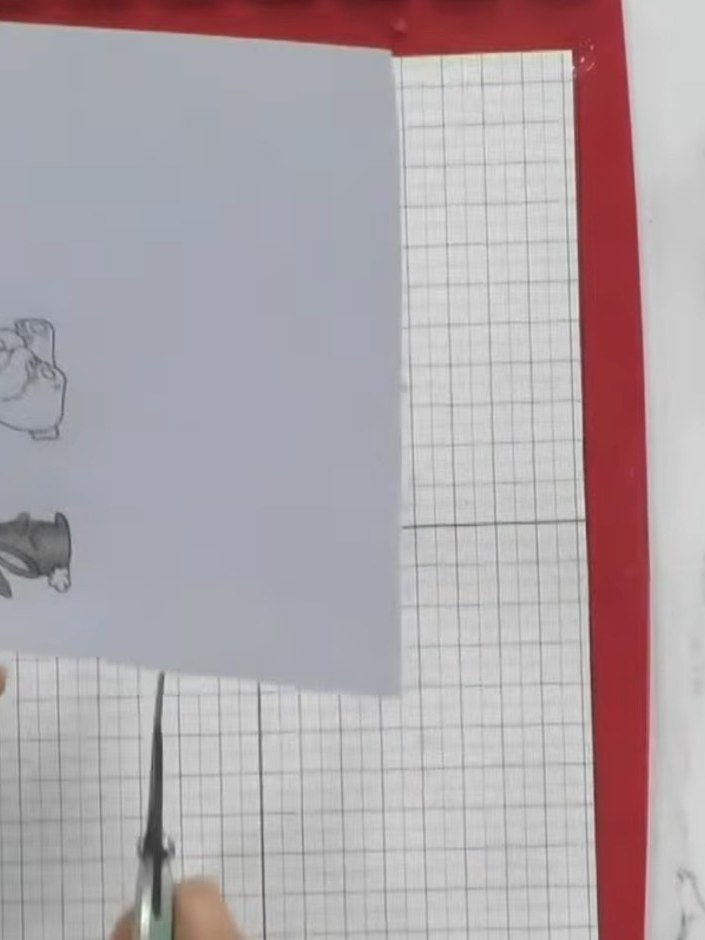
Trim around the coloured animal stamp with scissors to remove the excess card, cutting carefully around the outline of the image.
▶ watch this step (5:15)
Place the stamped design into the Sidekick machine with the corresponding framelet die positioned over it. Secure the design in place with a small piece of maker's tape to prevent it from shifting during die-cutting.
▶ watch this step (7:45)
Turn the crank handle on the Sidekick machine to run the die and cardstock through, cutting out the animal shape. Remove the cut piece from the machine and carefully separate it from the surrounding card.
▶ watch this step (8:00)Written up from the show itself. See every guide from our shows · free how-to guides · watch live on My Telly