Give your friends £10 off their first order!
Refer a FRIEND








A project from our live show CREATE AND CRAFT TV - Join Carley Duff for the brand new SBM launch show 4 - broadcast 26th Oct 23 · 26/10/2023 · watch it from 26:45
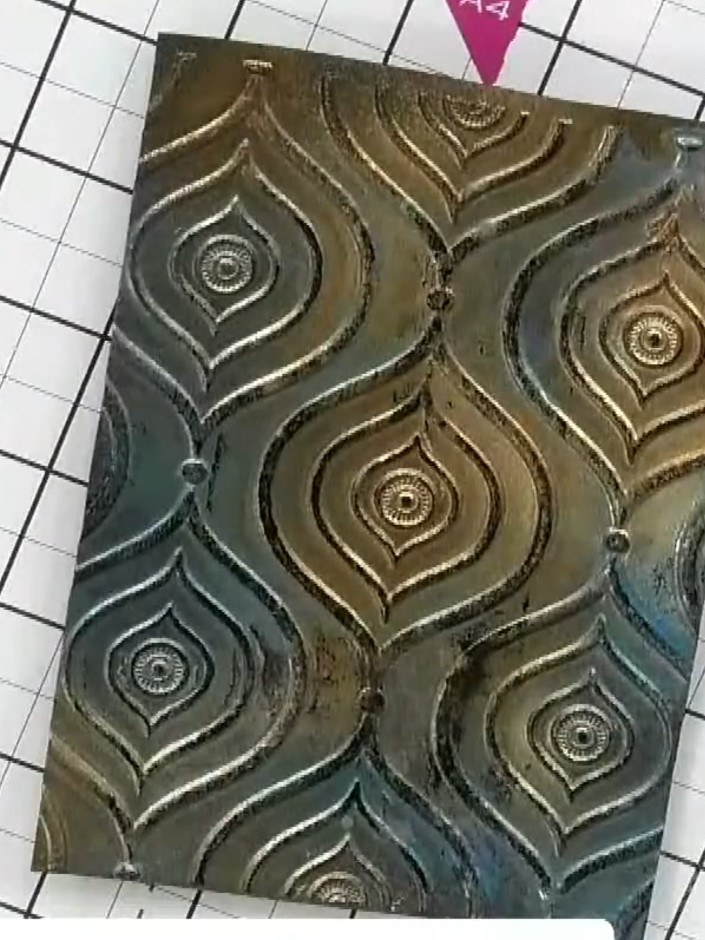
Create a sophisticated steampunk-inspired card featuring embossed metalwork patterns enhanced with acrylic spray paint in gold and blue tones. The design is brought to life with black ink detailing applied using a brayer, creating depth and dimension across the geometric peacock feather motifs. This striking technique combines texture and colour for a truly eye-catching handmade card.
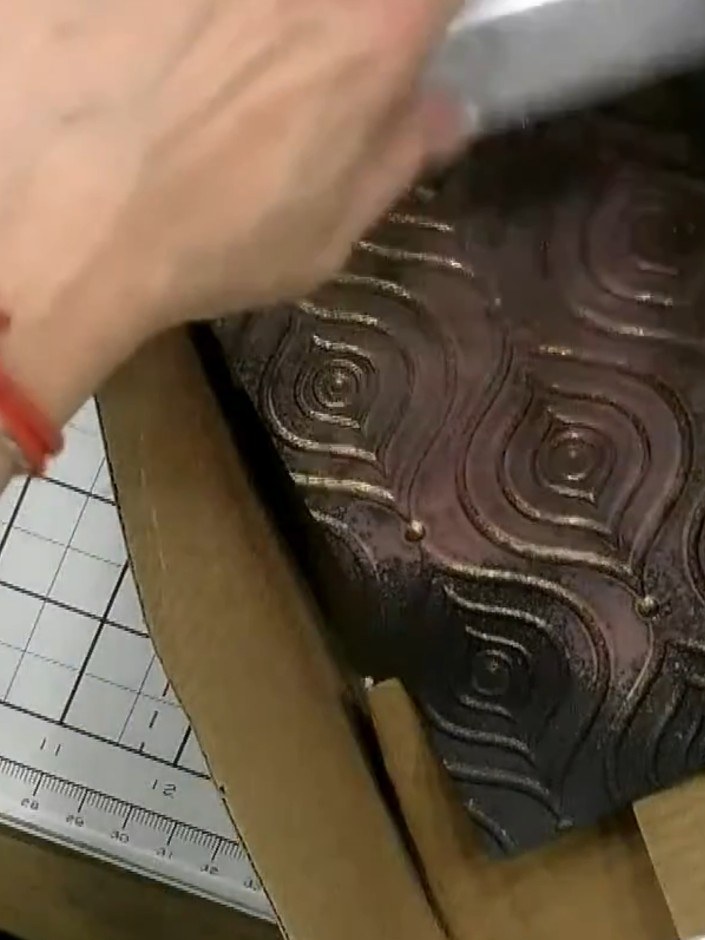
Run black cardstock through your die-cutting machine with a decorative embossing folder to create a raised pattern on the surface.
▶ watch this step (26:45)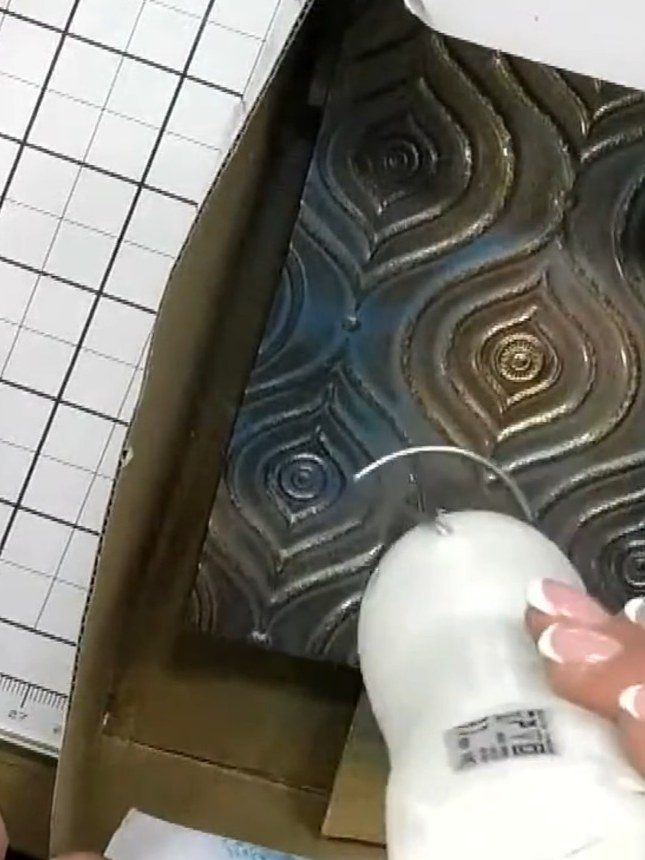
Gently swirl your acrylic spray cans to wake up the product, being careful not to shake them vigorously or block the nozzles.
▶ watch this step (27:00)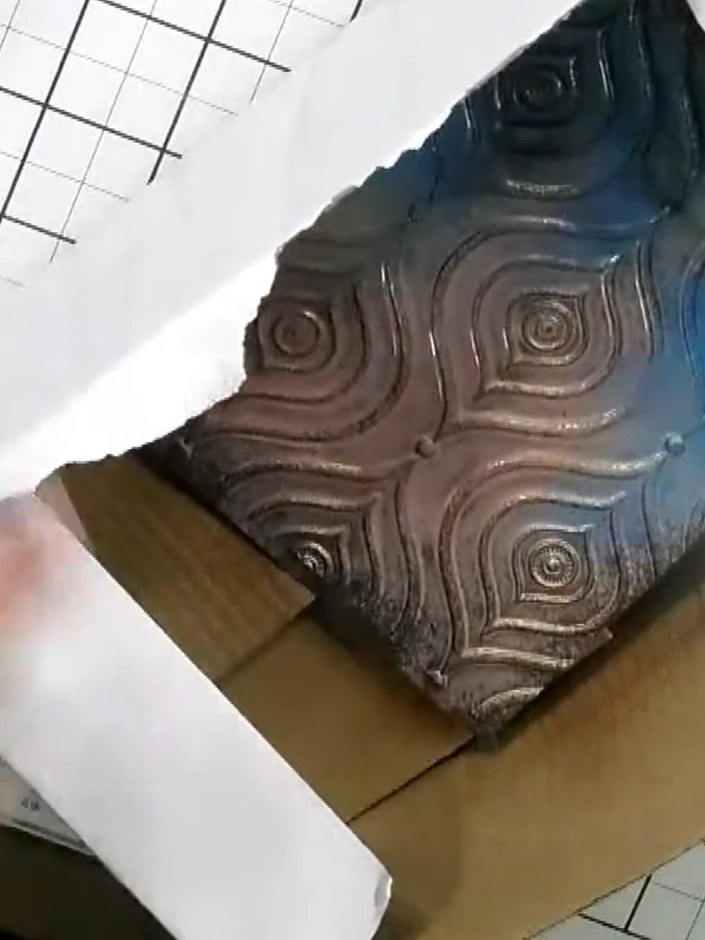
Spray the embossed card with gold acrylic spray, ensuring the raised pattern areas are well covered with the metallic colour. Allow the spray to dry completely before proceeding.
▶ watch this step (27:15)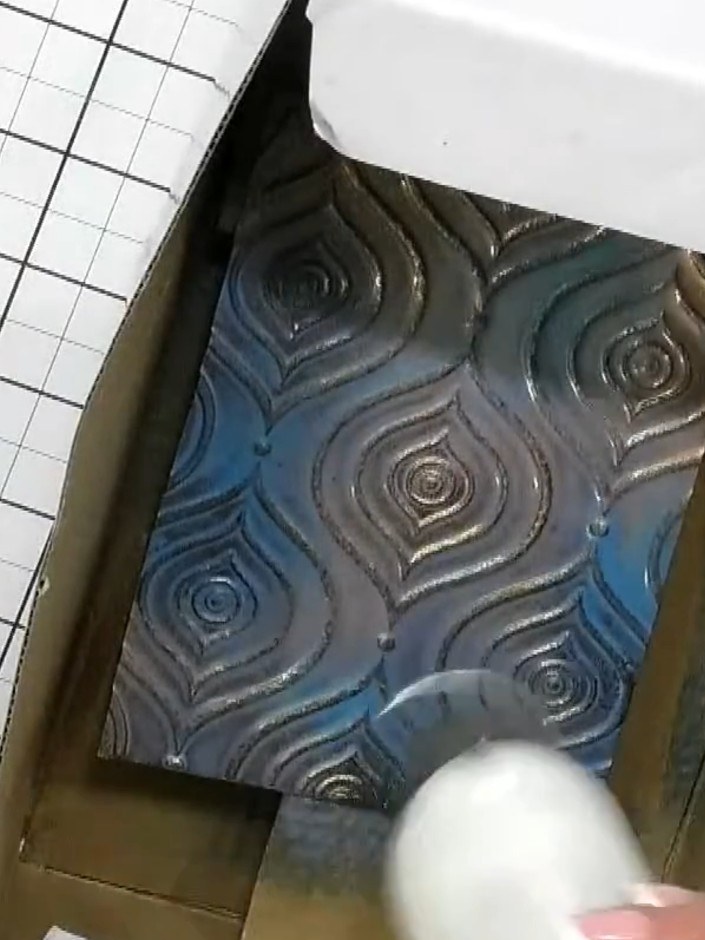
Spray the embossed card with blue acrylic spray, layering it over the metallic colours to create a mixed effect with blue, grey and bronze tones.
▶ watch this step (27:30)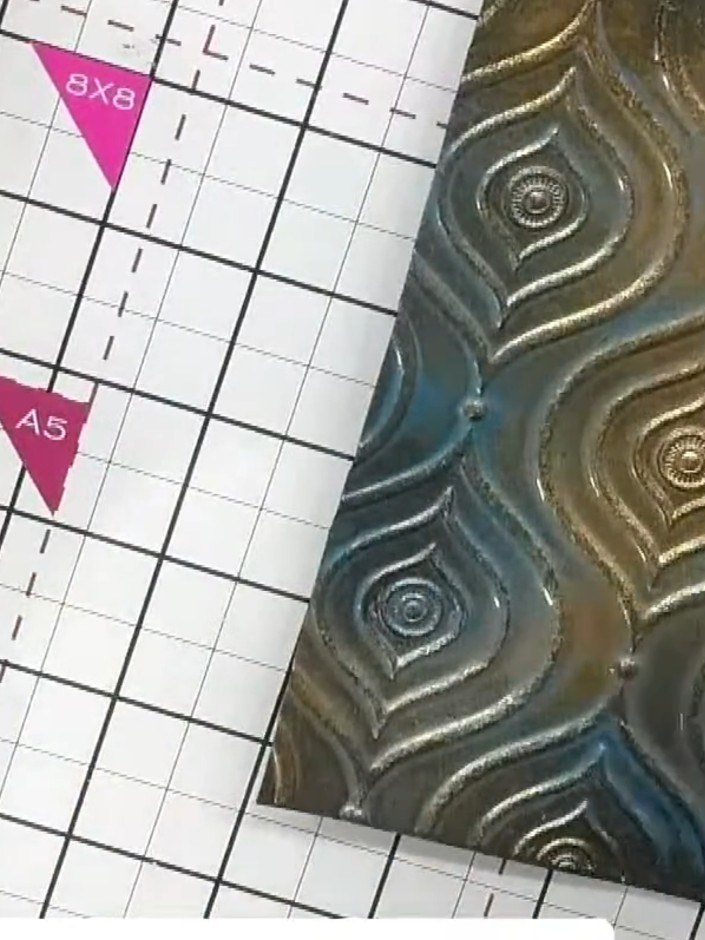
Heat-set the sprayed card using a heat tool to dry the acrylic finish. Move the heat tool over the surface to set the blue and metallic spray colours.
▶ watch this step (28:00)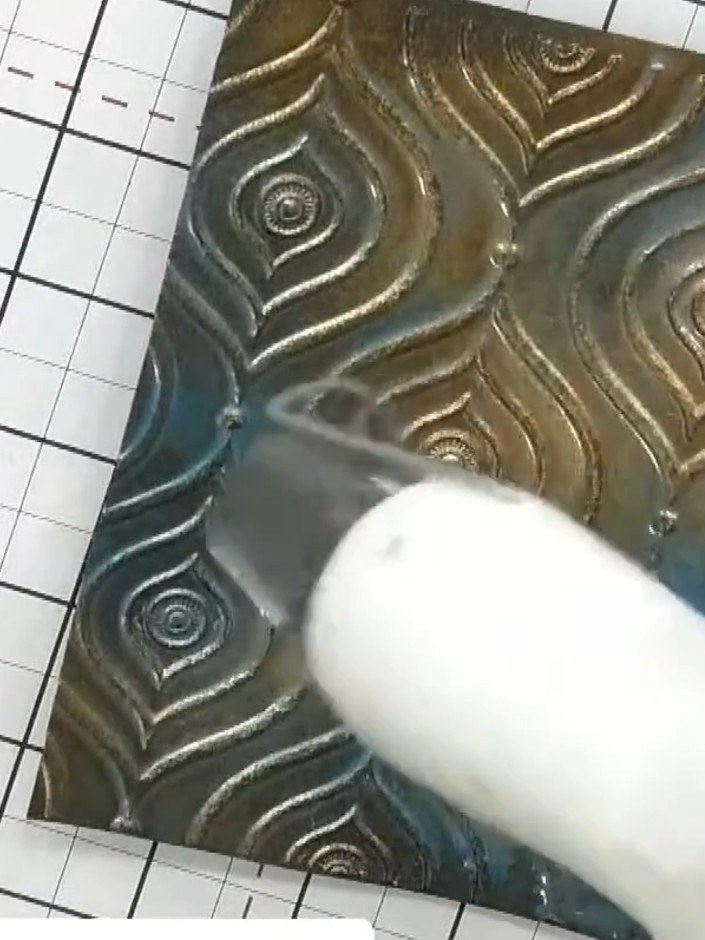
Use a brayer with black ink to roll over the embossed and sprayed design. This will add definition and pull out the raised detail of the pattern.
▶ watch this step (28:15)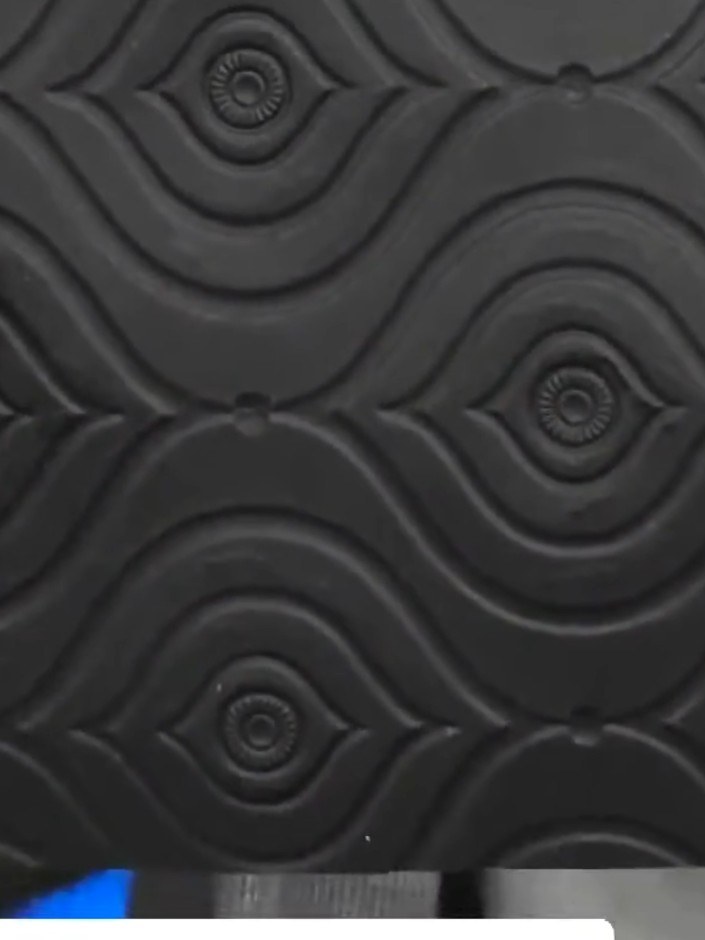
View the finished embossed card with its metallic spray finish and ink detailing. The combination of the decorative pattern and colour creates a steampunk or palace-inspired aesthetic.
▶ watch this step (28:45)Written up from the show itself. See every guide from our shows · free how-to guides · watch live on My Telly