Give your friends £10 off their first order!
Refer a FRIEND








A project from our live show CREATE AND CRAFT TV - Join Carley Duff for the brand new SBM launch show 4 - broadcast 26th Oct 23 · 26/10/2023 · watch it from 31:30
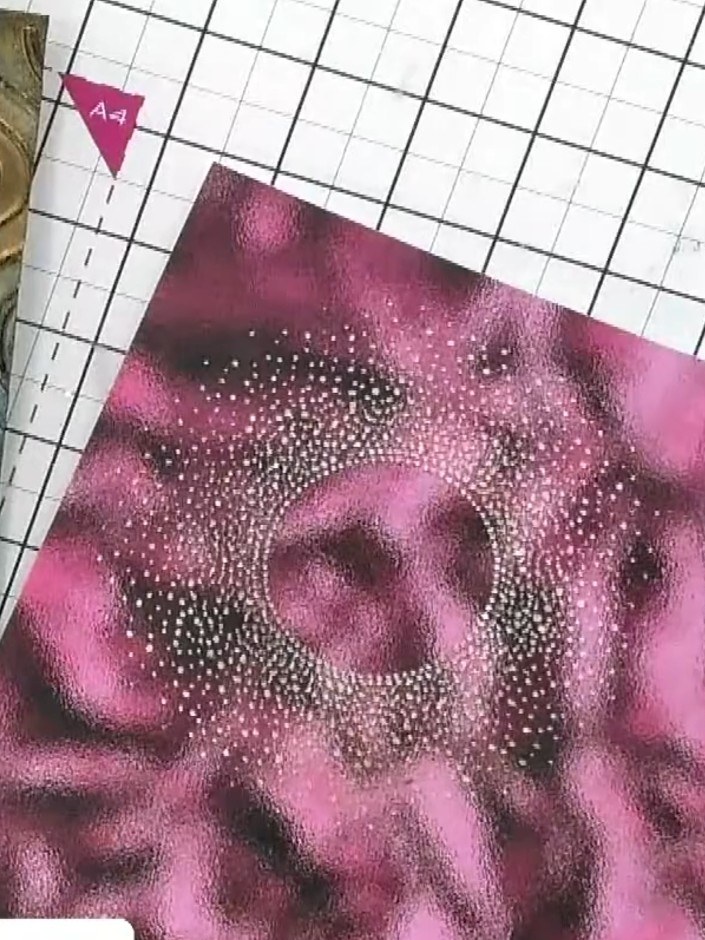
Create a versatile scene-setter card by embossing a sunburst or snowburst pattern, sanding back the raised areas to reveal white underneath, then adding gold ink for a luxurious finish. This technique produces an elegant purple and gold card with a shimmering, dimensional effect. The embossed design creates a stunning backdrop perfect for layering sentiments or using as a standalone statement piece.
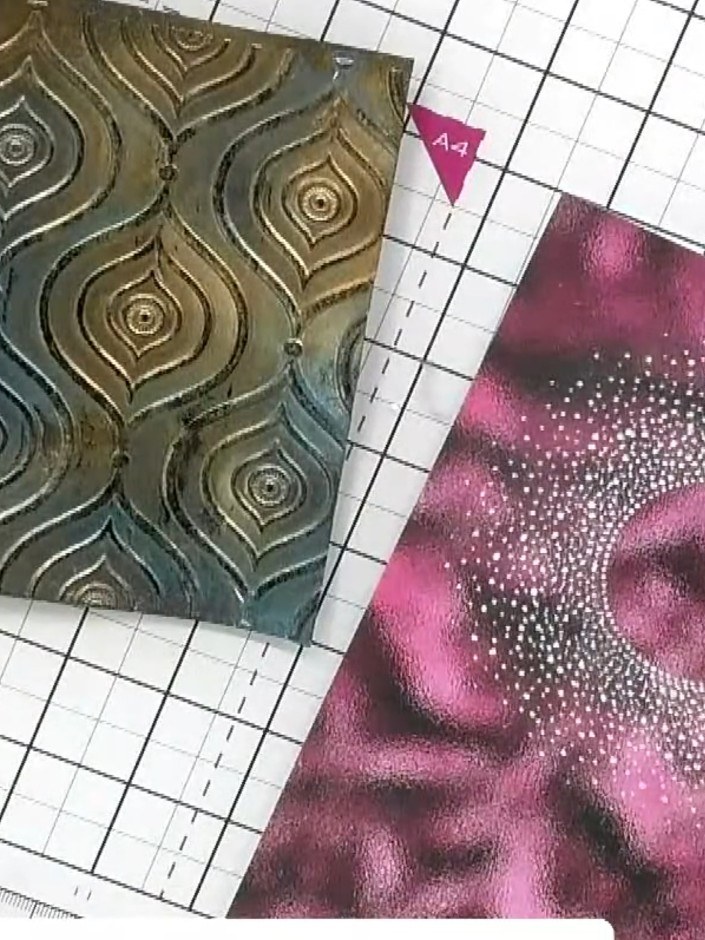
Run your card stock through your die-cutting machine with the sunburst embossing folder to create the raised pattern on the pink metallic card.
▶ watch this step (31:30)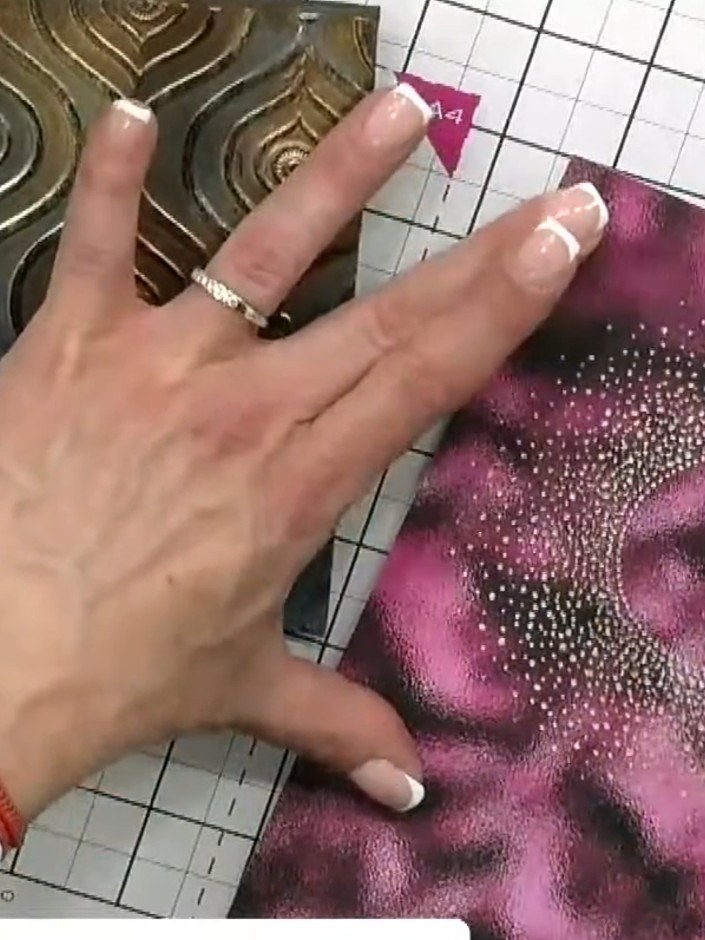
Use a sanding block to gently sand back the raised embossed areas on the pink watercolour card, exposing the white core underneath. Work carefully over the textured surface to create highlights.
▶ watch this step (31:45)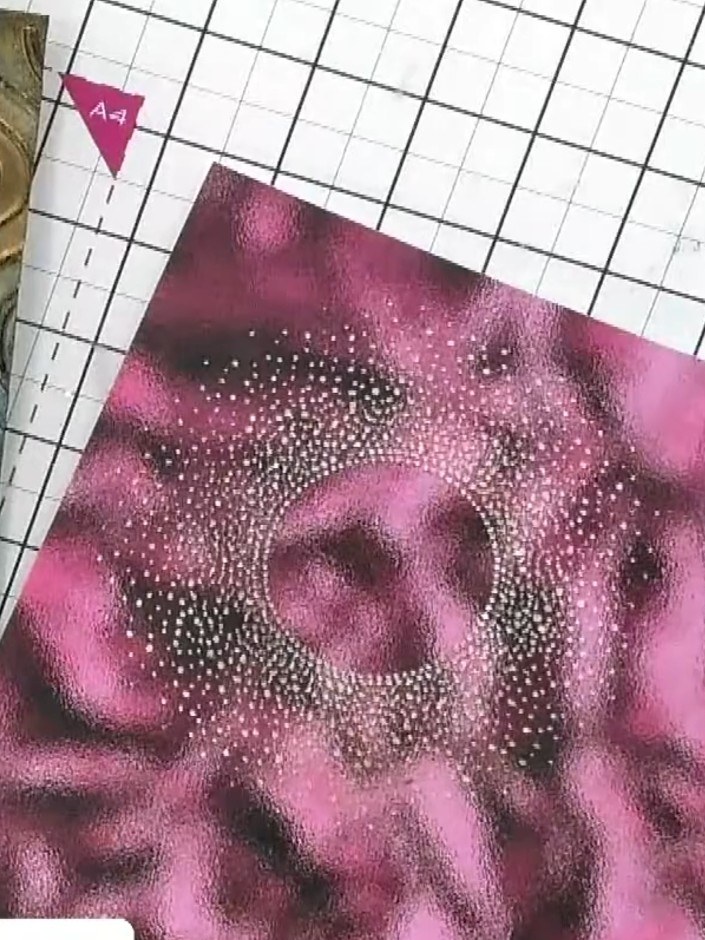
Apply gold ink pad over the sanded areas of the pink embossed card to add colour and definition to the design. Gently dab the gold ink onto the raised embossed patterns where you have sanded.
▶ watch this step (32:00)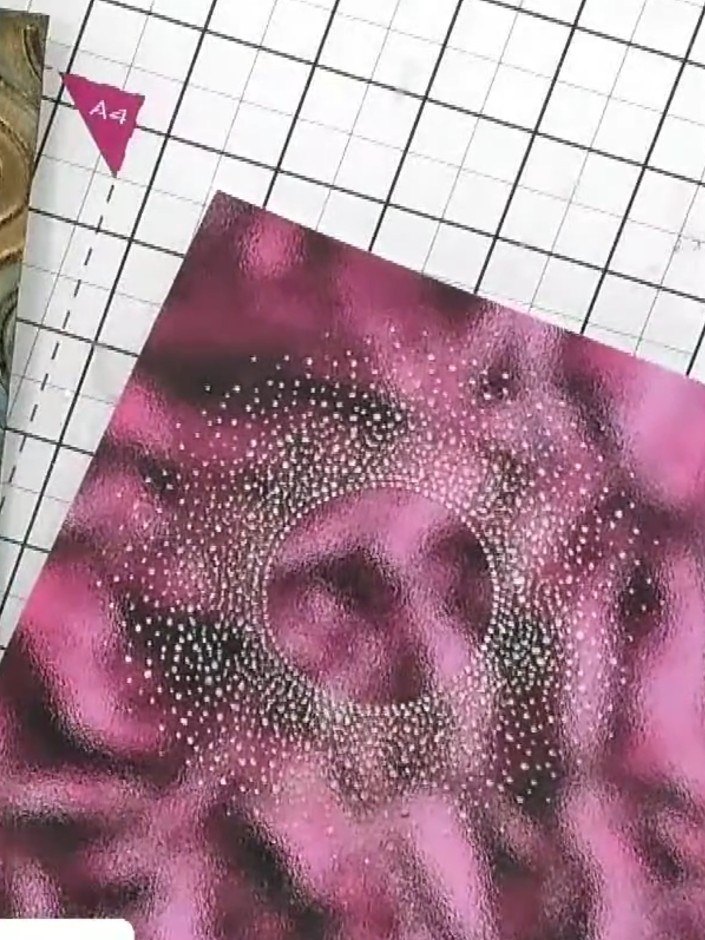
View the finished card with its magical sunburst effect created by the embossed pattern, gold ink, and pink shimmer spray. The combination creates a versatile background suitable for winter, sun, or moon themes.
▶ watch this step (32:15)Written up from the show itself. See every guide from our shows · free how-to guides · watch live on My Telly