Give your friends £10 off their first order!
Refer a FRIEND








A project from our live show THE BRAND NEW LAUNCH - Join Toni in her UK Studios - Broadcast 9th July 2026 · 09/07/2026 · watch it from 58:30
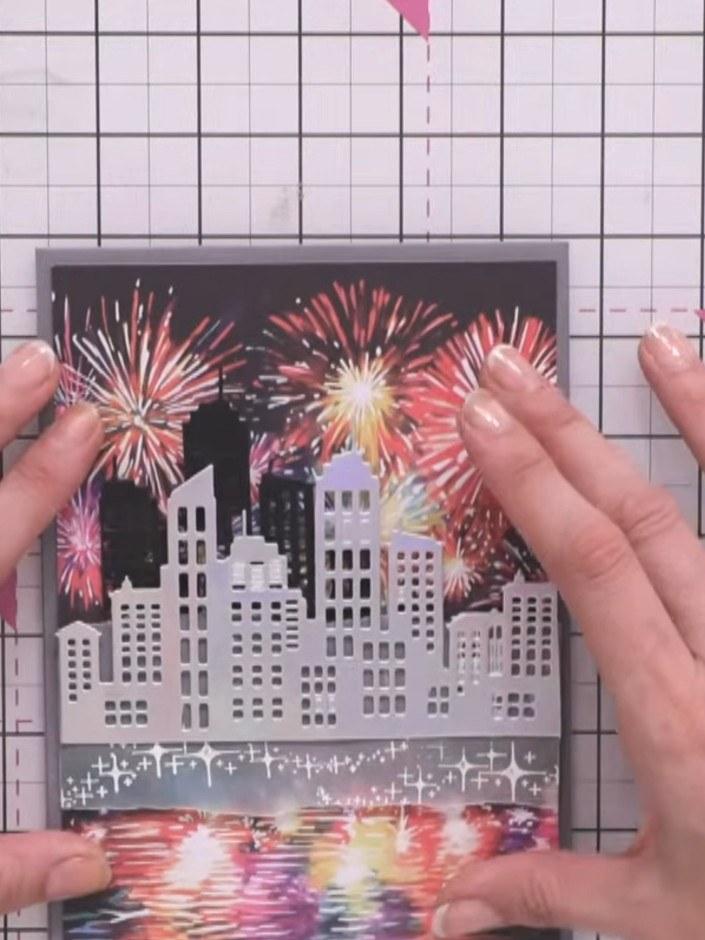
Create a stunning layered card featuring a dramatic cityscape silhouette against vibrant fireworks. This sophisticated design uses hand-torn vellum as an artistic overlay, with embossed stars adding texture and dimension. The piece combines die-cut buildings with colourful firework bursts for a striking celebration card.
 Stamps By Me - Skyfire Nights Collection - 130325ASEE IT
 A5 Stamp - Reflection - Friends Forever - 240424ISEE IT
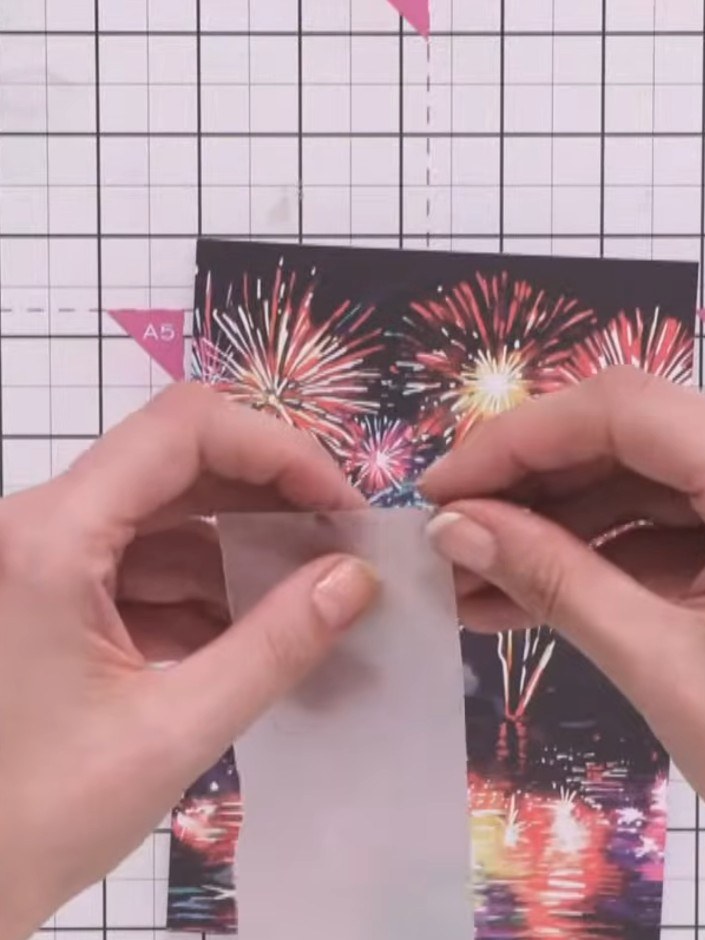
Tear a piece of vellum by hand to create an organic, uneven edge. This will be placed over the fireworks image to create an offset effect rather than a straight line.
▶ watch this step (58:45)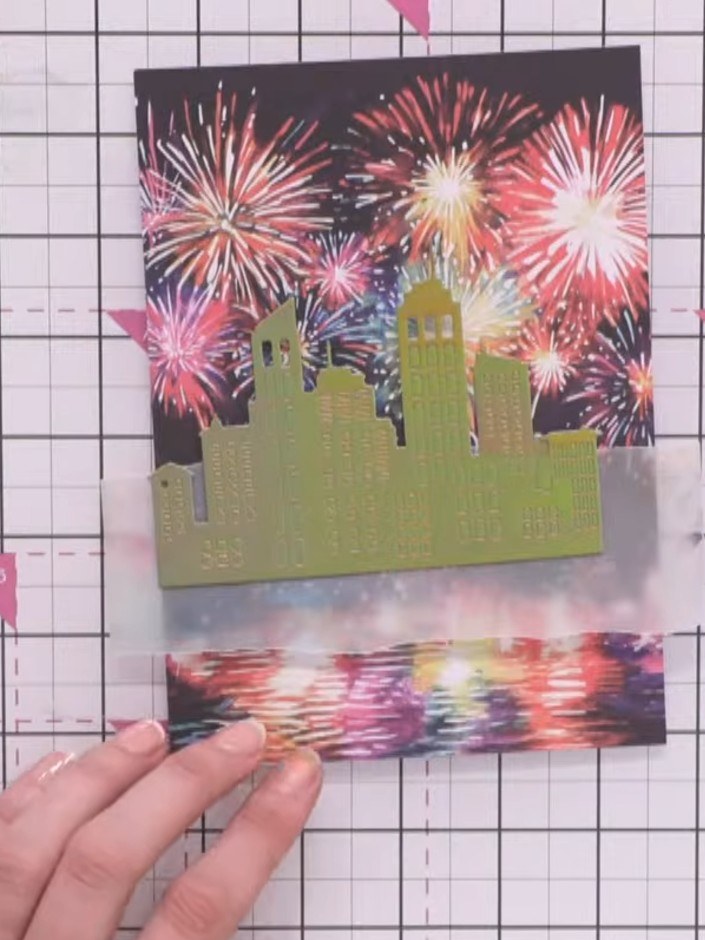
Use an anti-static bag to wipe the vellum cityscape piece thoroughly to remove any fingerprints or moisture before stamping. This ensures a clean surface for stamping.
▶ watch this step (59:15)
Ink up the star detail from the Friends Forever stamp set using a sticky ink pad. Press the stamp firmly onto the ink pad to ensure even coverage.
▶ watch this step (1:01:30)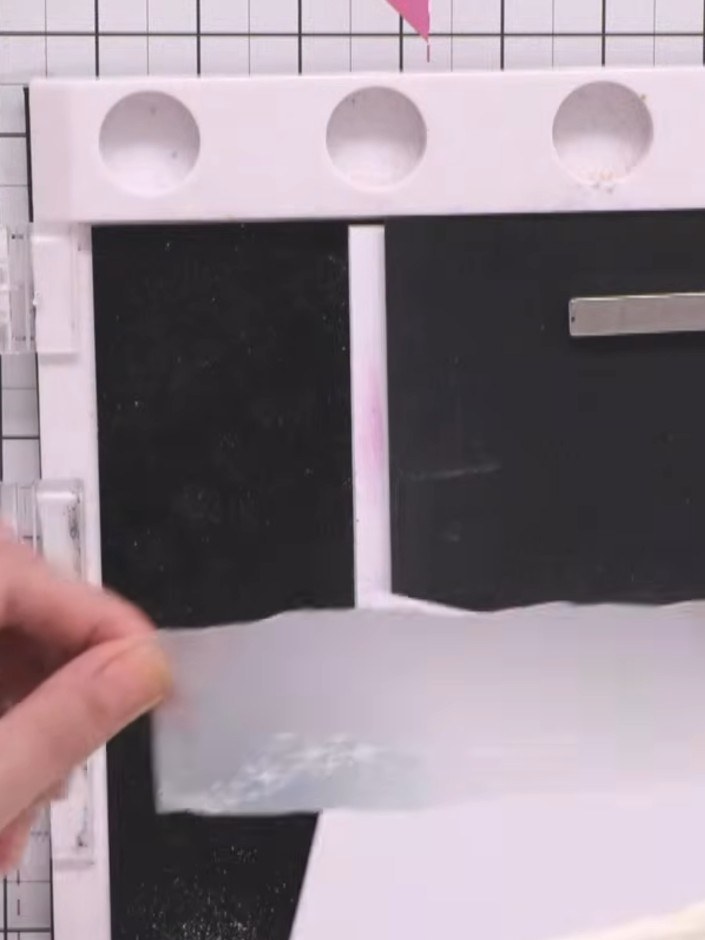
Stamp the stars onto the vellum using embossing powder. Layer the star stamps to create a continuing pattern across the torn edge. Store the stamped vellum in an anti-static bag to prevent powder from sticking.
▶ watch this step (1:01:45)
Sprinkle white WOW embossing powder over the stamped stars on the vellum overlay to cover the wet ink completely.
▶ watch this step (1:02:00)
Heat set the embossing powder quickly with your heat gun, working fast as vellum is not always heat resistant.
▶ watch this step (1:02:15)
Wrap the embossed vellum around the card front, positioning it to create a layered effect. Secure the vellum in place at the back with tape or glue.
▶ watch this step (1:04:30)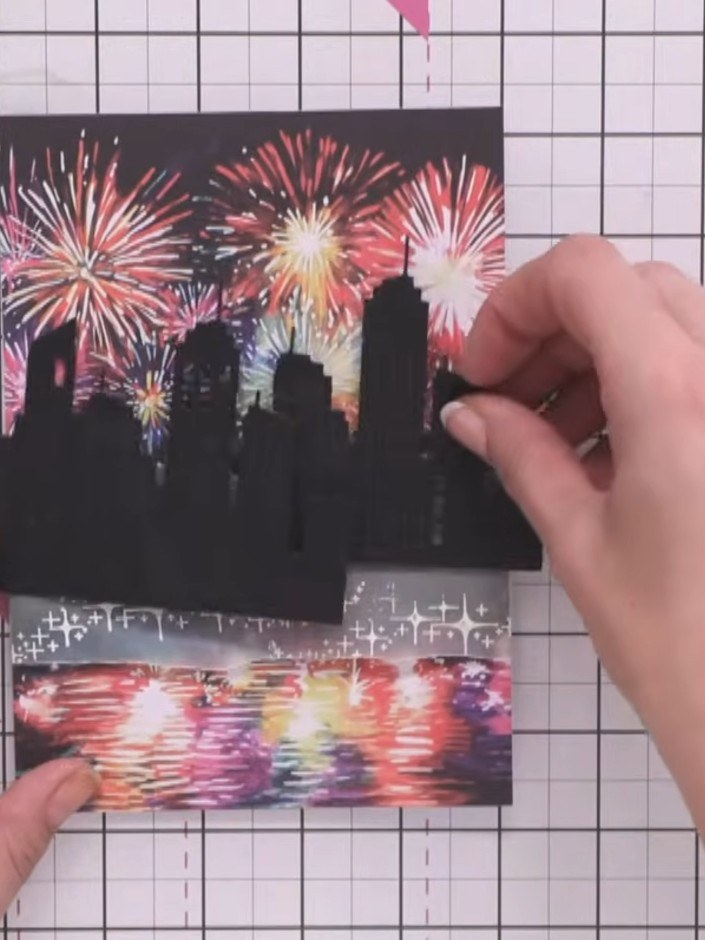
Use your craft tool to pop out some of the die-cut window shapes from the black cityscape silhouette to create texture and dimension. Work carefully to remove selected windows whilst keeping the overall structure intact.
▶ watch this step (1:06:00)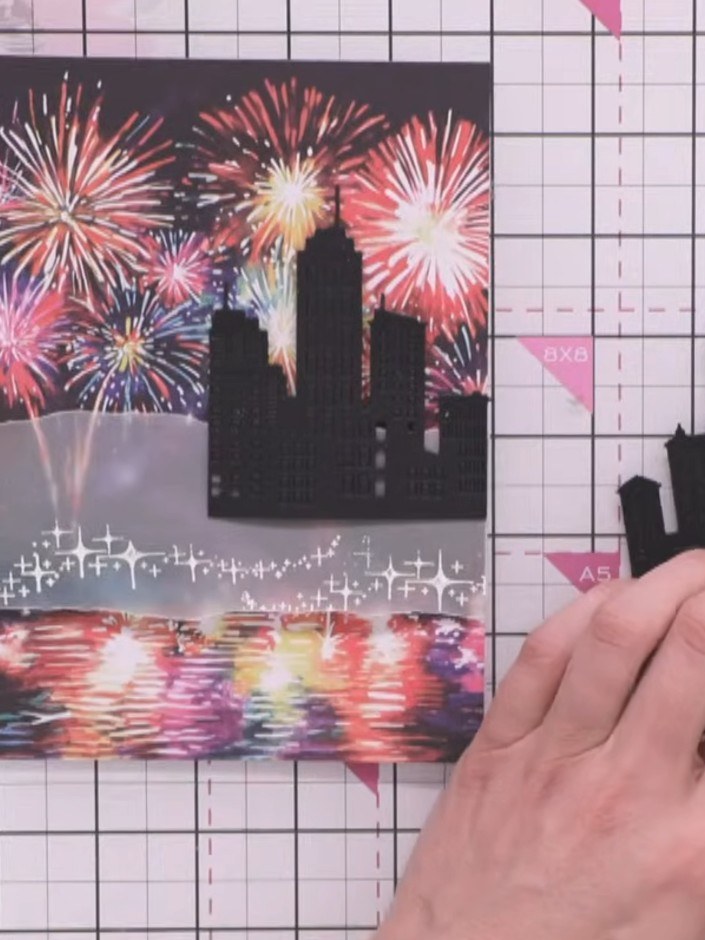
Position a smaller black die-cut cityscape piece behind the vellum overlay to add depth. Use a white or gold gel pen to add small 'L' shapes around the windows on the buildings to create highlights and detail.
▶ watch this step (1:06:30)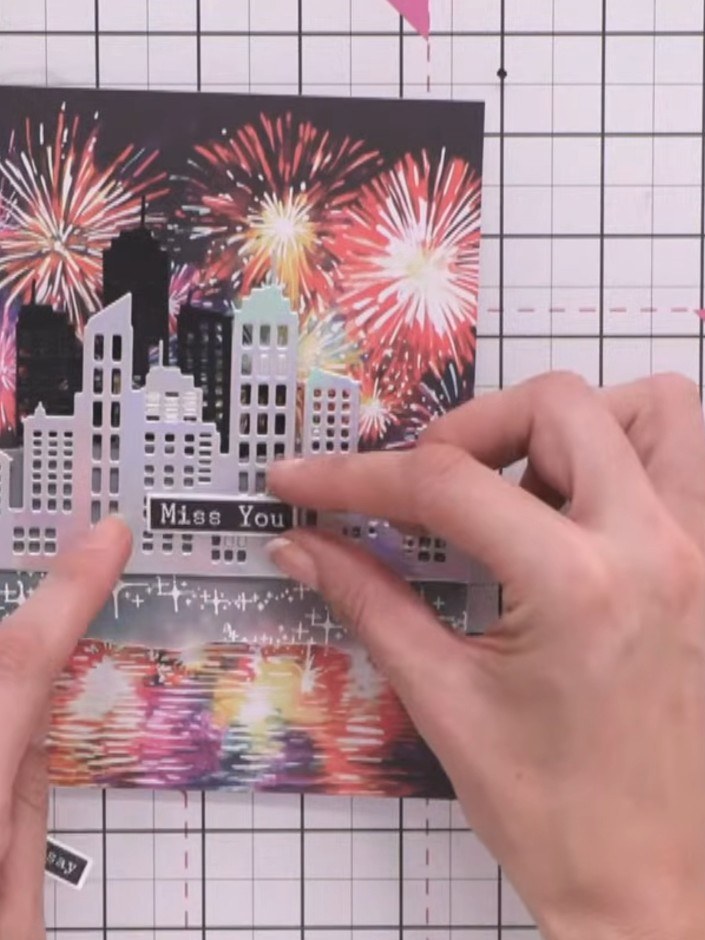
Add a sentiment to your card using a pre-cut die-cut word or washi tape. Position the sentiment across the middle section, ensuring it doesn't cover the stamped stars on the water reflection below.
▶ watch this step (1:10:30)Written up from the show itself. See every guide from our shows · free how-to guides · watch live on My Telly