Give your friends £10 off their first order!
Refer a FRIEND








Prices change straight away. Every language is our own translation, not Google.
A project from our live show MY PODCAST - Catch my latest updates broadcast 8th December 2025 · 08/12/2025
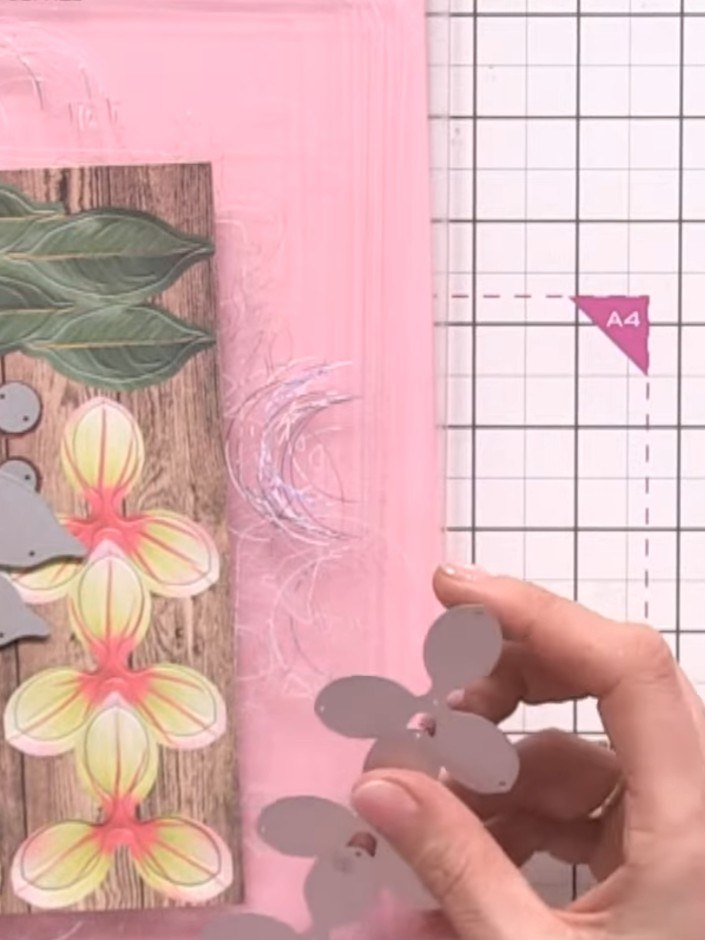
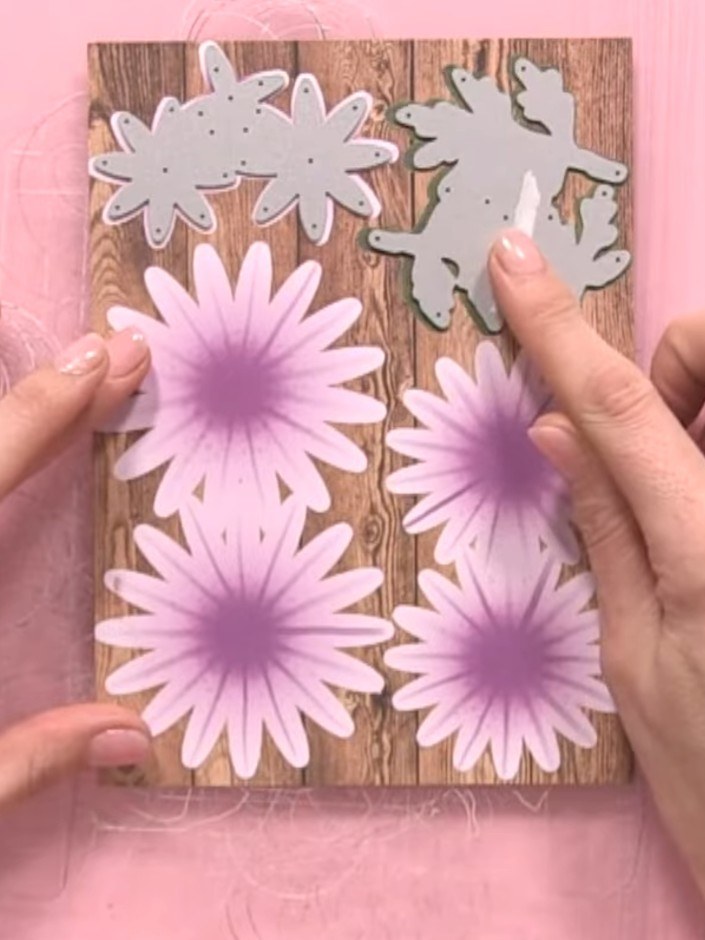
Create an elegant card featuring a decorative floral banner die-cut on black cardstock with pink and grey vase designs. The intricate banner design is layered with delicate foliage sprigs for added dimension. This sophisticated card combines die-cutting techniques with careful layering to achieve a striking contrast between the black background and coloured elements.
 1
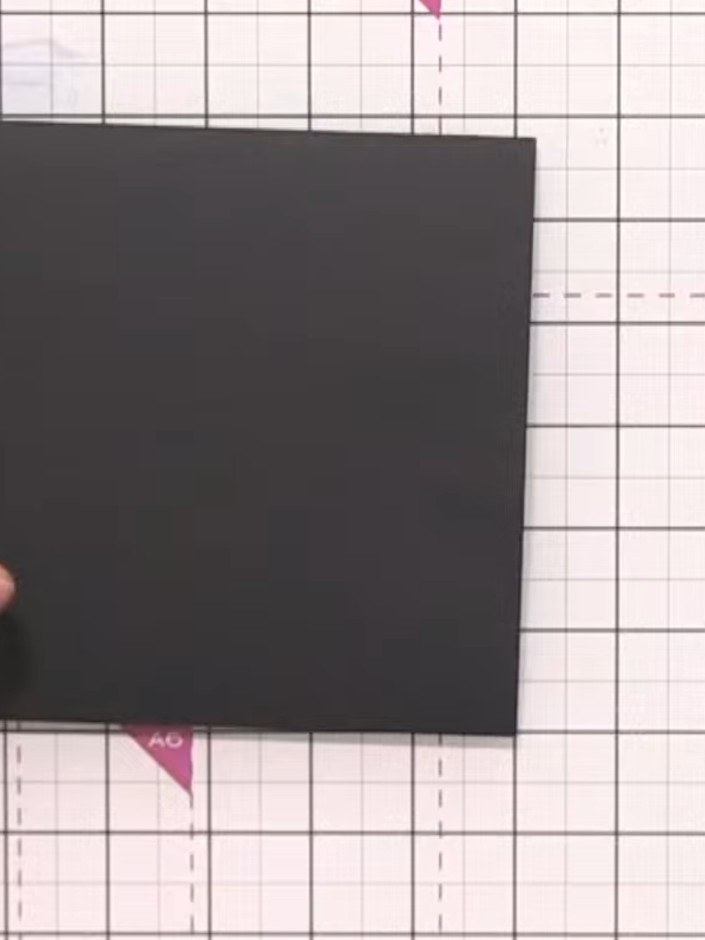
Select a piece of black cardstock and place it on your cutting mat.
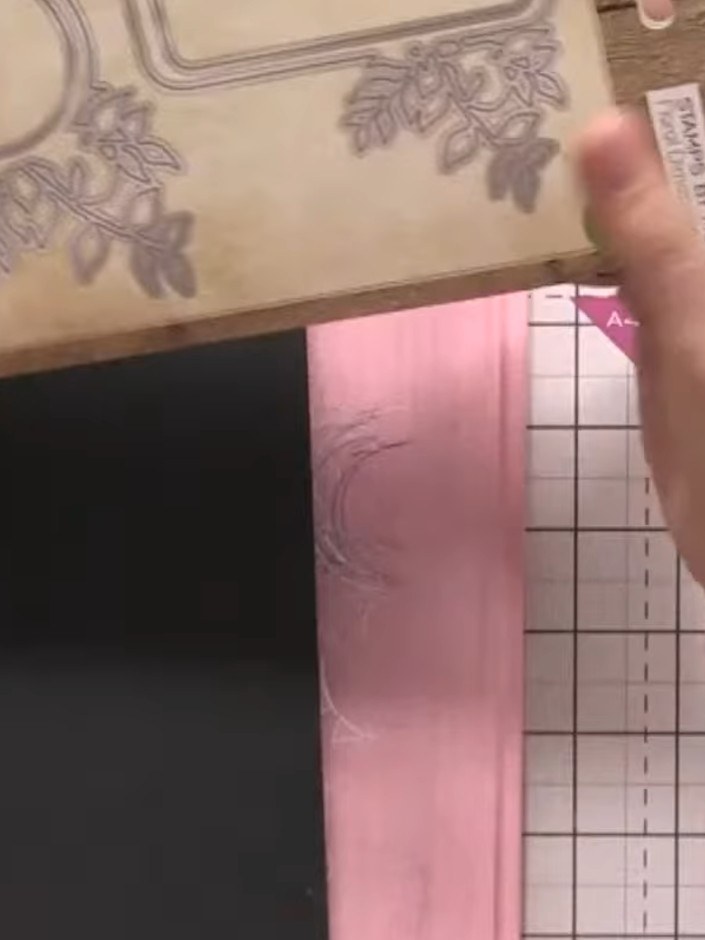 2
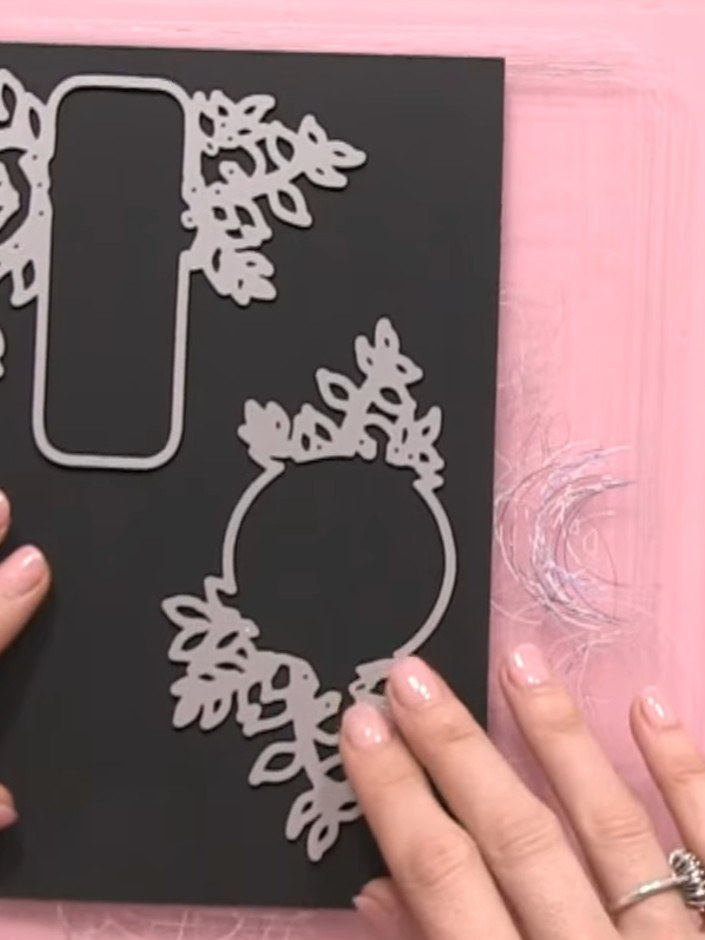
Position the floral banner die plate onto the black cardstock, ensuring it is centred and aligned as desired.
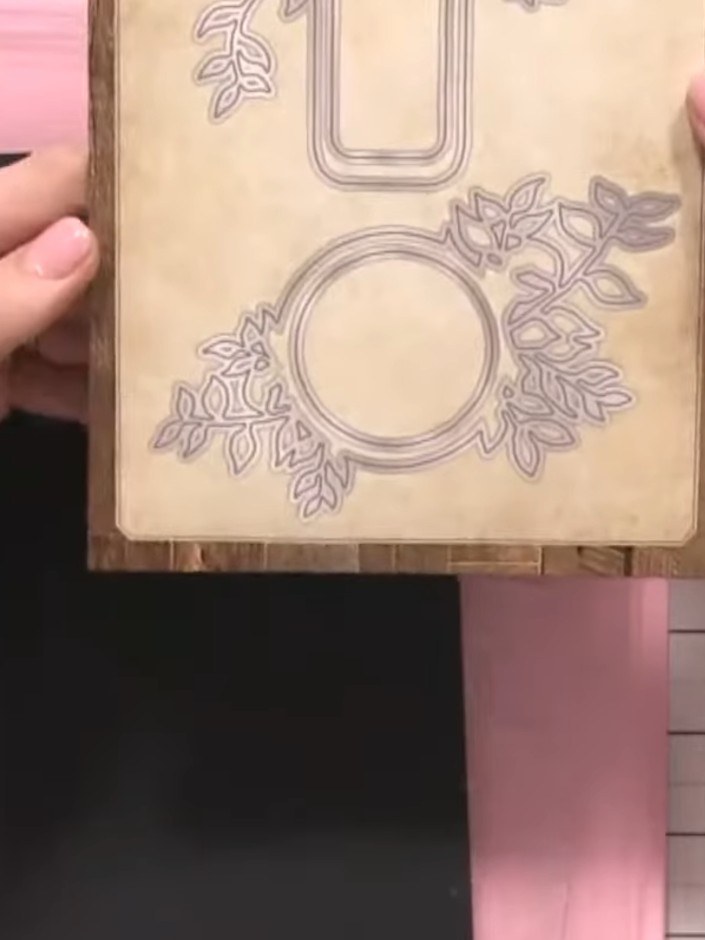 3
Position the floral banner die plate on the black cardstock. Secure it in place using low-tack tape or hold it steady with your hand to prepare for die cutting.
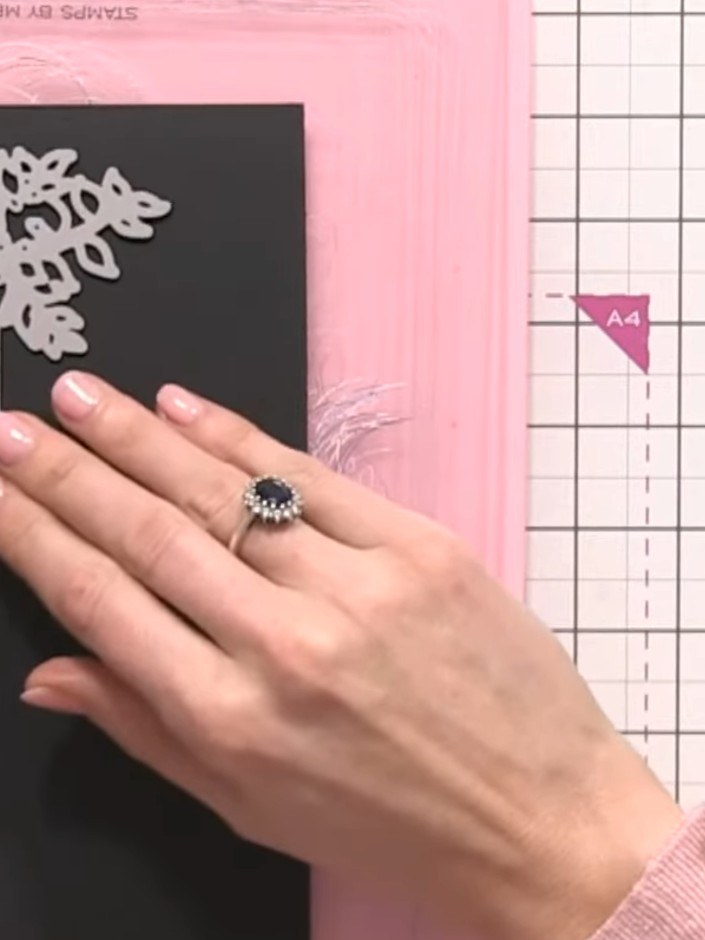 4
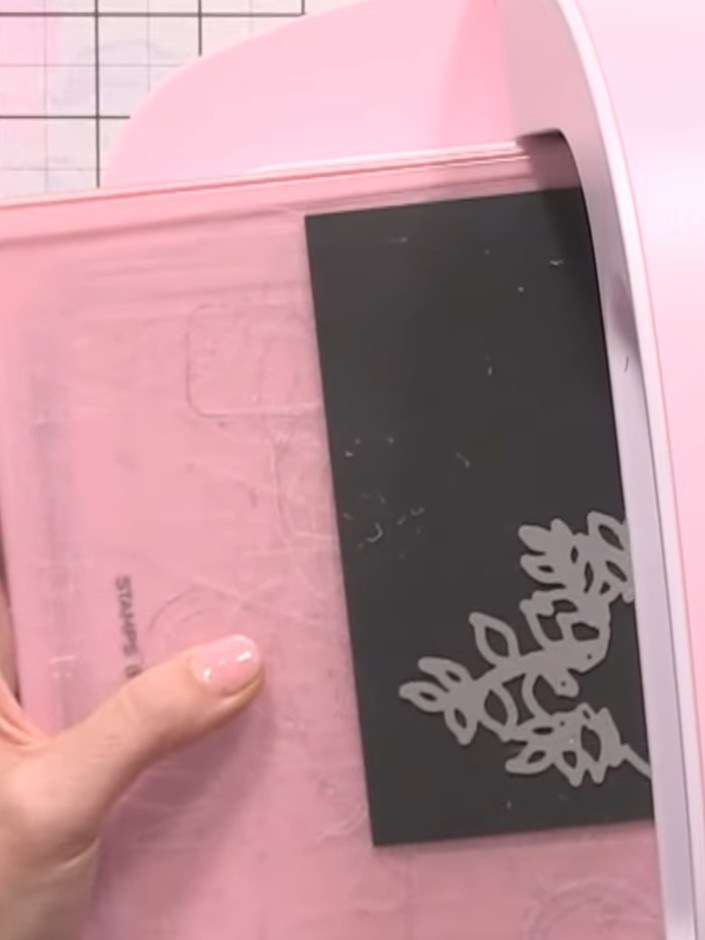
Run the black cardstock with the floral banner die through your die-cutting machine to cut out the decorative frame shapes.
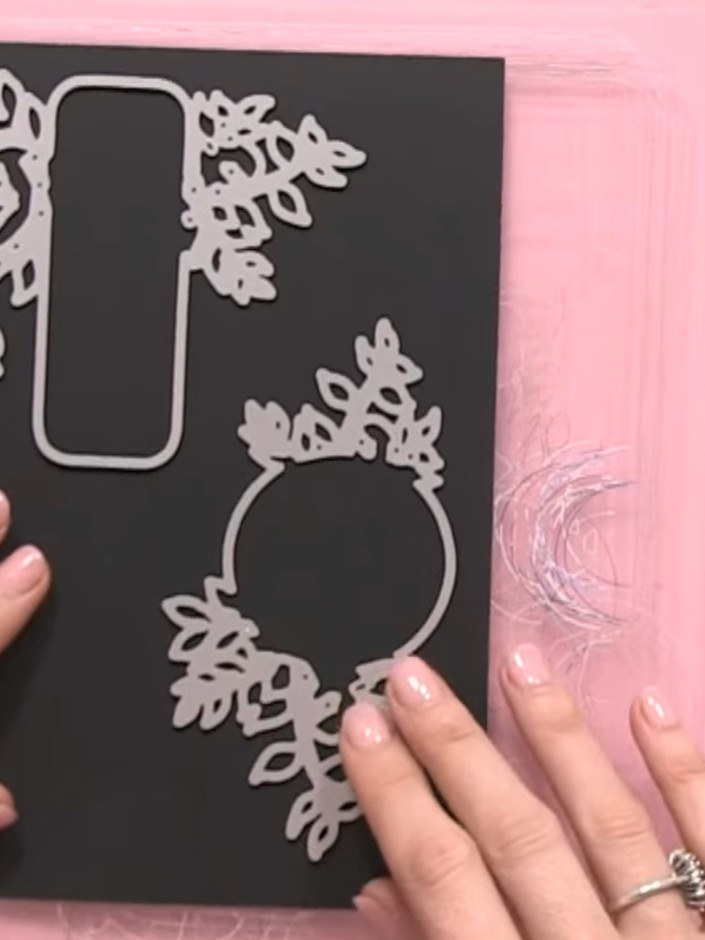 5
Carefully remove the cut banner piece from the black cardstock. The die-cut floral banner design will lift away, revealing the intricate floral details around the rectangular and circular frames.
 6
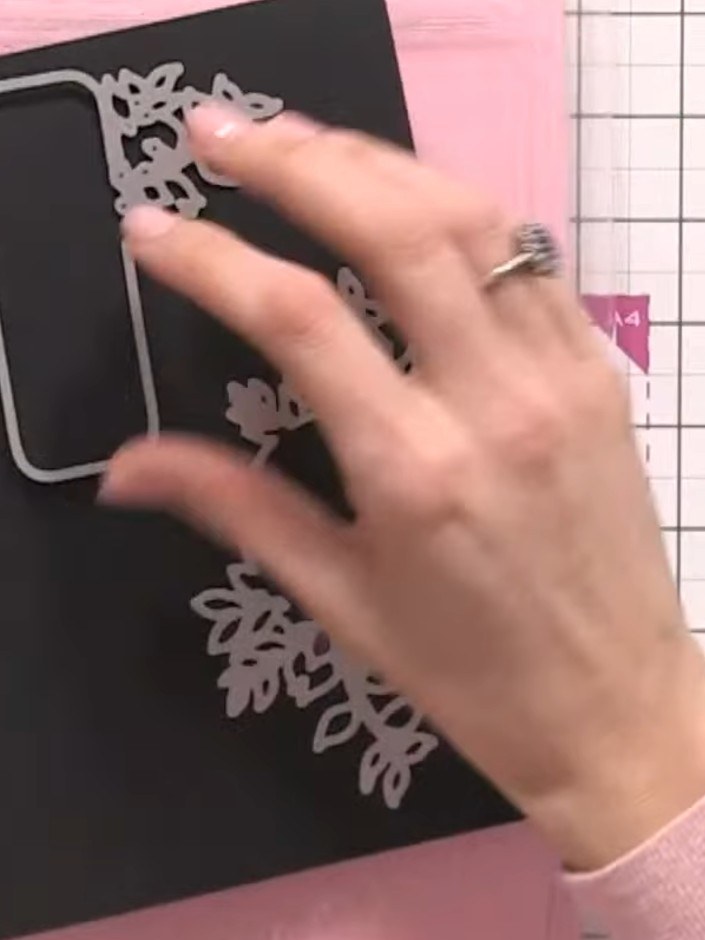
Cut the coordinating circle frame pieces from the floral banners die set using your die-cutting machine. Position the dies on black cardstock and run through the machine to create the decorative circular frames with floral embellishments.
 7
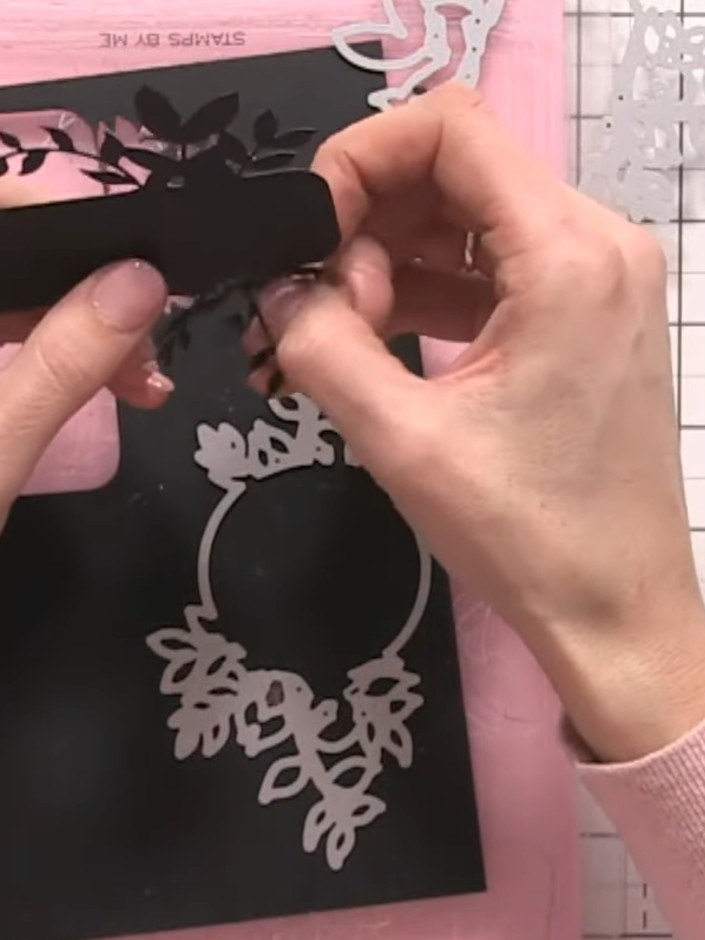
Position the black banner piece onto your pink card base, ensuring it's centred as the focal point of your card. Press down gently to secure it in place.
 8
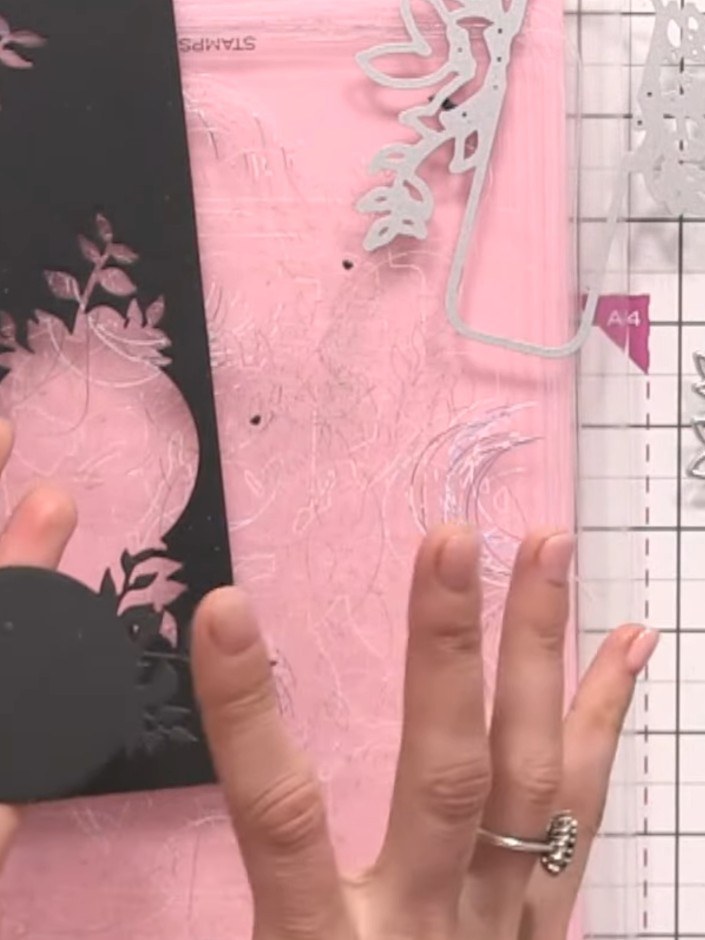
If desired, die cut the circle frames from white cardstock and layer them behind the black banner pieces to add dimension and contrast.
 9
Cut in the circle piece from the banner design to create an opening where you can add a sentiment or decorative element to complete your card.
Share your make with the Stamps By Me community - and keep this guide for next time.
Written up from the show itself. See every guide from our shows · free how-to guides · watch live on My Telly · the previous layout