Give your friends £10 off their first order!
Refer a FRIEND








A project from our live show CREATE AND CRAFT TV - Join Toni for her brand new SBM launch show 2 - broadcast 2nd Jan 2024 · 02/01/2024 · watch it from 45:00
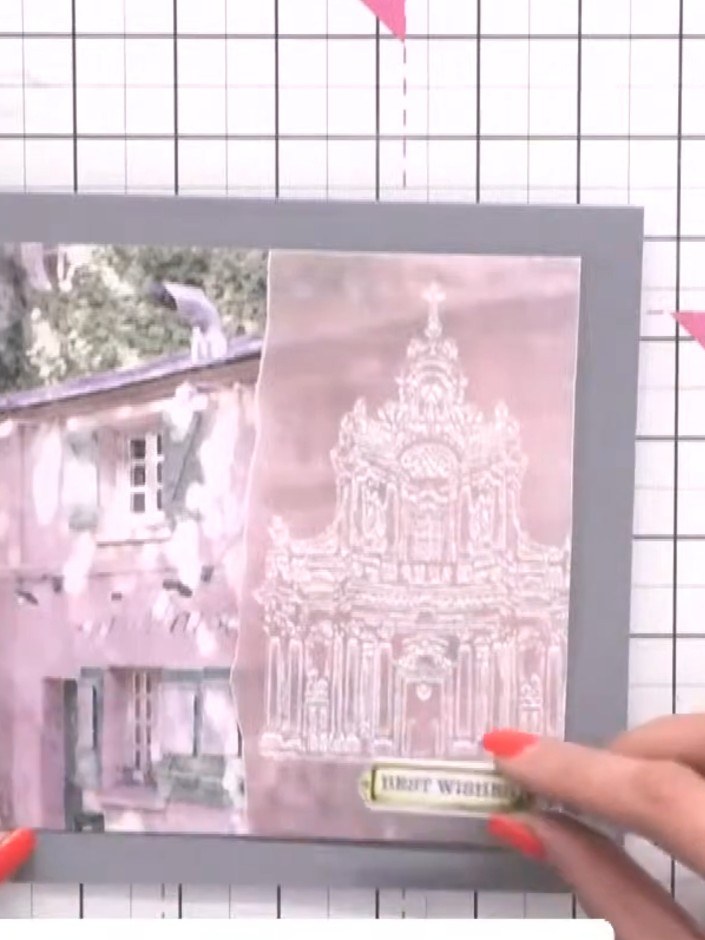
Create a romantic card featuring an ornate Abbey design embossed onto soft pink vellum with artfully torn edges. The delicate embossed vellum is layered over vintage Parisian scenes to create beautiful depth and dimension. This elegant project uses embossing and layering techniques to achieve a sophisticated, parchment-like finish perfect for special occasions.
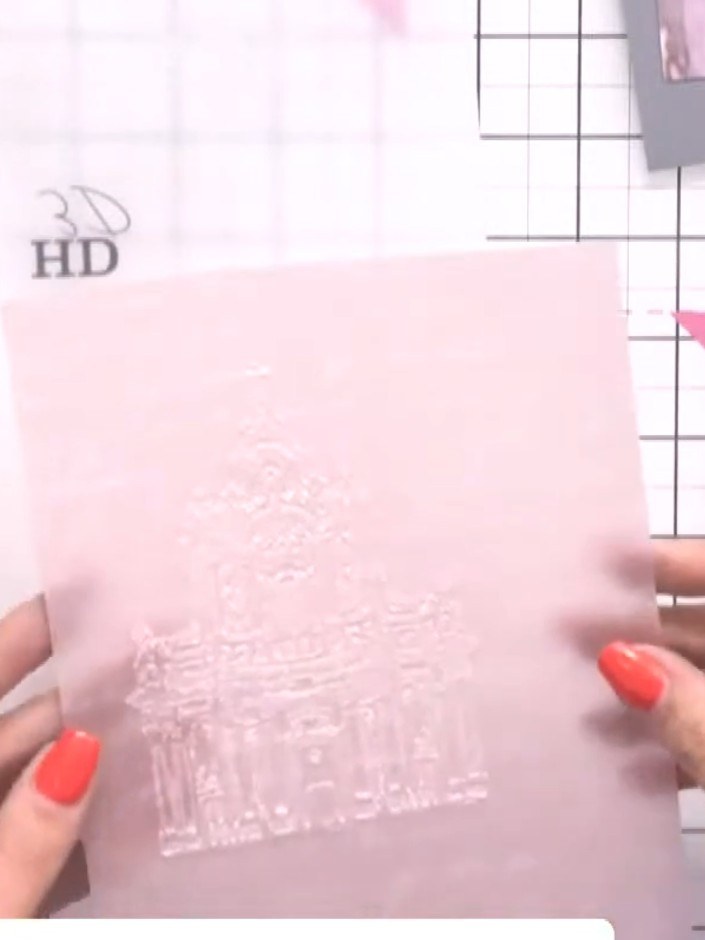
Place the pink-toned vellum with script detail into the Abbey embossing folder.
▶ watch this step (45:15)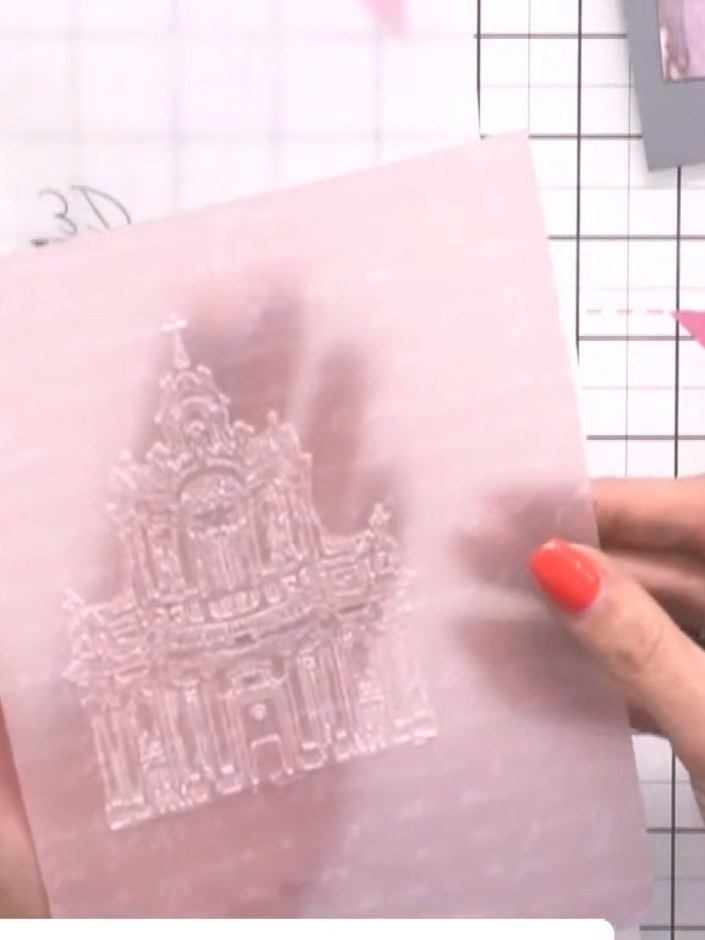
Place the stamped vellum piece into the embossing folder and run through a die-cutting machine to emboss the design.
▶ watch this step (45:30)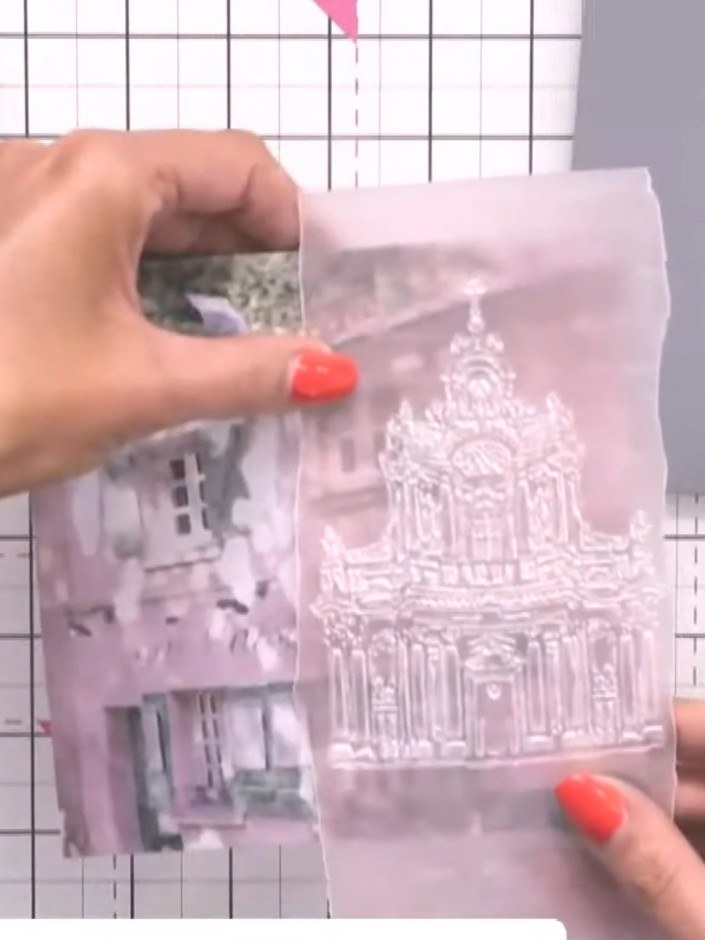
Tear the vellum down one side in a gentle, non-straight line to create a soft edge. Use your fingers to carefully tear the vellum rather than cutting it for a natural, organic finish.
▶ watch this step (46:00)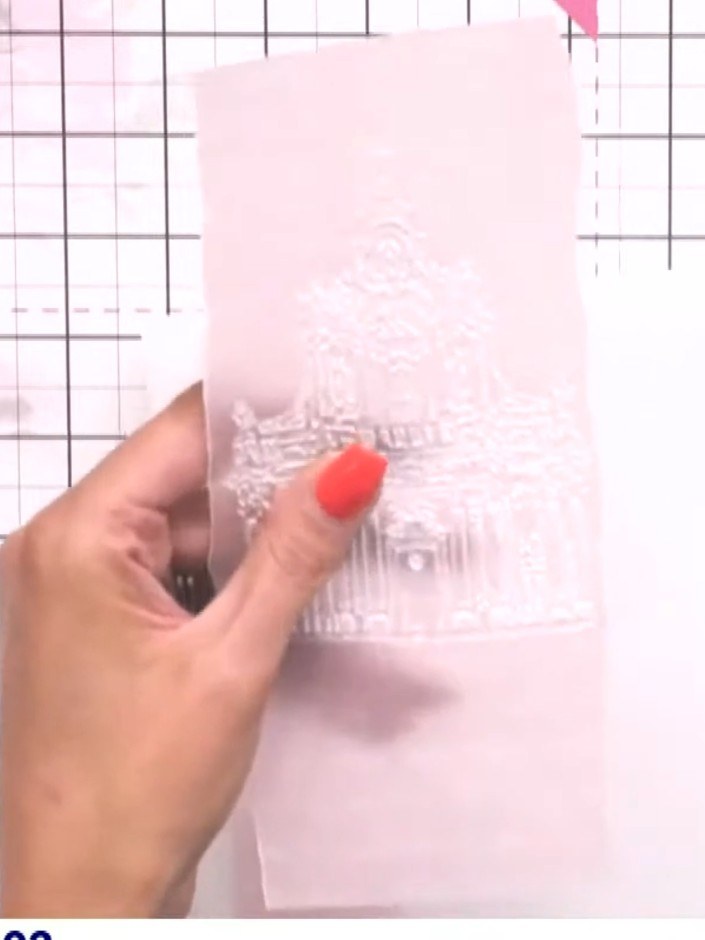
Tear down the other side of the vellum panel in the same manner, creating a matching torn edge on the opposite side.
▶ watch this step (46:15)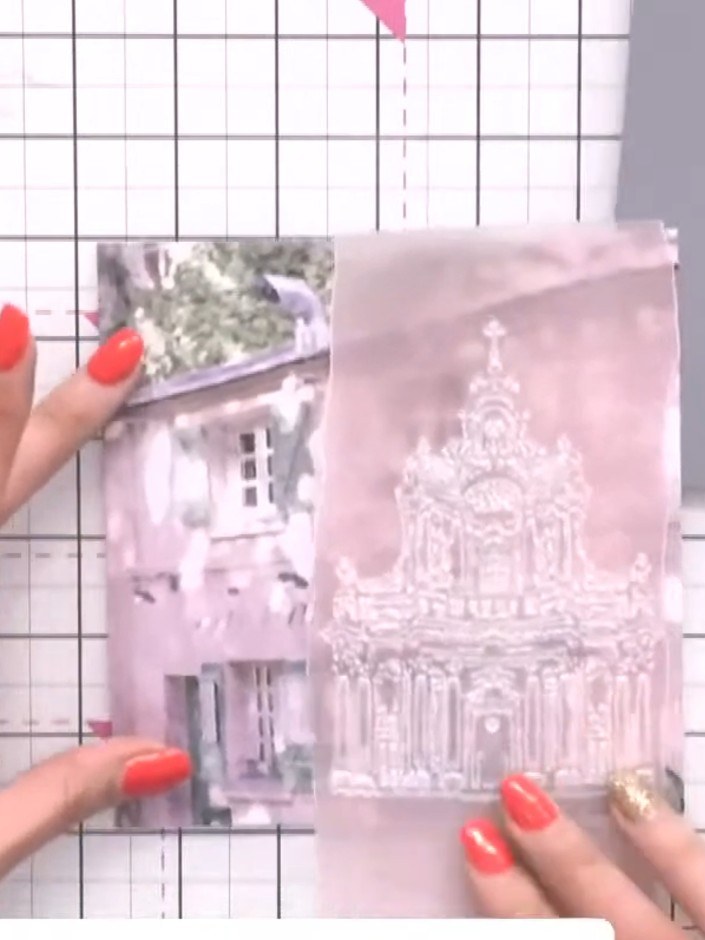
Position the torn vellum piece over the patterned paper showing the trees and sunlight scene, allowing the background image to show through the translucent vellum.
▶ watch this step (46:45)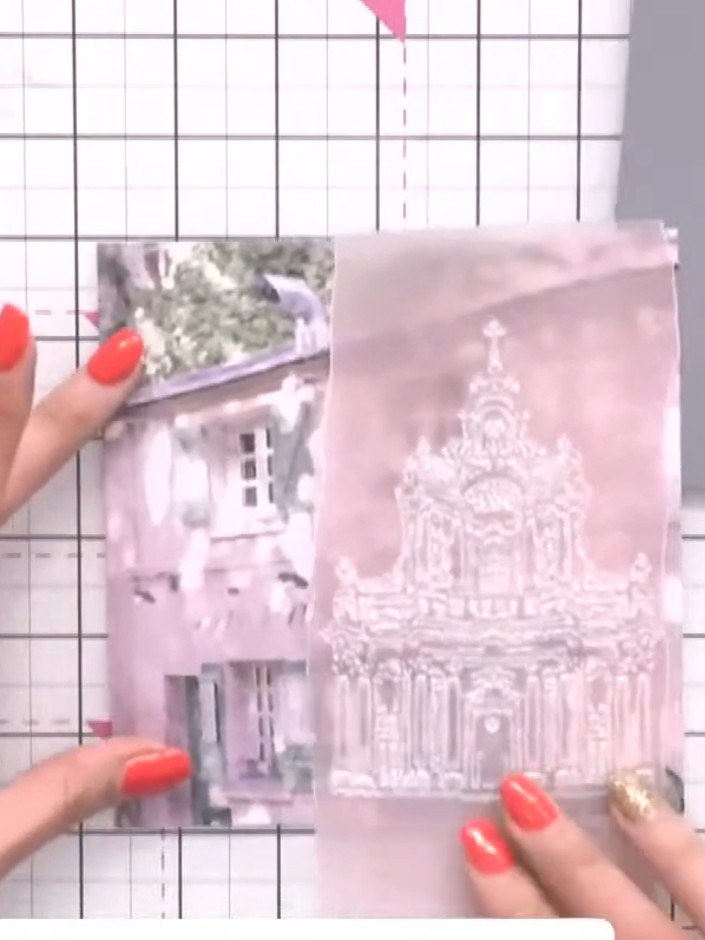
Wrap the vellum around the back of the patterned paper and secure with tape to hold it in place.
▶ watch this step (47:00)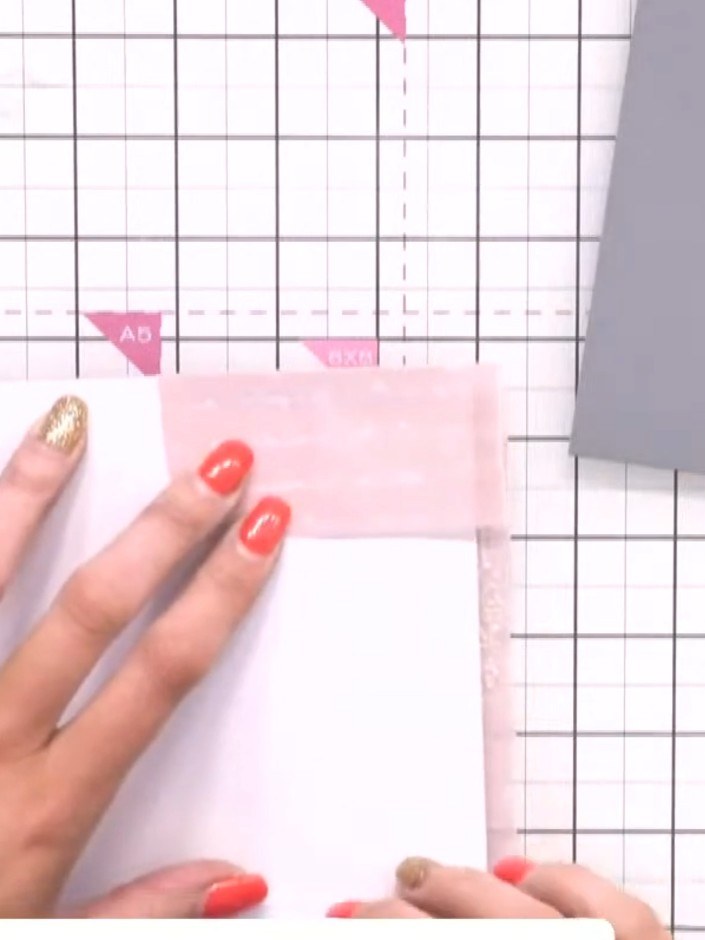
Trim the excess vellum neatly around the edges of your mounted image using scissors. Chamfer the edges as you cut for a neat, professional finish.
▶ watch this step (47:15)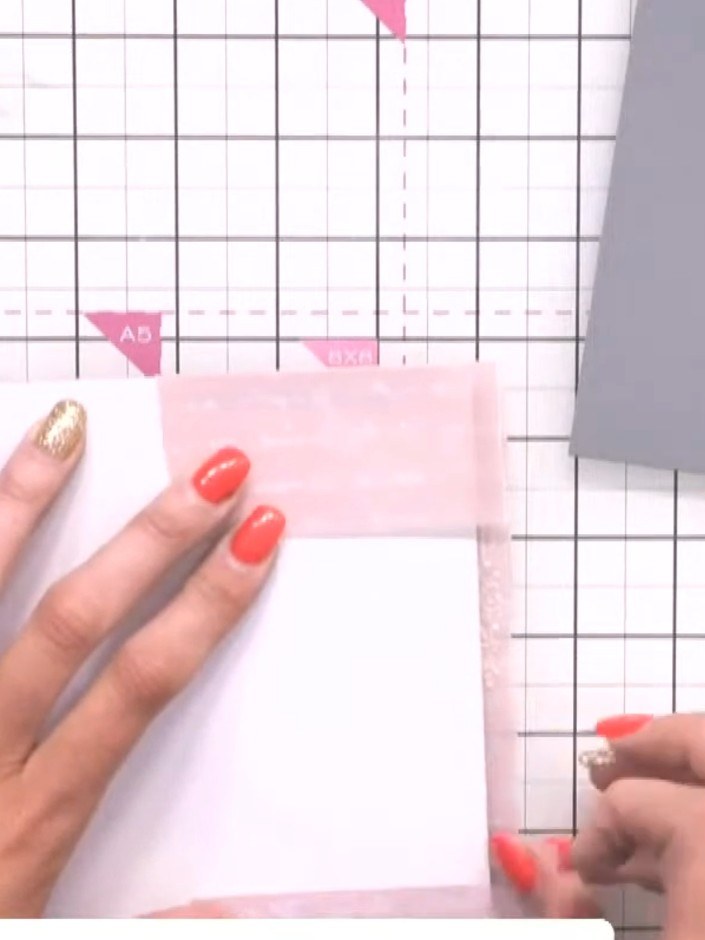
Mount the completed topper onto a white card base using adhesive. Position centrally to create a clean, finished card.
▶ watch this step (47:45)Written up from the show itself. See every guide from our shows · free how-to guides · watch live on My Telly