Give your friends £10 off their first order!
Refer a FRIEND








A project from our live show CREATE AND CRAFT TV - Join Toni for her brand new SBM launch show 2 - broadcast 2nd Jan 2024 · 02/01/2024 · watch it from 33:30
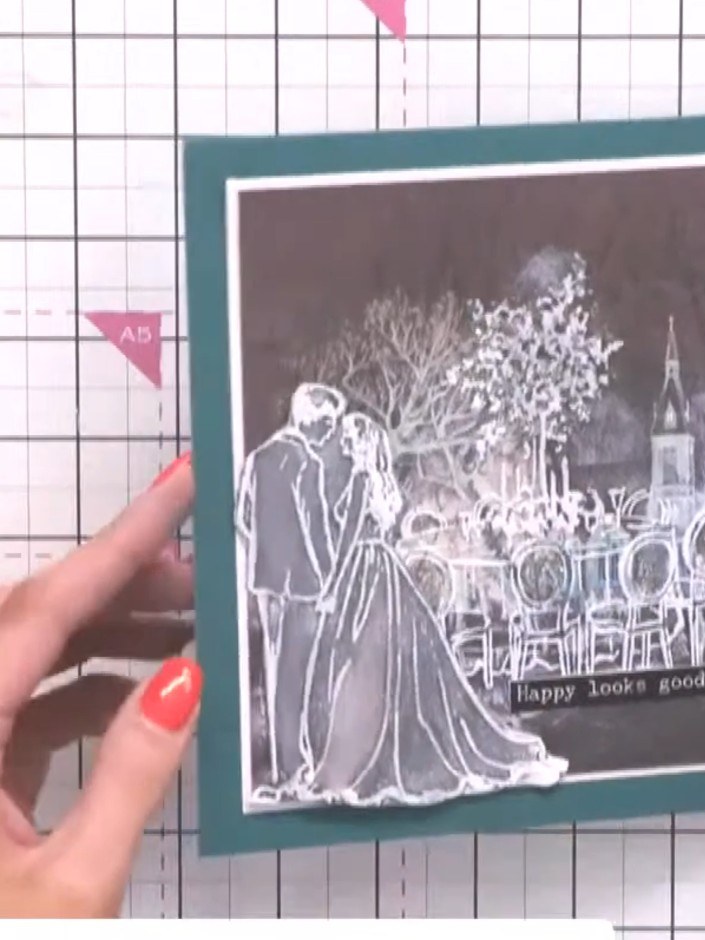
Create an elegant wedding card featuring a romantic bride and groom scene embossed in blue oxide on a dark background, mounted on a teal card base. The design showcases a detailed table setting with the couple, trees, and a church spire, enhanced with watercolour techniques for added depth. This sophisticated card combines embossing and layering techniques to create a storytelling piece perfect for celebrating a special day.
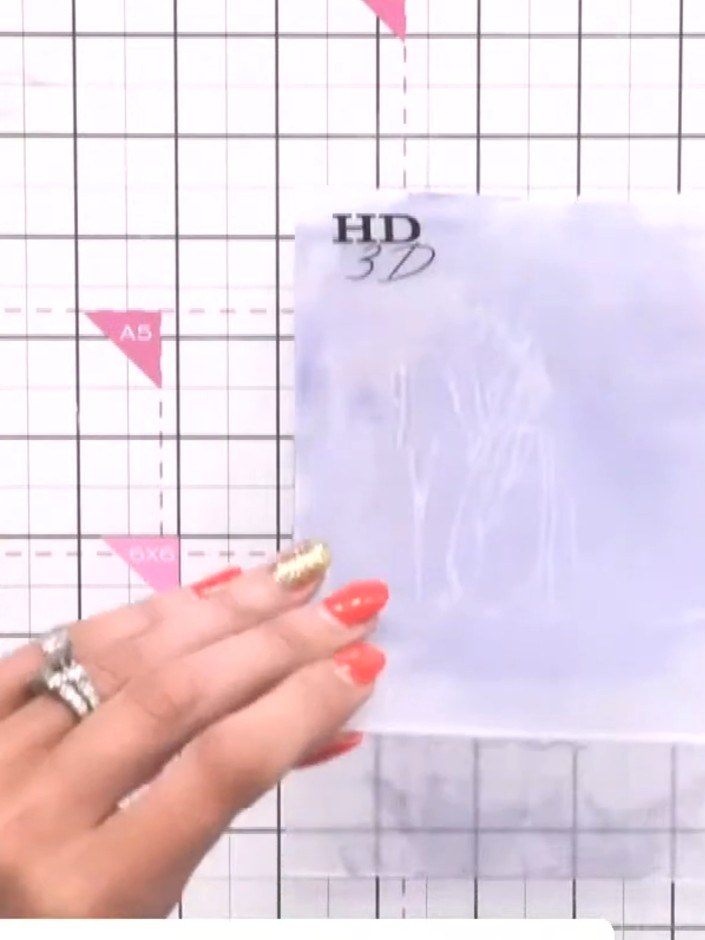
Ink the HD 3D embossing folder with blue oxide ink, tapping the ink pad across both sides of the folder.
▶ watch this step (34:45)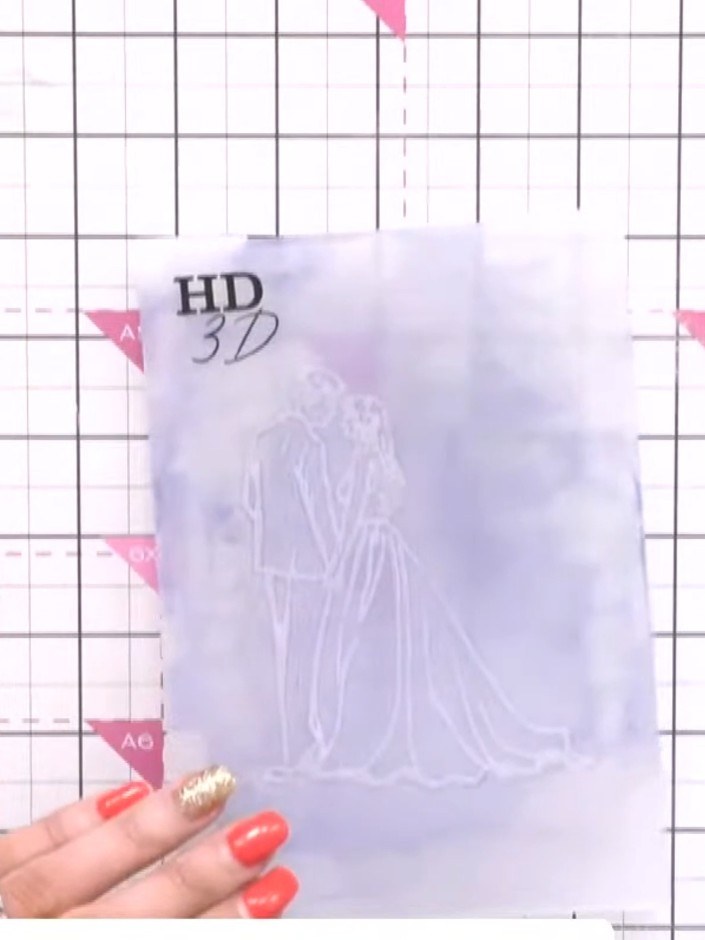
Place the pearl card stock into the inked embossing folder. The folder should already have Distress Oxide ink applied to create the background pattern.
▶ watch this step (35:00)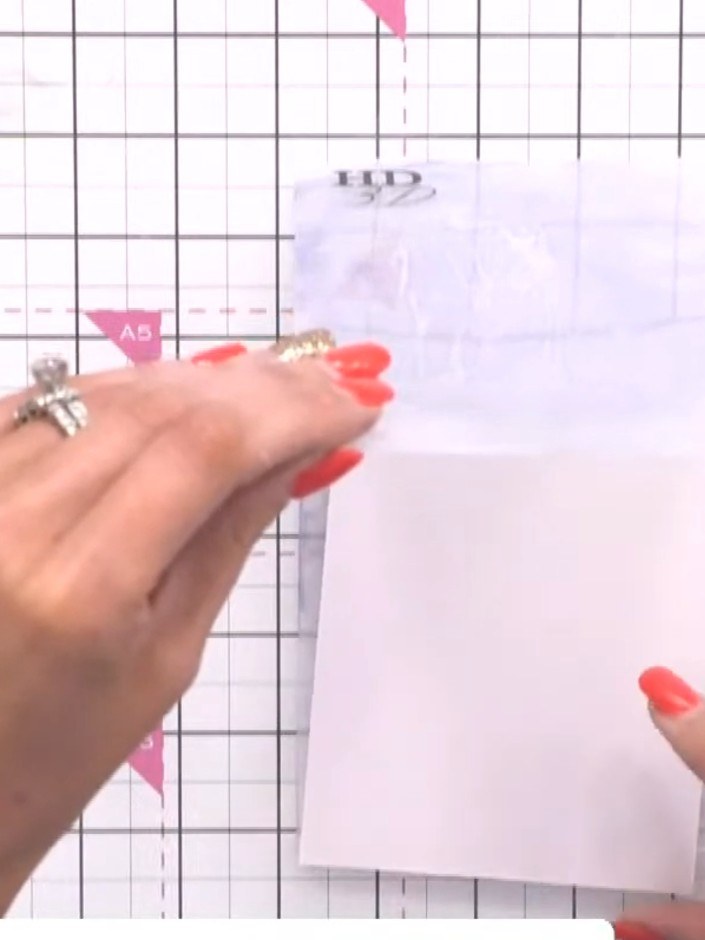
Place your stamped image into the embossing folder and run through a die-cutting machine to emboss the design.
▶ watch this step (35:15)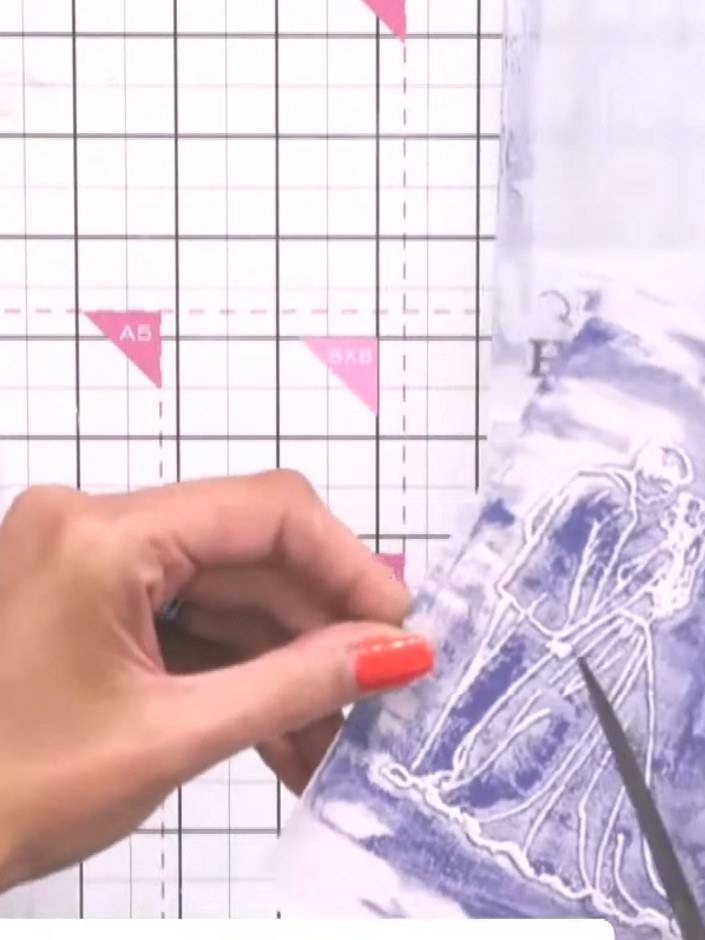
Use a wet paintbrush to activate the purple oxide ink on the back of the stamped image. Move the colour around to create a watercolour effect.
▶ watch this step (36:00)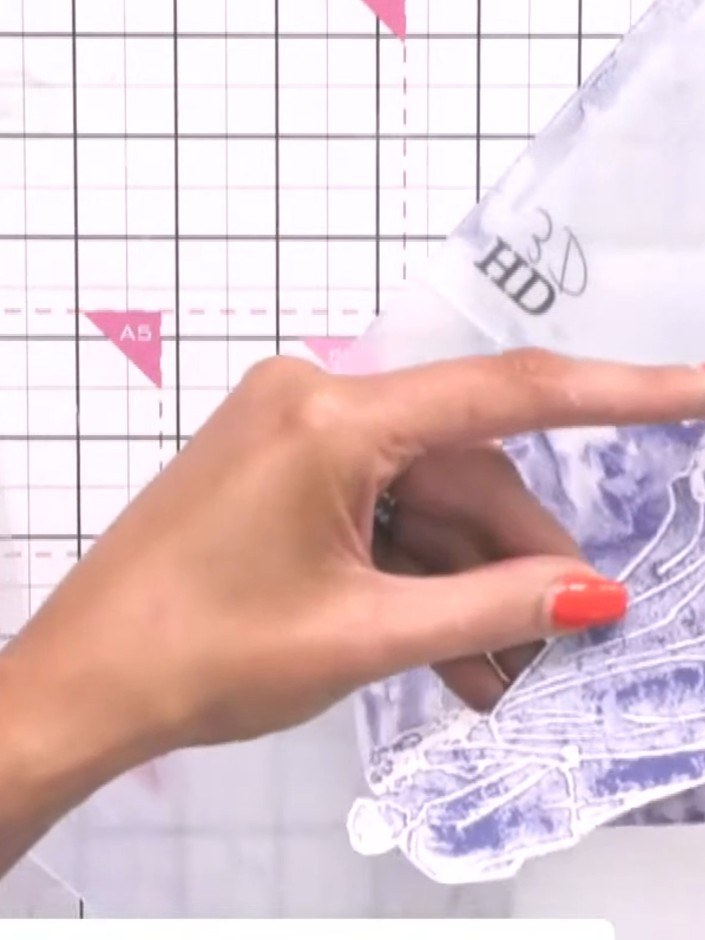
Use a tissue to gently dab and pick up excess ink from the stamped image. This helps control the intensity of the purple colour and creates a softer, more blended effect on the design.
▶ watch this step (36:30)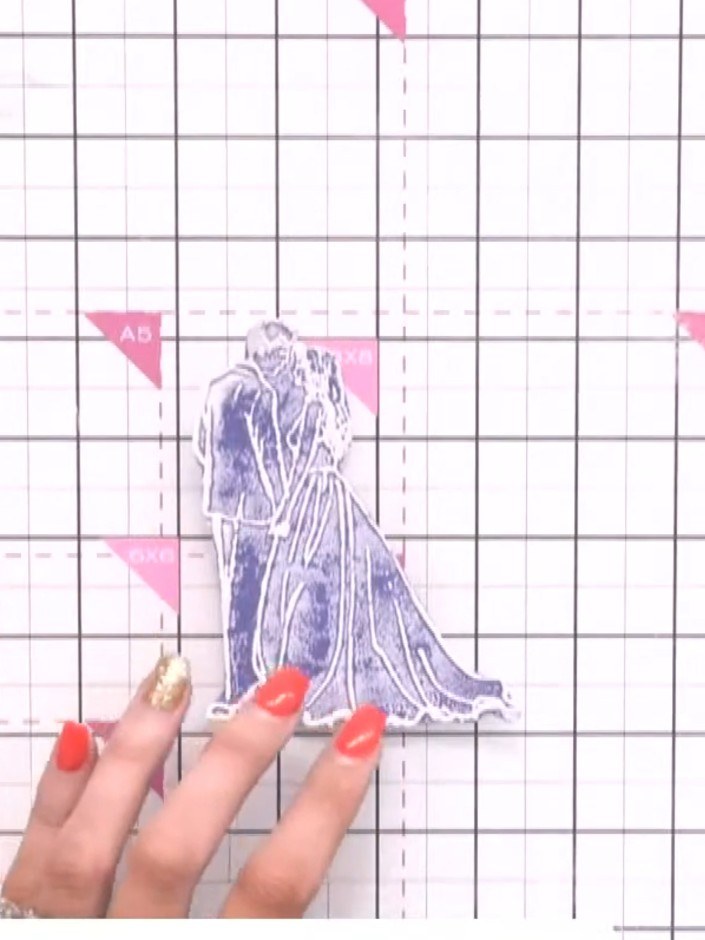
Fussy cut around the bride and groom stamp, carefully cutting out the detailed outline of the figures.
▶ watch this step (37:00)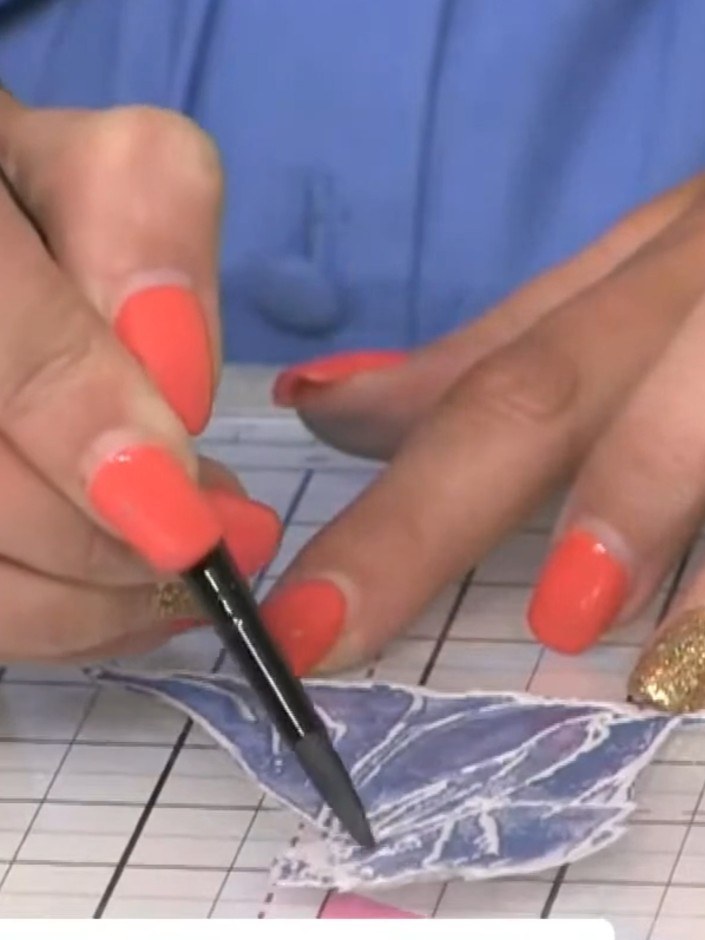
Mount the pre-printed painted scene showing the table and chairs onto white card stock. Use a brush to apply adhesive and smooth the mount into place.
▶ watch this step (37:30)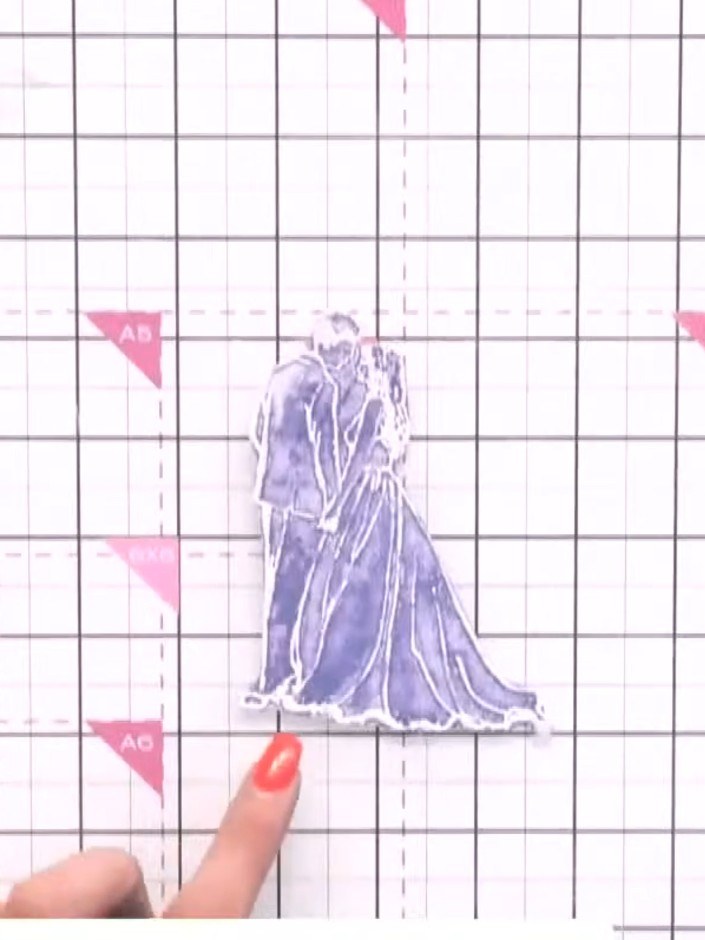
Position the bride and groom stamps on top of the table setting design. Place them centrally to create a balanced composition for your card.
▶ watch this step (38:00)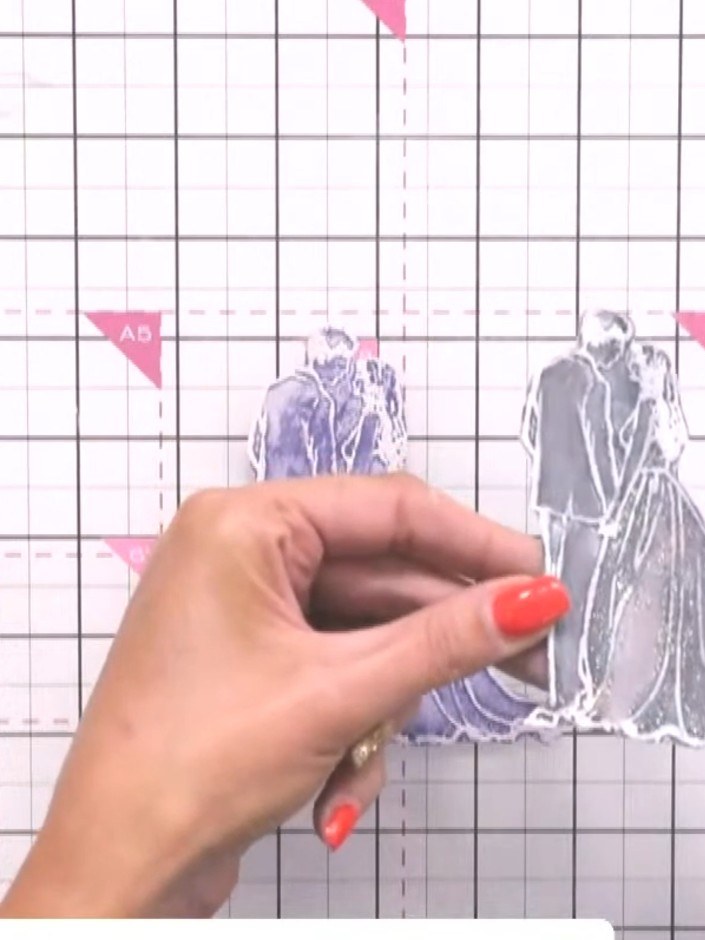
Add glitter glue to the bride's gown for sparkle. Apply the glue to the dress details as desired to create a shimmering effect.
▶ watch this step (38:30)Written up from the show itself. See every guide from our shows · free how-to guides · watch live on My Telly