Give your friends £10 off their first order!
Refer a FRIEND








A project from our live show CREATE AND CRAFT TV - Join Toni for her brand new SBM launch show - broadcast 8th Jan 2024 · 08/01/2024 · watch it from 34:30
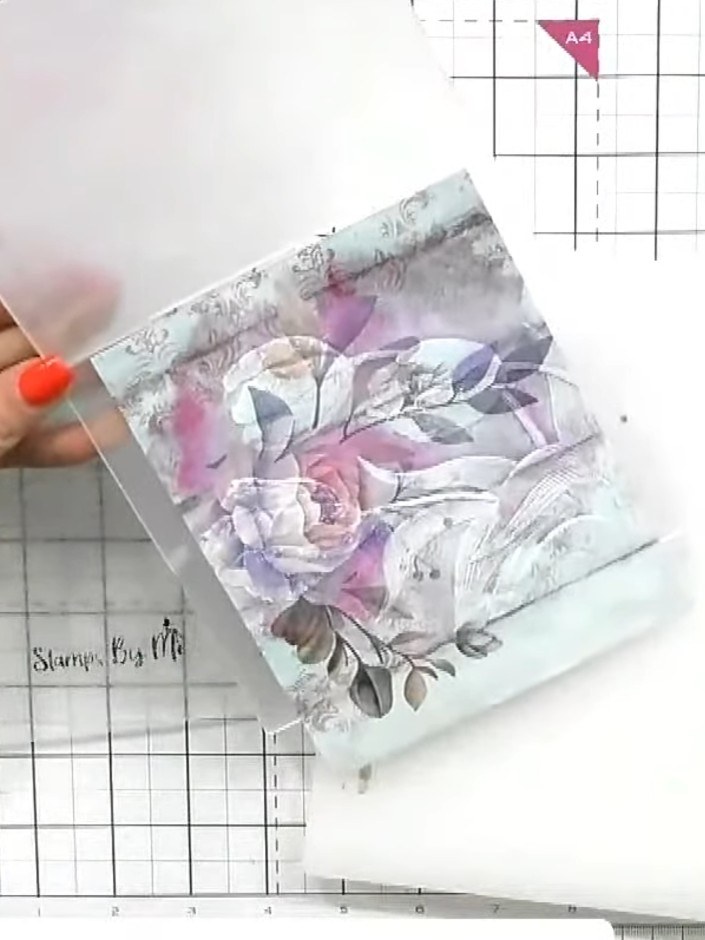
Create a sophisticated layered card featuring a painted mount run through an embossing folder to create dimensional floral texture. The raised details are highlighted with white ink to bring out the beautiful depth, creating a striking effect with soft watercolour tones of pink, purple and grey. This elegant technique combines embossing, painting and ink work for a truly eye-catching result.
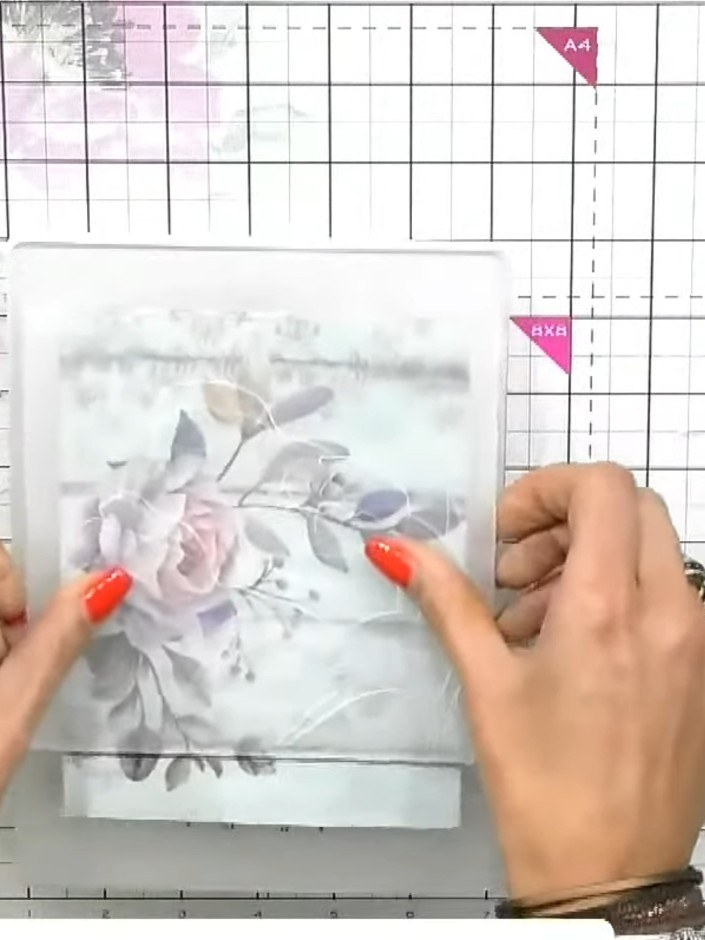
Place the painted mount into your embossing folder, ensuring it is positioned correctly so the floral detail will push forward when embossed.
▶ watch this step (35:00)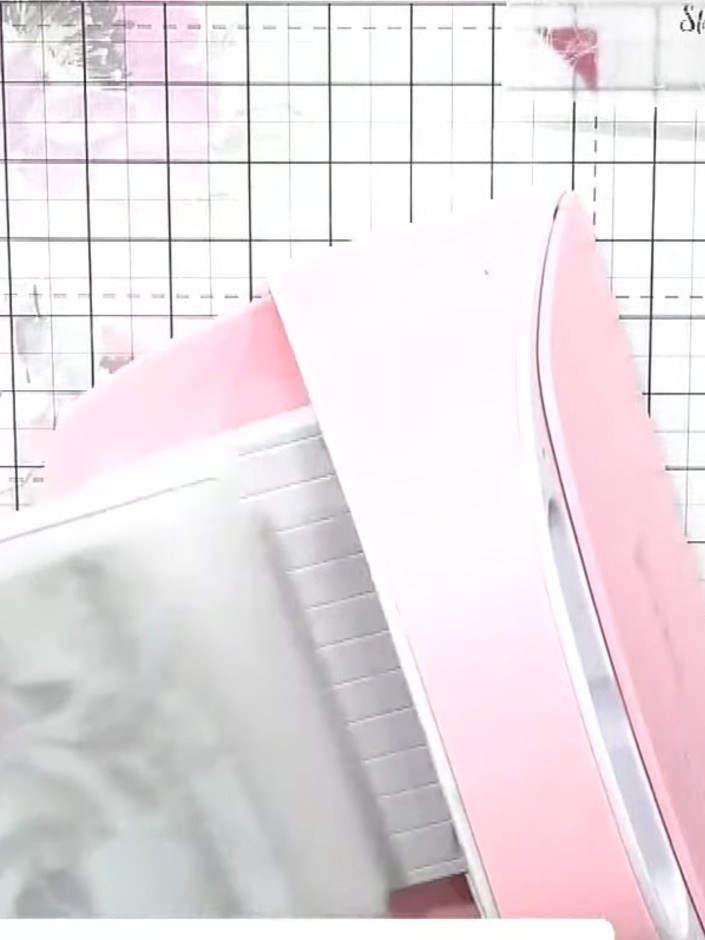
Run the painted mount through your embossing machine to create the raised dimensional effect from the stencil design.
▶ watch this step (35:30)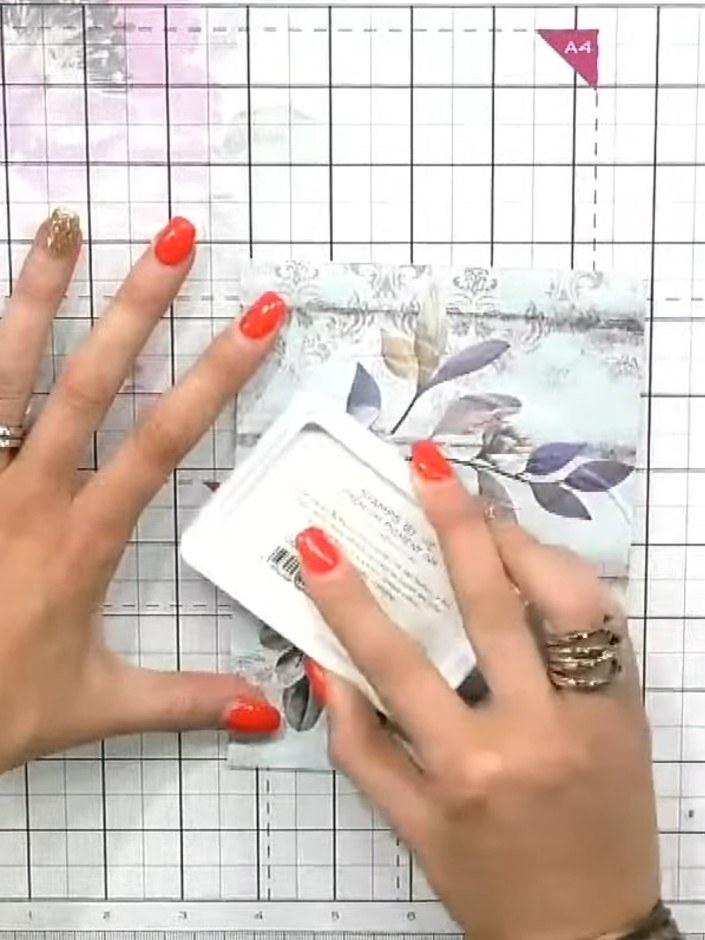
Tap a white ink pad over the embossed surface to highlight the raised areas and bring out the detail of the floral design.
▶ watch this step (36:30)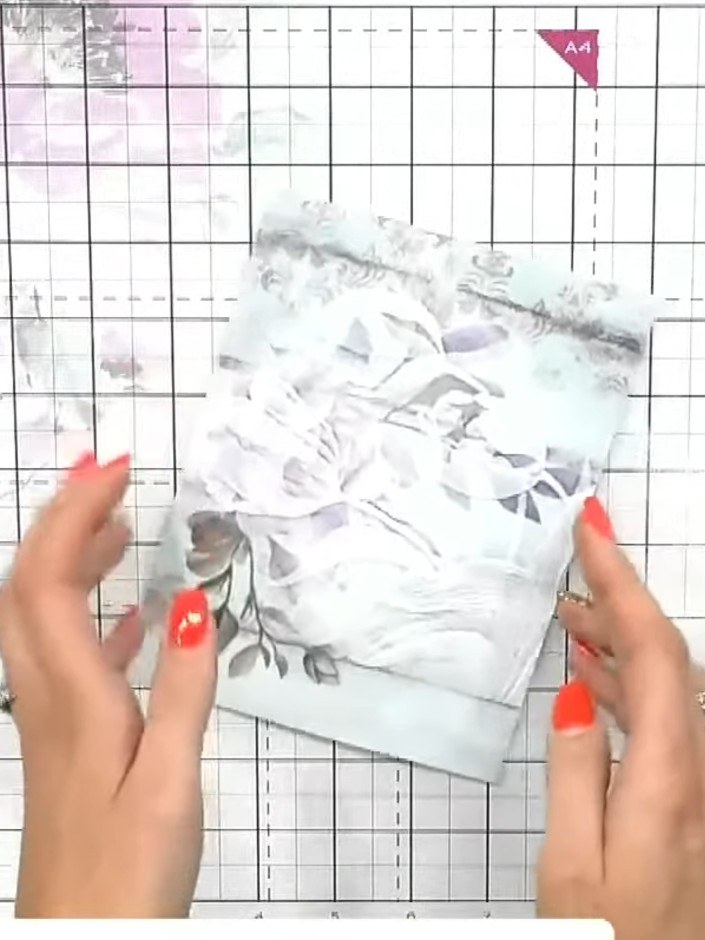
Use a sanding block to gently sand the raised embossed areas of the painted mount to soften the white ink effect if desired.
▶ watch this step (37:00)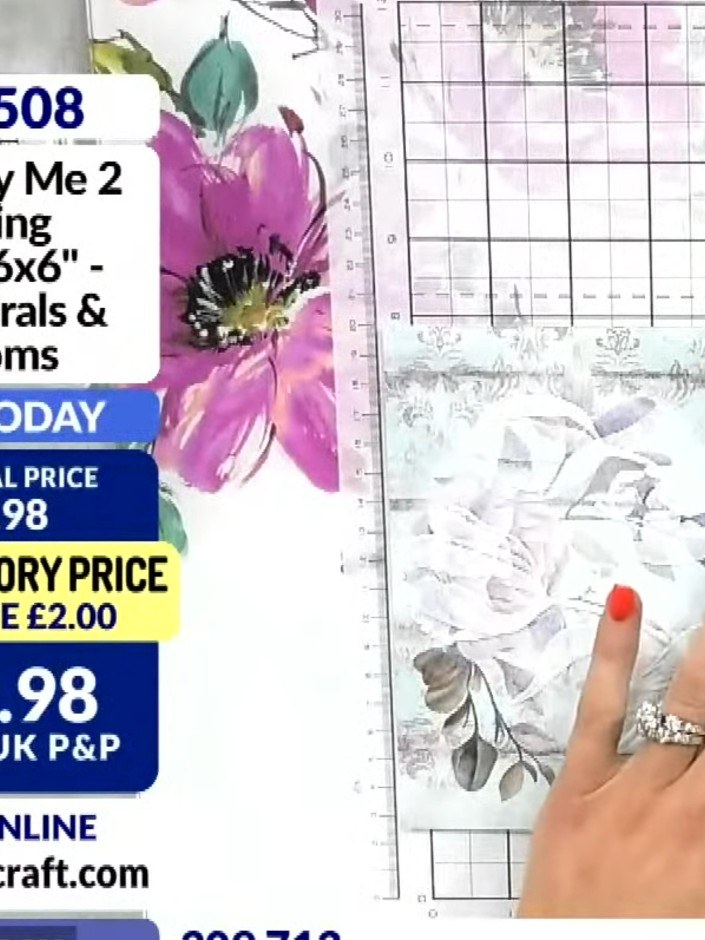
If the background blends too much with the embossed design, place the painted mount back into the embossing folder. Run it through the die-cutting machine again to add more texture and definition to specific areas.
▶ watch this step (37:45)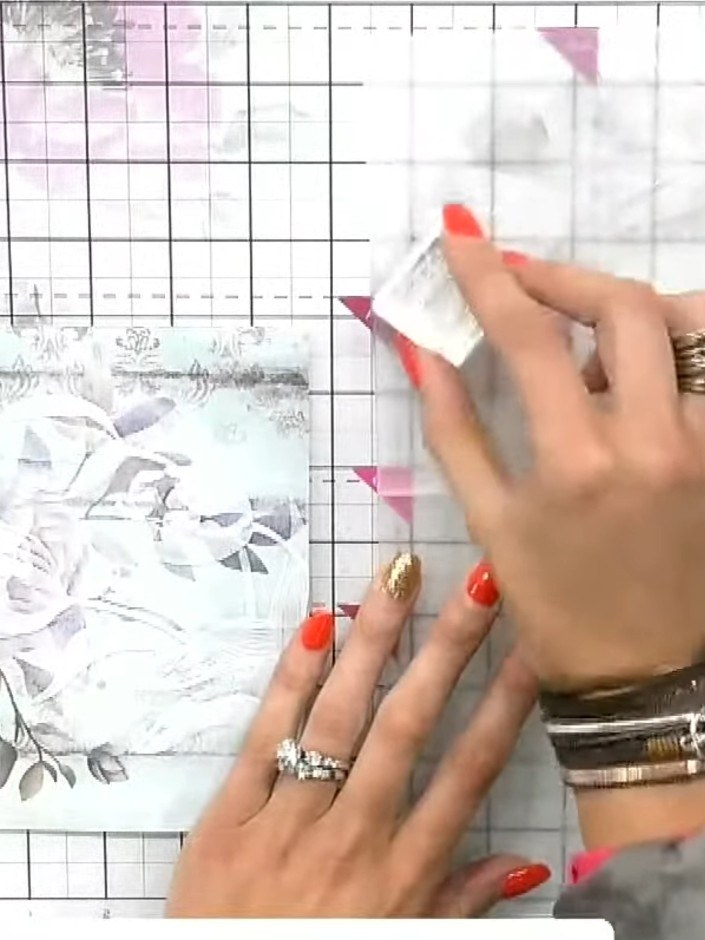
Apply Heather ink to the embossing folder using an ink applicator. Add touches of pink ink randomly across the folder to create colour variation.
▶ watch this step (38:15)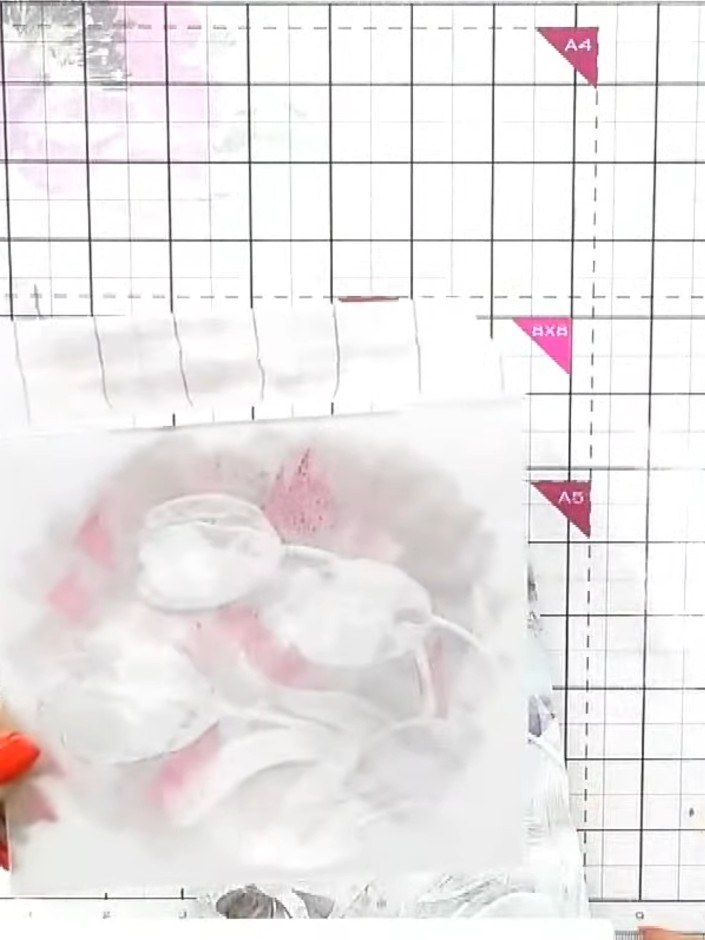
Spray the inked embossing folder with water to activate the dye-based inks. This will help transfer the colours onto your card when embossing.
▶ watch this step (38:45)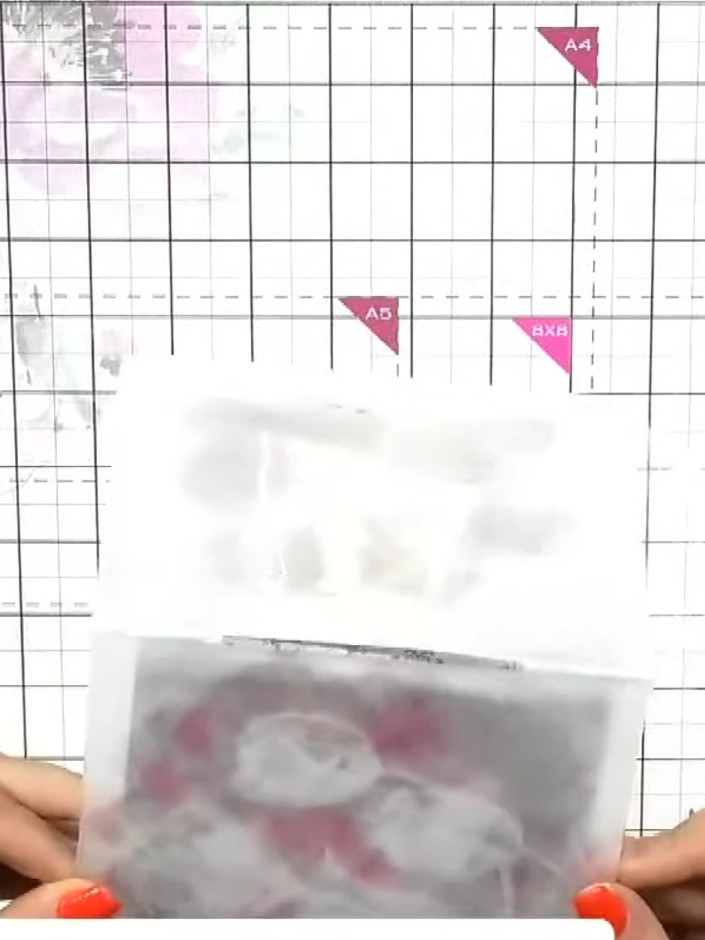
Place the painted mount back into the embossing folder and run it through the die-cutting machine again to transfer the new colours onto the embossed design.
▶ watch this step (39:15)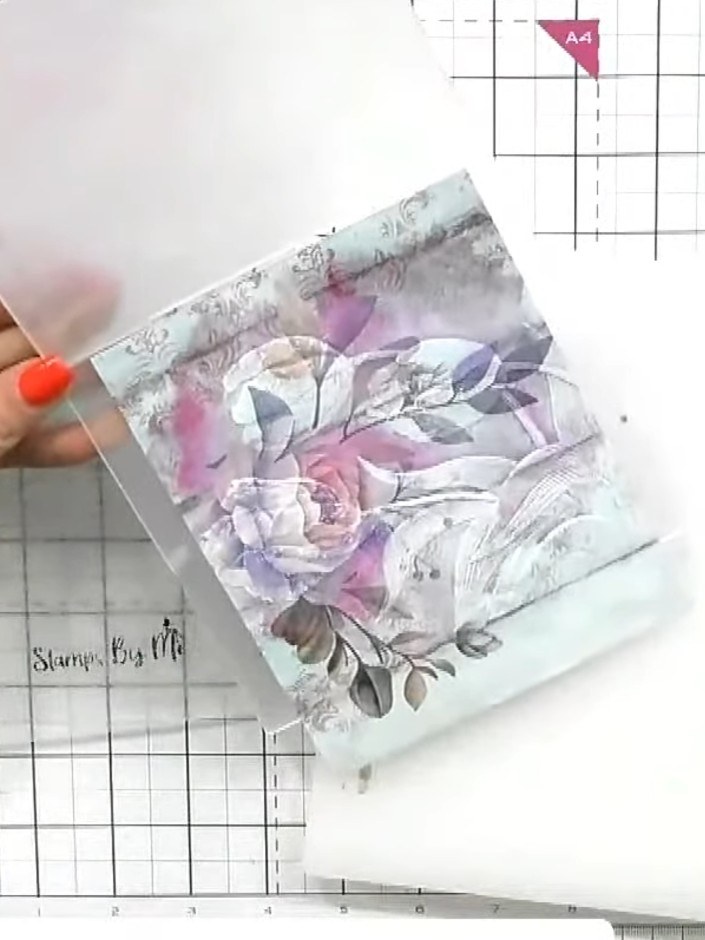
Using white ink, carefully highlight the raised embossed details on the painted mount to make them stand out against the coloured background.
▶ watch this step (39:30)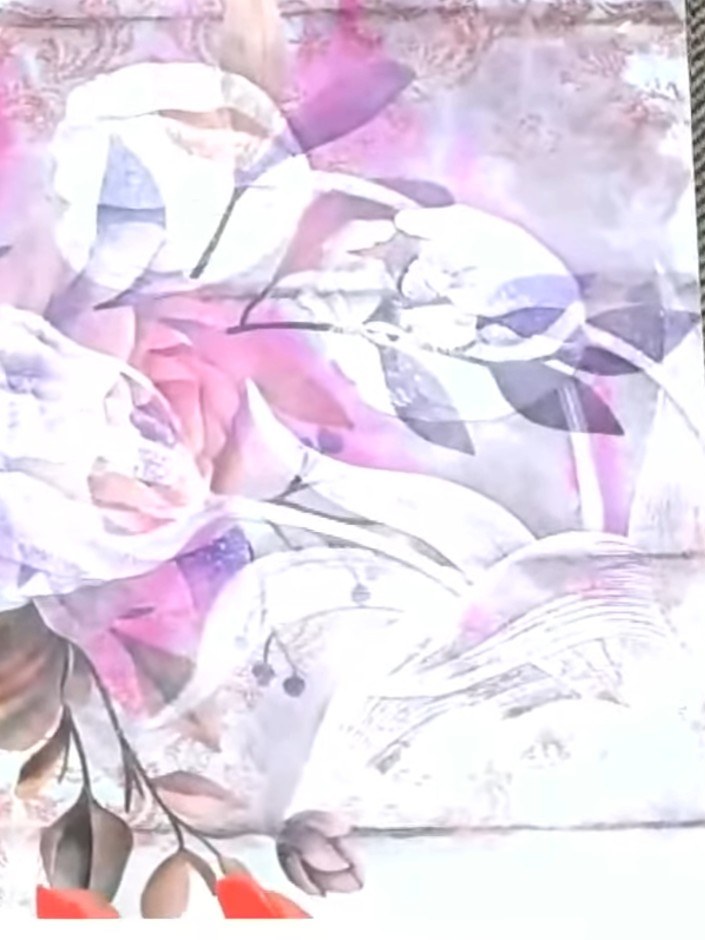
Adhere the finished embossed and painted mount onto your card base to complete your card.
▶ watch this step (40:45)Written up from the show itself. See every guide from our shows · free how-to guides · watch live on My Telly
