Give your friends £10 off their first order!
Refer a FRIEND








A project from our live show CREATE AND CRAFT TV - Join Toni for her brand new SBM launch show - broadcast 8th Jan 2024 · 08/01/2024 · watch it from 16:45
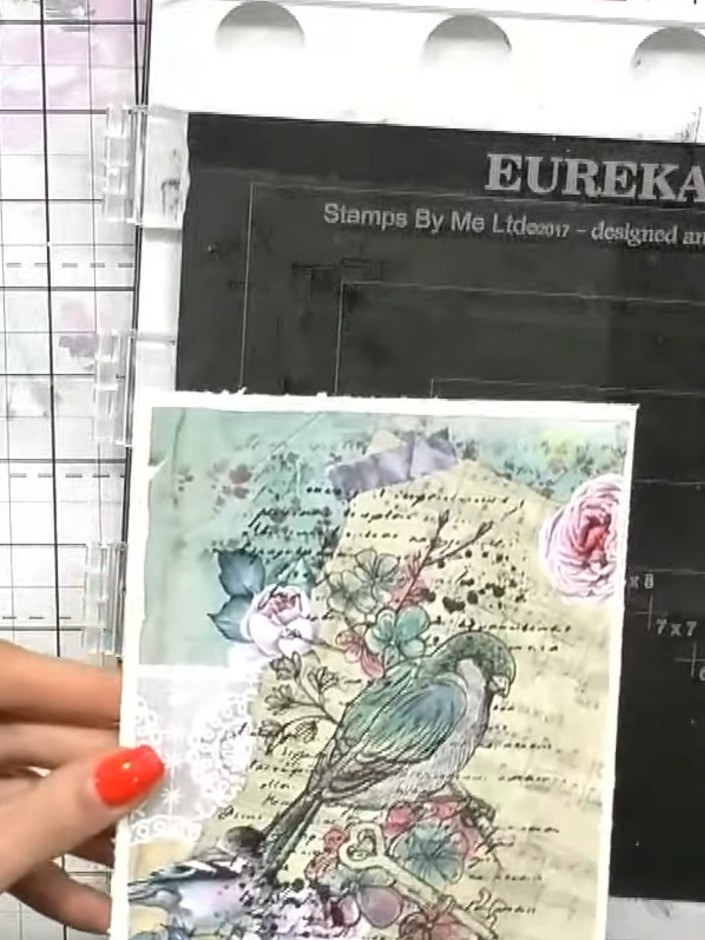
Create a stunning vintage-style card featuring a beautifully detailed bird stamp on decorative patterned paper. The design is enhanced with soft ink blending in teals and pinks, with distressed edges to achieve an aged, textured aesthetic. This project combines stamping, ink blending and distressing techniques to produce an elegant card with vintage charm.
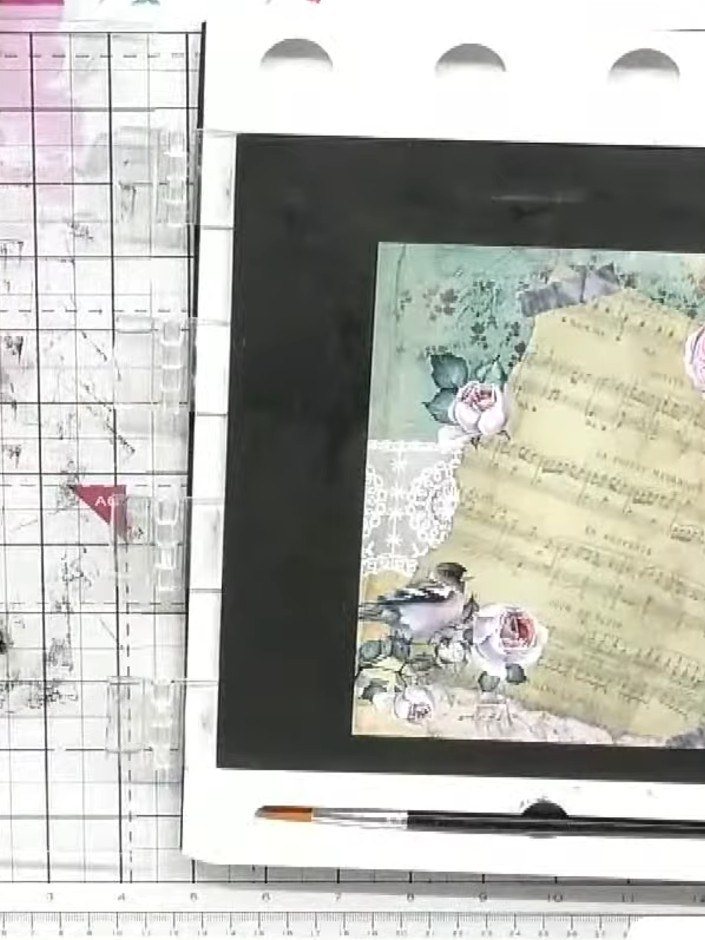
Select a piece of patterned paper from the Wistful Charm paper pad. Feed the paper through your cutting machine (such as a Eureka 101 trimmer) to ensure the edges are straight and even.
▶ watch this step (17:15)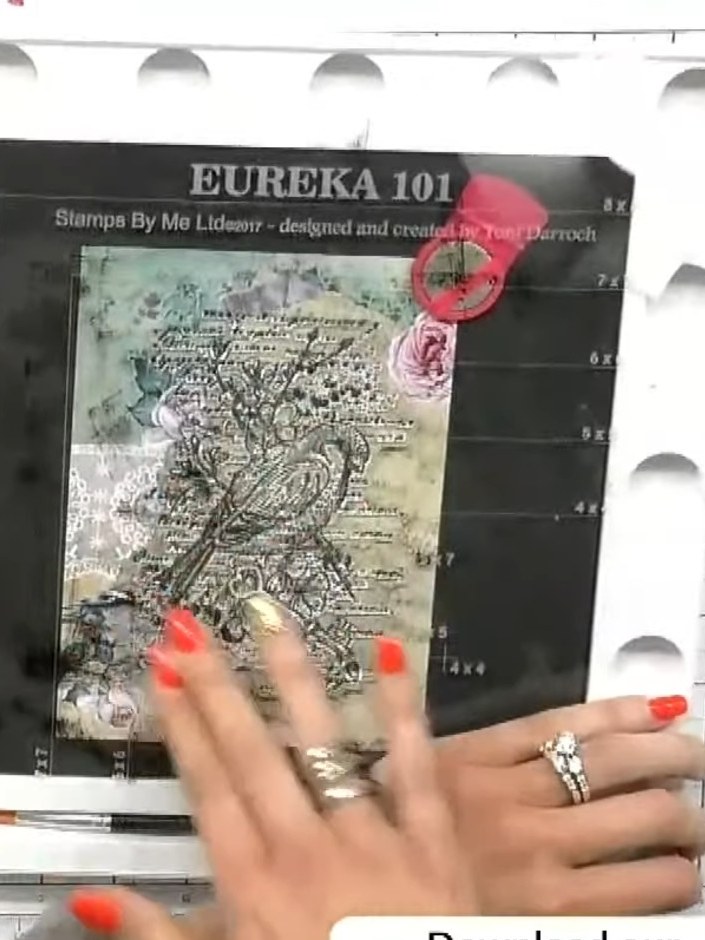
Stamp the bird image from the Wistful Charm stamp set onto the patterned paper using black ink. Press firmly to ensure all the fine details of the tree and bird design are captured clearly.
▶ watch this step (17:45)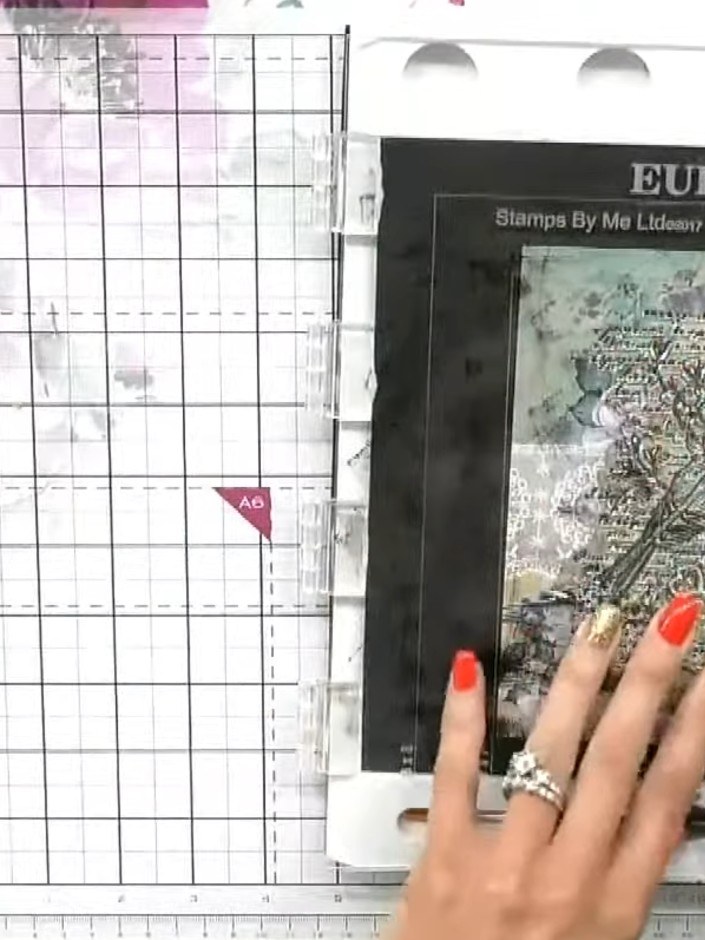
Ink up the Wistful Charm stamp again and stamp a second impression on a separate piece of paper. This will provide additional elements for layering on your card.
▶ watch this step (18:15)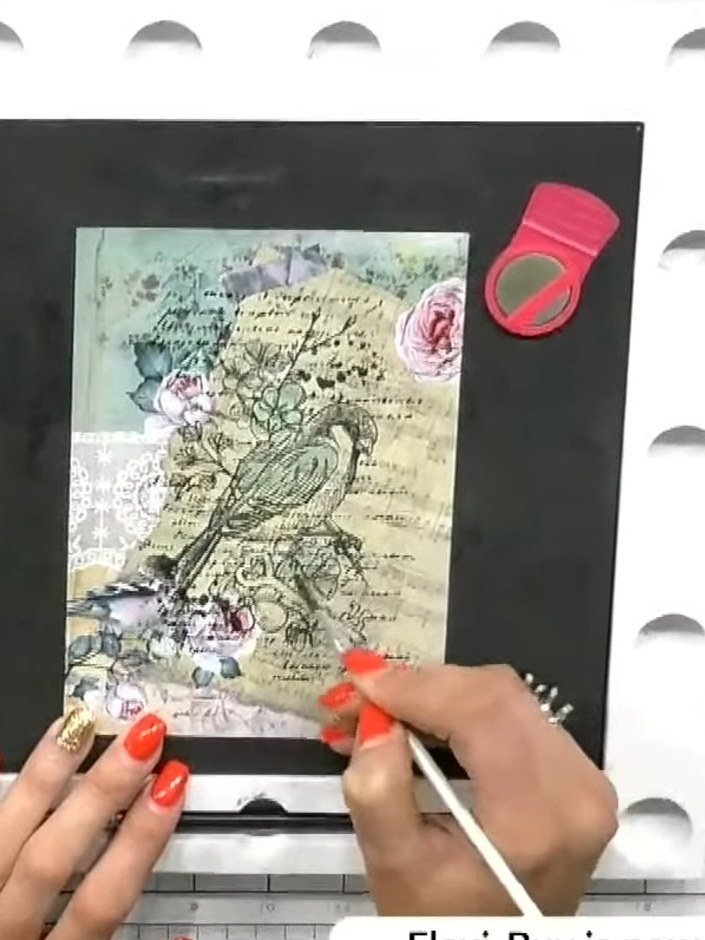
Using a water brush or paintbrush, apply the teal-coloured water mixture onto the stamped bird image. Focus on adding colour to the flowers and background areas of the design.
▶ watch this step (20:00)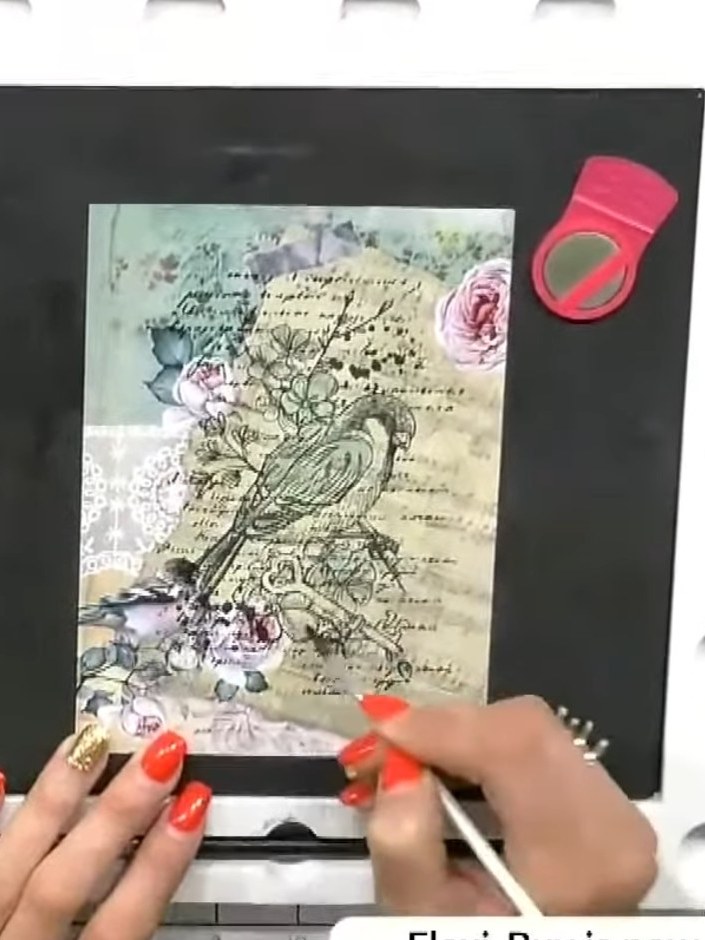
Using pink ink, add colour to selected areas of the flowers on the stamped image to create depth and variation in the colour palette. Apply the ink with a blending tool or brush to build up the colour gradually.
▶ watch this step (20:45)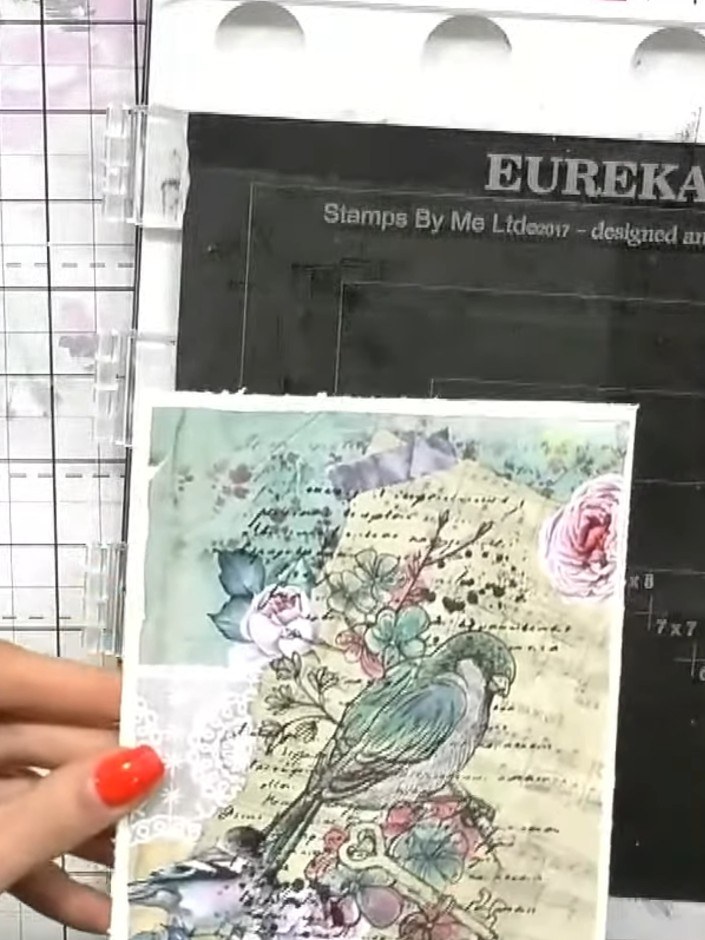
Take your scissors and scrape the side of the blade down the edges of the stamped piece to create a distressed, feathered effect.
▶ watch this step (22:45)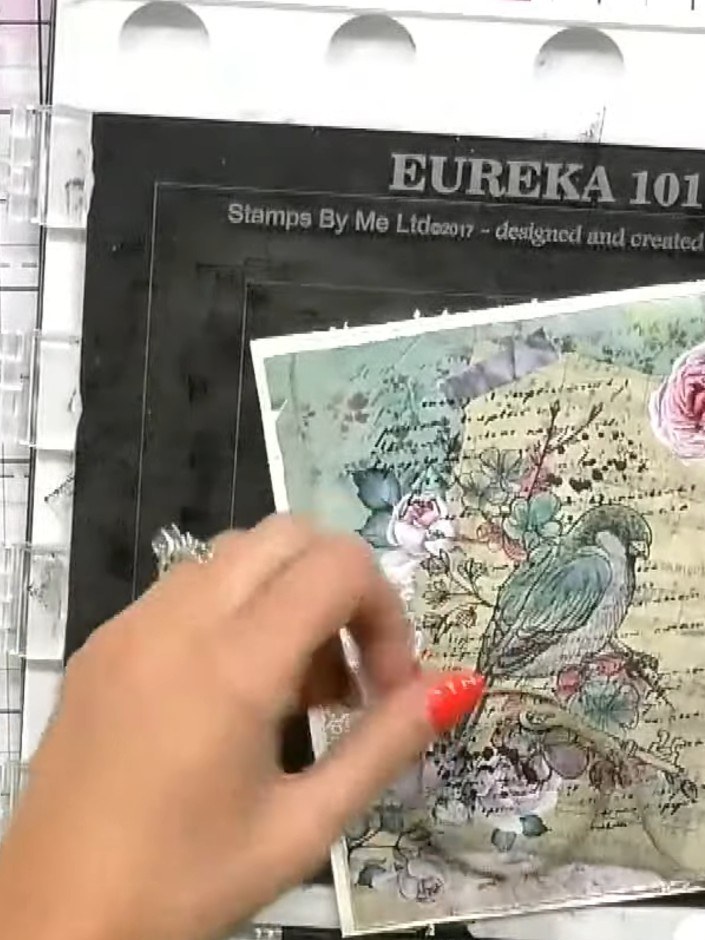
Wrap twine around the card several times to add texture and a vintage embellishment. Position the twine across the stamped design to frame the bird motif.
▶ watch this step (25:00)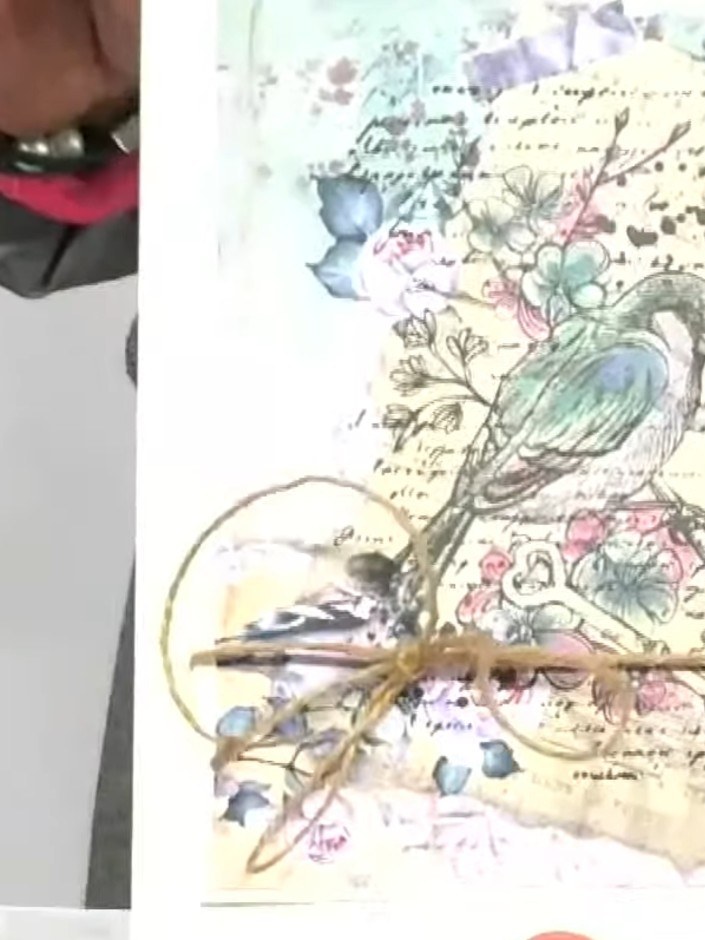
Adhere the decorated piece onto a card blank using adhesive. Position the piece centrally on the card front to complete your vintage bird stamped card.
▶ watch this step (25:45)Written up from the show itself. See every guide from our shows · free how-to guides · watch live on My Telly
