Give your friends £10 off their first order!
Refer a FRIEND








A project from our live show CREATE AND CRAFT TV - Join Toni for her brand new SBM launch - broadcast 19th Jan 2024 · 19/01/2024 · watch it from 35:15
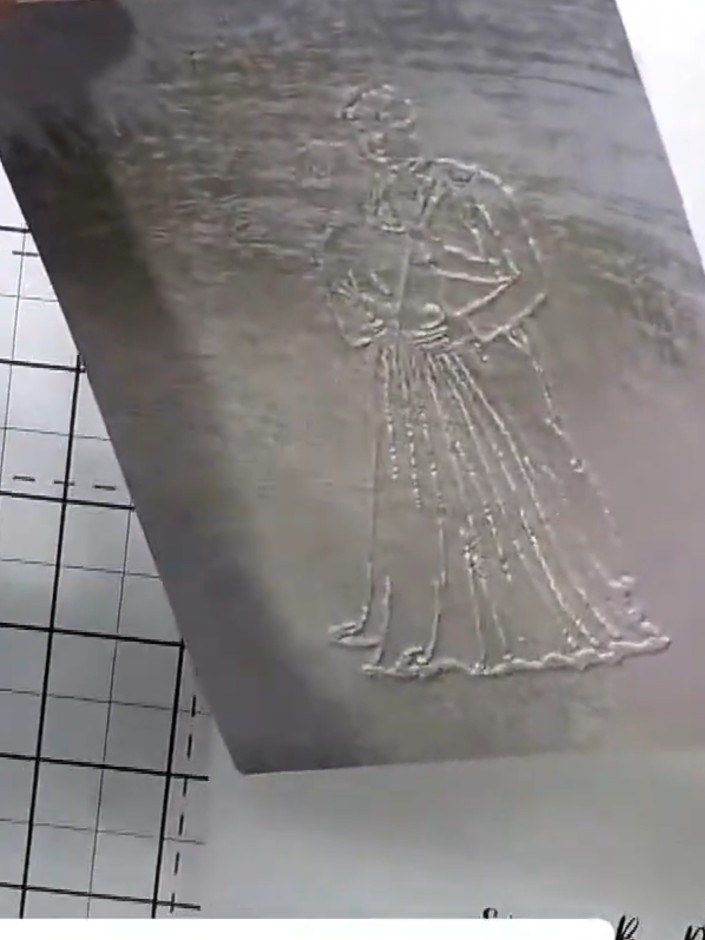
Create an elegant card featuring a beautiful embossed lady design with delicate watercolour washes. This sophisticated project combines brush-textured paper with 3D embossing techniques, enhanced with soft pearl and pink tones. The layered approach adds depth and dimension, resulting in a stunning handmade card perfect for special occasions.
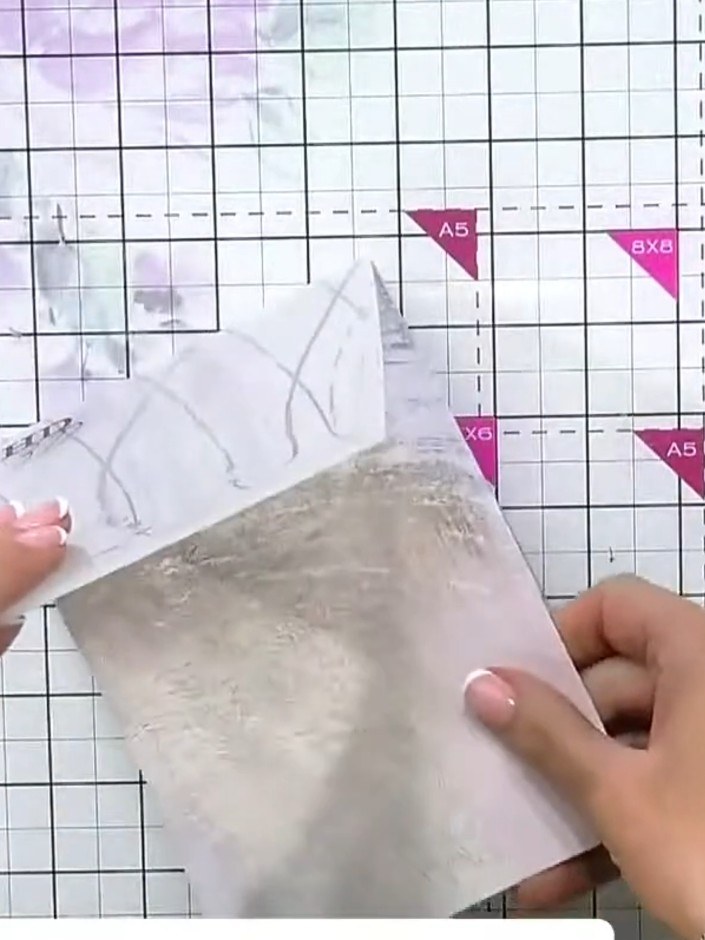
Select a piece of brush-textured paper with gold foiling effect. The paper has a subtle shimmer and textured surface that will create dimension when embossed.
▶ watch this step (35:30)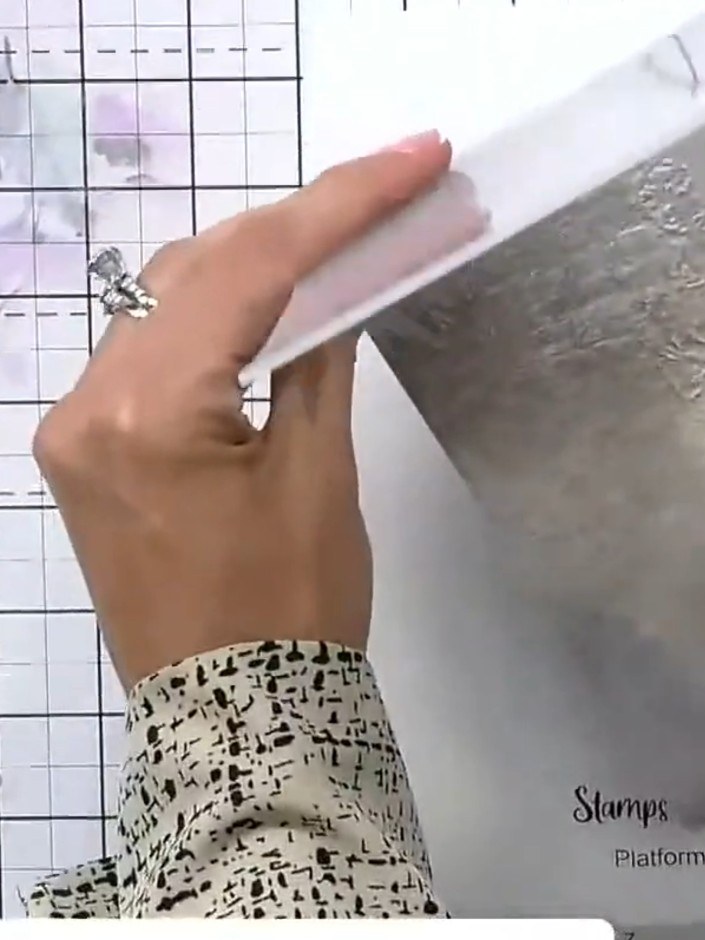
Place your white card into the embossing folder featuring the lady and gentleman design. Ensure the card is positioned correctly within the folder before closing it.
▶ watch this step (35:45)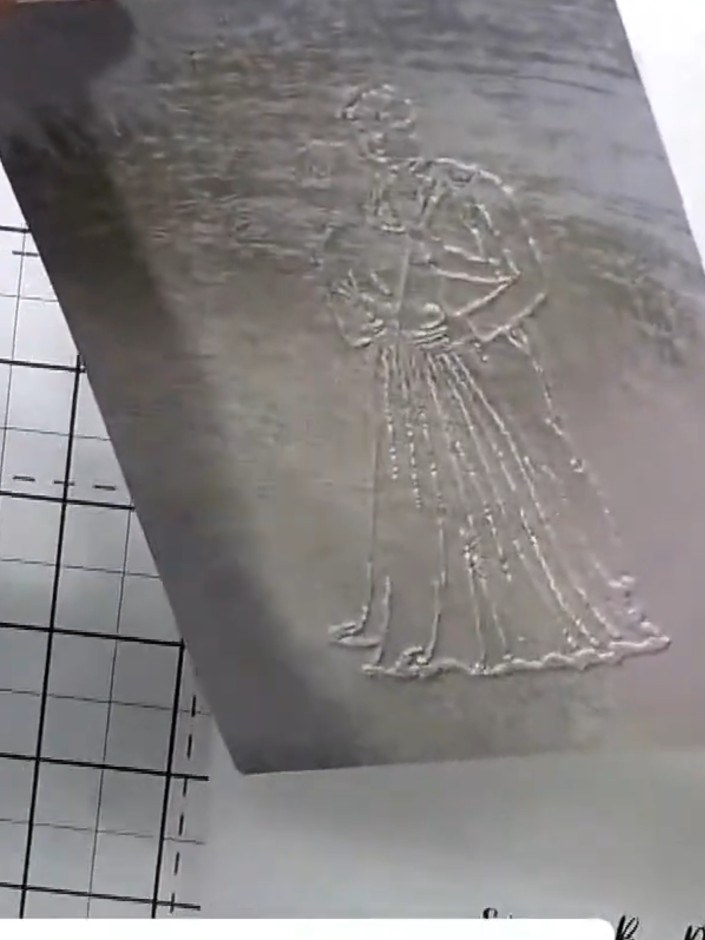
Run the embossed paper through your die-cutting machine to create the raised design. The embossing folder creates a dimensional pattern on the paper surface.
▶ watch this step (36:00)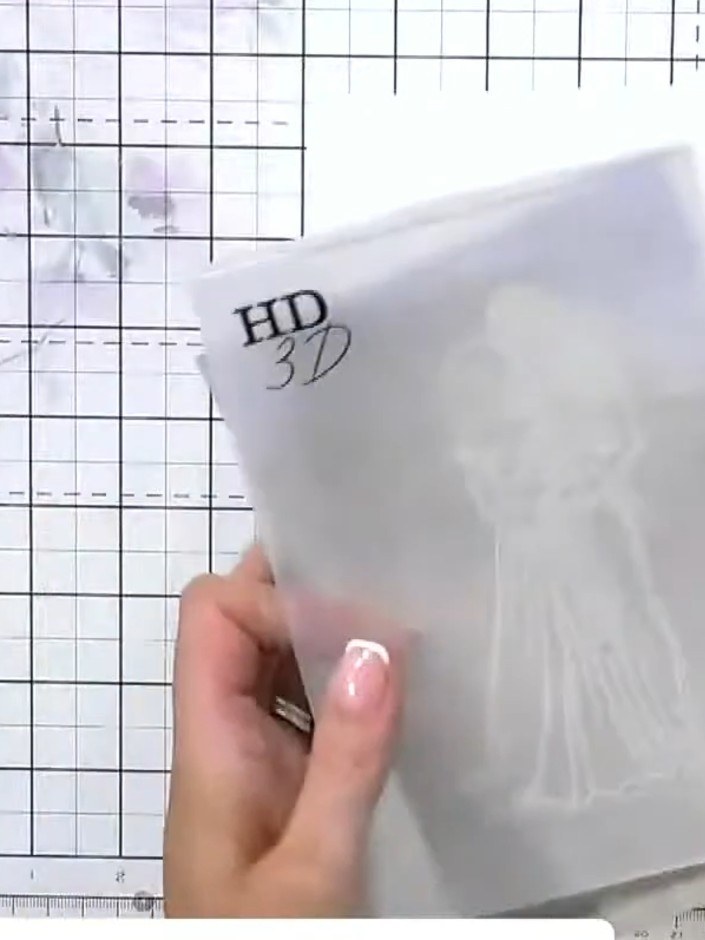
Carefully lift the paper from the embossing folder. Examine the embossed detail, which will be raised on one side and recessed on the other.
▶ watch this step (36:30)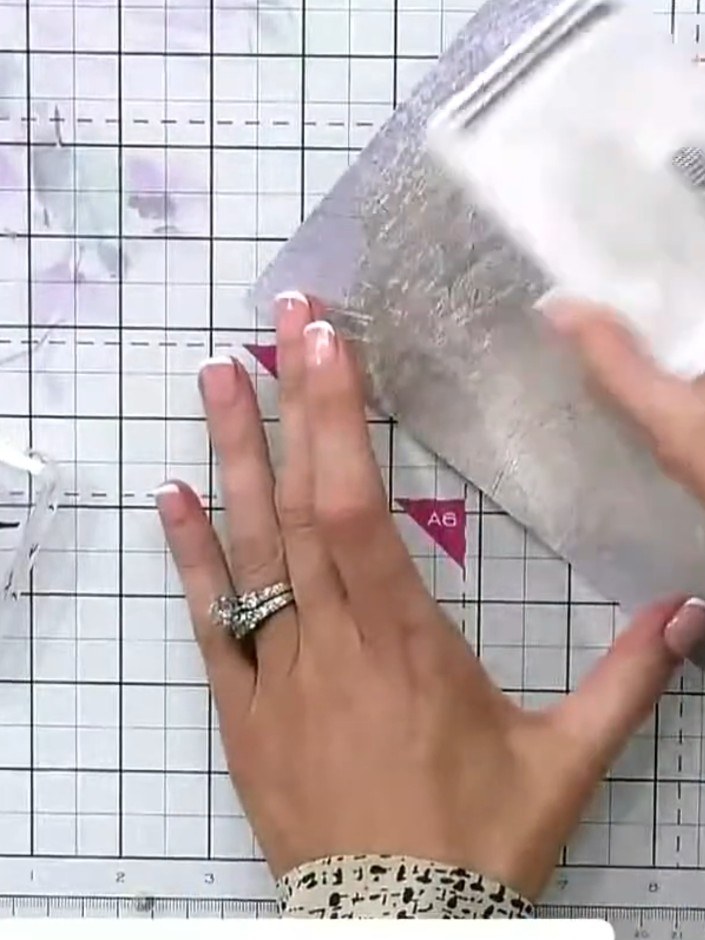
Apply pink ink around the embossed design using an ink pad, working around the edges of the figures to create a shadow effect. Gently dab and blend the ink to highlight the raised embossed details.
▶ watch this step (37:00)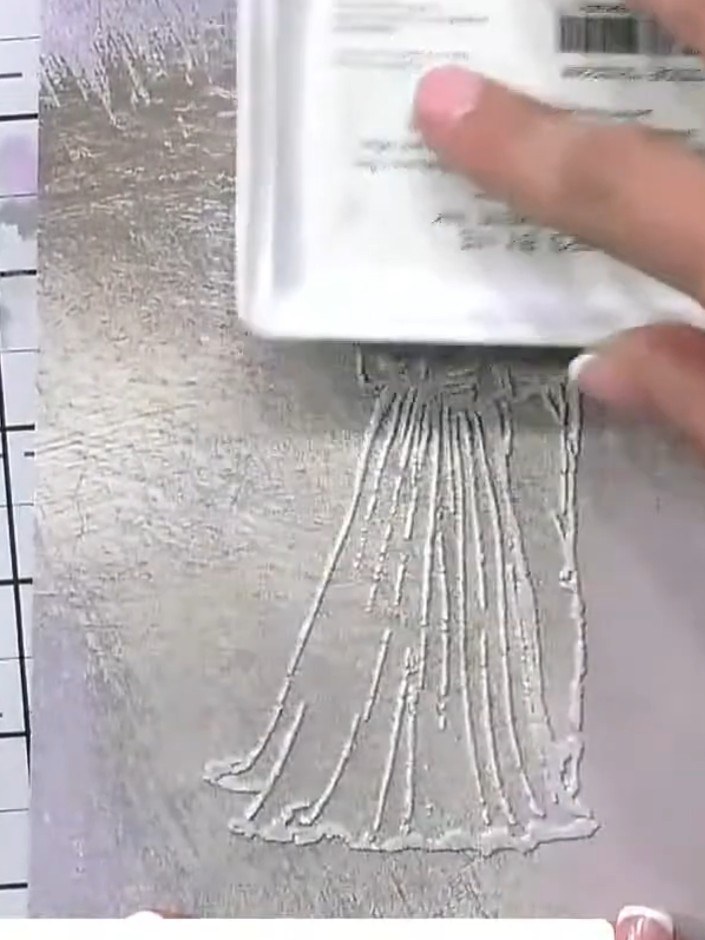
Use a soft brush to gently blend and soften any harsh lines or edges created by the ink application on the embossed image. Work carefully to create a smooth, blended effect whilst keeping the embossed detail visible.
▶ watch this step (37:30)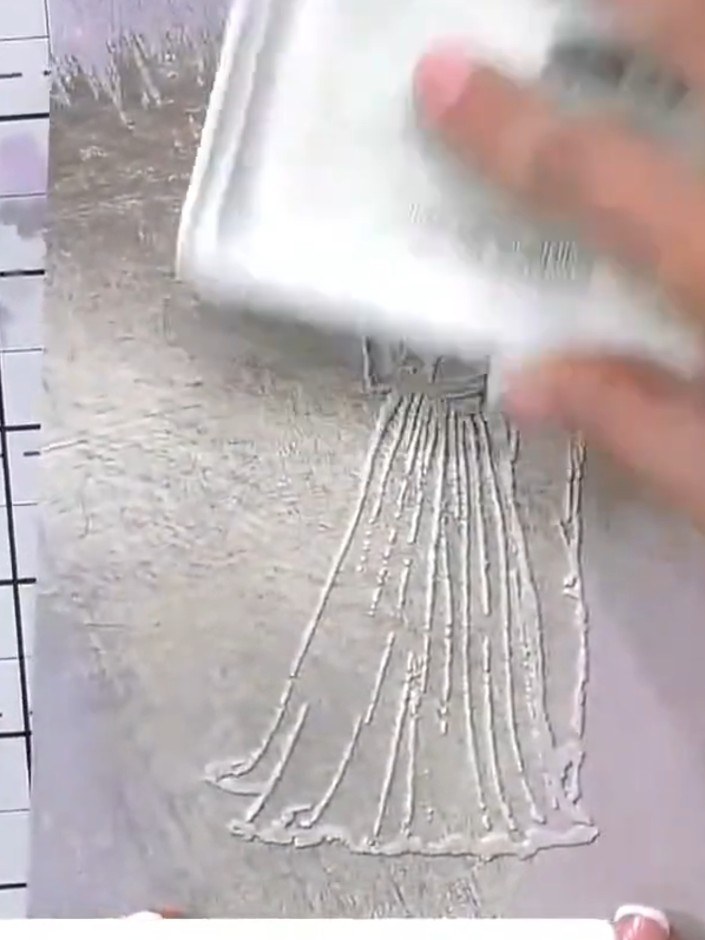
Spray the inked area lightly with water to create a watercolour wash effect. The water will blend and soften the ink, creating a gentle wash across the embossed design.
▶ watch this step (37:45)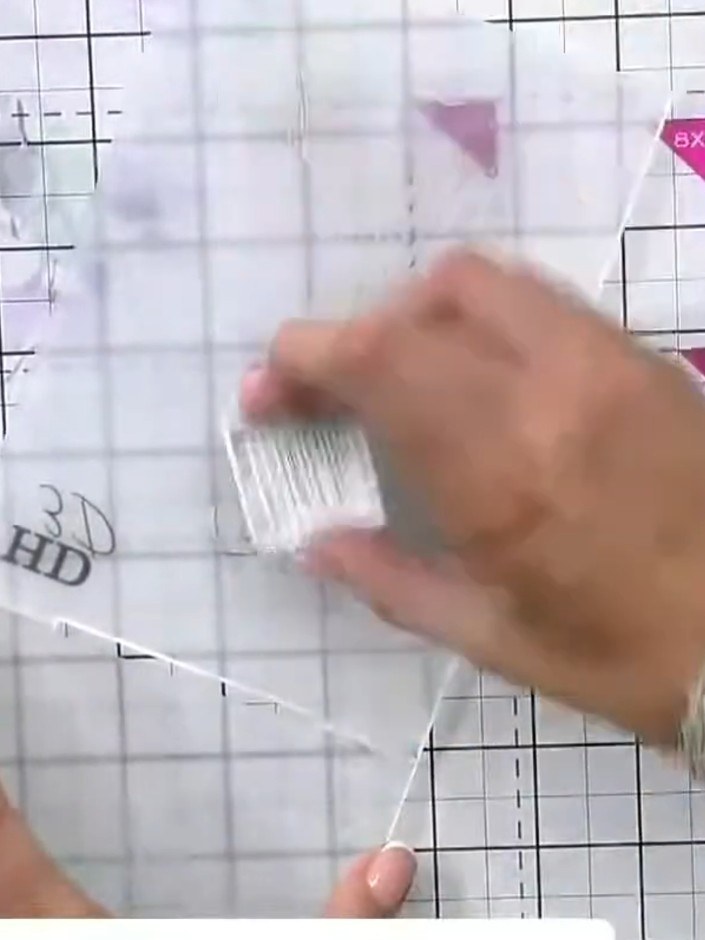
For additional depth, place the embossed paper back into the 3D embossing folder and run it through the die-cutting machine again. This will enhance the dimensional effect of the embossed design.
▶ watch this step (38:00)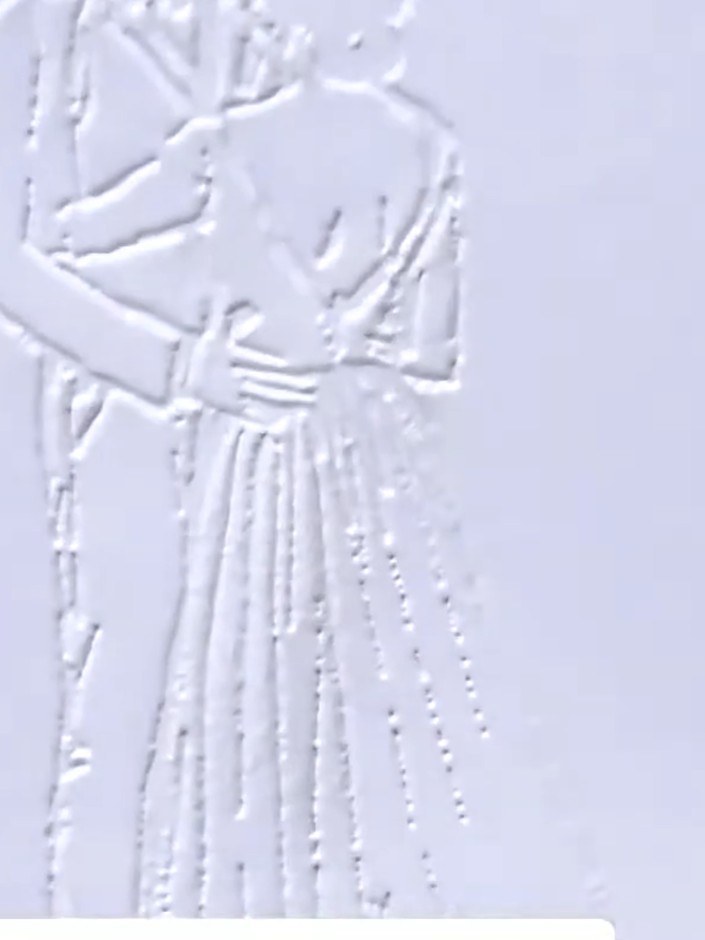
Apply white ink around the embossed figure to highlight the design and bring it forward. Use the ink to create a subtle halo effect that makes the figure stand out from the background.
▶ watch this step (38:30)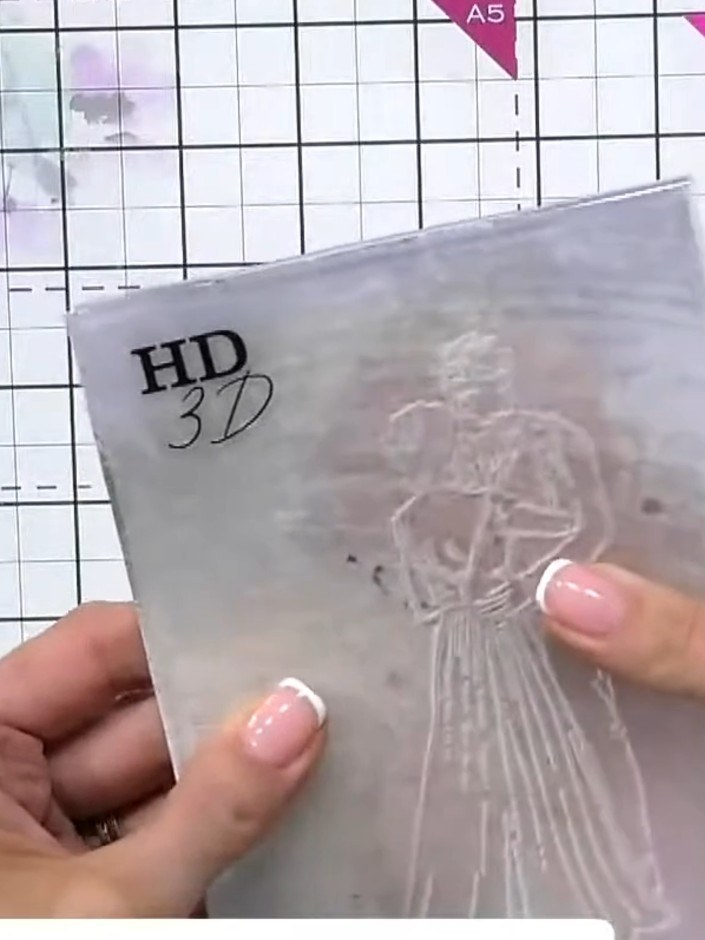
Mount the finished embossed panel onto your card blank using adhesive. Add a simple sentiment to complete your card.
▶ watch this step (39:00)Written up from the show itself. See every guide from our shows · free how-to guides · watch live on My Telly