Give your friends £10 off their first order!
Refer a FRIEND








A project from our live show CREATE AND CRAFT TV - Join Toni for her brand new SBM launch - broadcast 19th Jan 2024 · 19/01/2024 · watch it from 48:15
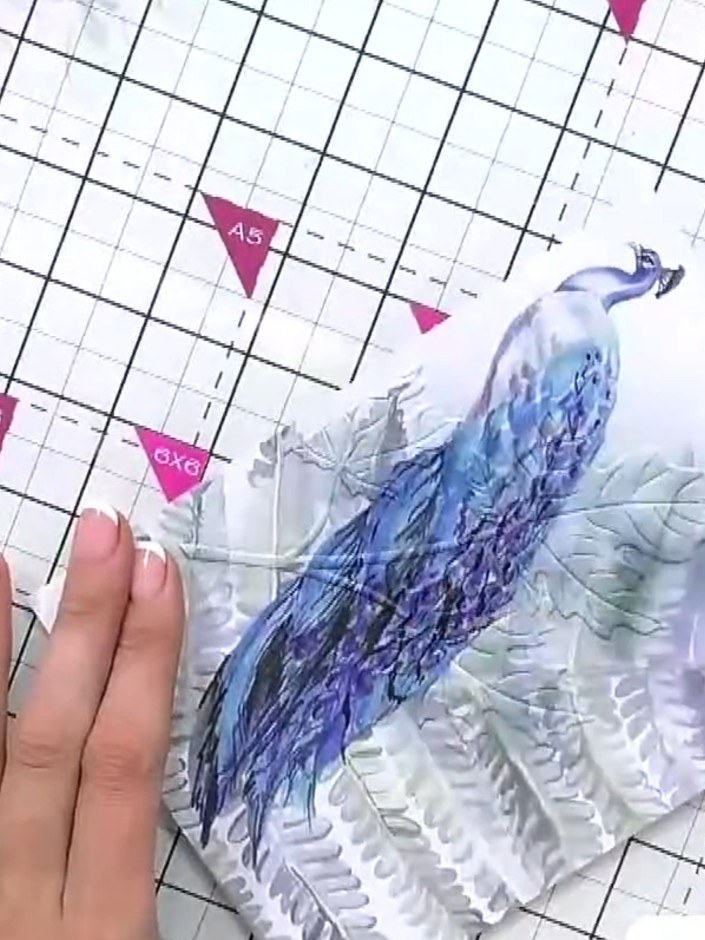
Create an elegant card featuring a beautifully embossed leaf design with stunning blue and purple ink detailing. The embossed leaves are layered over a pre-printed peacock mount, creating a sophisticated dimensional effect. Using heat embossing and ink swiping techniques, you'll achieve a halo effect that brings the textured design to life with rich, vibrant colours.
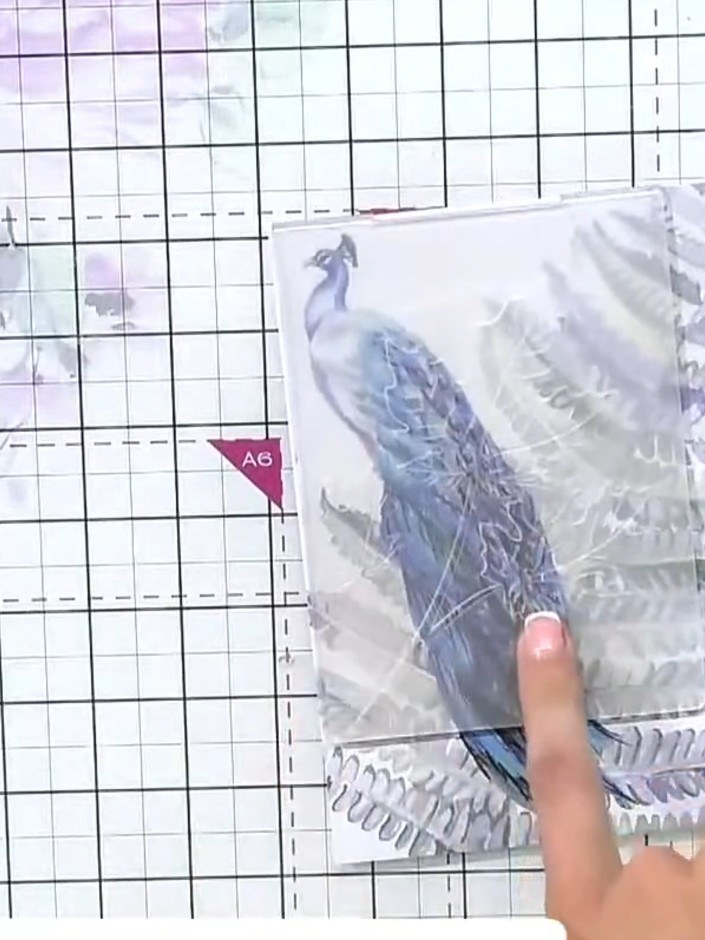
Place the painted mount into the leaf embossing folder, ensuring it is positioned centrally within the folder.
▶ watch this step (49:45)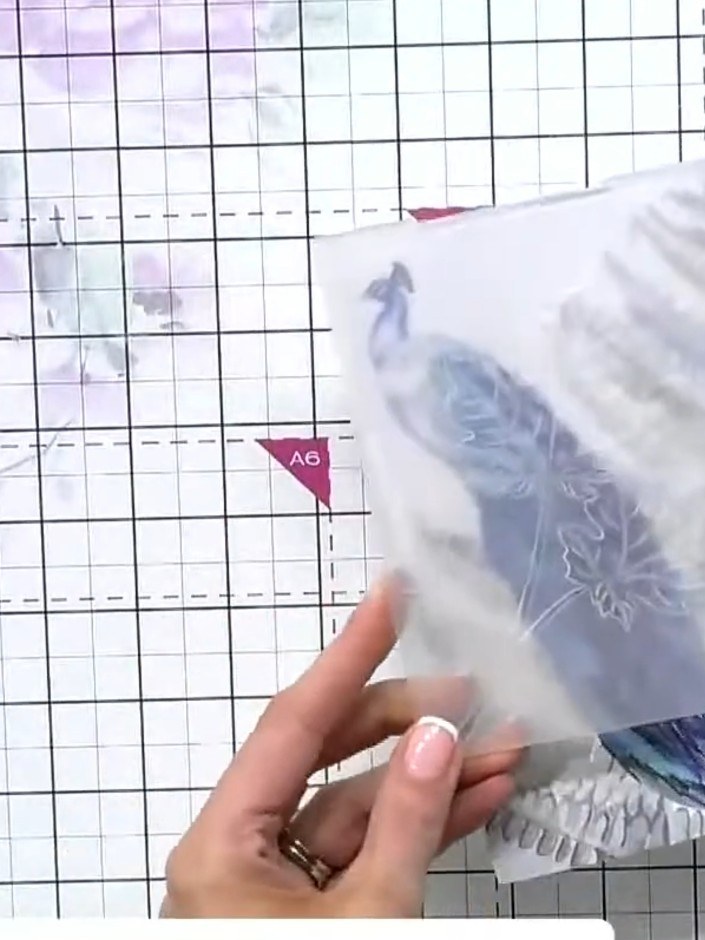
Place the mounted card with the peacock design face up on your cutting mat. Position the embossing folder over it and run through your die-cutting machine to emboss the leaf pattern into the card.
▶ watch this step (50:00)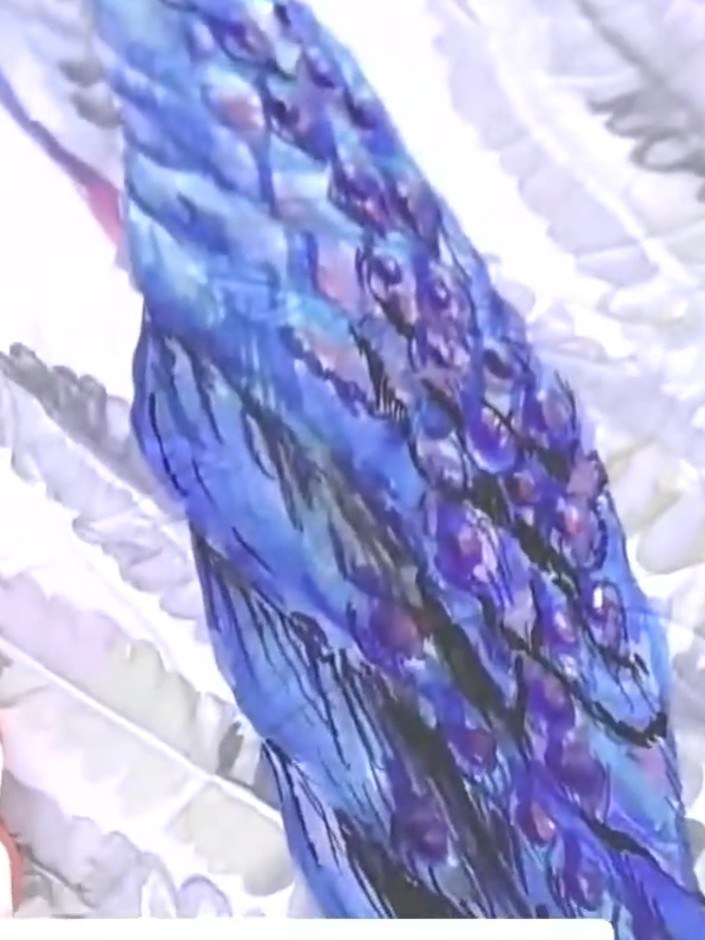
Take a purple ink pad and swipe it over the embossed leaf area to bring the detail to the foreground. Work the ink across the raised embossed surface to highlight the leaf design.
▶ watch this step (51:00)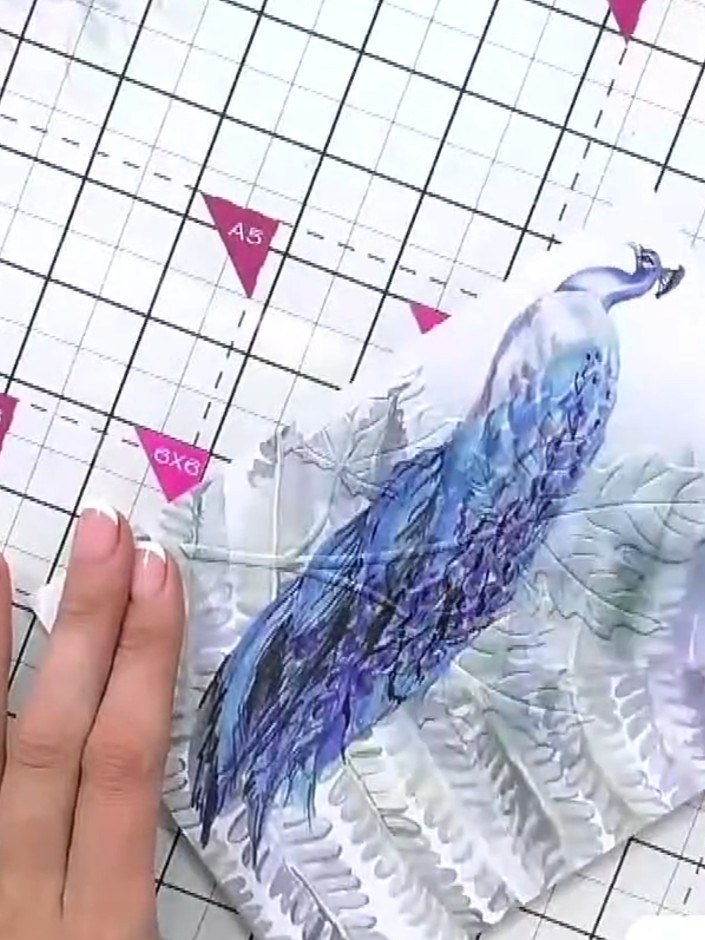
Using a brush, pick up ink from your chosen ink pad and apply colour around the exterior edges of the embossed peacock design. This adds dimension and brings the image to life.
▶ watch this step (52:00)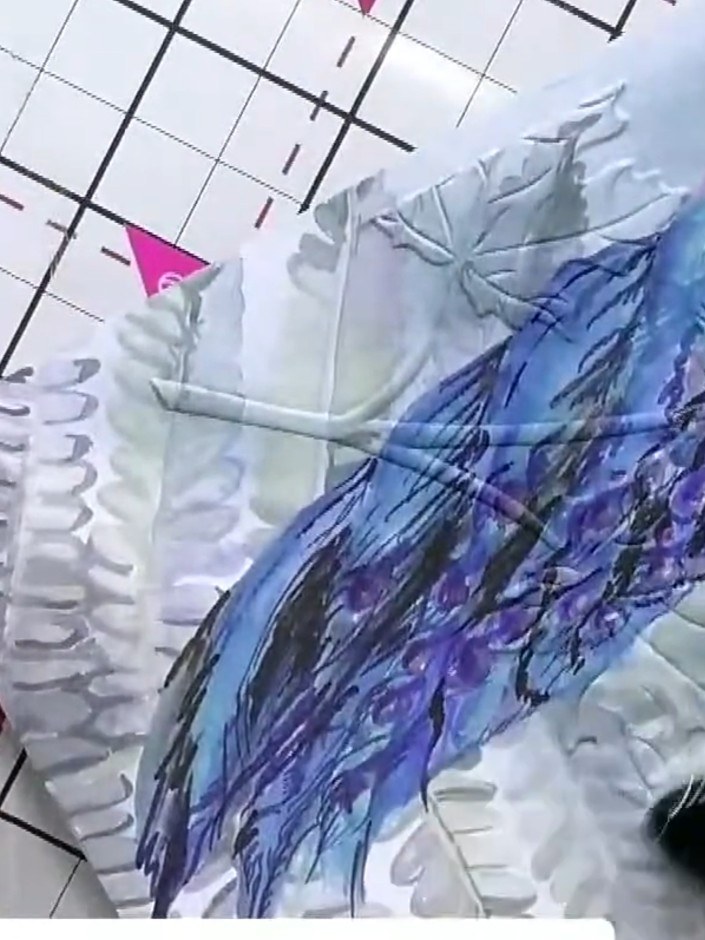
Tap the same coloured ink pad over the embossed leaves to catch the raised detail. Use the blue and purple ink to highlight the textured surface of the embossed design.
▶ watch this step (52:45)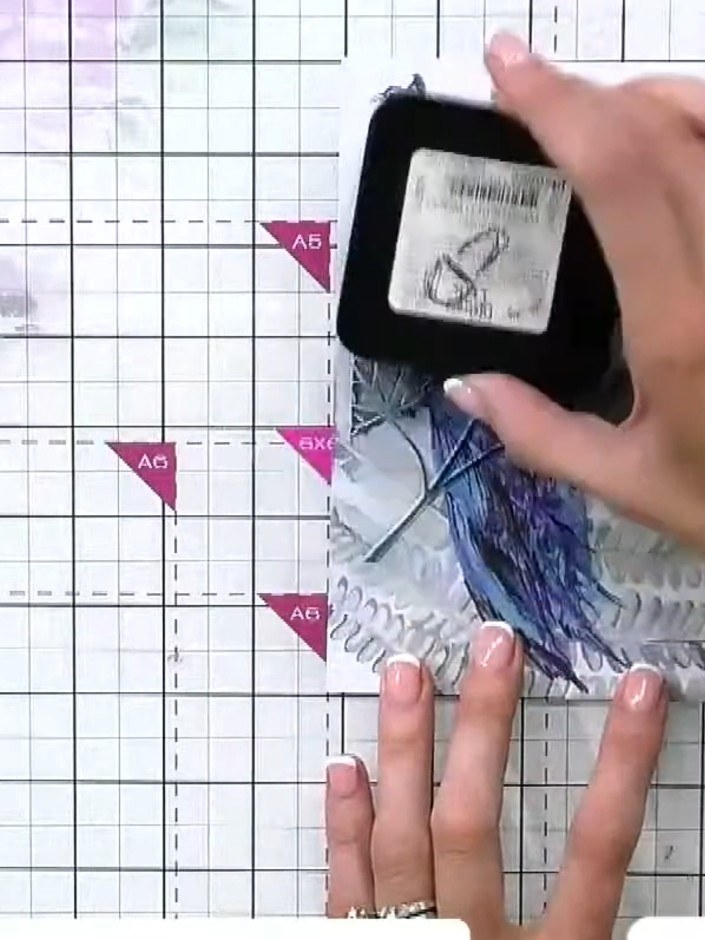
If the peacock design becomes too dark, take a white ink pad and swipe it over the area to lighten the colour and reveal more of the embossed detail.
▶ watch this step (53:15)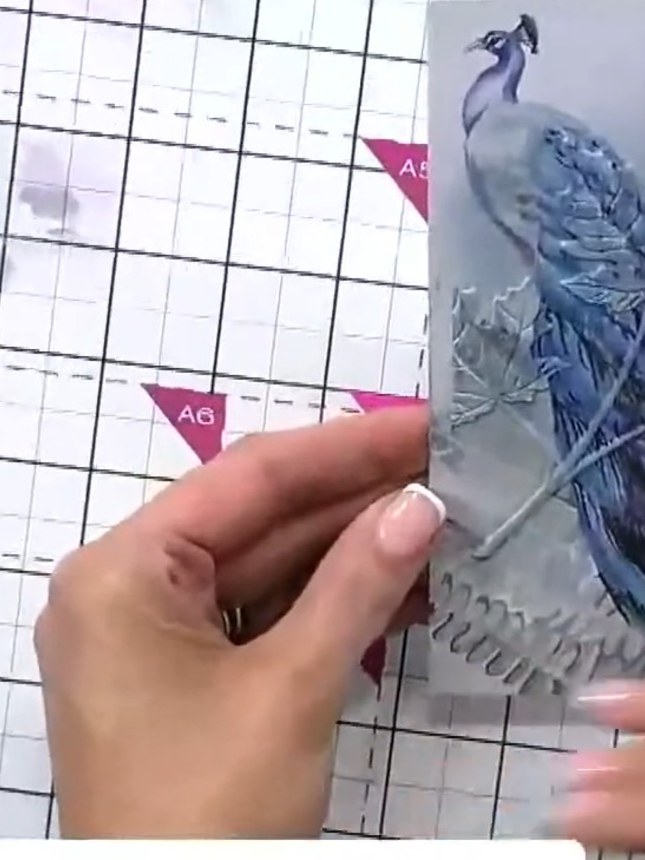
Take a small brush and add a touch of water to the embossed image. This will create texture and lift out some of the ink for additional layering and depth.
▶ watch this step (53:45)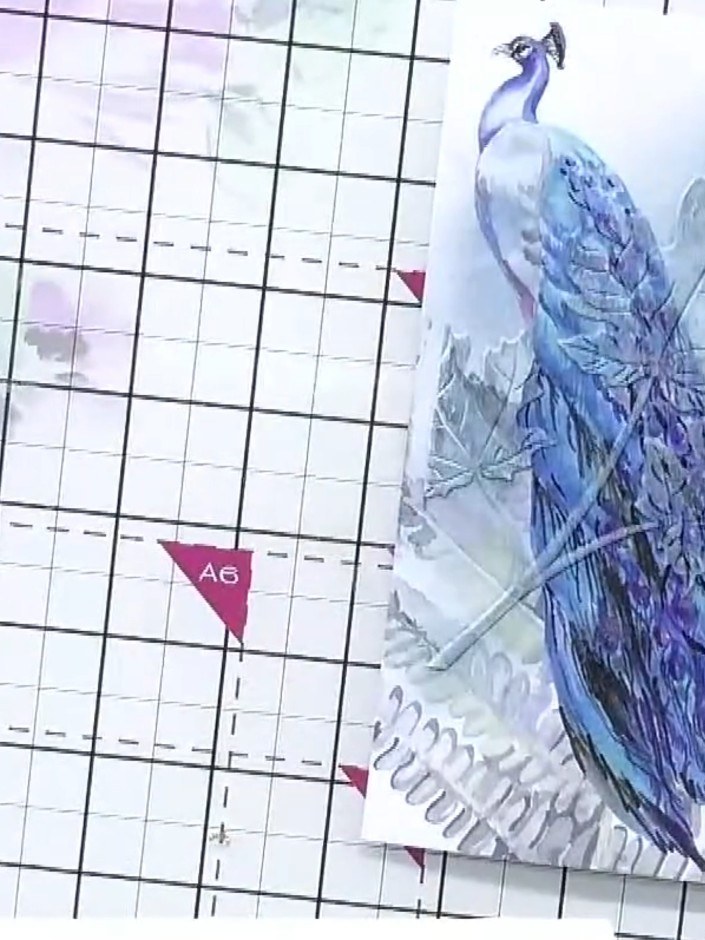
Trim the finished card panel to your desired size. Add a sentiment across the top of the card to complete the design.
▶ watch this step (54:00)Written up from the show itself. See every guide from our shows · free how-to guides · watch live on My Telly