Give your friends £10 off their first order!
Refer a FRIEND








A project from our live show CREATE AND CRAFT TV - Join Toni for her brand new SBM launch - broadcast 22nd Jan 2024 · 22/01/2024 · watch it from 48:00
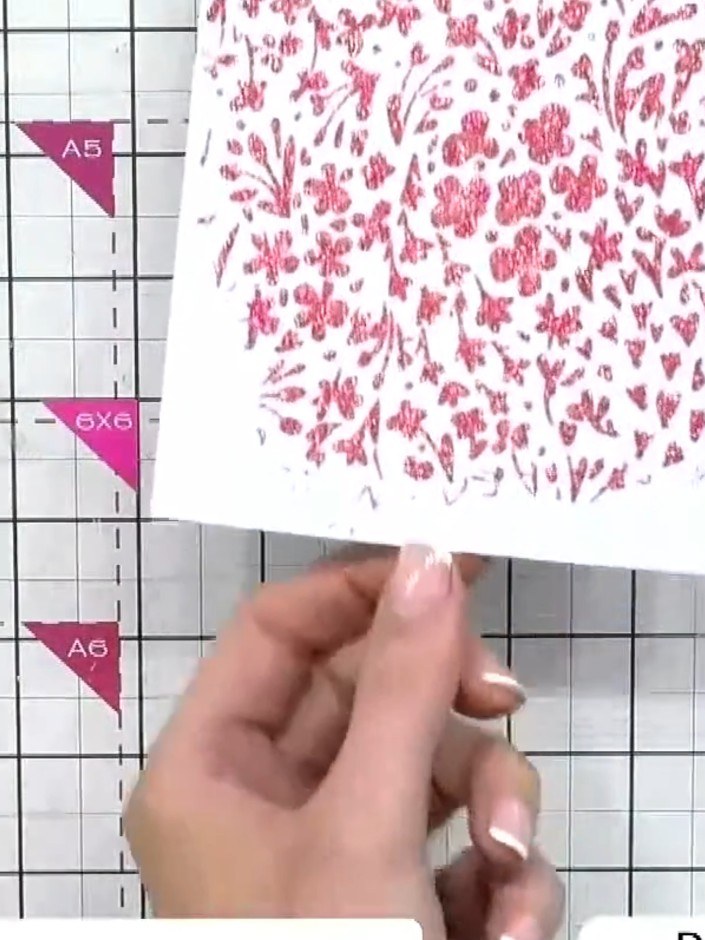
Create a beautiful greeting card featuring an all-over ditsy floral pattern using a stencil and coloured paste. The delicate floral texture is achieved by spreading paste smoothly across the surface, with multiple shades within each colour adding depth and dimension. This elegant technique produces a sophisticated, textured finish perfect for special occasions.
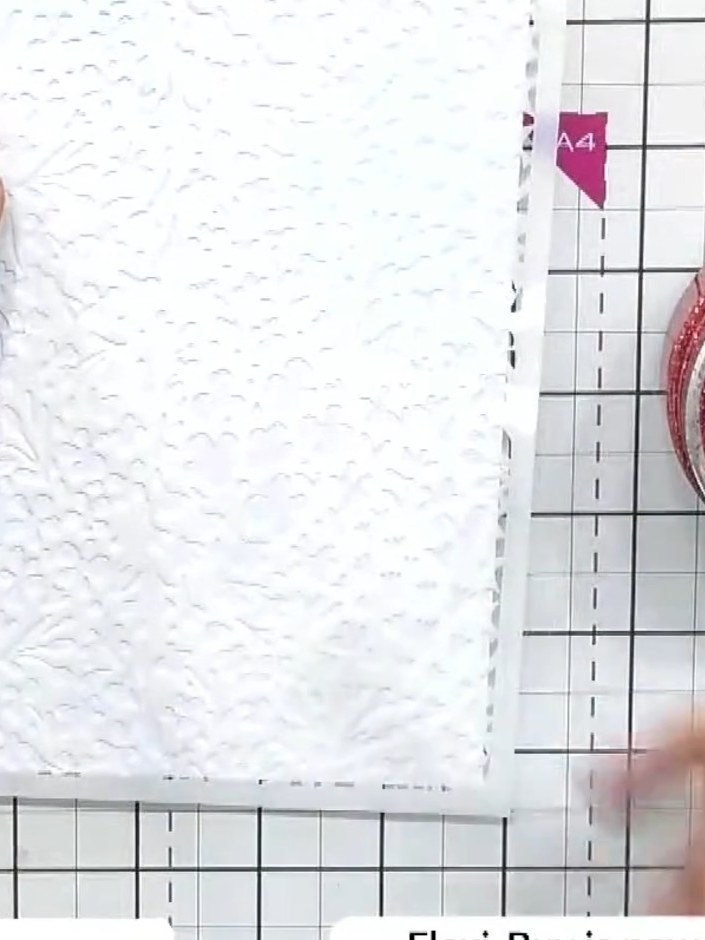
Position the Ditsy Floral stencil on your white card base. Secure it in place with your hand to prevent it from moving whilst you work.
▶ watch this step (48:15)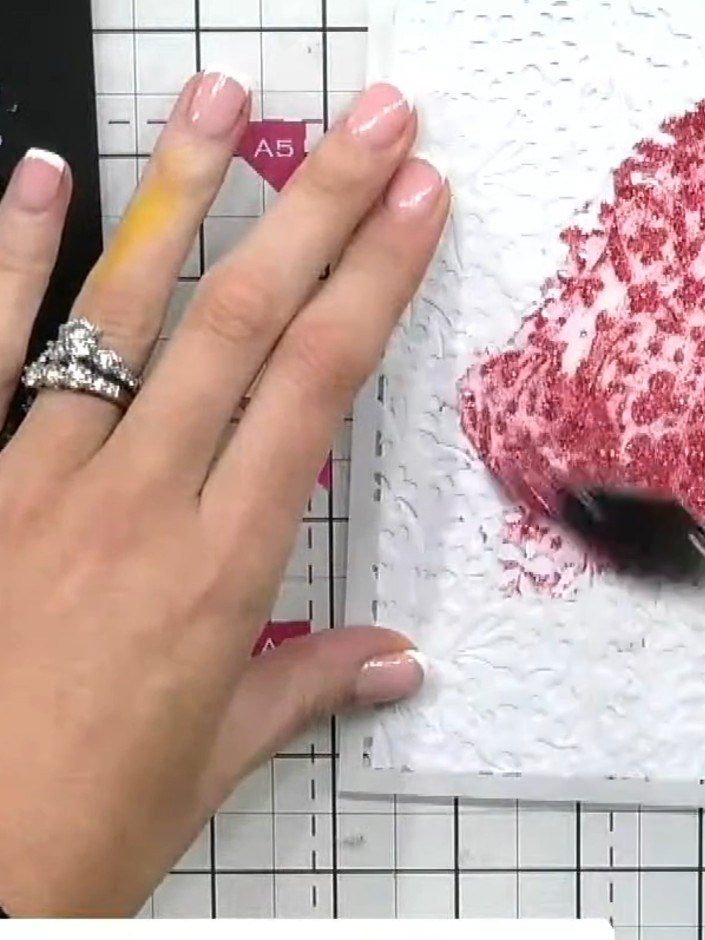
Spread the coloured paste (such as 'Party Dress' with pink and gold tones) through the ditsy floral stencil using a palette knife or spreader, ensuring even coverage across the design.
▶ watch this step (48:30)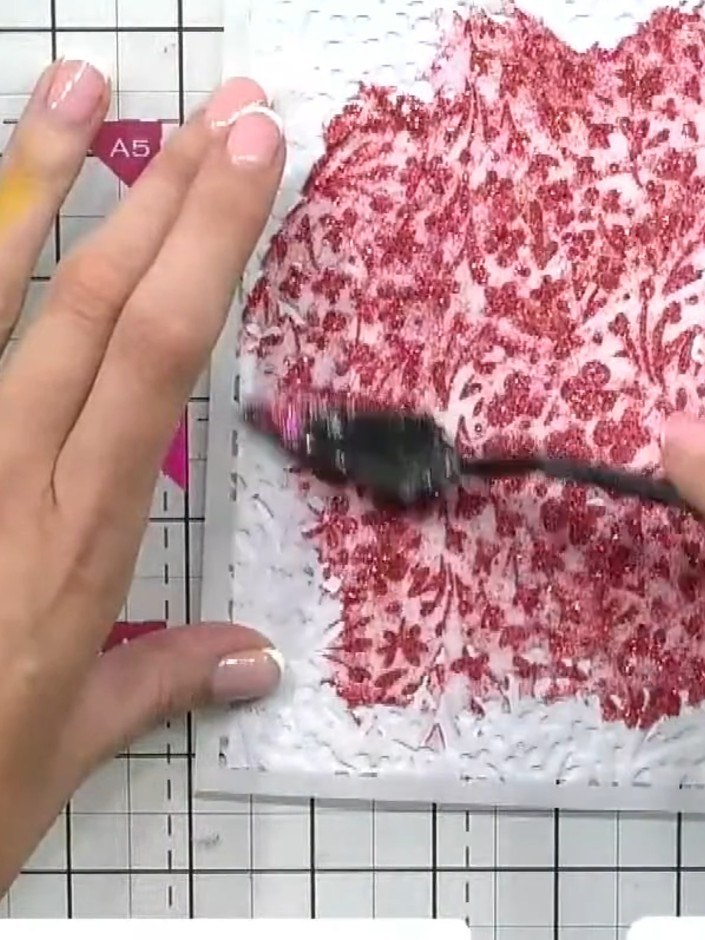
Using a palette knife or spatula, spread the pink paste evenly across all the openings of the ditsy floral stencil, working it smoothly like spreading butter. Ensure all the stencil areas are covered with an even layer of paste.
▶ watch this step (48:45)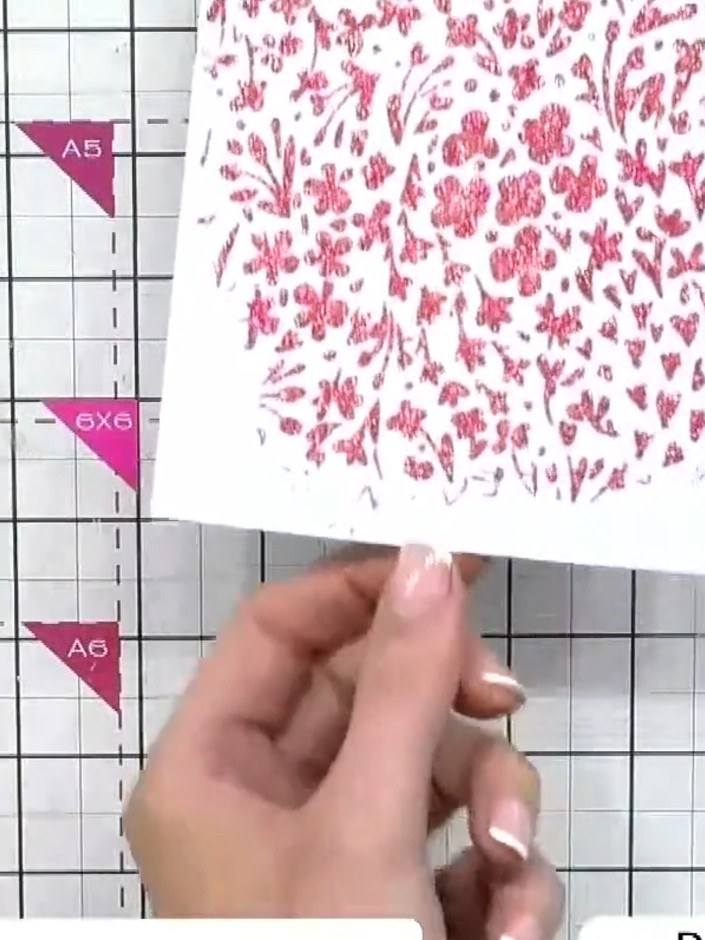
Allow the paste to dry completely. The pink floral pattern should be fully set before proceeding to the next step.
▶ watch this step (49:00)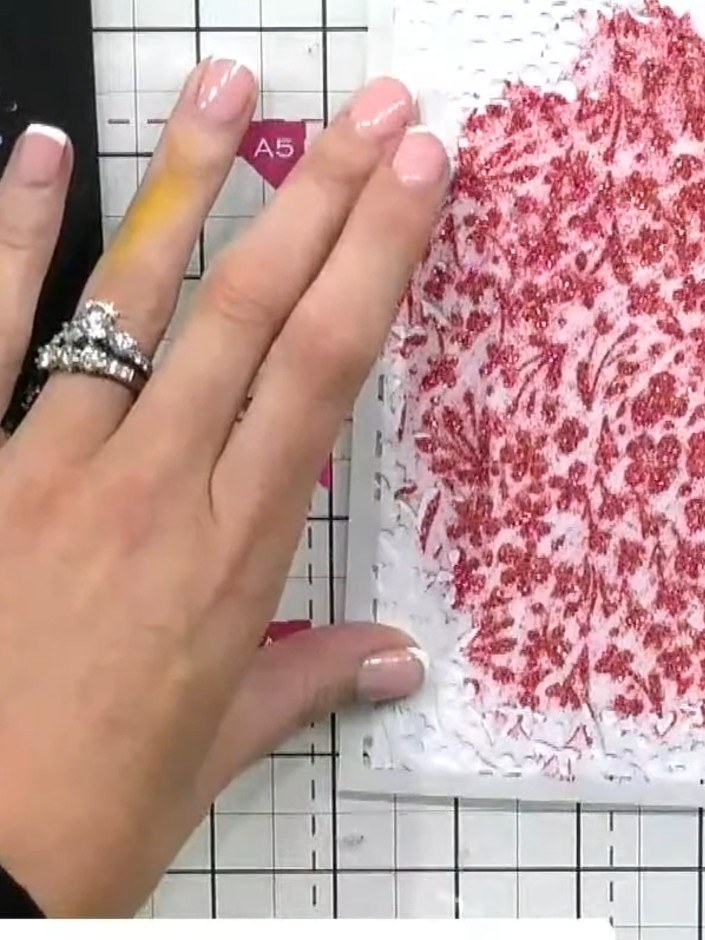
Carefully lift away the stencil to reveal the ditsy floral design in pink paste on your white card.
▶ watch this step (49:15)Written up from the show itself. See every guide from our shows · free how-to guides · watch live on My Telly