Give your friends £10 off their first order!
Refer a FRIEND








A project from our live show CREATE AND CRAFT TV - Join Toni for her brand new SBM launch - broadcast 22nd Jan 2024 · 22/01/2024 · watch it from 29:30
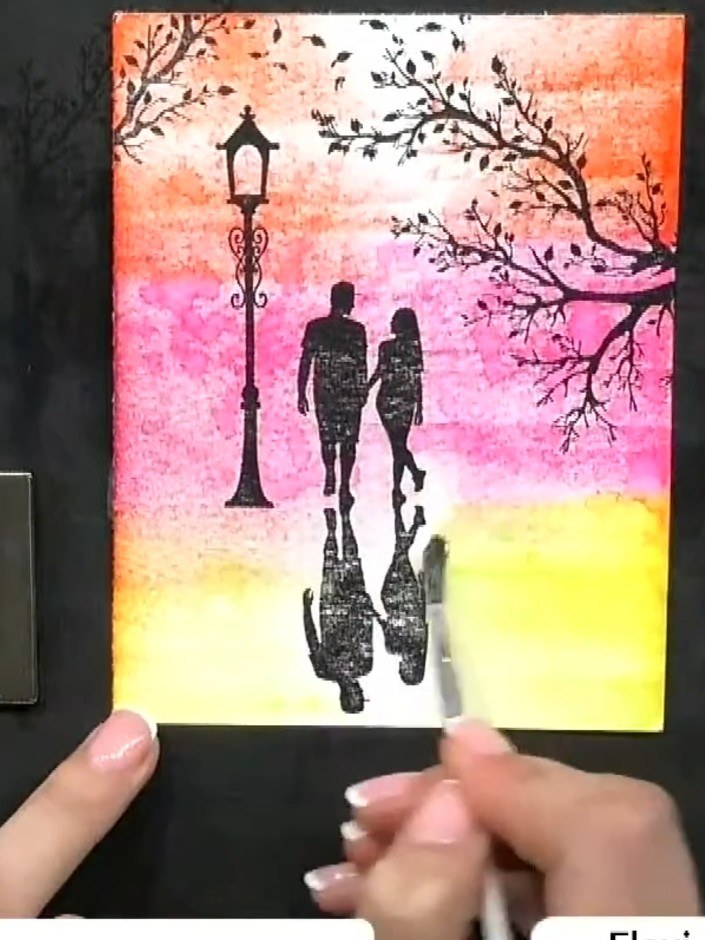
Create a stunning watercolour sunset scene card featuring silhouetted figures beneath a lamppost and tree branches. Using vibrant pink, orange and yellow inks swiped across watercolour card, you'll build a dreamy landscape with reflections. The technique combines ink blending with water activation and layered stamping to achieve a loose, artistic style.
 Pretty Things Inside - A6 Stamp - Birdsong - 260723BSEE IT
 Pretty Things Inside - A5 Stamp - Into the Woods - 260723FSEE IT
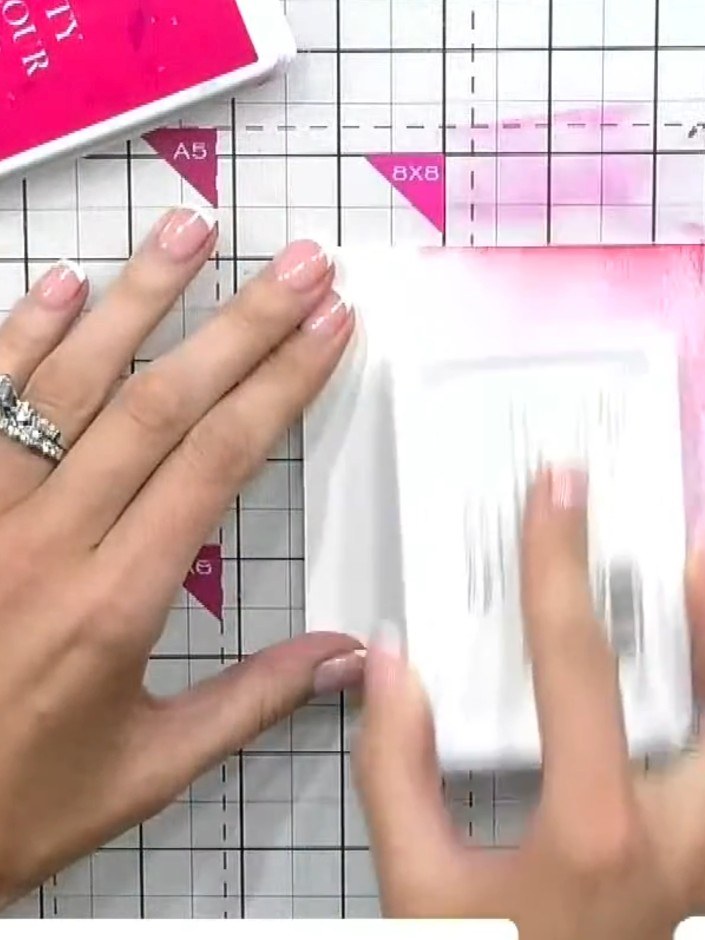
Take a piece of watercolour card and swipe a pink ink pad across the middle section, tilting the pad to create a gradient effect.
▶ watch this step (29:30)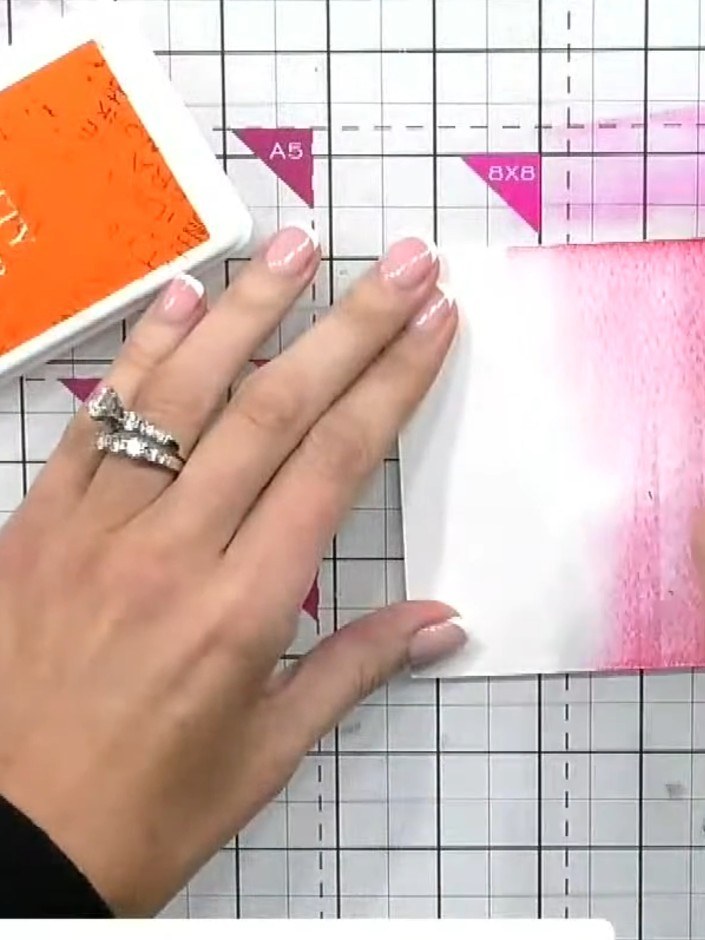
Swipe the orange ink pad into the middle area of the card, blending it with the pink to create a gradient effect.
▶ watch this step (29:45)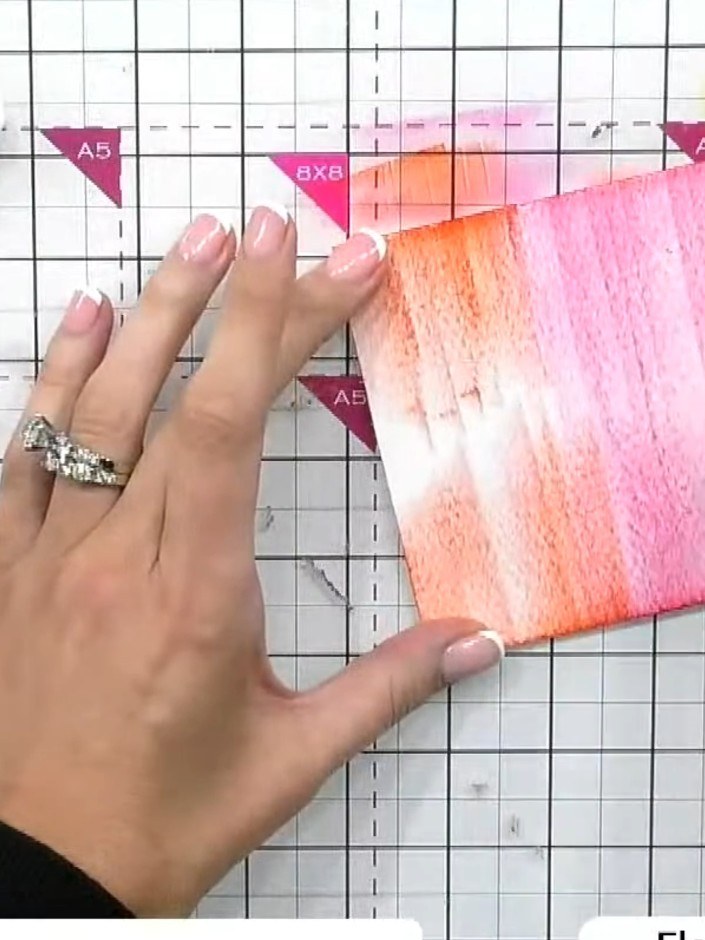
Swipe the yellow ink pad along the bottom edge of the inked card panel, blending it upwards into the pink and orange areas to create a sunset gradient effect.
▶ watch this step (30:00)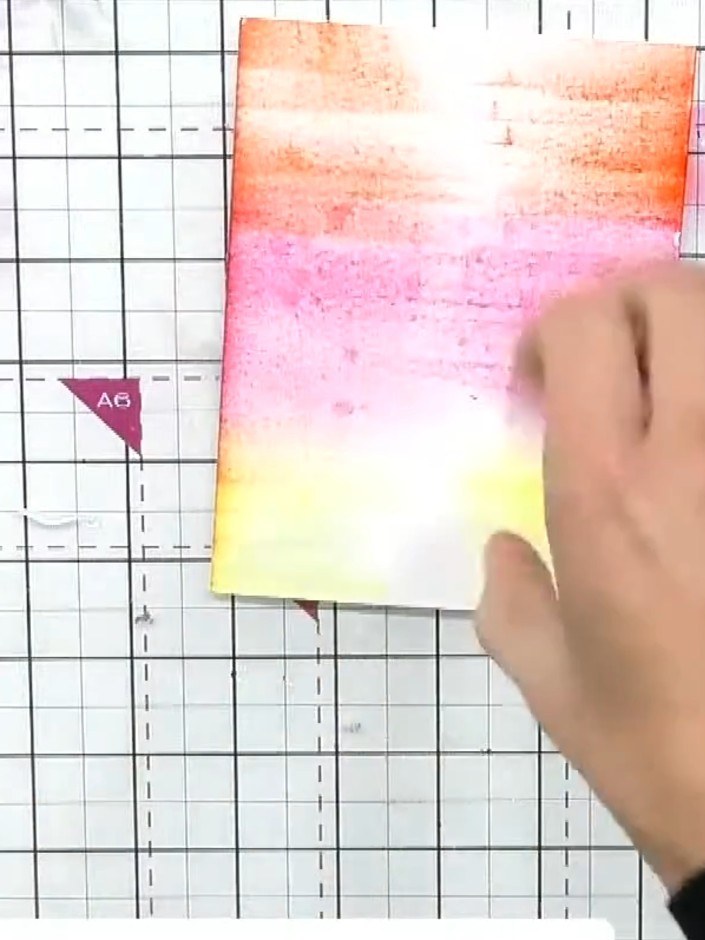
Dampen your brush with water and blend the yellow, pink and orange inks together on the card, working the colours into each other to create smooth transitions.
▶ watch this step (30:15)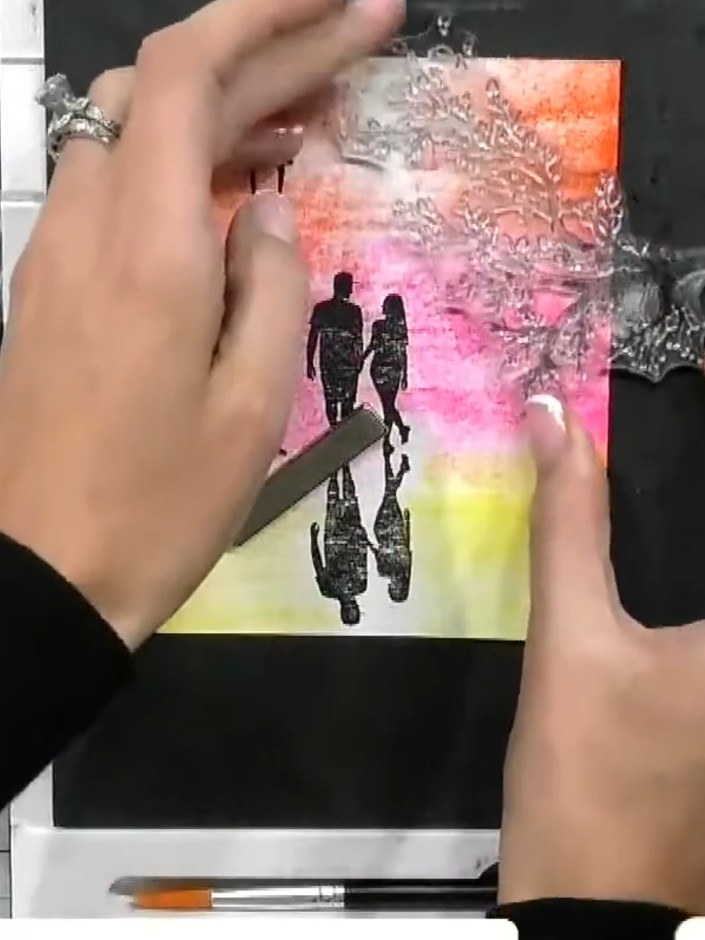
Stamp a tree silhouette from the 'Into the Woods' stamp set using black ink. Tilt the stamp as you apply it so the tree appears to cascade in from the side of the card.
▶ watch this step (34:30)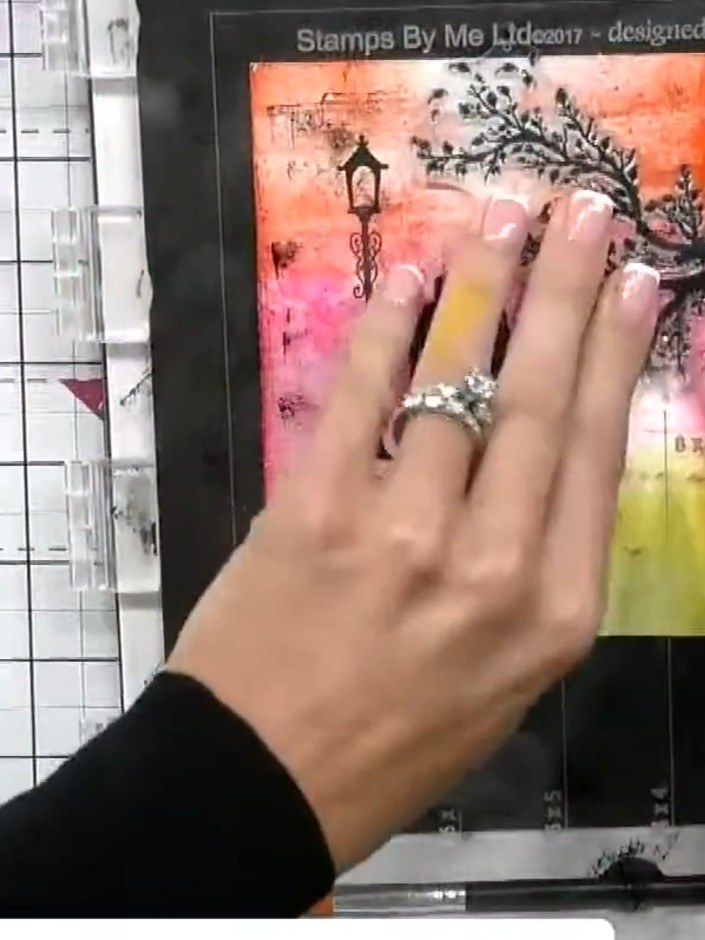
Stamp additional tree and foliage elements from the Pretty Things Inside stamp sets onto the left side of your sunset background to build up the landscape scene. Layer the tree images to create depth and dimension in your composition.
▶ watch this step (35:00)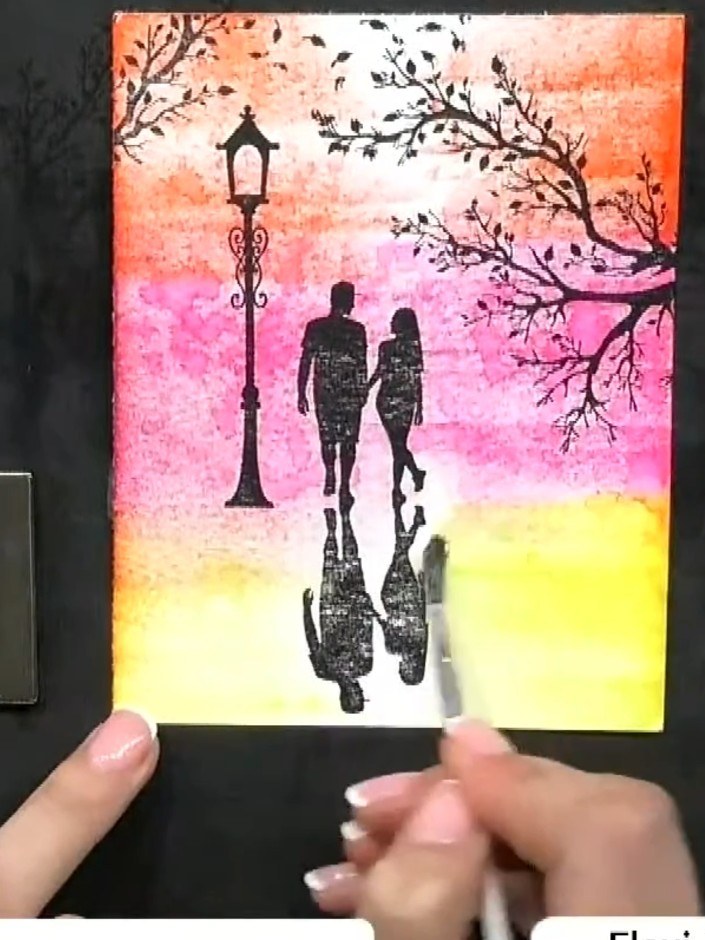
Use a damp brush to blend the stamped silhouettes into the watercolour background. Pull the colour downwards from the figures to create reflections and ground them into the scene.
▶ watch this step (36:00)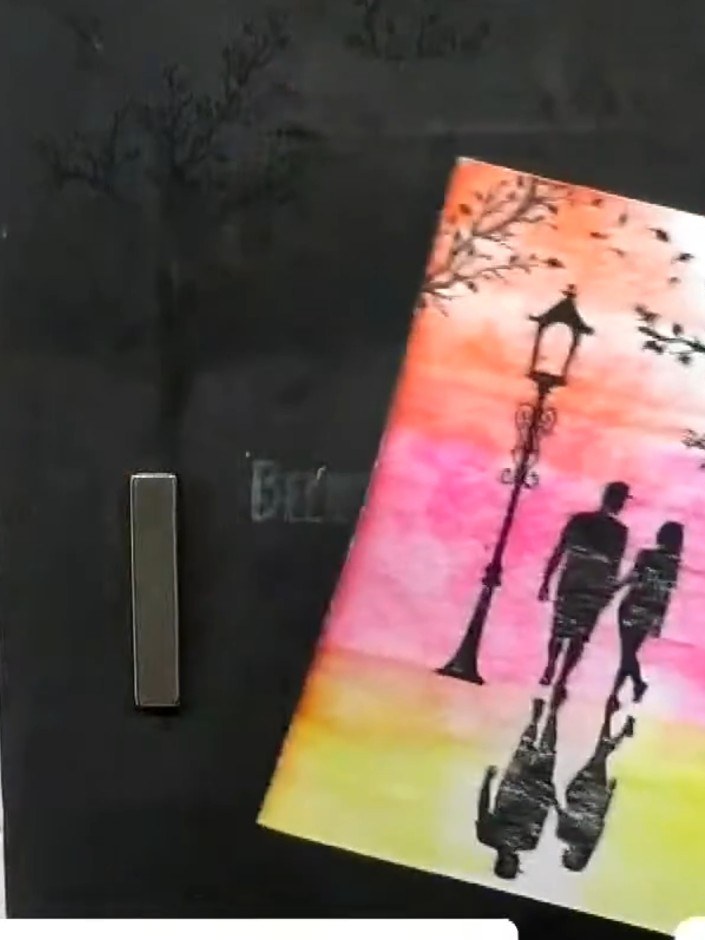
Using a black fine liner or gel pen, draw a thin border around the edge of your finished card panel to create a subtle frame effect.
▶ watch this step (37:00)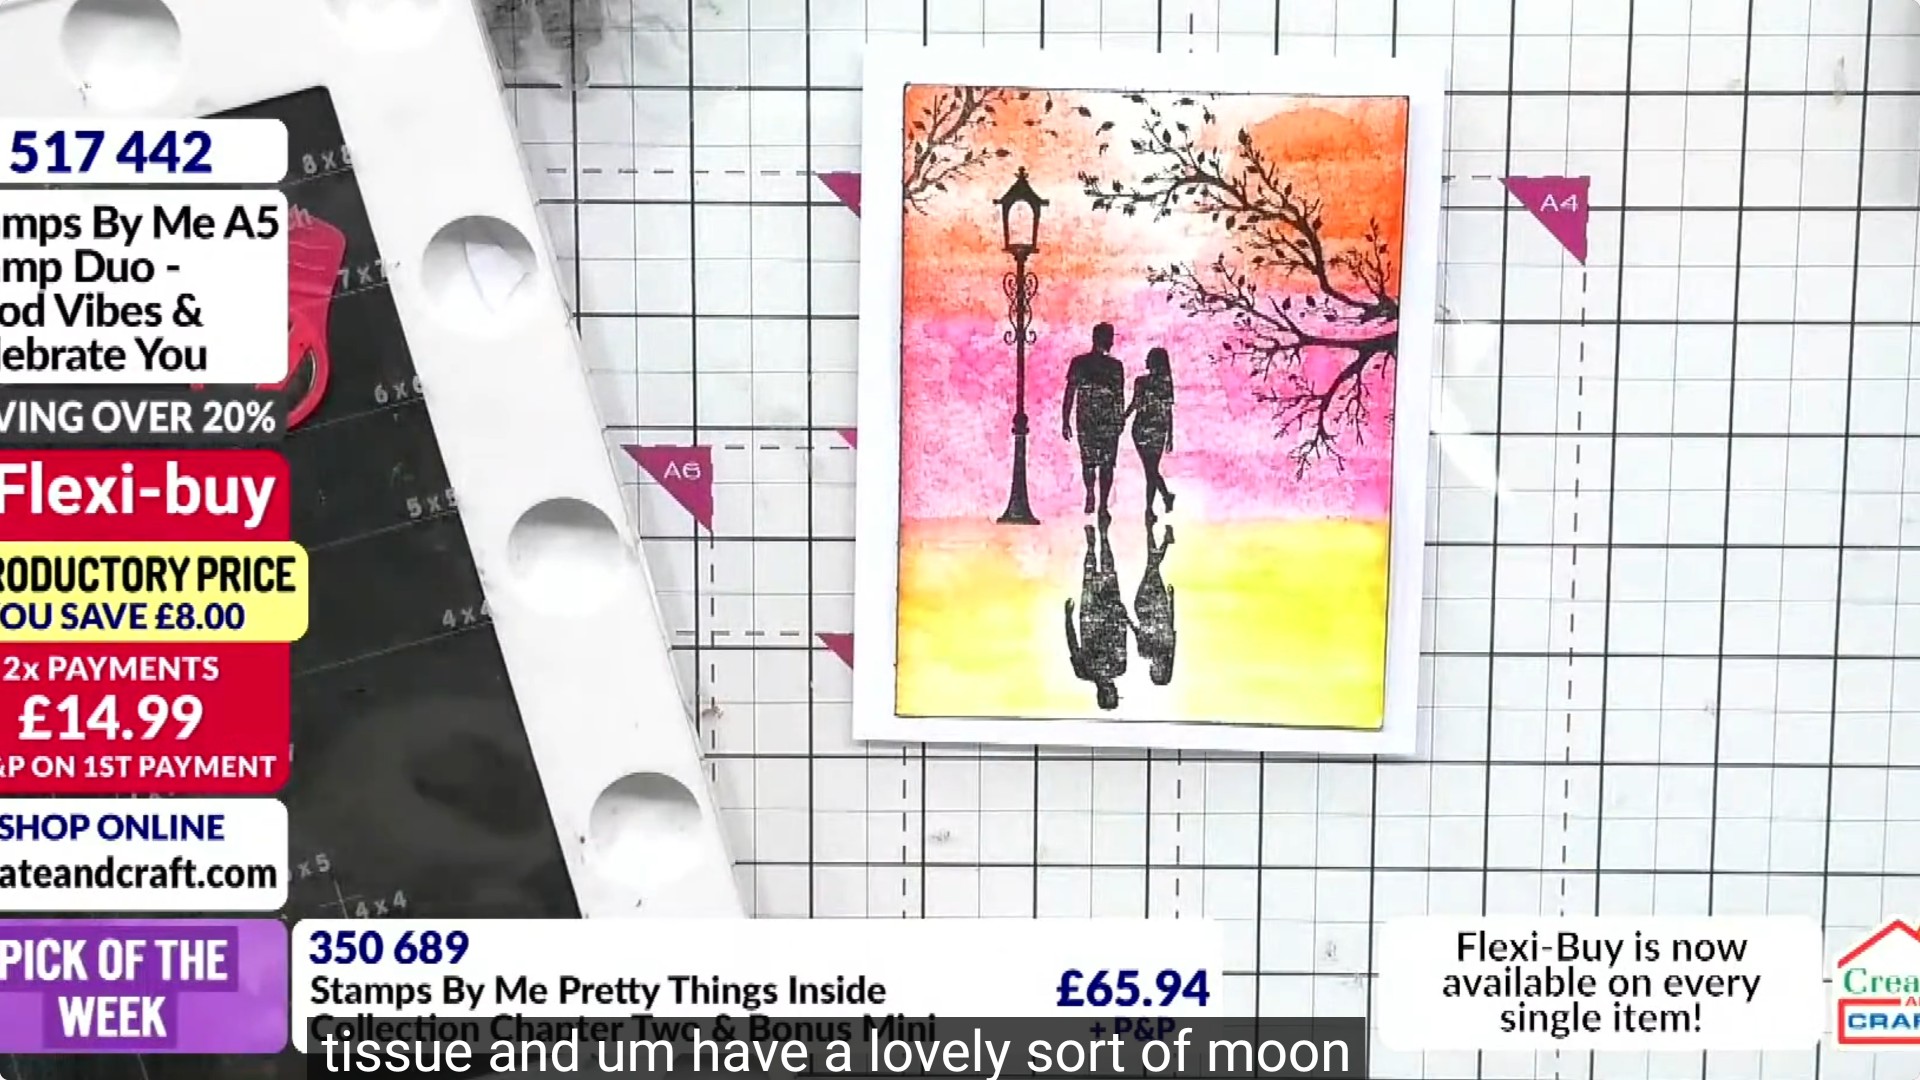
Mount the completed stamped and watercoloured panel onto a card base to finish your sunset scene card.
▶ watch this step (37:30)Written up from the show itself. See every guide from our shows · free how-to guides · watch live on My Telly