Give your friends £10 off their first order!
Refer a FRIEND








A project from our live show MY PODCAST - Catch my latest updates broadcast August 19th 2024 · 19/08/2024 · watch it from 42:30
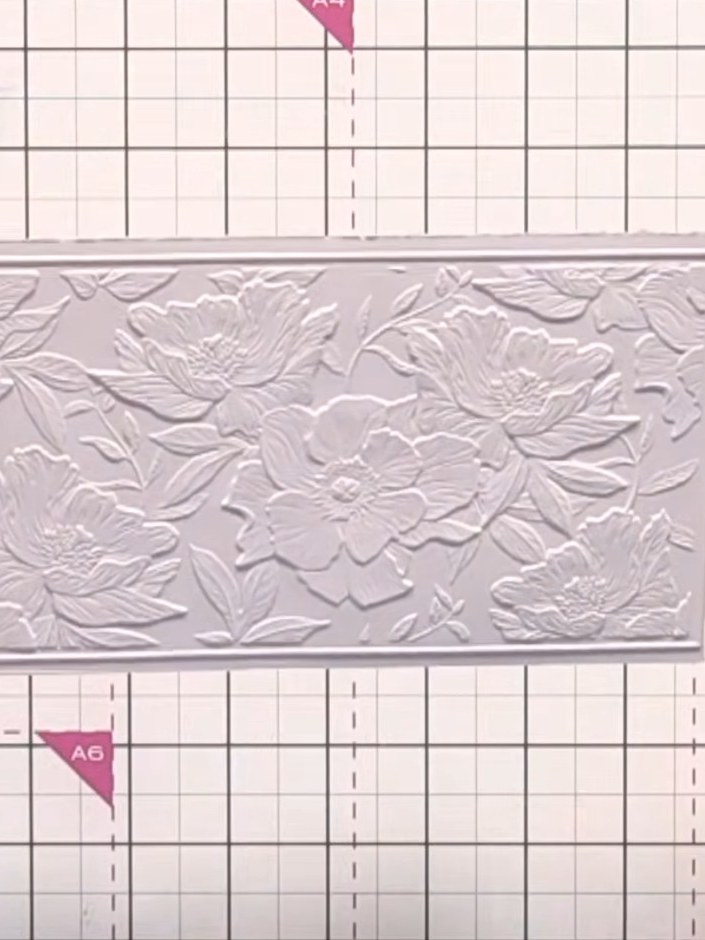
Create an elegant white embossed card featuring a detailed floral design enhanced with metallic gilding wax in gold and silver tones. Learn how to apply and blend creamy gilding wax to create beautiful ombré effects across raised embossed surfaces. This sophisticated technique combines classic embossing with lustrous metallic accents for a truly stunning finish.
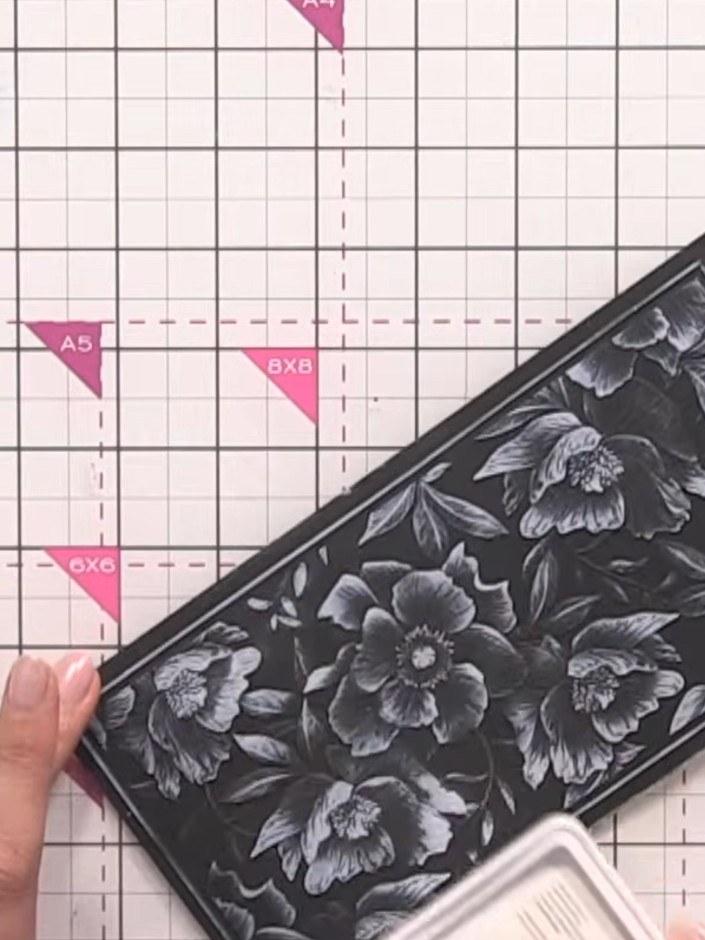
Cut white cardstock to size and place it into the embossing folder with the floral design. Position the cardstock centrally within the folder.
▶ watch this step (42:45)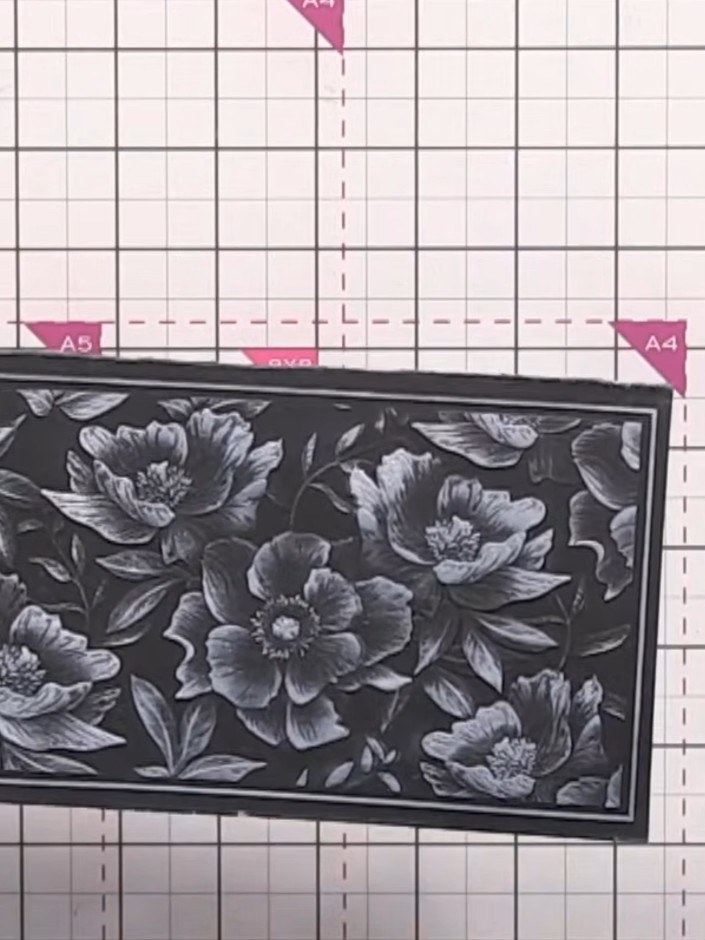
Run the embossing folder with your card through your die-cutting machine to emboss the floral design onto the black card.
▶ watch this step (43:00)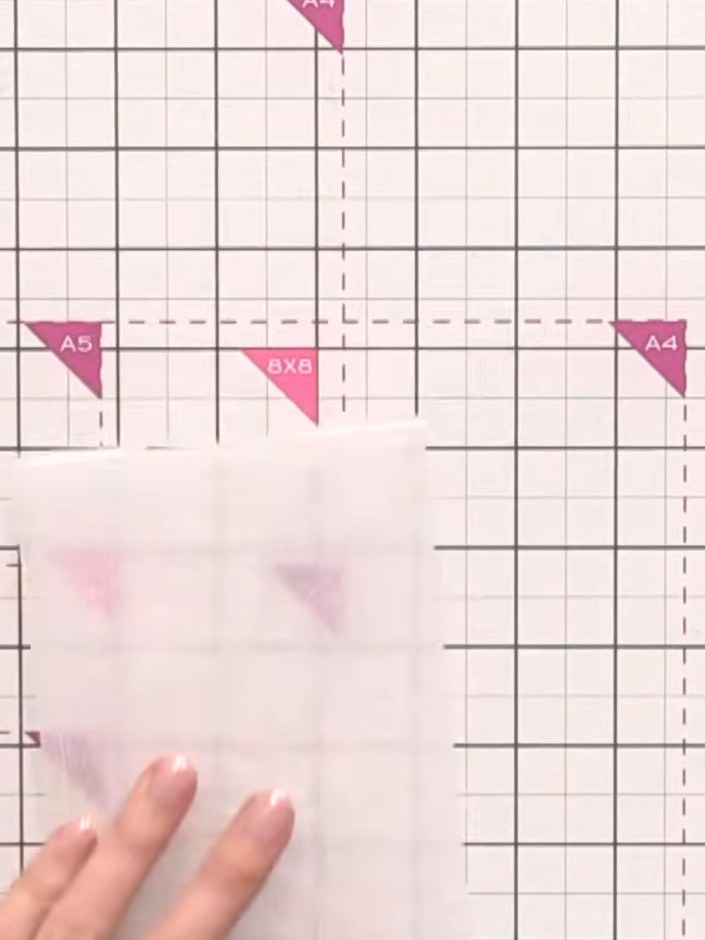
If needed, reposition the vellum sheet and run it through the die-cutting machine again to ensure the full embossed design is captured on both ends of the card.
▶ watch this step (43:30)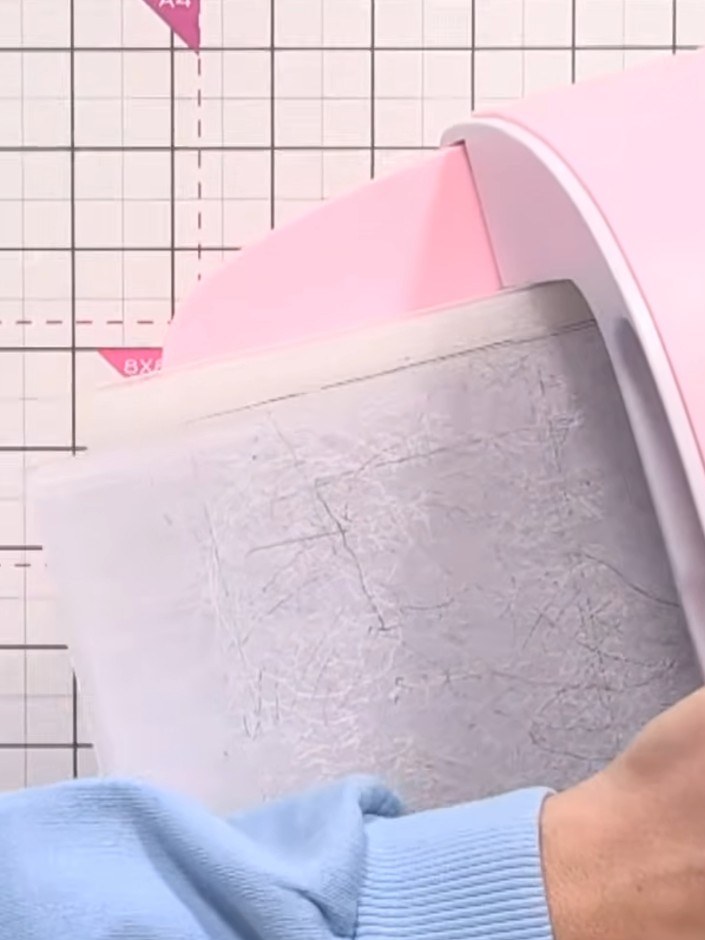
Apply gold gilding wax to the top half of the white embossed card. Rub the wax gently into all the crevices of the embossed design to highlight the raised details.
▶ watch this step (44:00)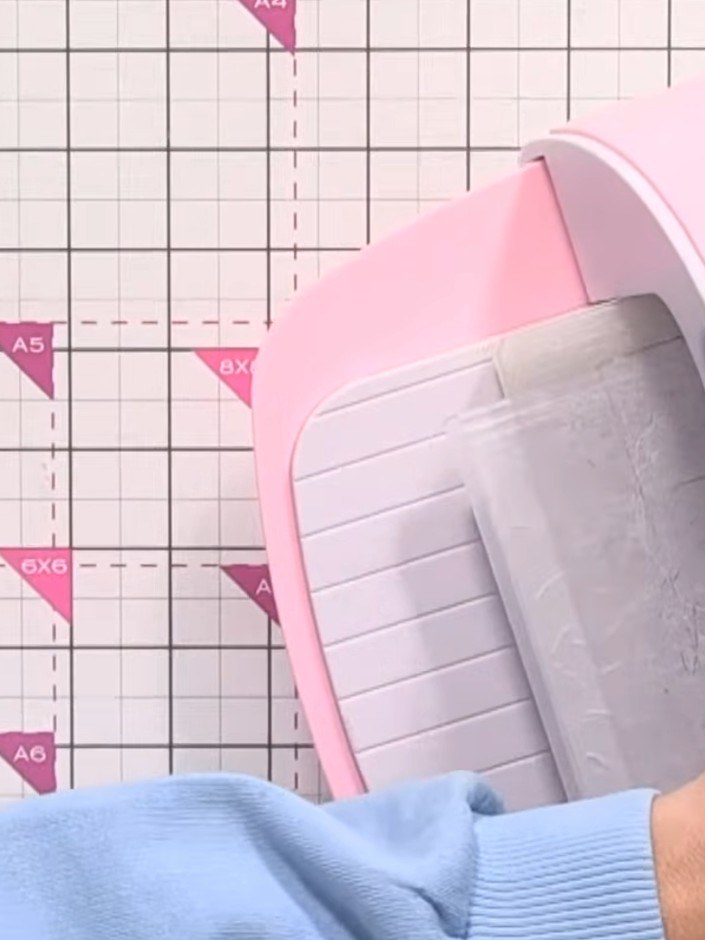
Apply silver gilding wax to the bottom half of the embossed card using your finger or a soft cloth. Gently rub the wax over the raised embossed areas to highlight the texture.
▶ watch this step (44:30)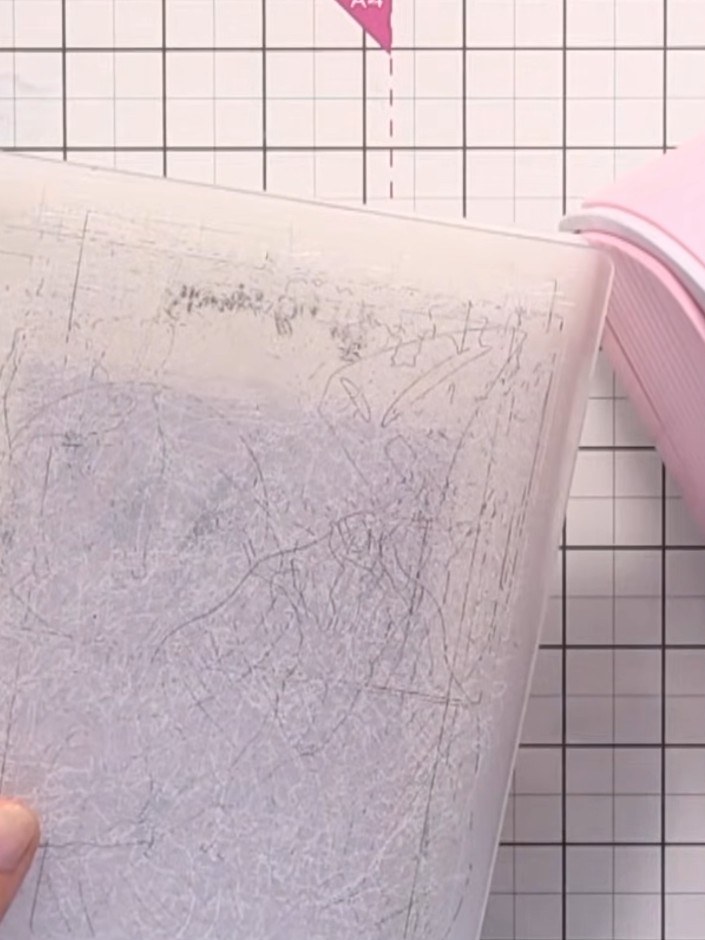
Use your finger to blend the gold and silver gilding waxes together where they meet on the embossed card, creating a smooth ombre transition between the two colours.
▶ watch this step (45:00)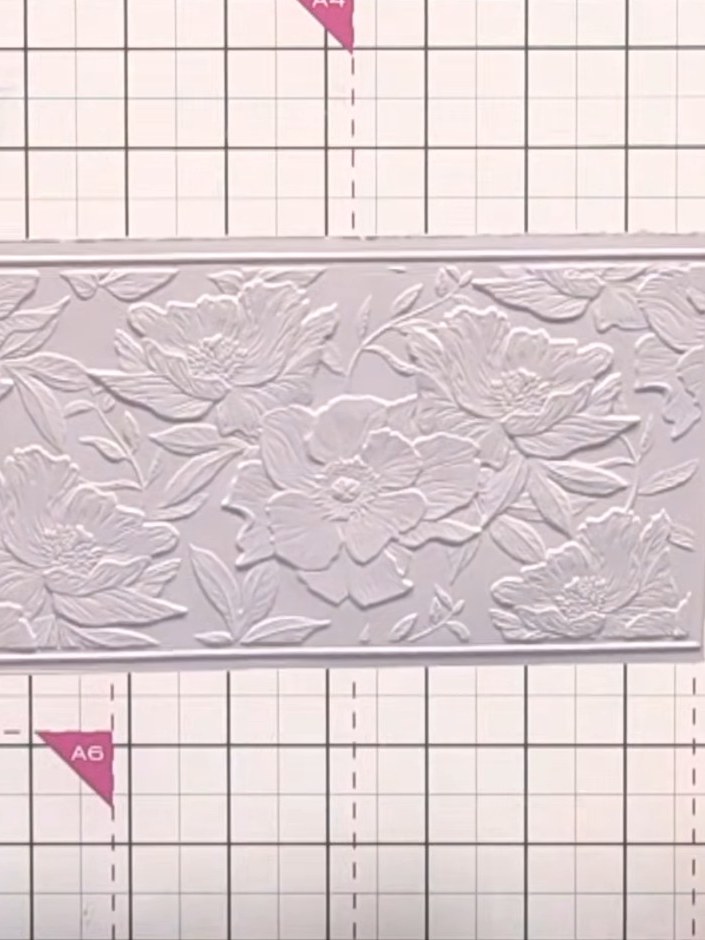
Gently rub the gilding wax over the embossed floral design, ensuring it reaches into all the detail without creating harsh lines. Work carefully to highlight the raised pattern evenly.
▶ watch this step (45:30)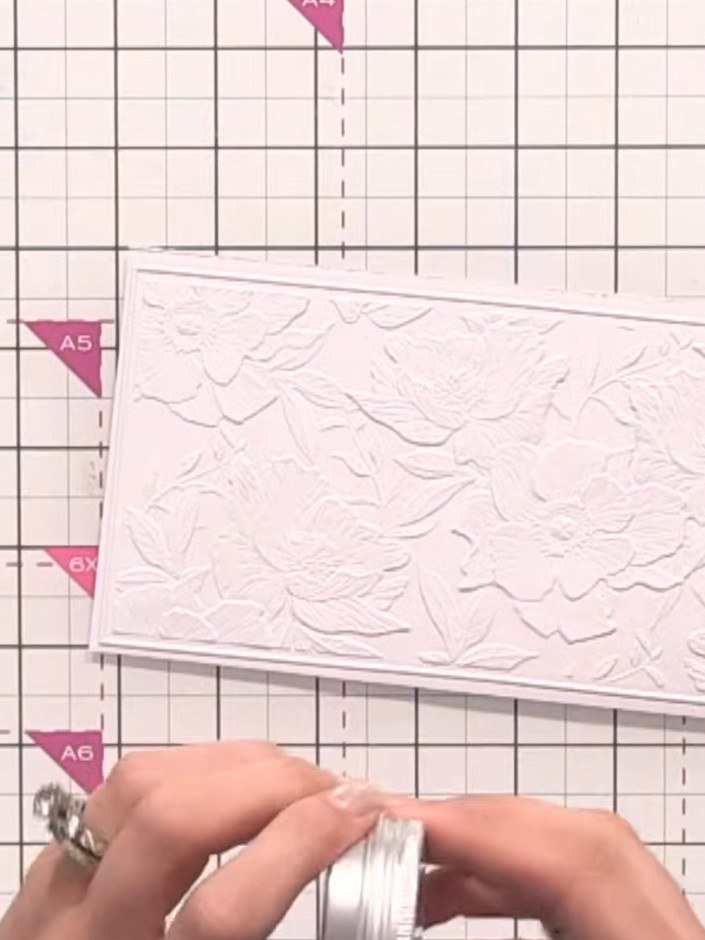
Wipe any excess gilding wax from your finger onto a cloth or tissue to avoid waste before applying to your embossed card.
▶ watch this step (46:00)Written up from the show itself. See every guide from our shows · free how-to guides · watch live on My Telly