Give your friends £10 off their first order!
Refer a FRIEND








A project from our live show HOBBYMAKER TV - Join us for the latest show - Broadcast 2 p.m. (UK) 8th August 2026 · 08/08/2026 · watch it from 41:00
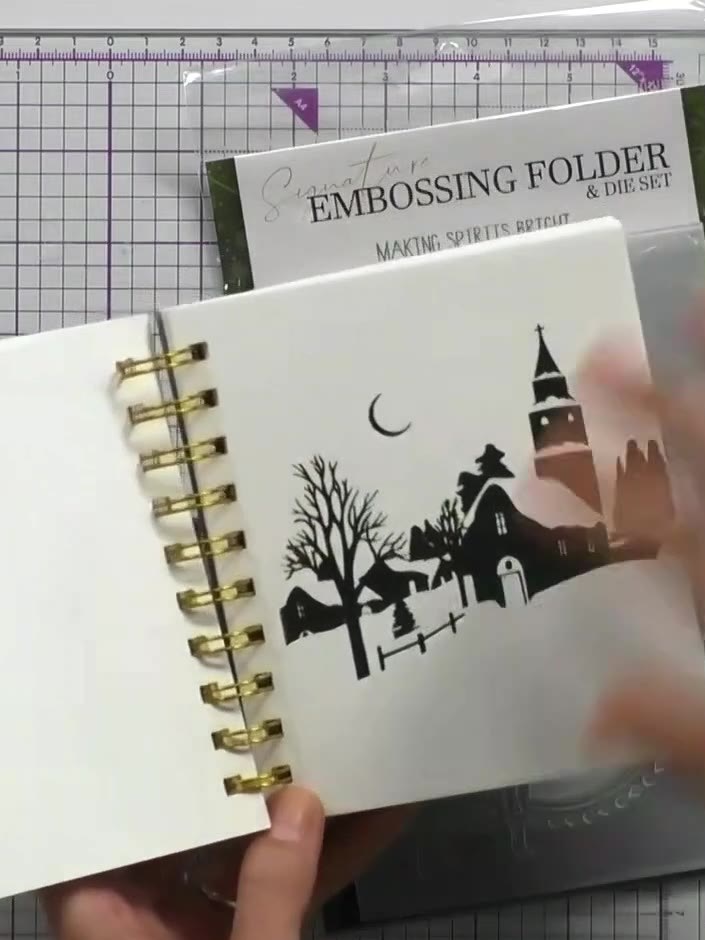
Create a beautiful greeting card featuring a winter village scene with a church tower, bare tree and crescent moon. The design is embossed with gold foil which acts as a resist when colouring, making it easy to add colour within the lines. This elegant card uses simple colouring techniques to achieve a professional finish with a festive, atmospheric feel.
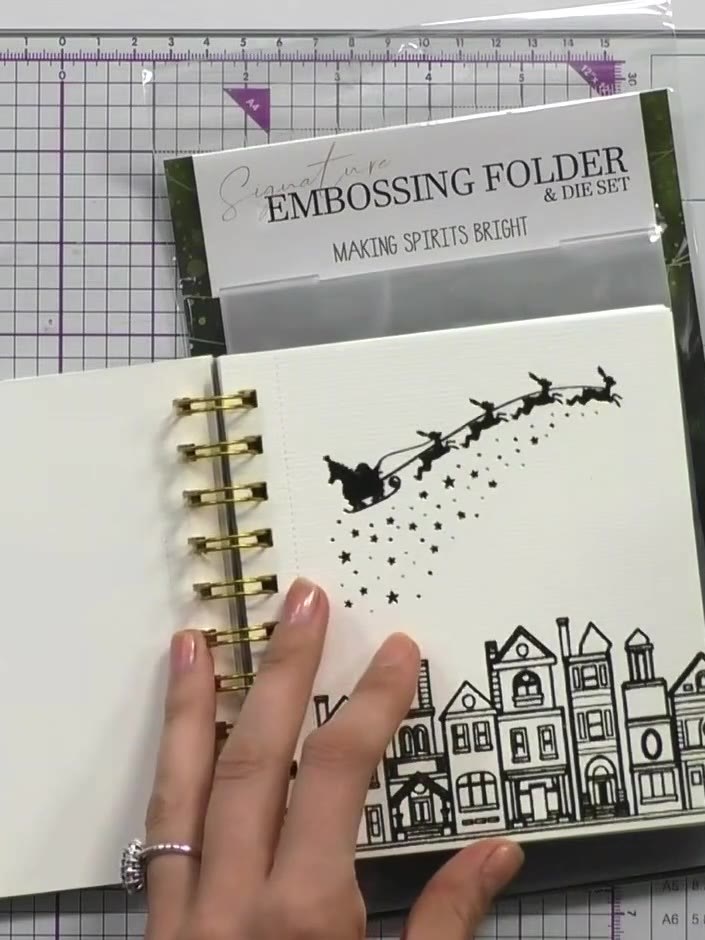
Open the ring-bound foil colouring book to reveal the festive scene pages. Select a page you wish to colour - the book features designs including Santa's sleigh with reindeer and stars, and a row of houses.
▶ watch this step (41:15)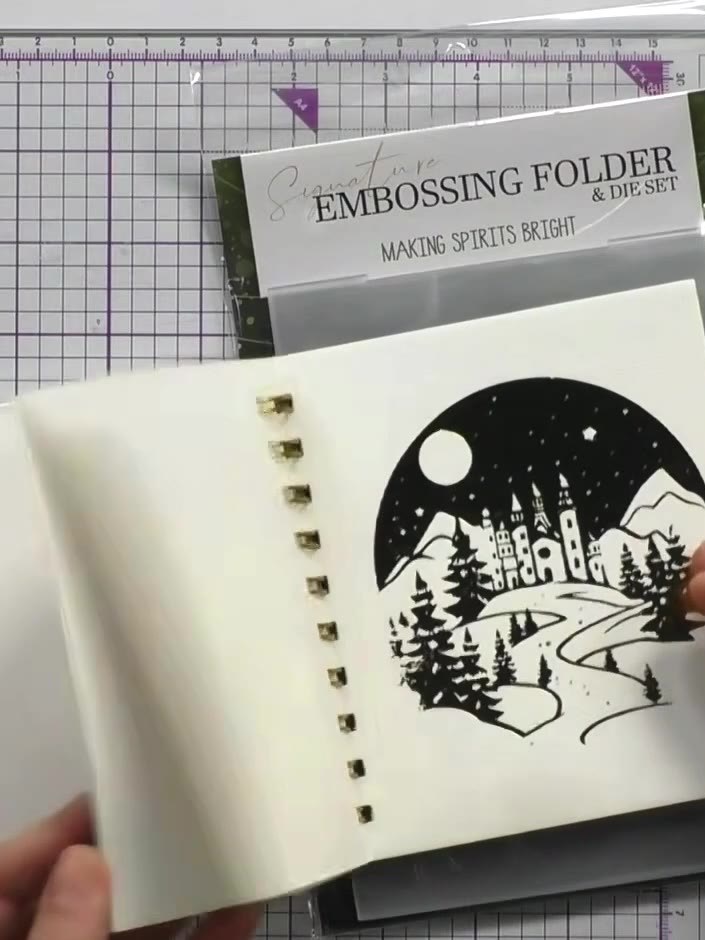
Colour the stamped image using watercolours, paints or coloured pencils. The foiled areas will resist the colour, creating definition and contrast in your design.
▶ watch this step (41:30)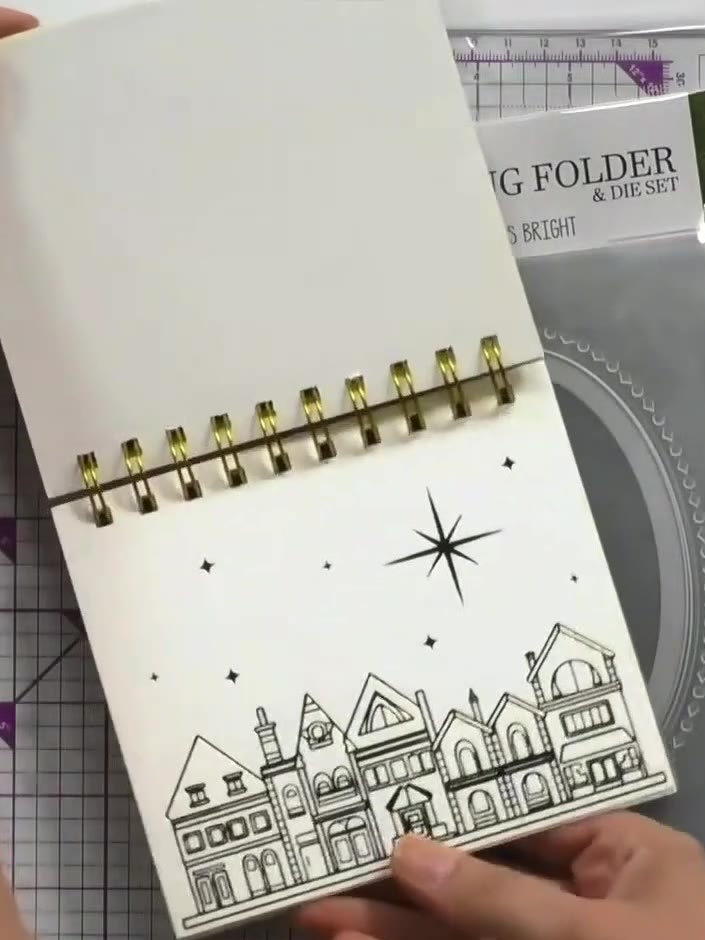
Once the colouring is dry, carefully tear out the completed page along the perforation at the side of the colouring book. The page should separate cleanly from the spiral binding.
▶ watch this step (42:00)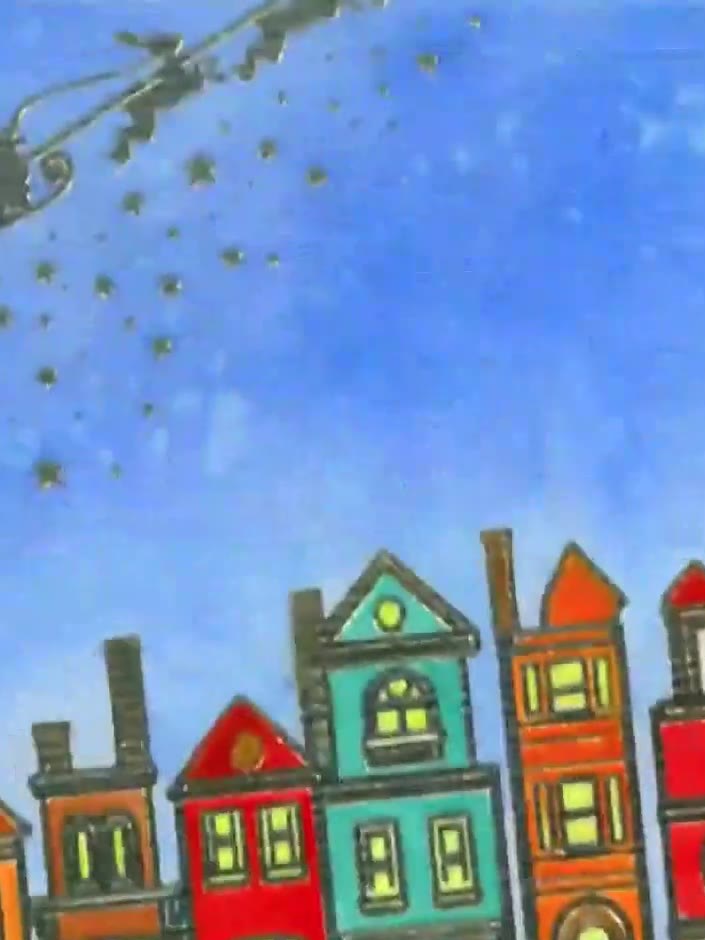
Mount your coloured page onto a card blank using adhesive. Ensure the design is centred and press down firmly to secure it in place.
▶ watch this step (42:15)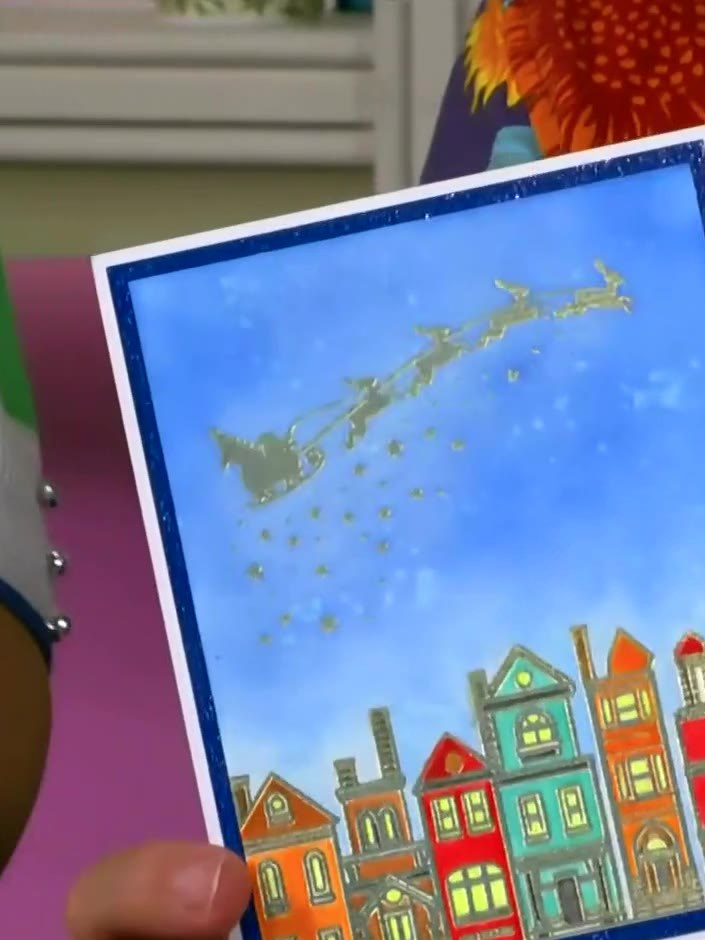
Add a sentiment or greeting to complete your card. Position a 'Happy Birthday' or festive sentiment stamp on the white panel at the top right of the card. The embossing folder can also be used to add texture to other elements if desired.
▶ watch this step (42:30)Written up from the show itself. See every guide from our shows · free how-to guides · watch live on My Telly