Give your friends £10 off their first order!
Refer a FRIEND








A project from our live show ONE DAY SPECIAL - Join Toni for her brand new release - Broadcast 30th August 24 · 30/08/2024 · watch it from 16:00
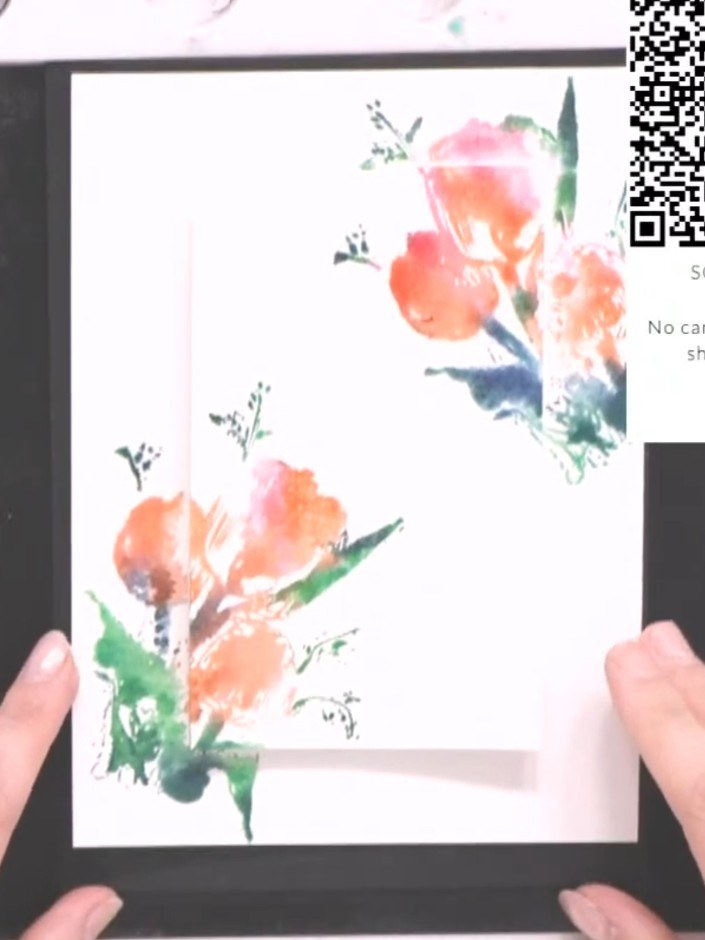
Create a beautiful layered card featuring watercolour florals in soft peach and green tones with an inspirational sentiment. Using the spotlight stamping technique, you'll build up colour with lamination stamps on watercolour paper, add delicate black outline details, and mount your design on coordinating teal and white panels for a sophisticated finish.
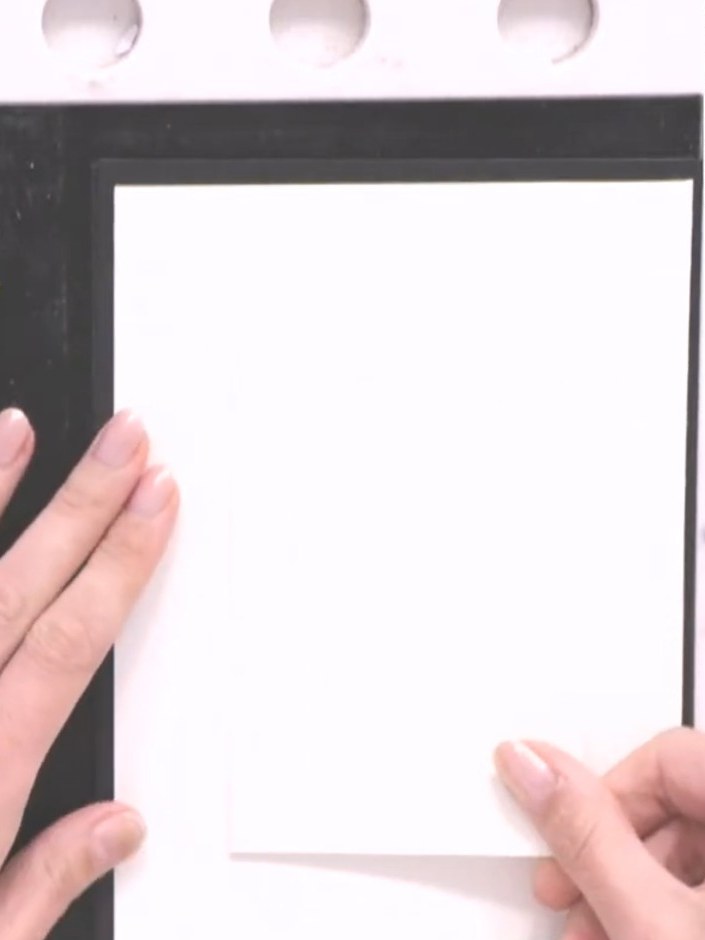
Cut two pieces of A5 watercolour card. Position them side by side on your craft mat and join them in the centre with low-tack tape to create a fold line.
▶ watch this step (17:30)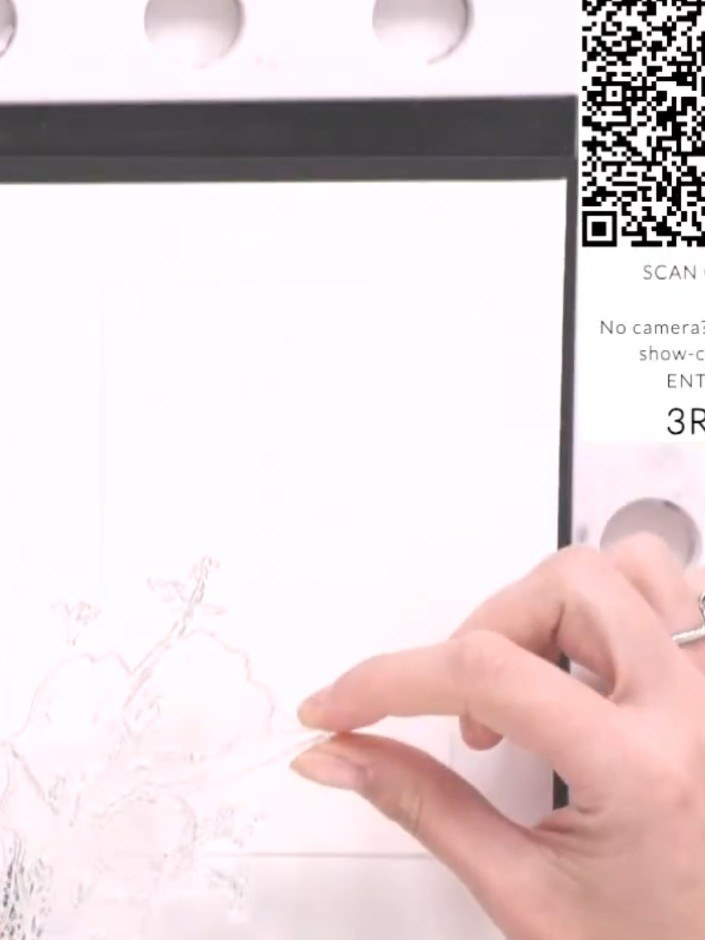
Position the solid portion of the Doing Great stamp on the side of the white card panel, offsetting it slightly from the edge. Use the grid lines on your cutting mat to help align the stamp.
▶ watch this step (18:00)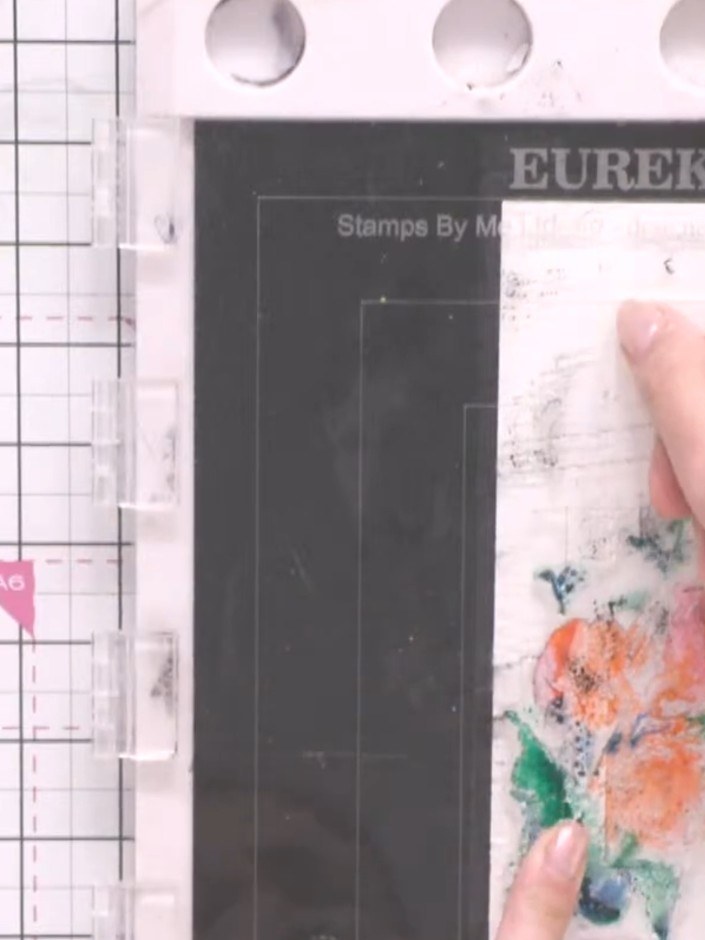
Spot pink and orange ink pads onto the flower heads of the stamp, allowing the colours to blend naturally on the stamp surface.
▶ watch this step (18:30)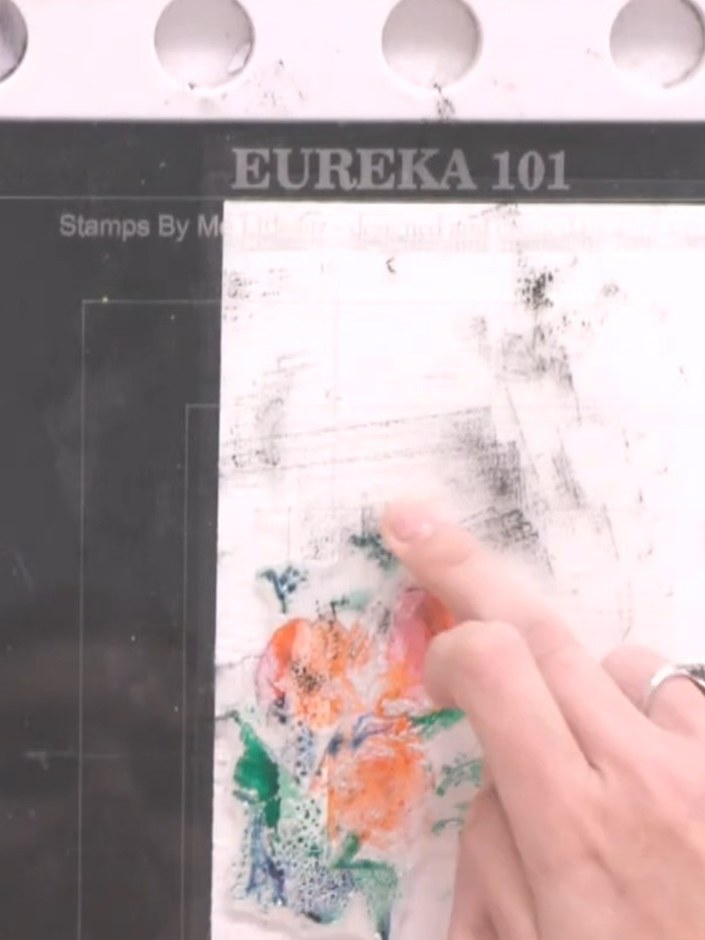
Apply green and teal inks to the leaves and stems of your stamped design, covering all areas. Use an ink pad to dab colour directly onto the foliage elements.
▶ watch this step (19:00)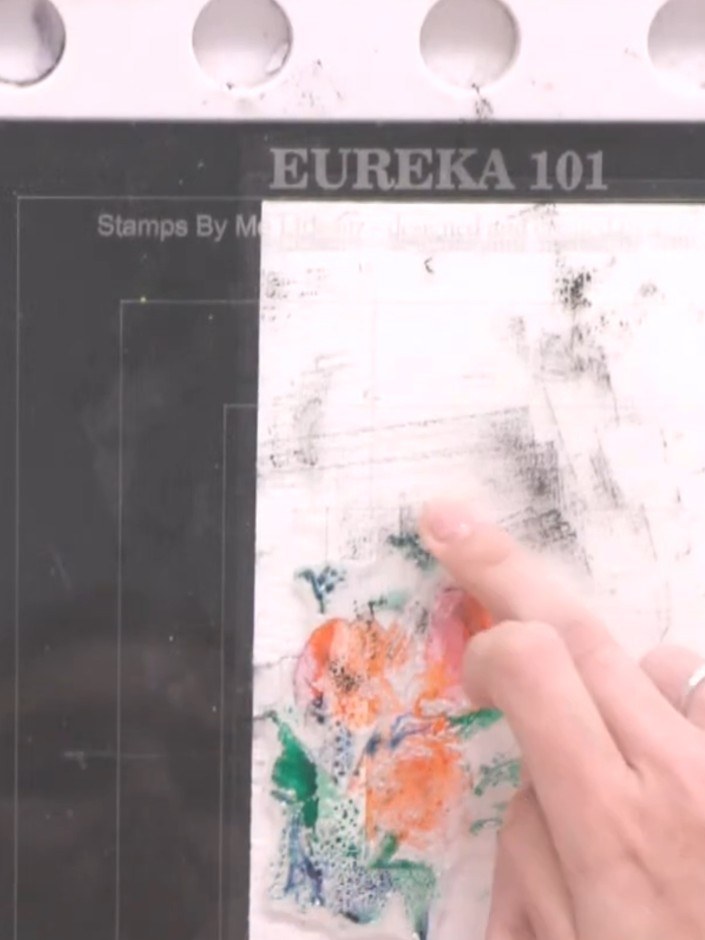
Spray the inked stamp with water two to three times to activate the watercolour effect. The colours will begin to blend and spread on the stamp surface.
▶ watch this step (19:15)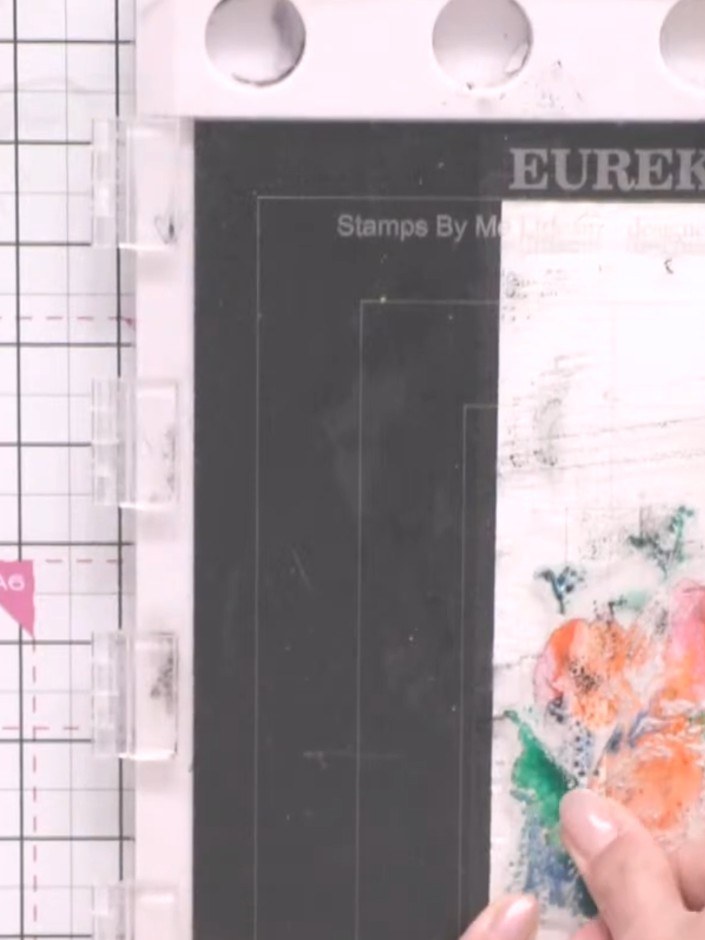
Press the stamp firmly onto the card, ensuring the ink reaches into the fold crease. Lift the stamp away carefully to reveal the watercolour floral image.
▶ watch this step (20:00)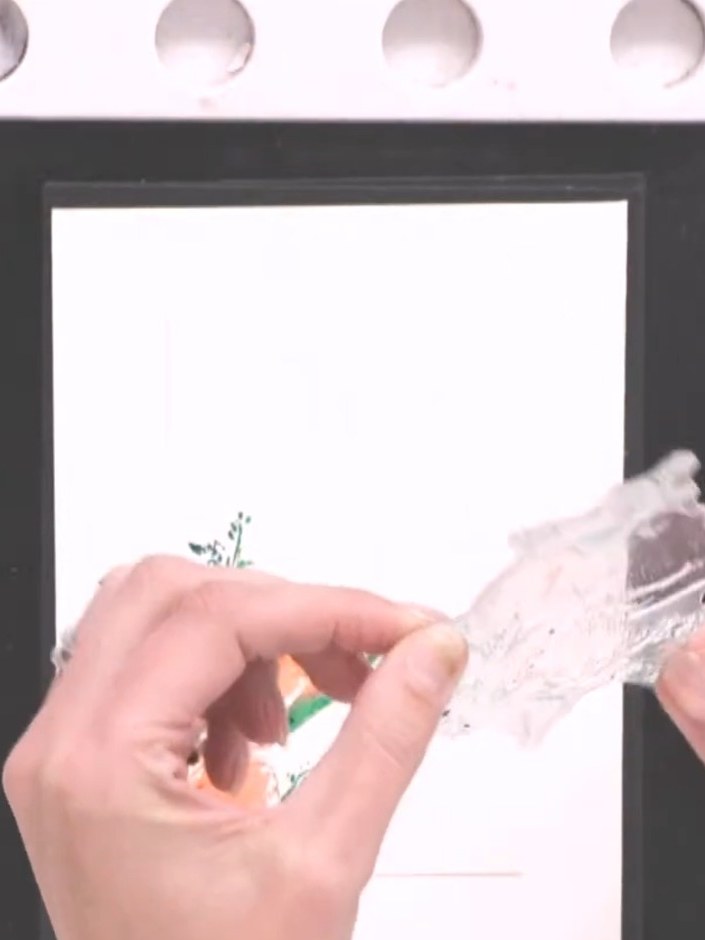
Use a heat gun to dry the watercoloured floral design completely, setting the inks before proceeding to the next step.
▶ watch this step (20:30)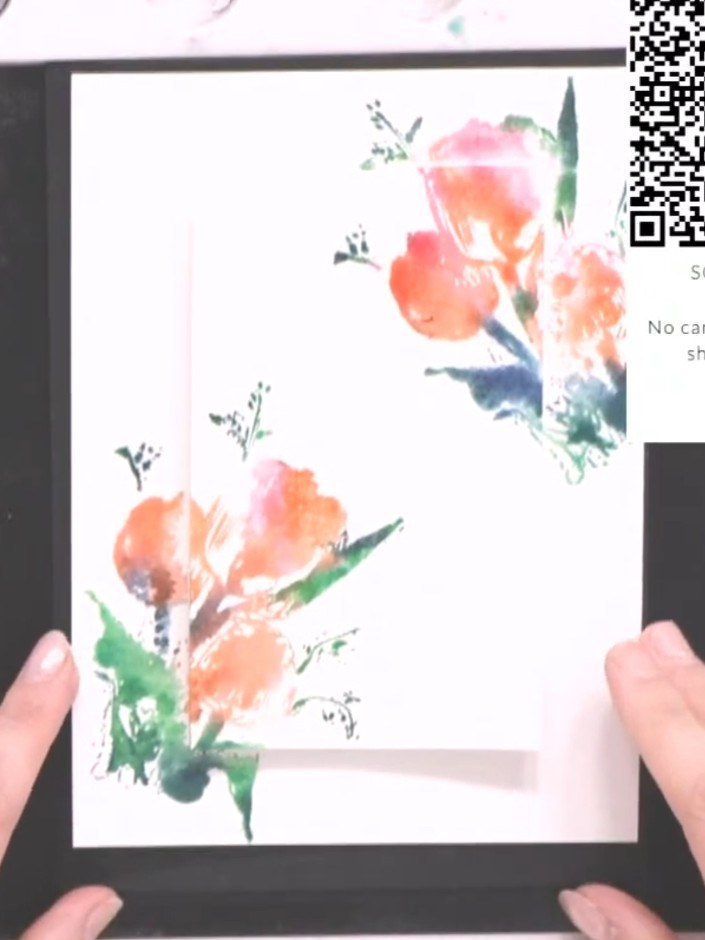
Align the outline portion of the stamp over the dried watercoloured floral design. Stamp carefully in black ink to add definition and detail to the flowers and leaves.
▶ watch this step (24:00)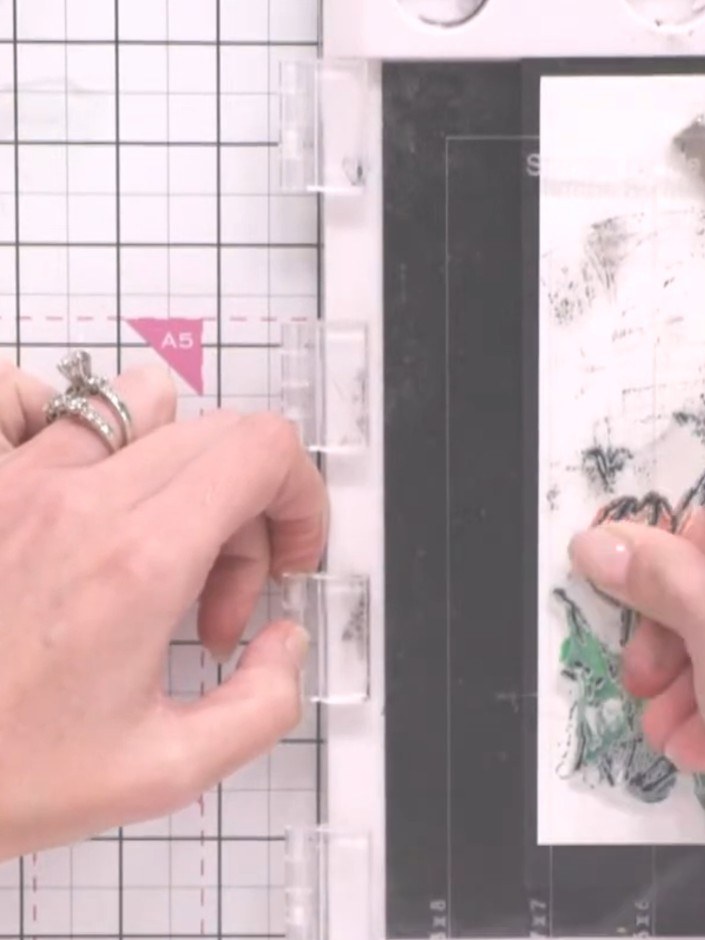
Stamp a sentiment from the stamp set onto the card front using black ink. Position the sentiment in your desired location on the watercolour floral design.
▶ watch this step (24:30)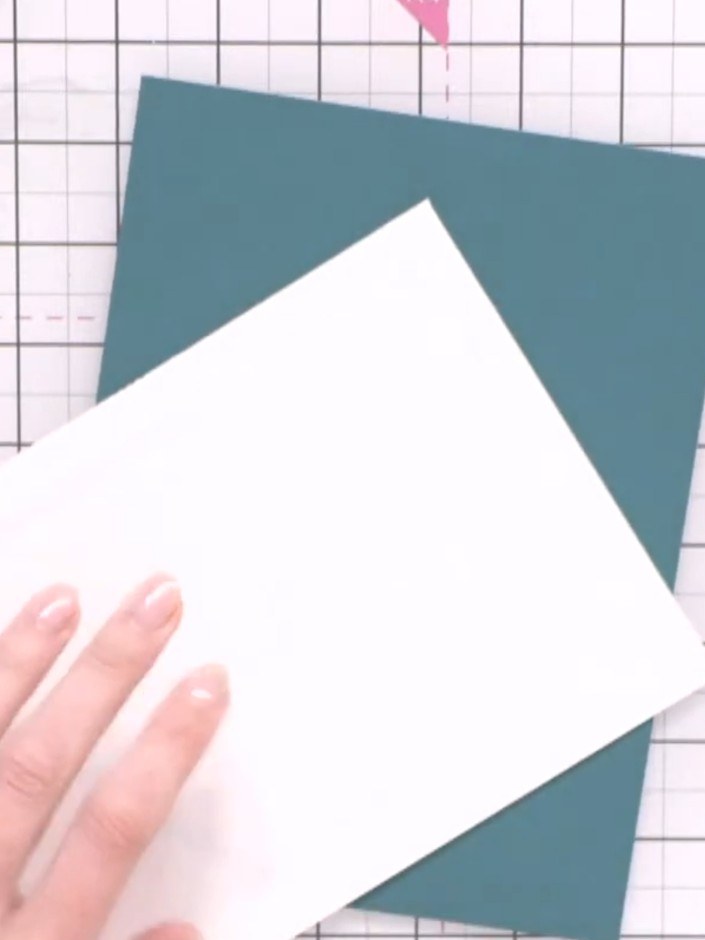
Mount the stamped watercolour panel onto the teal card base using foam pads to create dimension.
▶ watch this step (29:00)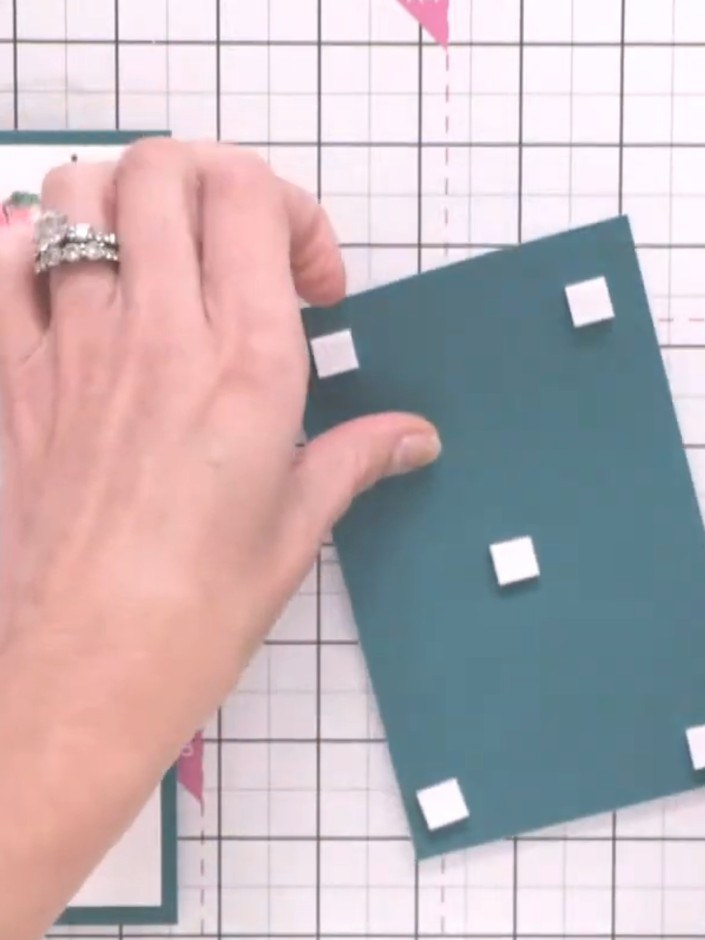
Adhere the completed layered panel with foam pads to a teal folded card blank to finish your card.
▶ watch this step (30:00)Written up from the show itself. See every guide from our shows · free how-to guides · watch live on My Telly
