Give your friends £10 off their first order!
Refer a FRIEND








A project from our live show MY PODCAST - Catch my latest updates broadcast August 26th 2024 · 02/09/2024 · watch it from 21:15
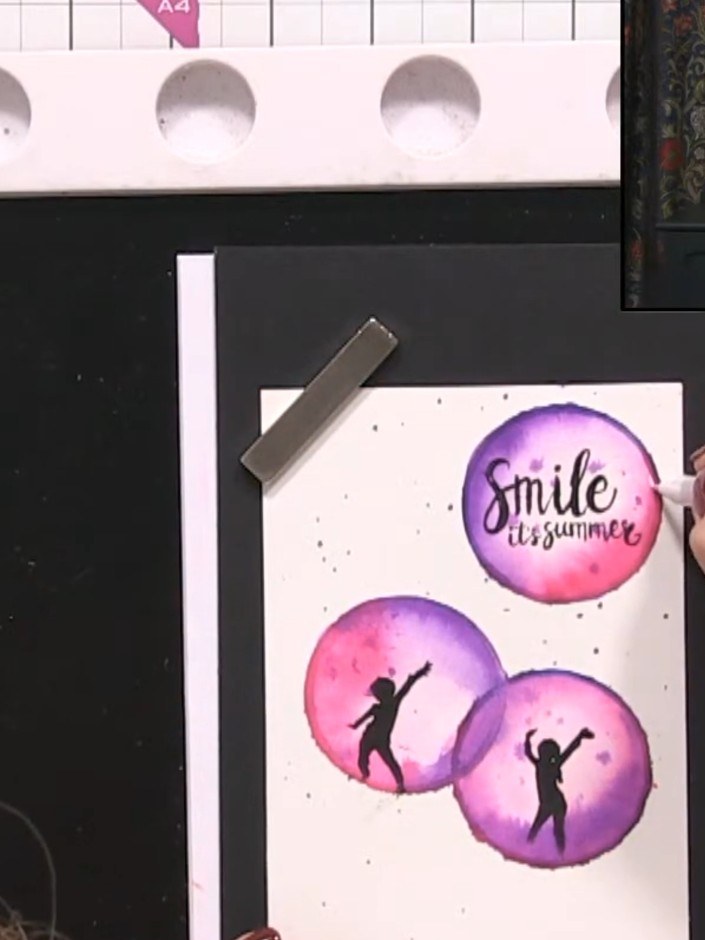
Create a beautiful watercolour bubble effect card featuring vibrant pink and purple circles with silhouetted figures appearing to float inside them. This dreamy design combines simple watercolour techniques using ink pads and a circular lid as a guide, finished with stamped silhouettes and a cheerful sentiment. The soft, blended colours and whimsical composition make this perfect for uplifting greeting cards.
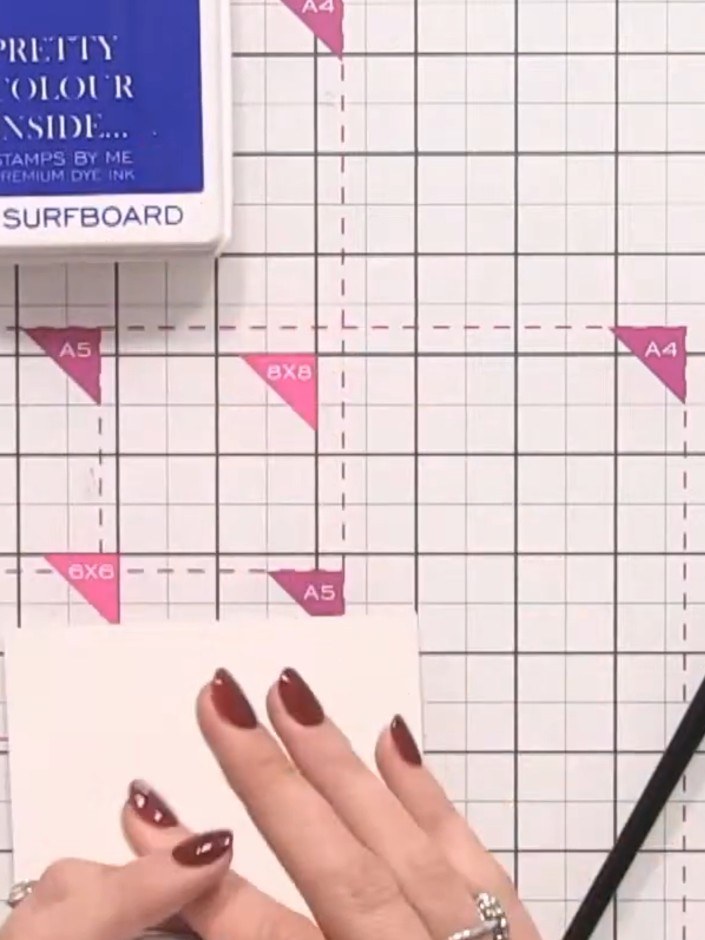
Cut a piece of watercolour card to A5 size, then cut it in half to create two smaller pieces.
▶ watch this step (22:00)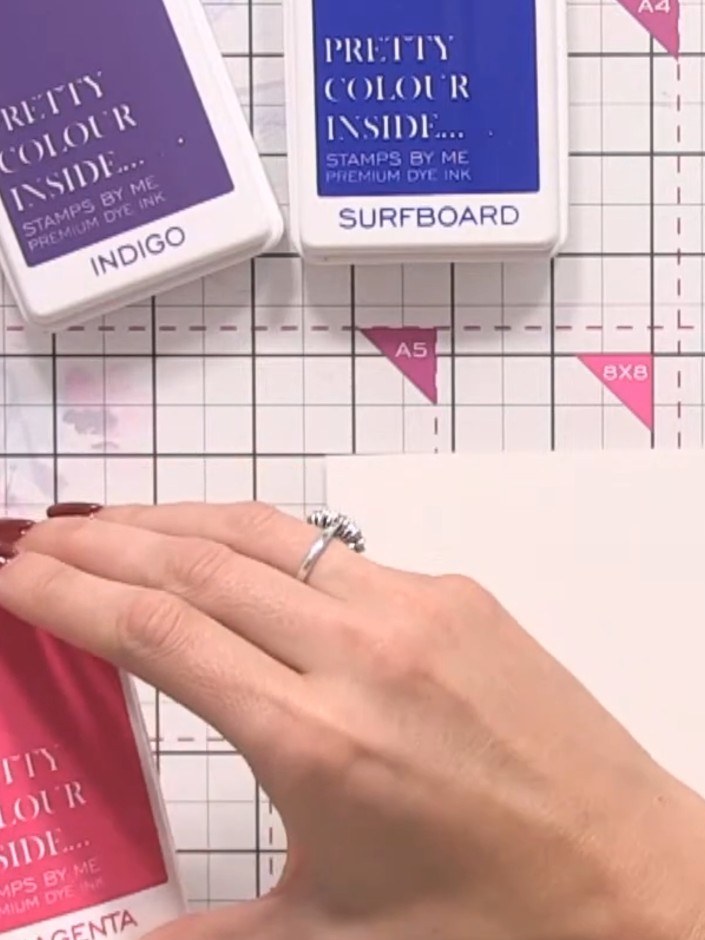
Take a circular lid and press it onto the Magenta ink pad to pick up colour on the rim. Repeat with the Indigo and Surfboard ink pads to load the lid with multiple colours.
▶ watch this step (23:15)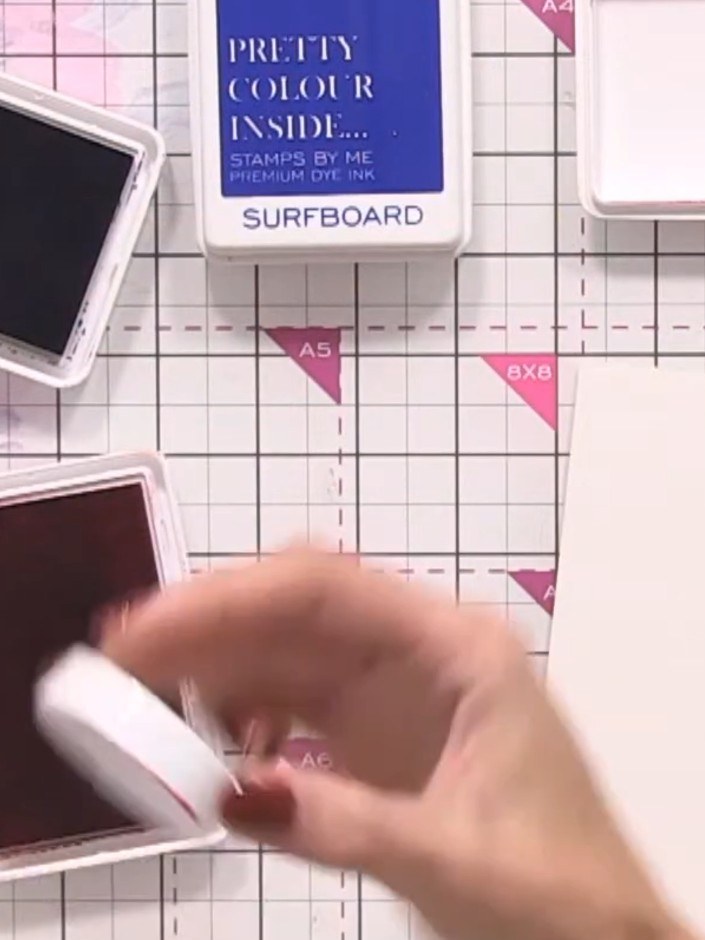
Press the inked lid onto your watercolour card to transfer the circular ink pattern. Use a dabbing motion to ensure good contact with the card surface.
▶ watch this step (23:45)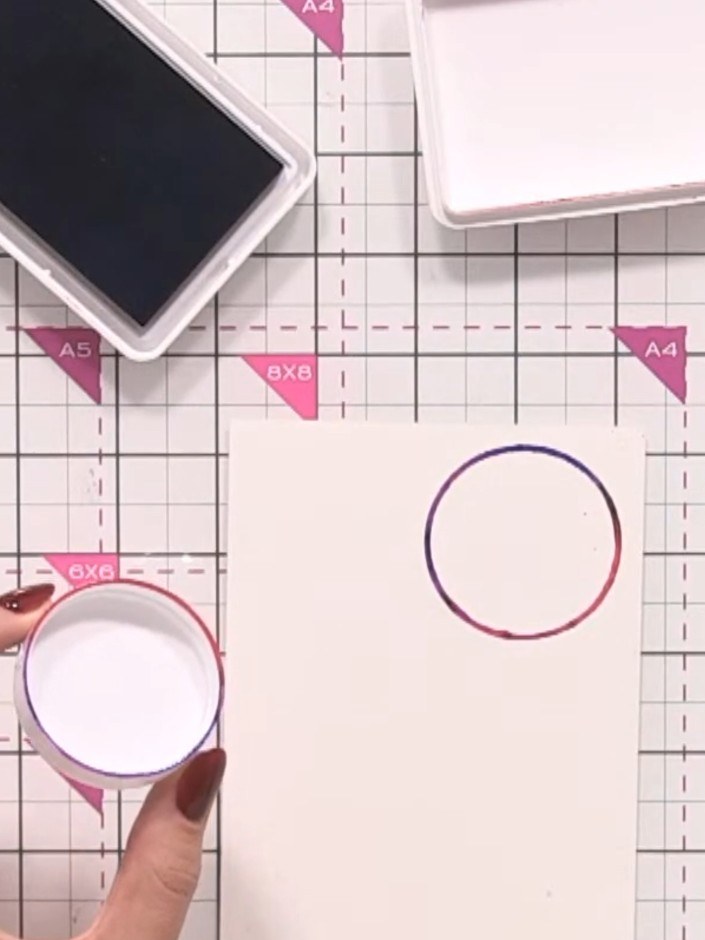
Continue creating circular outlines across your watercolour card using the circular lid. Overlap the circles slightly to create an interesting bubble pattern. Build up multiple circles to fill the card surface.
▶ watch this step (24:30)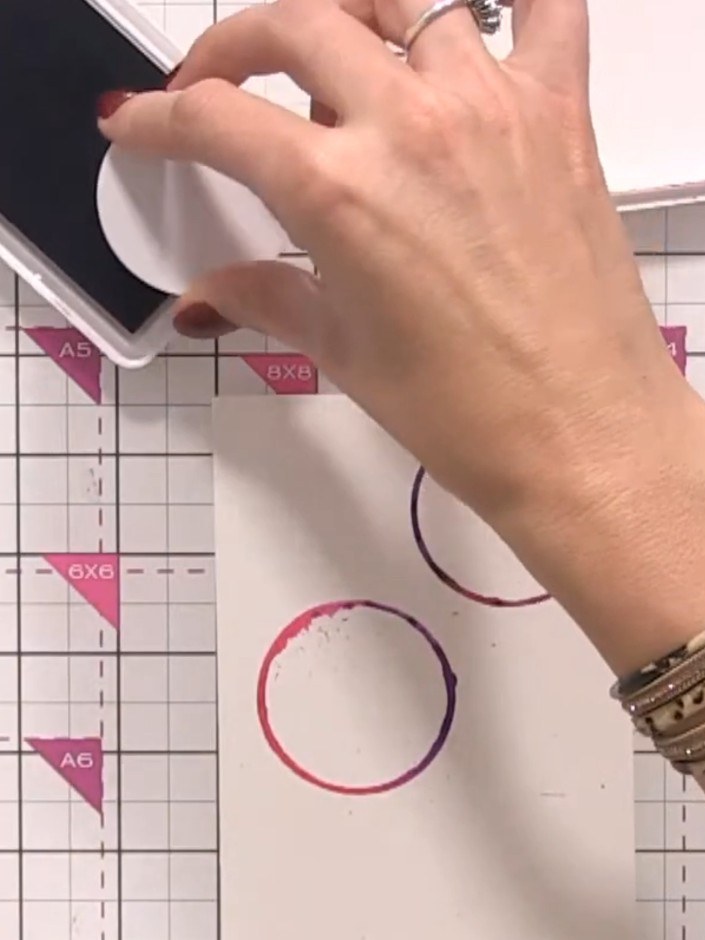
Wipe the lid clean with your finger or a cloth to remove any excess ink. Return the lid to your ink pad to keep it fresh for future use.
▶ watch this step (25:00)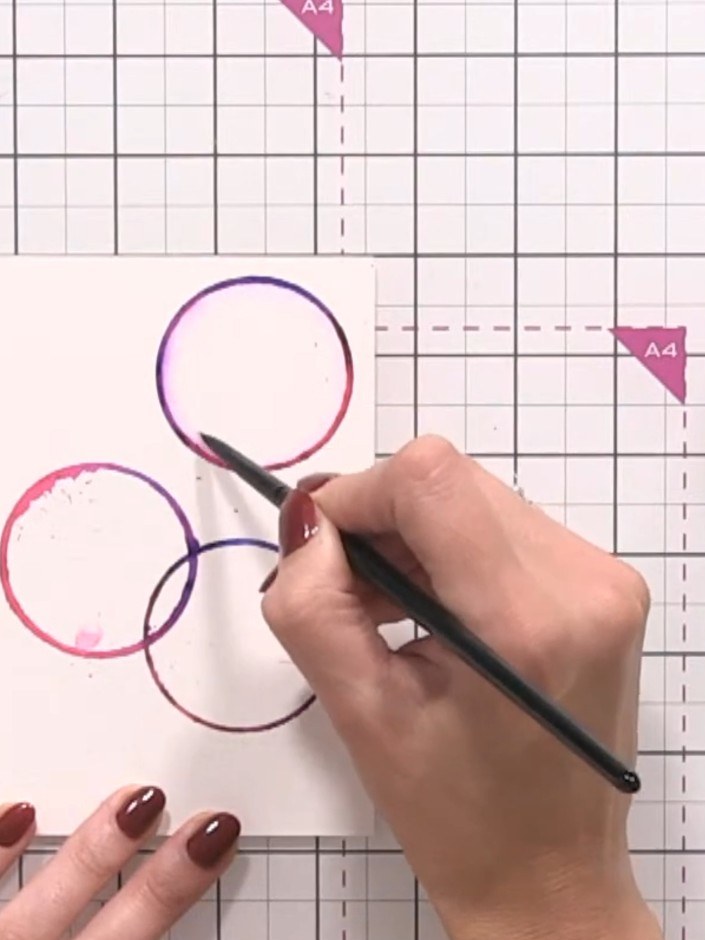
Using a clean water brush, add a circle of water inside each coloured circle. This will activate and blend the ink, creating a soft watercolour effect.
▶ watch this step (26:00)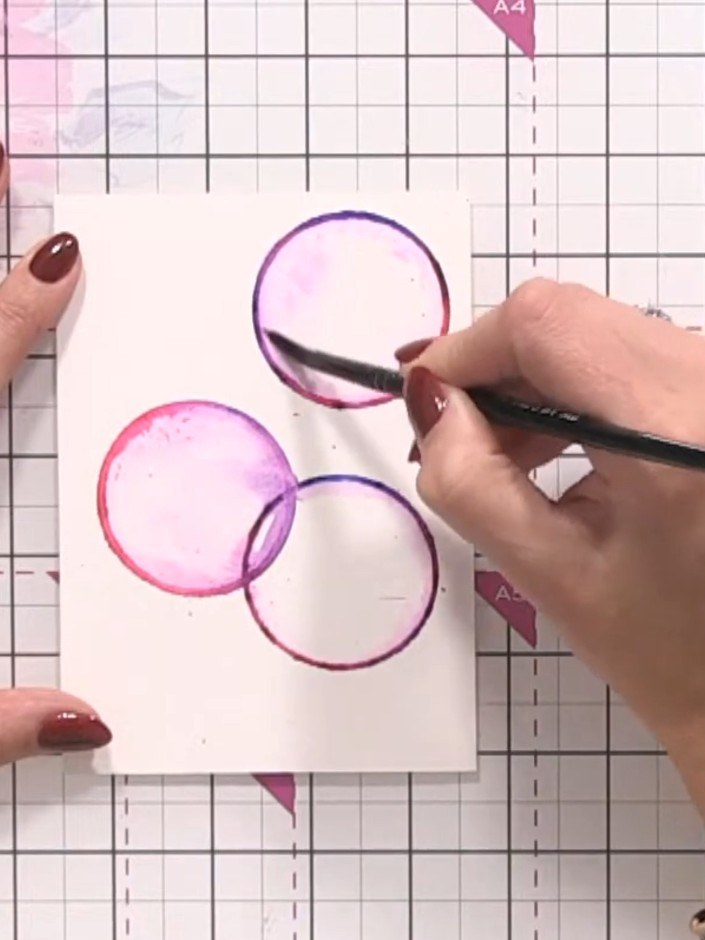
Using your brush, pull the colour outward from the edges of each circle towards the centre to create a bubble effect. Keep the centre of each bubble lighter for a realistic appearance.
▶ watch this step (27:00)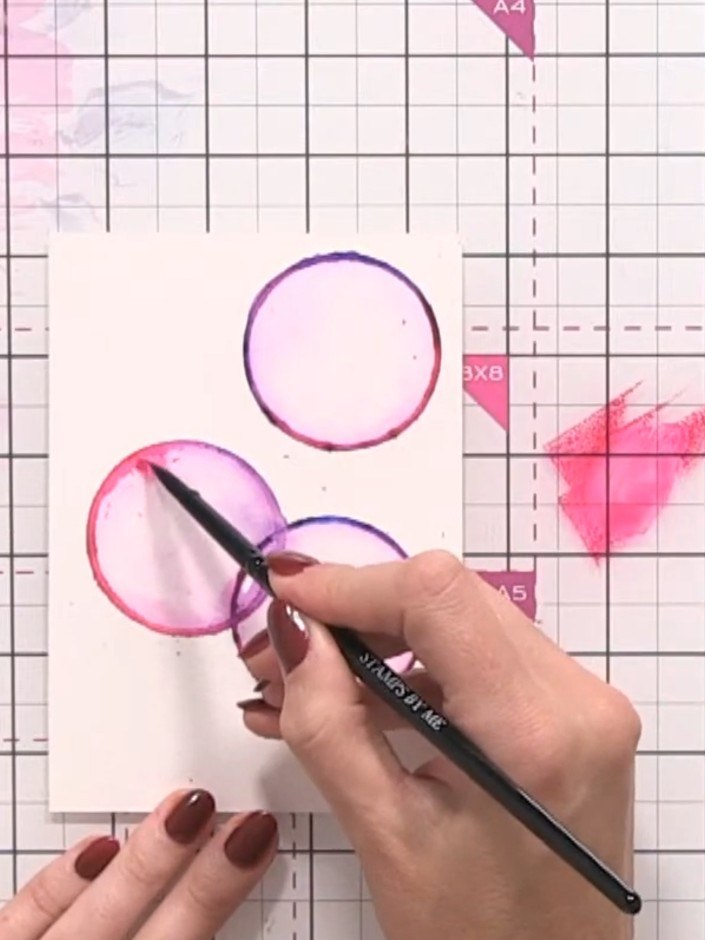
Drop additional ink colour into the wet areas of each bubble to add depth and dimension. Allow the colours to blend naturally where they meet.
▶ watch this step (28:00)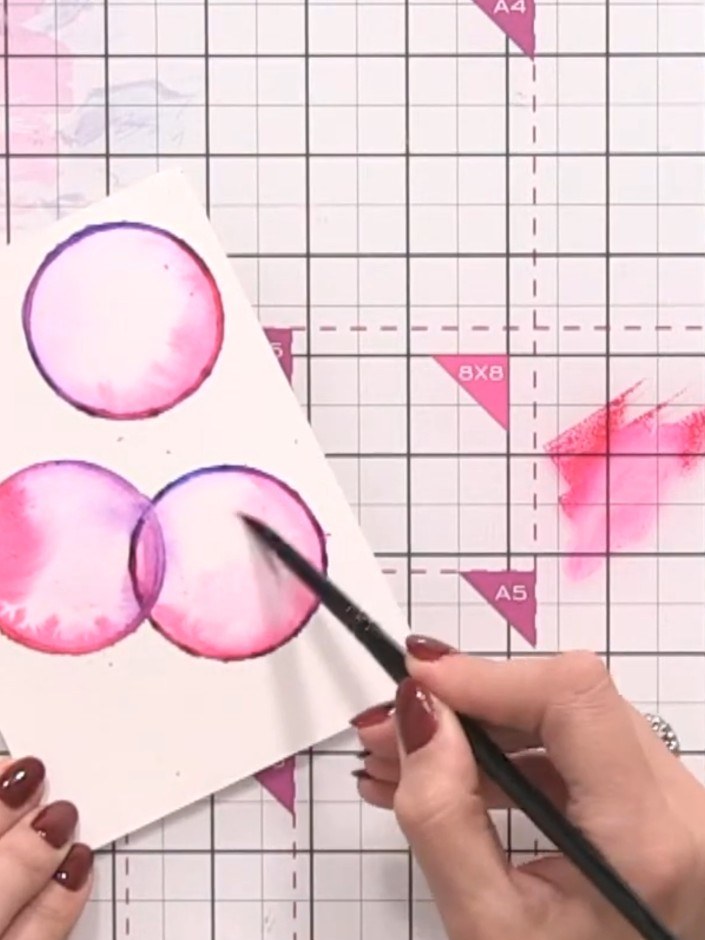
Use a damp brush to blend and soften any harsh lines on the bubbles. Add more water if needed to create smooth transitions between the pink and purple tones.
▶ watch this step (29:00)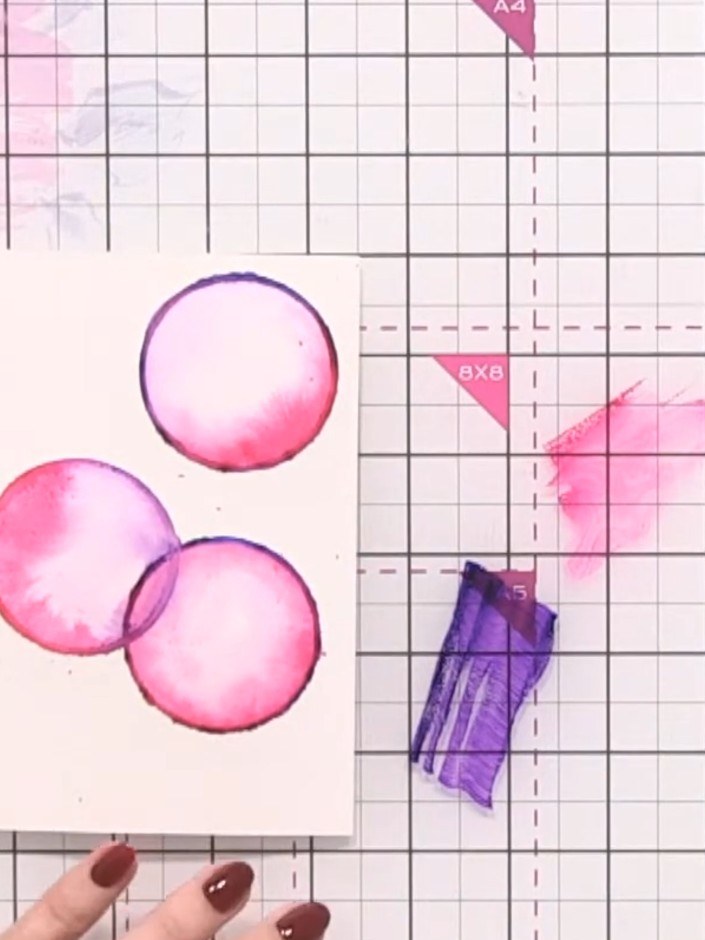
Use a paintbrush to add splats of leftover ink colours across the card for an abstracted watercolour effect. Keep tissue handy to dab and blend the colours as needed.
▶ watch this step (30:00)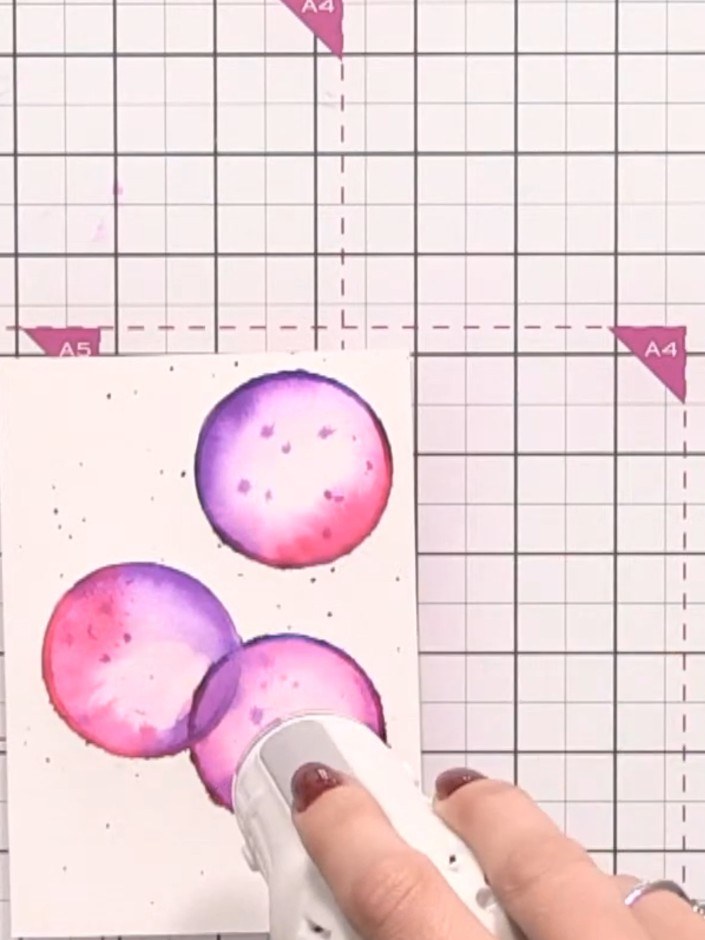
Dry the card completely using a heat gun. Hold the heat gun over the watercoloured bubbles until all the ink is fully dry.
▶ watch this step (34:00)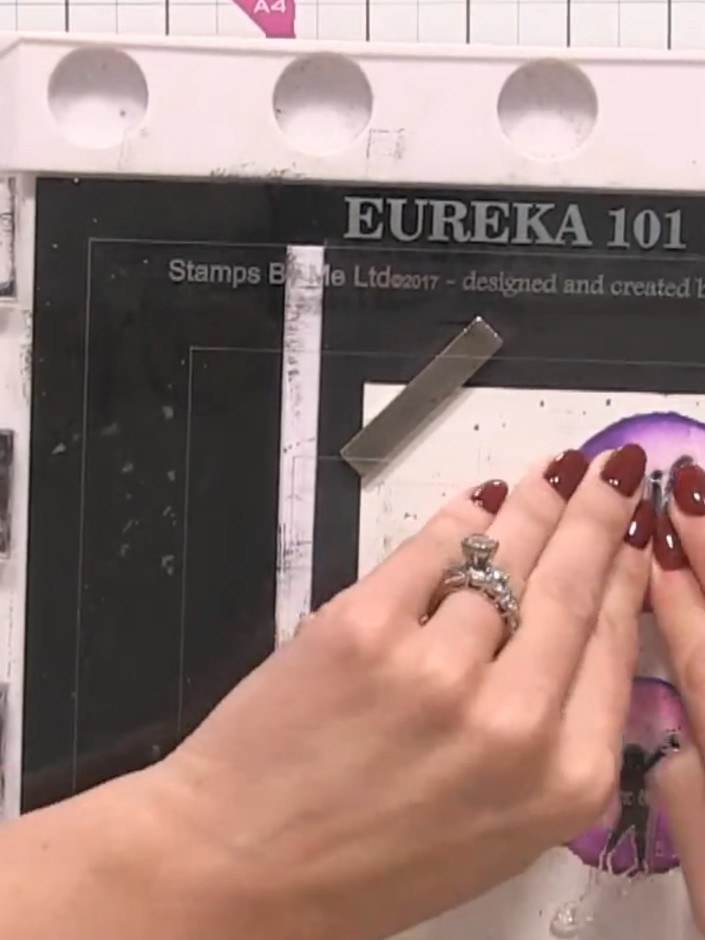
Stamp silhouette characters inside the bubbles using the reflection collection stamps. Position the stamps carefully within each bubble to create the desired effect.
▶ watch this step (36:15)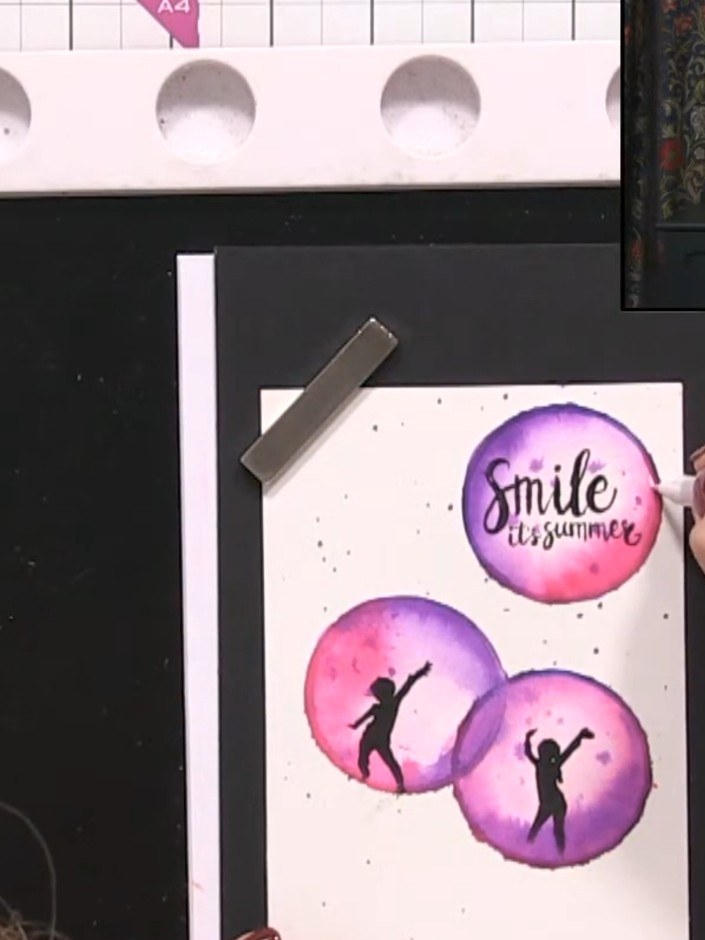
Using a white gel pen, add highlights around the stamped silhouettes to create a halo bubble effect. Draw small curved lines or dots along the edges of each bubble where the figures are positioned.
▶ watch this step (37:45)Written up from the show itself. See every guide from our shows · free how-to guides · watch live on My Telly