Give your friends £10 off their first order!
Refer a FRIEND








A project from our live show ONE DAY SPECIAL - Exclusive by Sarah Gray from Funky Fossil - Broadcast 13th September 24 · 13/09/2024 · watch it from 34:45
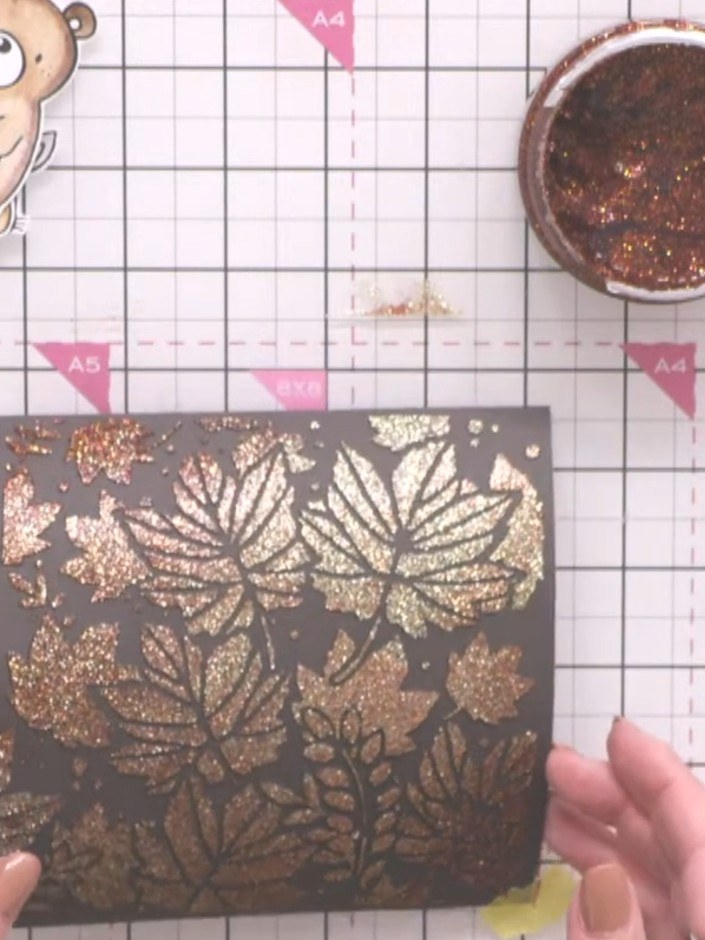
Create a stunning autumnal card featuring a beautiful leaf stencil design with luxurious sparkly texture. Using a dark brown card base, you'll layer three gorgeous Stella paste colours - champagne-on-ice, spellbound, and ruby slipper - through a 6x6 inch leaf stencil to achieve a rich, multi-tonal shimmering background. This elegant mixed media technique combines stencilling and texture paste blending for a sophisticated handmade card perfect for any occasion.
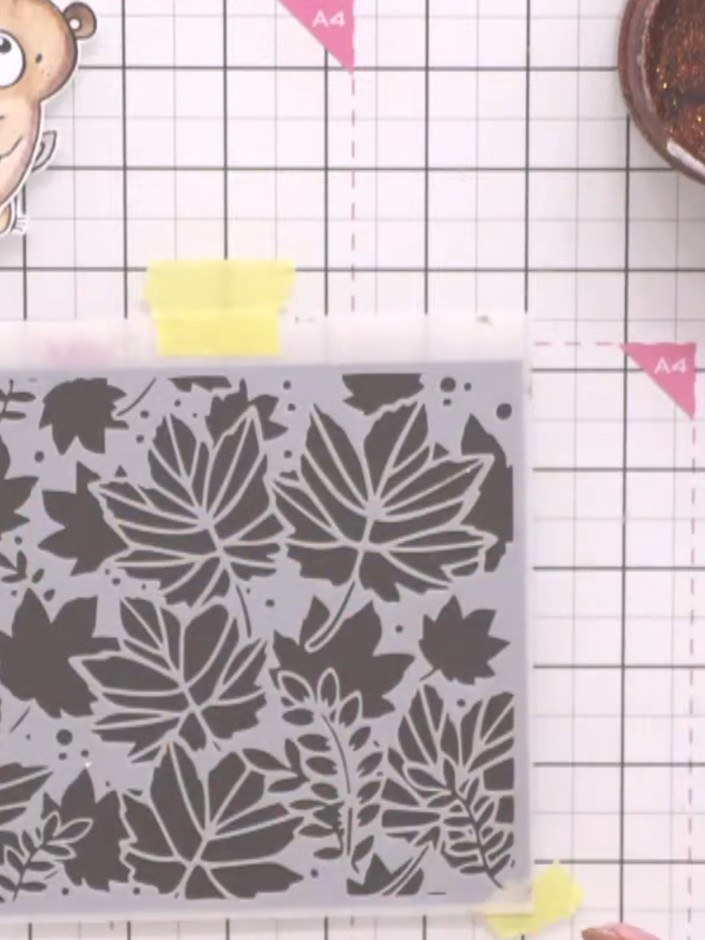
Position the 6x6 inch leaf stencil on dark brown cardstock and secure it in place with masking tape at the top and bottom edges.
▶ watch this step (35:00)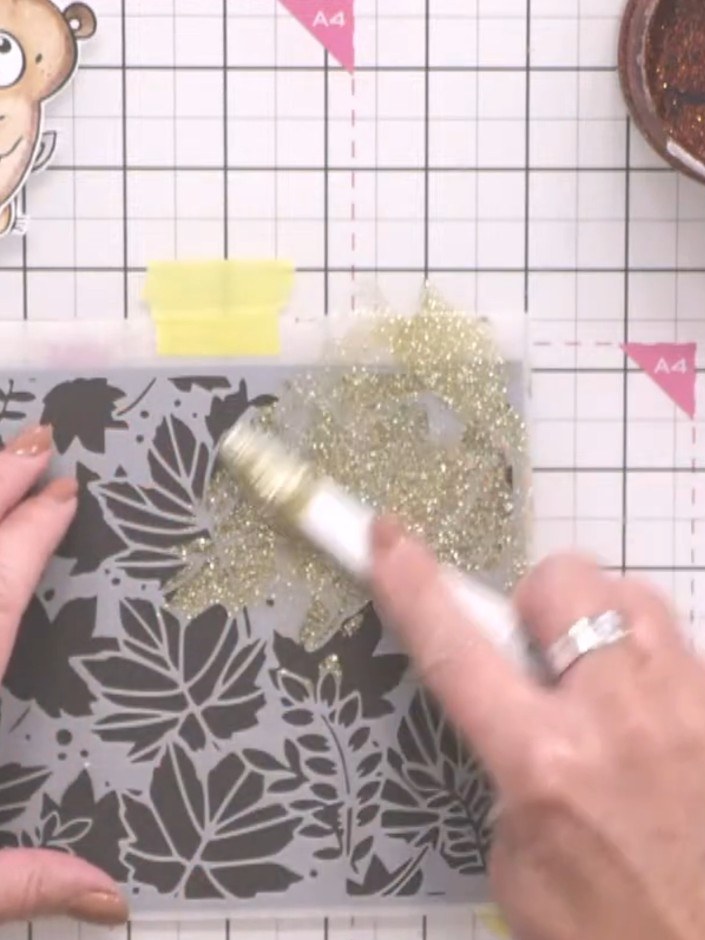
Using a palette knife, spread champagne-on-ice Stella paste through the leaf stencil, covering the leaf areas. Work the paste evenly across the stencil openings.
▶ watch this step (35:30)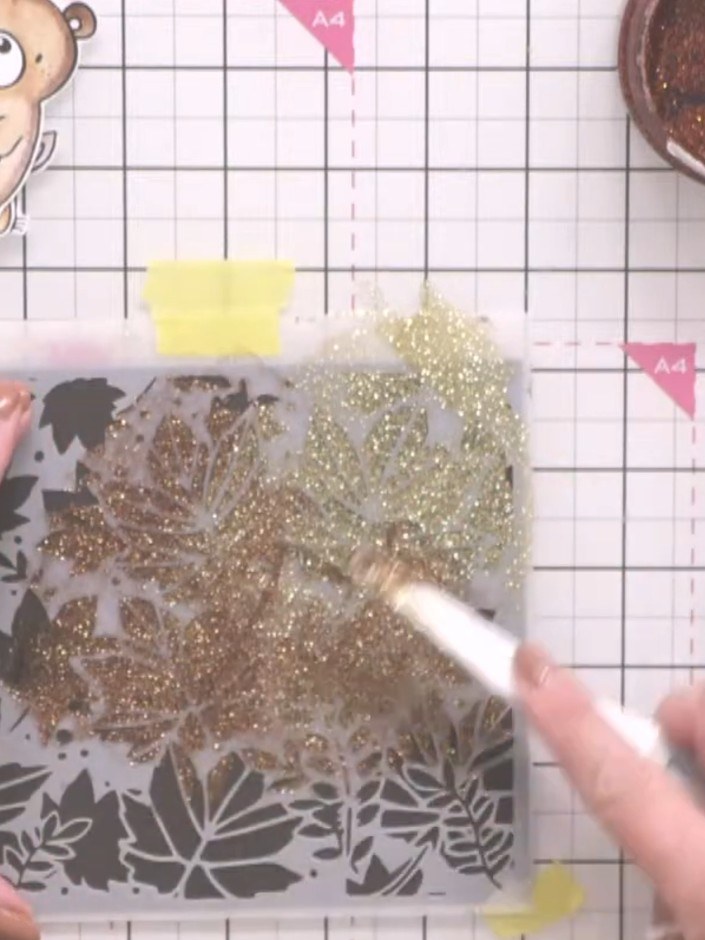
Without removing the stencil, pick up spellbound Stella paste with a brush and layer it over the champagne paste, blending the two colours together.
▶ watch this step (36:00)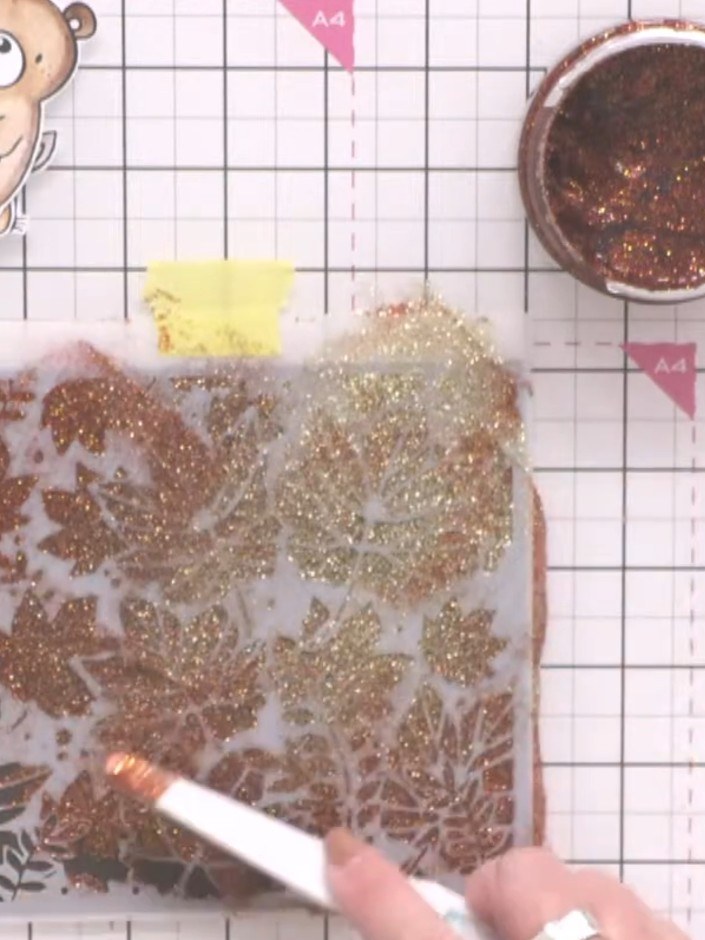
Add ruby slipper Stella paste at the bottom of the stencil. Mix backwards and forwards with the other colours using a palette knife to create a multi-tonal effect.
▶ watch this step (36:30)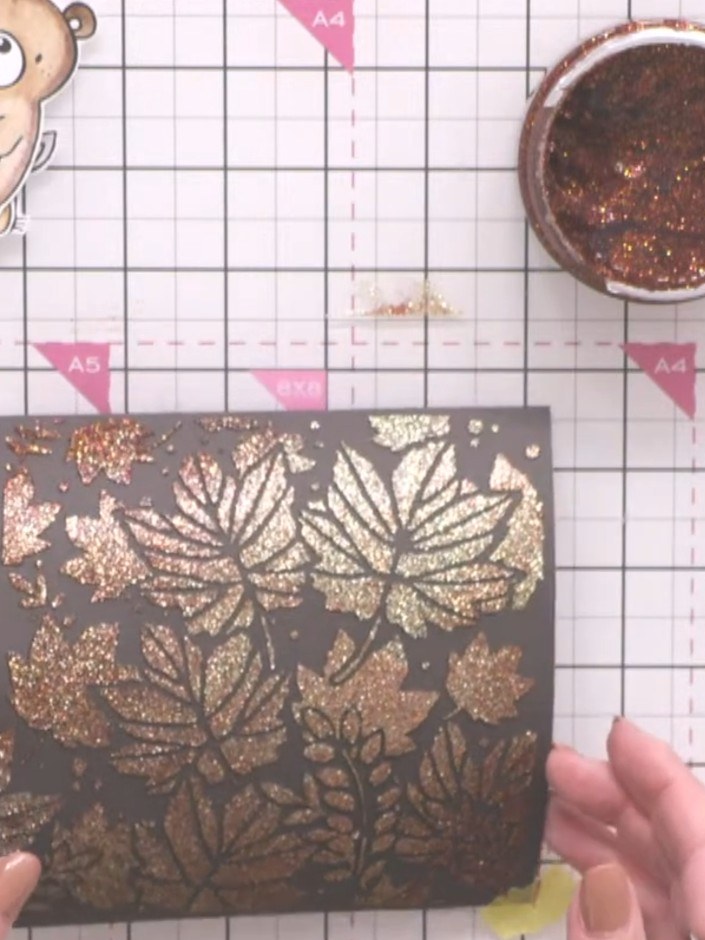
Carefully lift the stencil straight up to reveal the blended, sparkly leaf background with gold and bronze glitter paste.
▶ watch this step (37:00)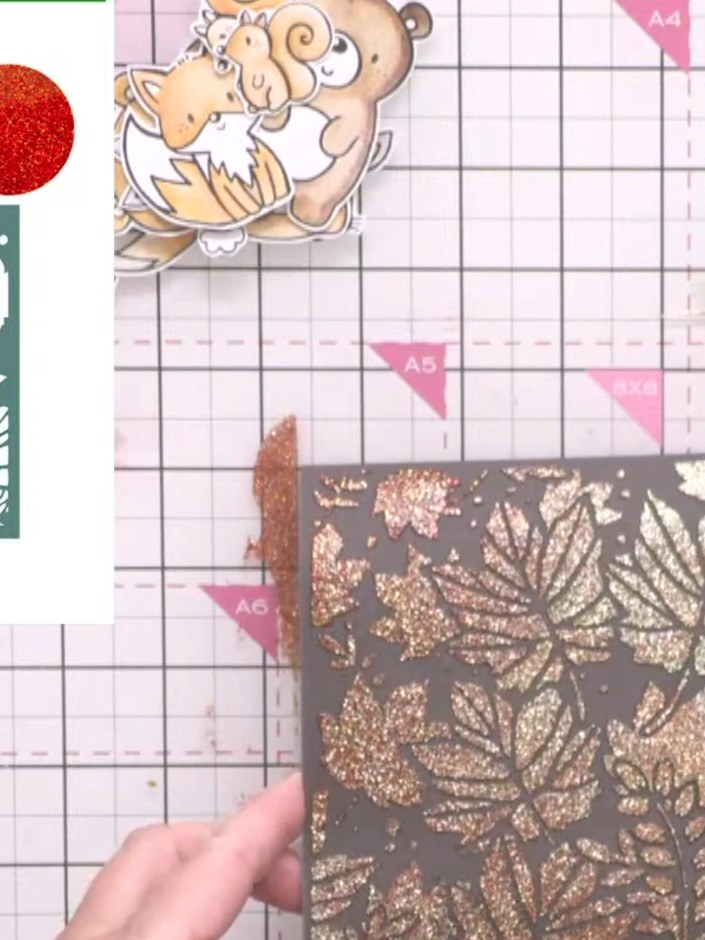
Allow the stencilled card to dry completely before using it as a background or cutting it into shapes for your project.
▶ watch this step (37:15)Written up from the show itself. See every guide from our shows · free how-to guides · watch live on My Telly