Give your friends £10 off their first order!
Refer a FRIEND








A project from our live show ONE DAY SPECIAL - Join Toni for brand new launch - Broadcast 27th September 24 · 27/09/2024 · watch it from 18:45
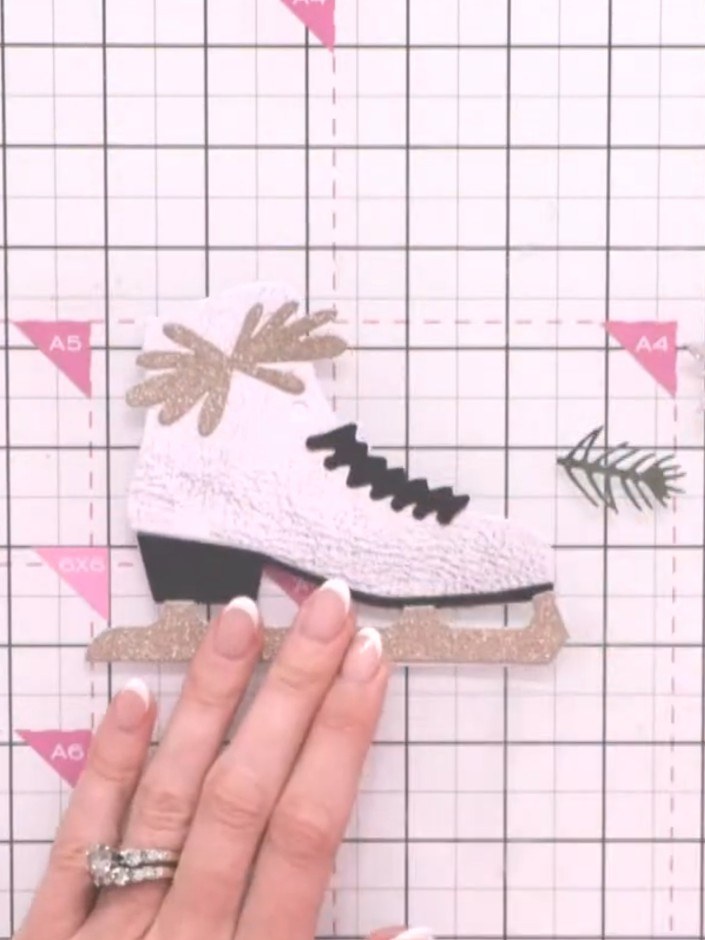
Create a stunning dimensional Christmas card featuring a realistic ice skate boot crafted from die-cut leather-effect paper with metallic blade accents. This shaped card is embellished with layered festive foliage, decorative elements, and can be personalised with a name or sentiment. The project combines die-cutting, layering techniques, and dimensional assembly to create an eye-catching seasonal greeting.
 Twinkling Toes - 110724FSEE IT
 Stamps By Me - Twinkling Toes Die Set - 230224CSEE IT
 Stamps By Me - Twinkling Toes Leather Effect Paper Pad - 230224FSEE IT
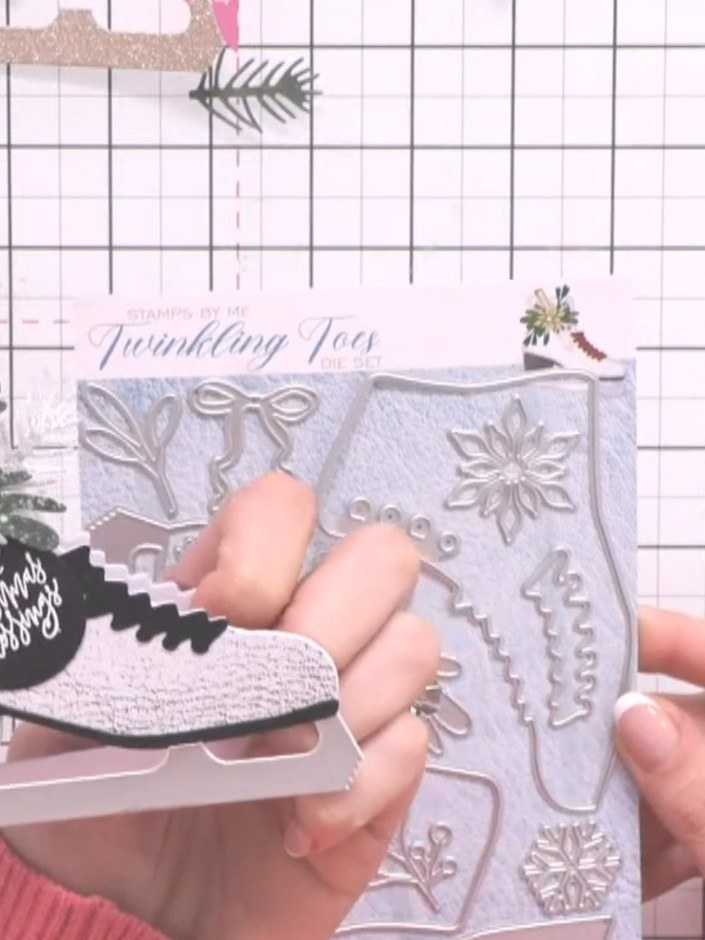
Die-cut the ice skate boot back panel from the gold leather-effect paper using the Twinkling Toes die set. This will form the shaped card base.
▶ watch this step (18:45)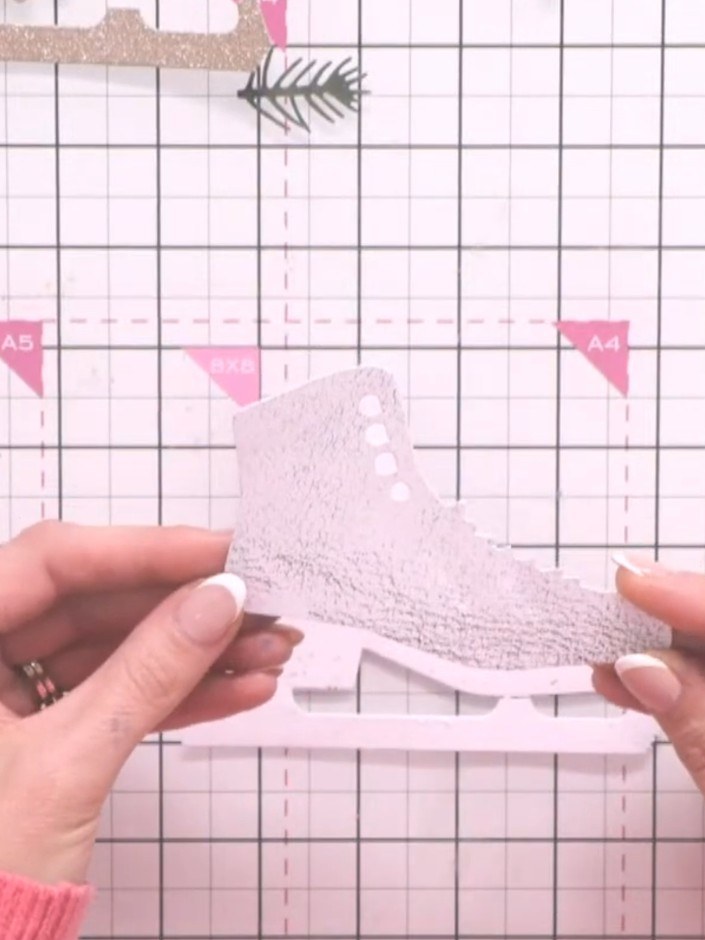
Die-cut the main boot shape from the tan or black leather-effect paper included in the kit.
▶ watch this step (19:00)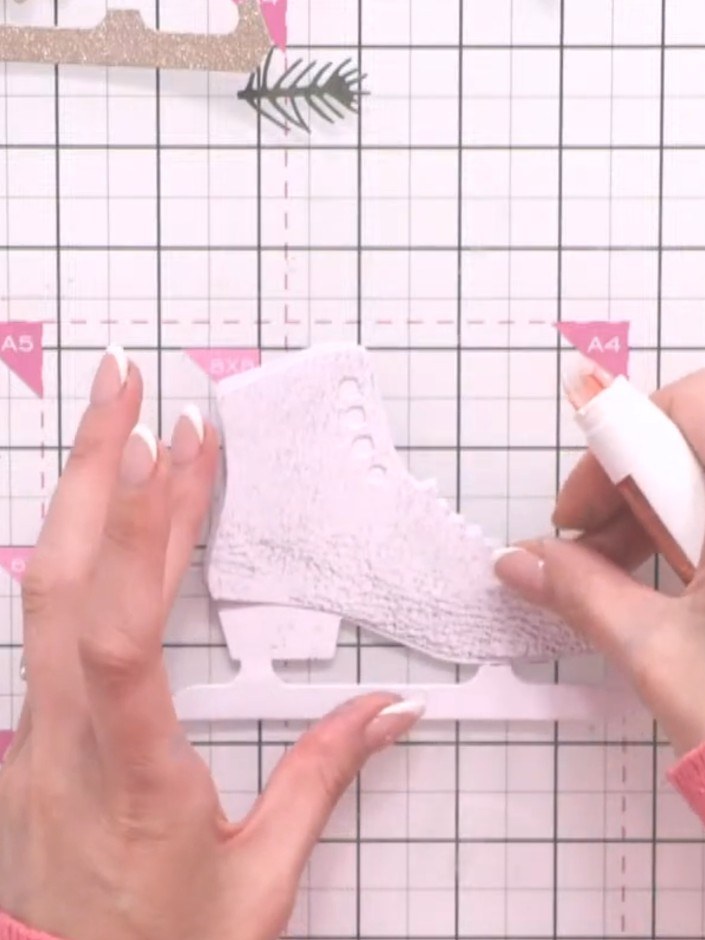
Adhere the white leather effect boot piece onto the back panel using adhesive tape or glue. Position it centrally on the panel.
▶ watch this step (19:15)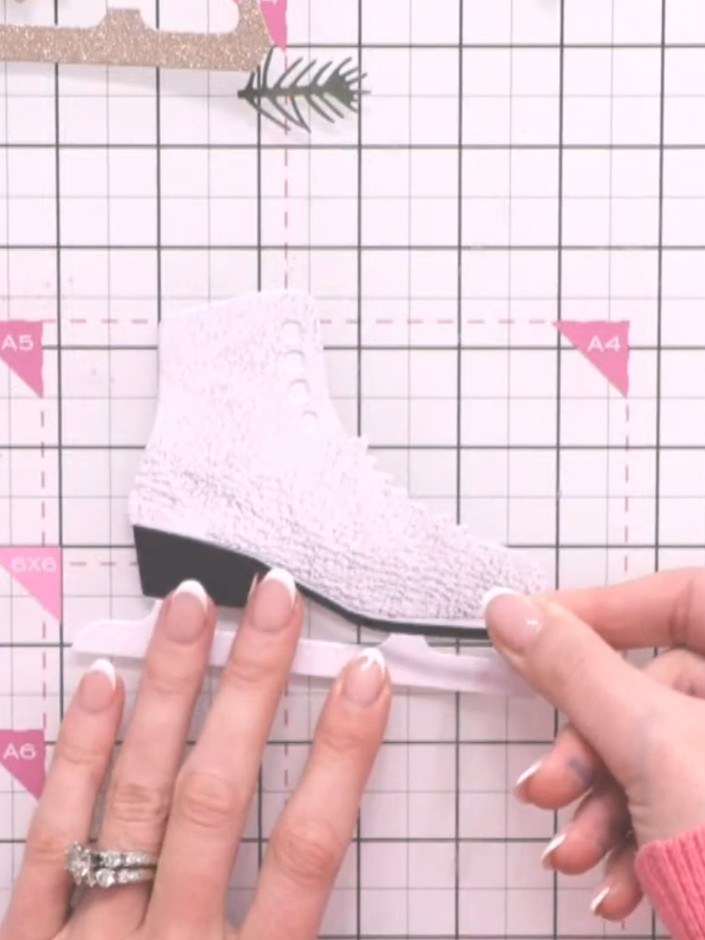
Die-cut the heel piece from black leather-effect paper. Position it at the bottom of the boot, ensuring it is straight, then glue it in place.
▶ watch this step (21:00)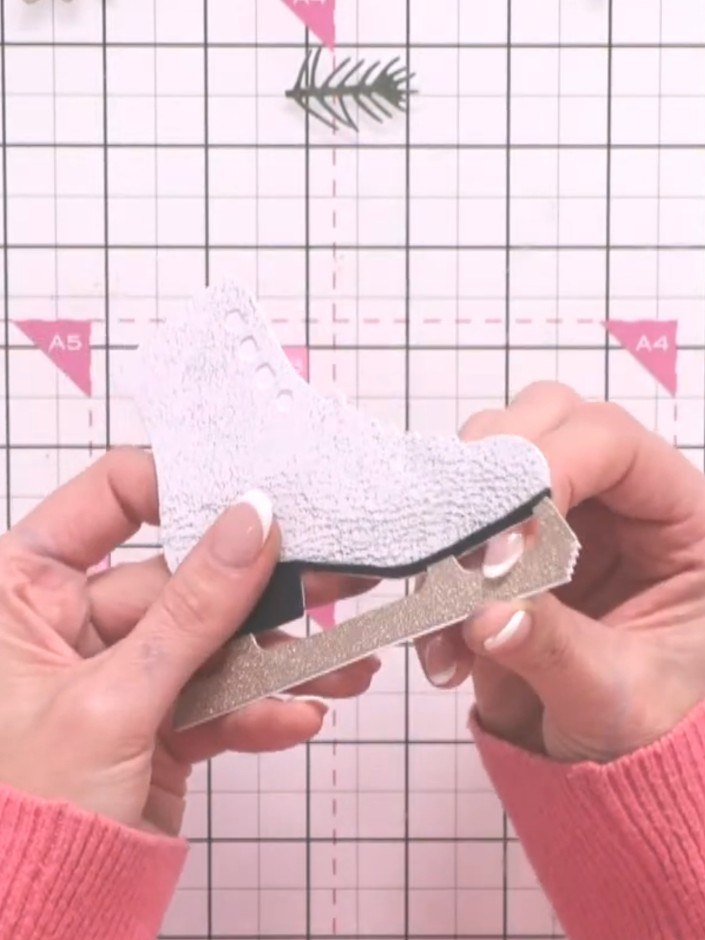
Die-cut the blade from metallic card (gold or silver). Adhere the metallic blade to the bottom of the boot using tape or glue.
▶ watch this step (22:45)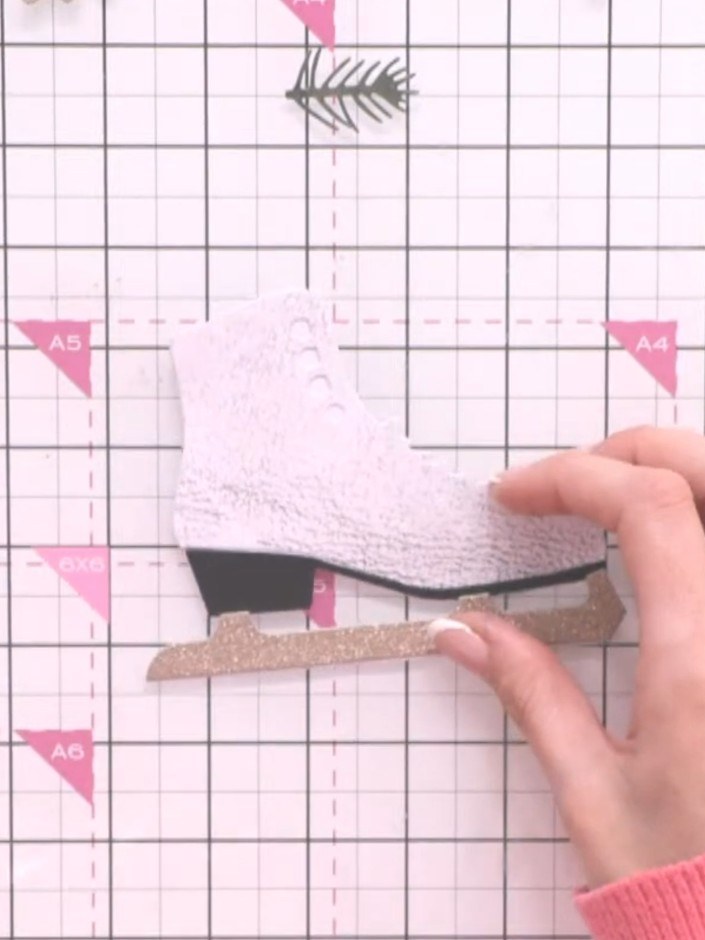
Die-cut the laces from black cardstock using the Twinkling Toes die set. Layer the black laces across the front of the white ice skate boot, positioning them to create a realistic laced effect.
▶ watch this step (23:15)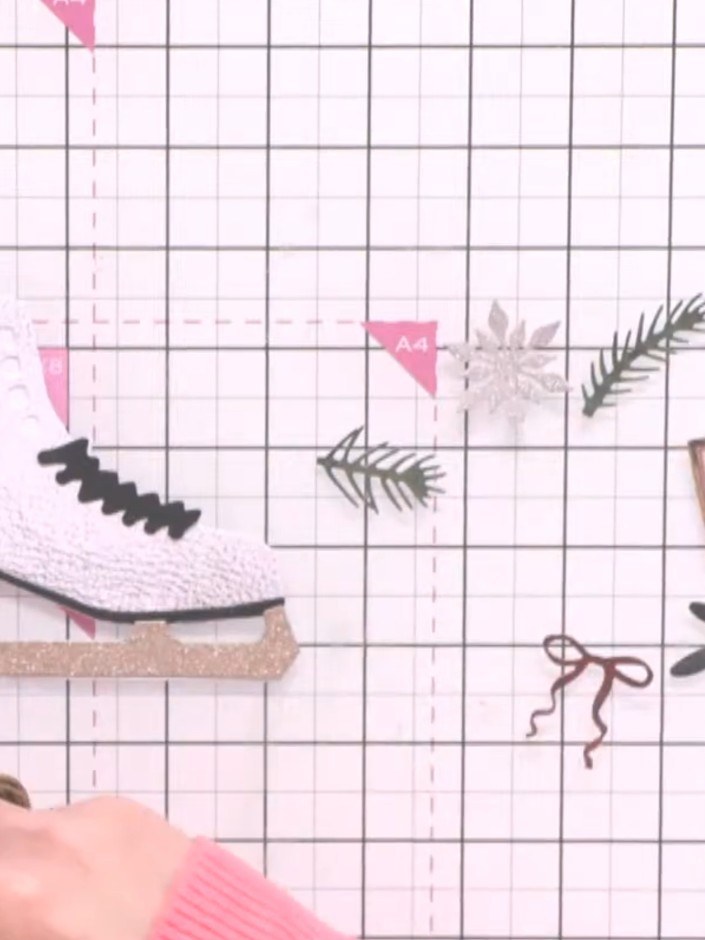
Die-cut foliage, berries, buds and flowers from the textured papers included in the kit. Arrange the die-cut elements around the ice skate to create a decorative winter scene.
▶ watch this step (24:30)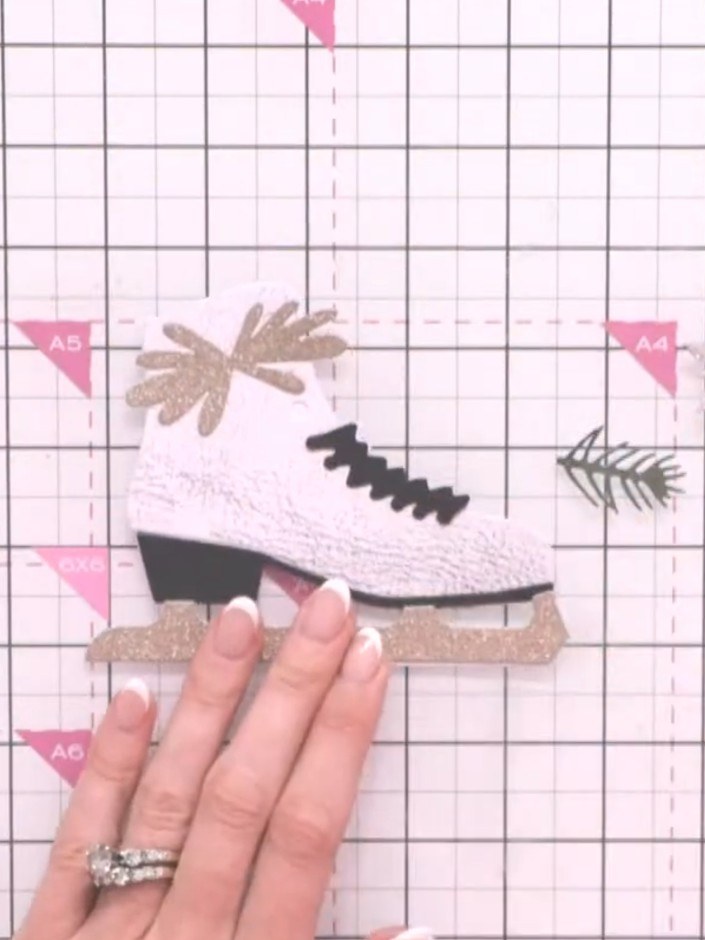
Layer the foliage pieces and embellishments around the top of the ice skate boot. Build up dimension by adding multiple pieces, including leaves and decorative elements, to create a festive arrangement.
▶ watch this step (24:45)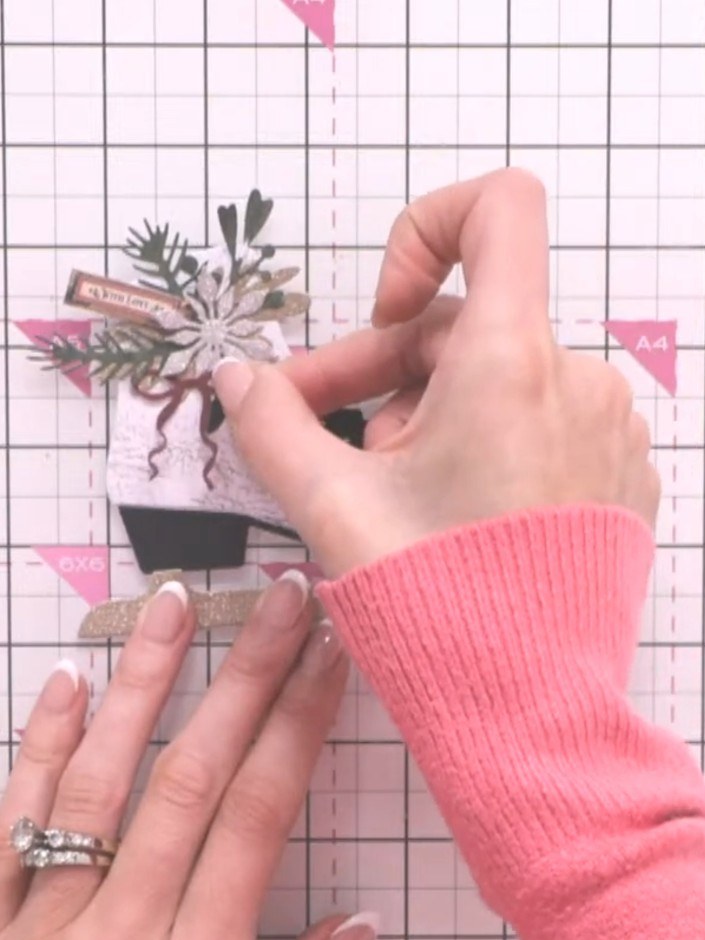
Die-cut or cut a sentiment word from the coordinating sentiment set and position it at the top of the boot, tucking it amongst the foliage embellishments.
▶ watch this step (27:15)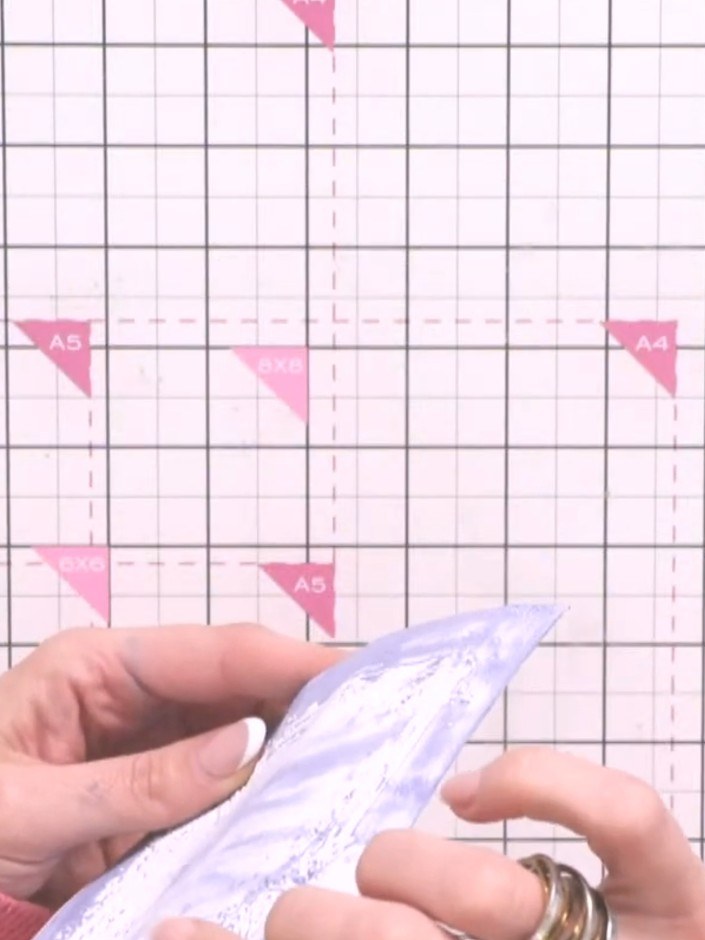
Add a small gem or sparkle to the centre of the snowflake embellishment on the ice skate for extra detail and sparkle.
▶ watch this step (28:00)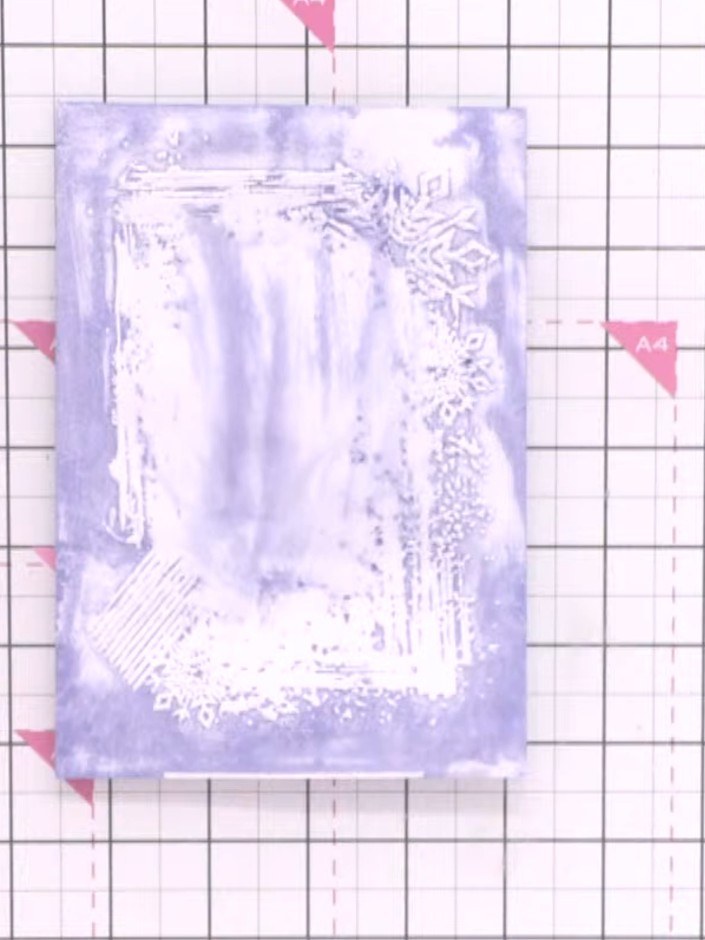
Mount the completed ice skate boot onto your chosen background card. You can use an embossed card base or patterned cardstock to create the finished Christmas card.
▶ watch this step (29:00)Written up from the show itself. See every guide from our shows · free how-to guides · watch live on My Telly