Give your friends £10 off their first order!
Refer a FRIEND








A project from our live show MY PODCAST - Catch my latest updates broadcast October 7th 2024 · 07/10/2024 · watch it from 26:00
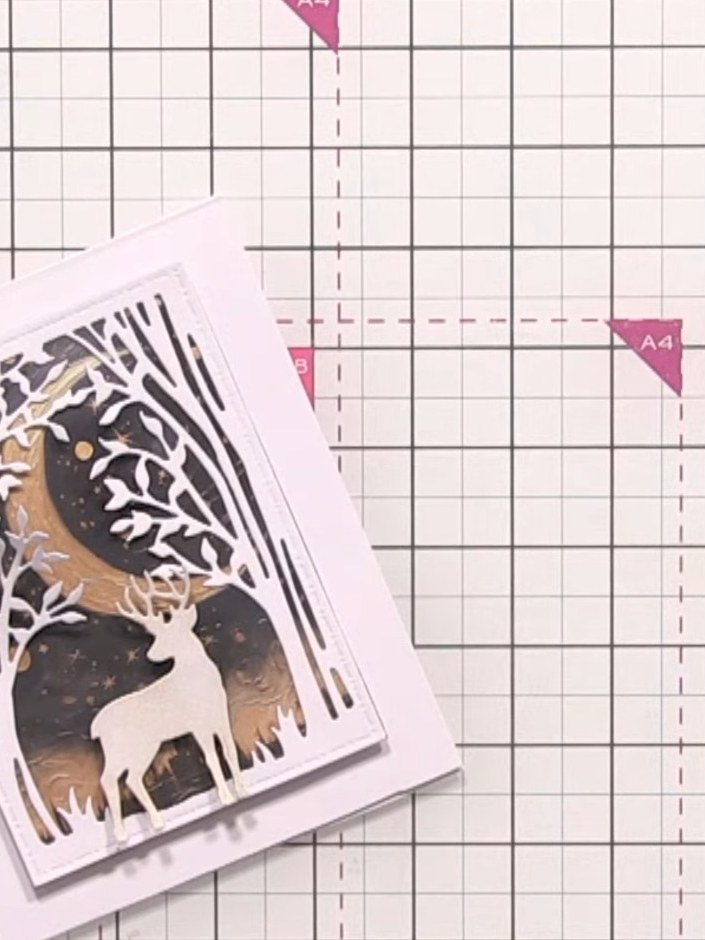
Create an elegant winter card featuring a die-cut stag scene with delicate foliage details. This sophisticated design combines white cardstock with landscape paper backing, enhanced with gold wax accents and glitter glue on the foliage for a festive shimmer. The finished card showcases a beautiful woodland scene perfect for seasonal greetings.
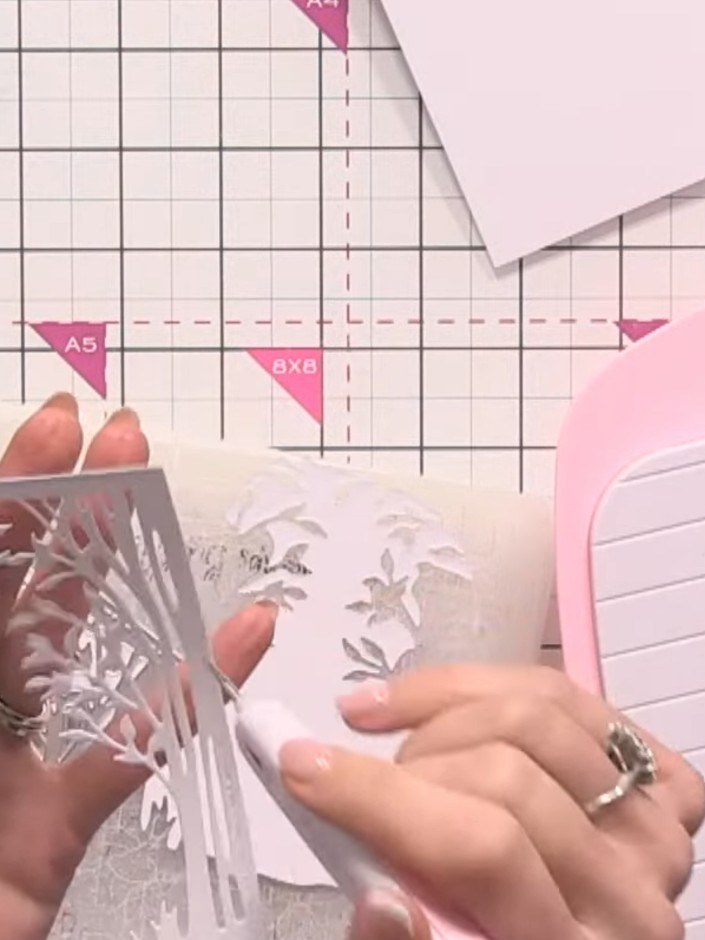
Carefully pop out all the small intricate pieces from the die-cut stag using a poke tool or your fingers. Take care to remove all the delicate branches and details from the white die-cut frame.
▶ watch this step (36:45)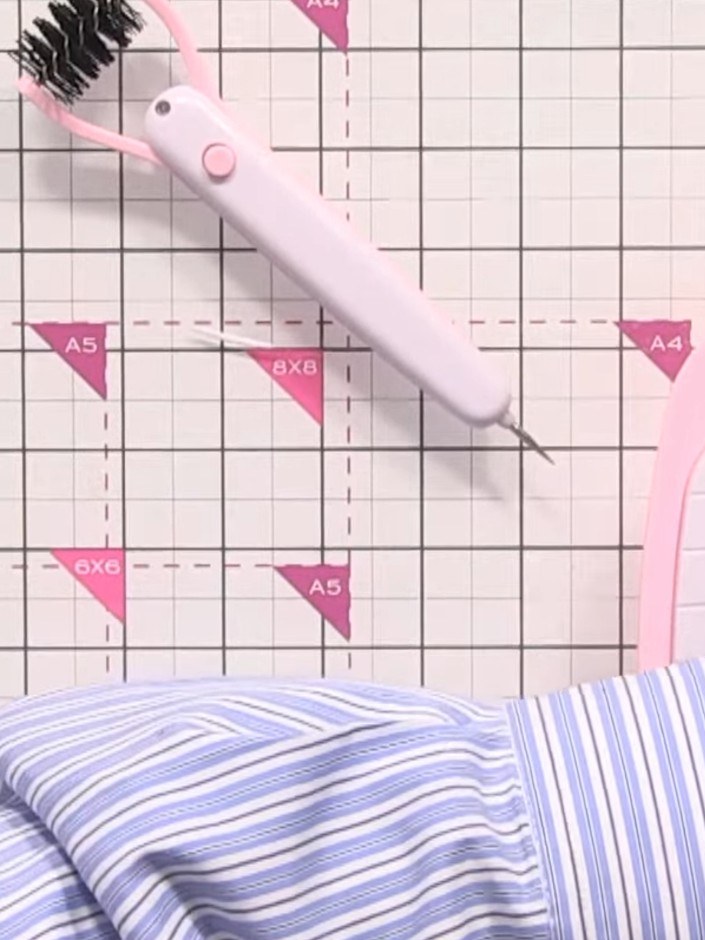
Select a piece of patterned paper with a winter landscape scene from the bumper paper pack. Choose a design with blue and white stripes or a similar coordinating pattern.
▶ watch this step (40:00)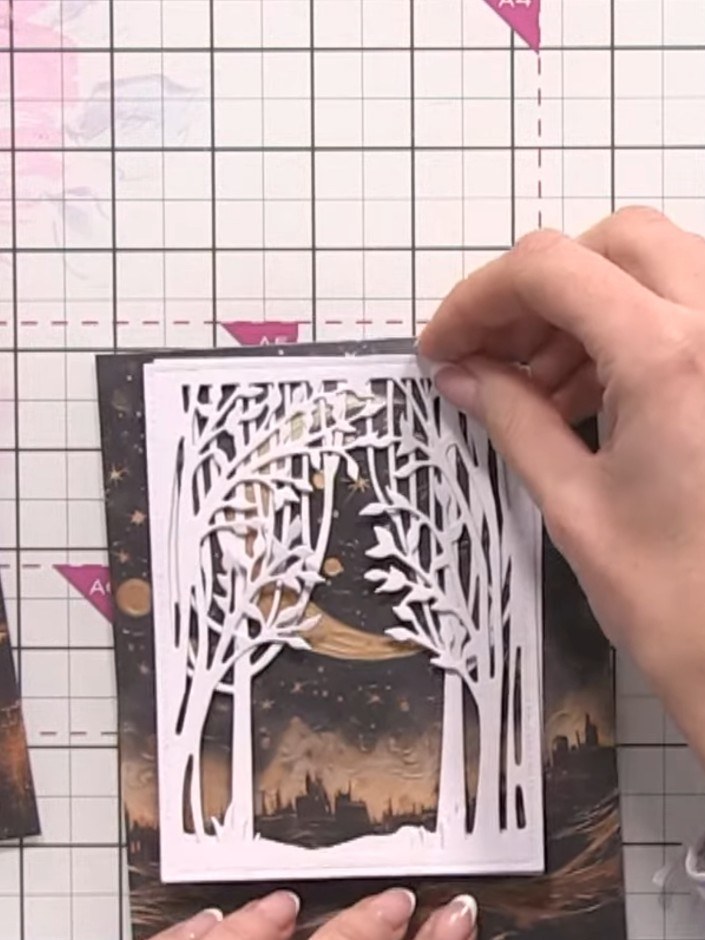
Trim the landscape paper to size and layer it onto your white card base. Position the landscape paper behind the white die-cut frame to create depth in your design.
▶ watch this step (42:00)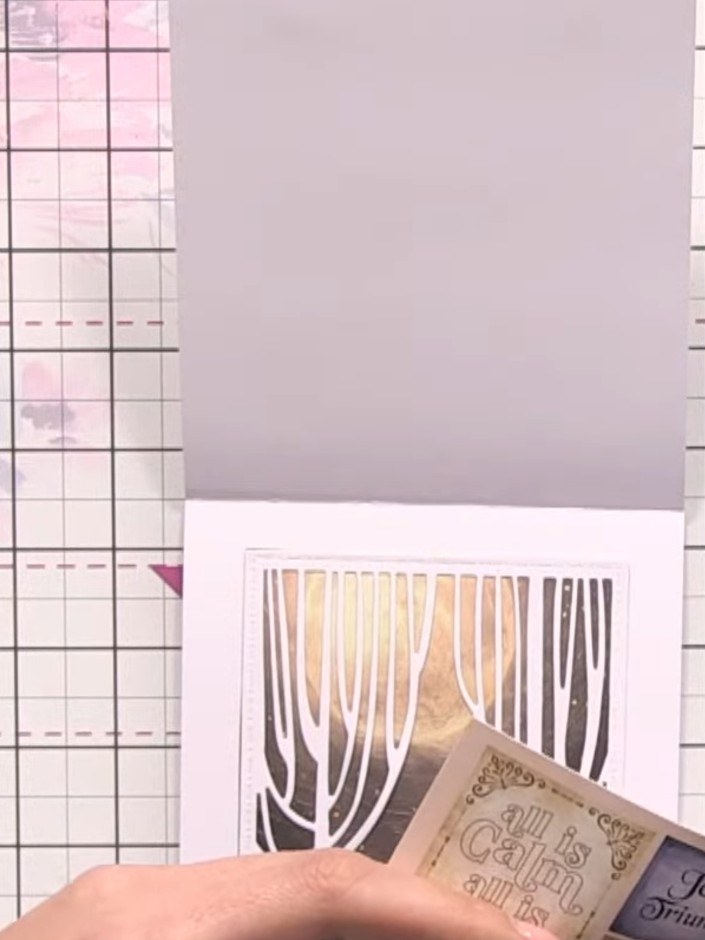
Apply gold wax to the stag die-cut using your finger or a soft cloth, gently rubbing it over the surface to add subtle colour and dimension to the piece.
▶ watch this step (50:30)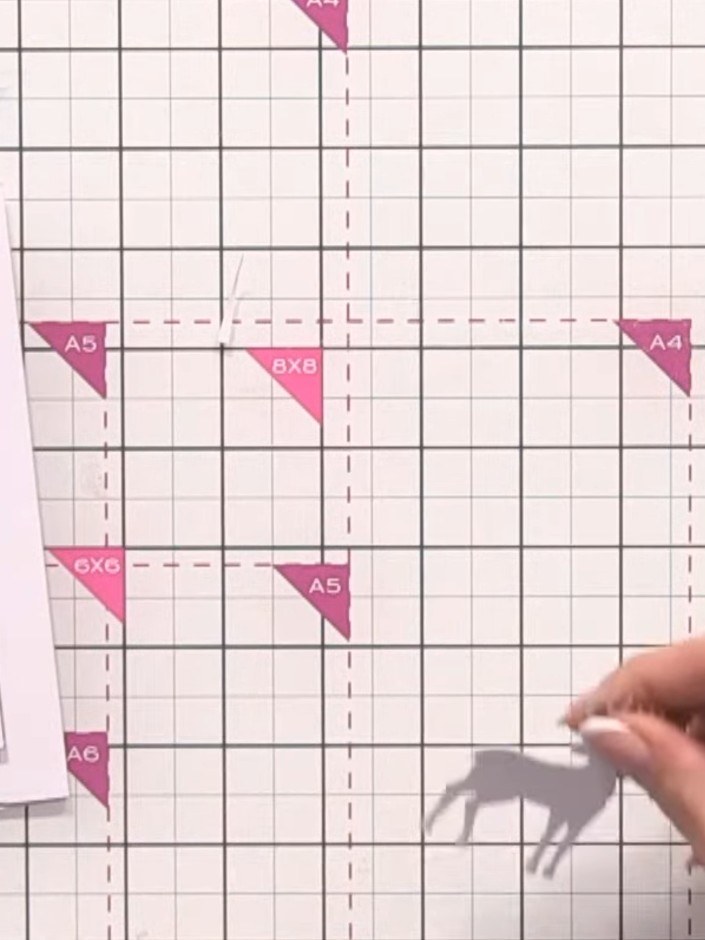
Position the die-cut stag at the bottom of the card so it appears grounded on the landscape. The stag should sit naturally on the lower edge of the scene.
▶ watch this step (52:00)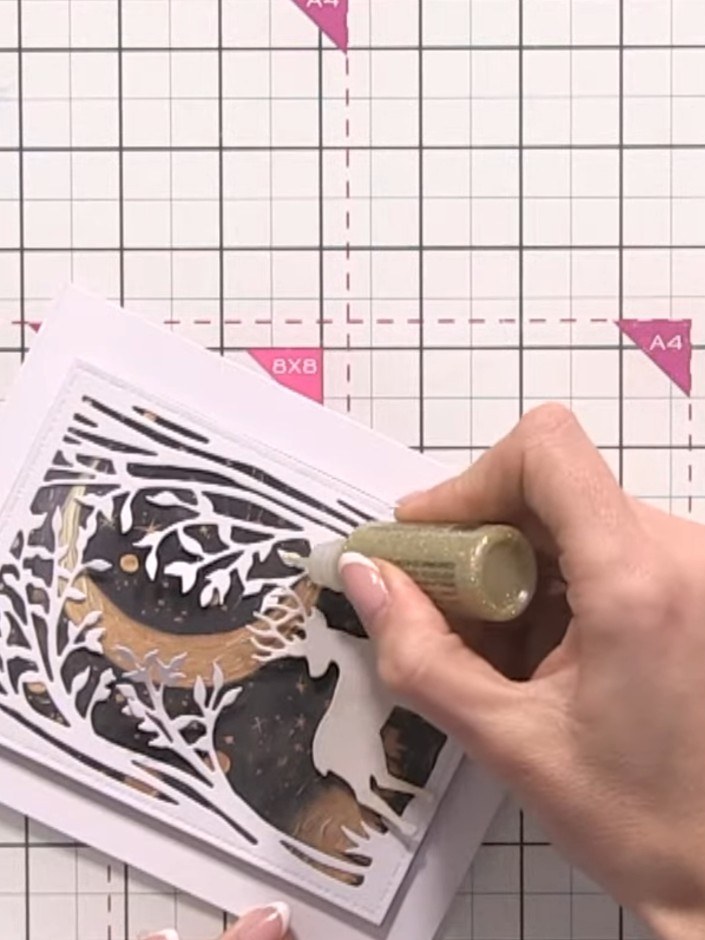
Apply gold glitter glue to the leaves and foliage details in the landscape scene. Use the applicator to add sparkle to the decorative elements within the die-cut design.
▶ watch this step (53:45)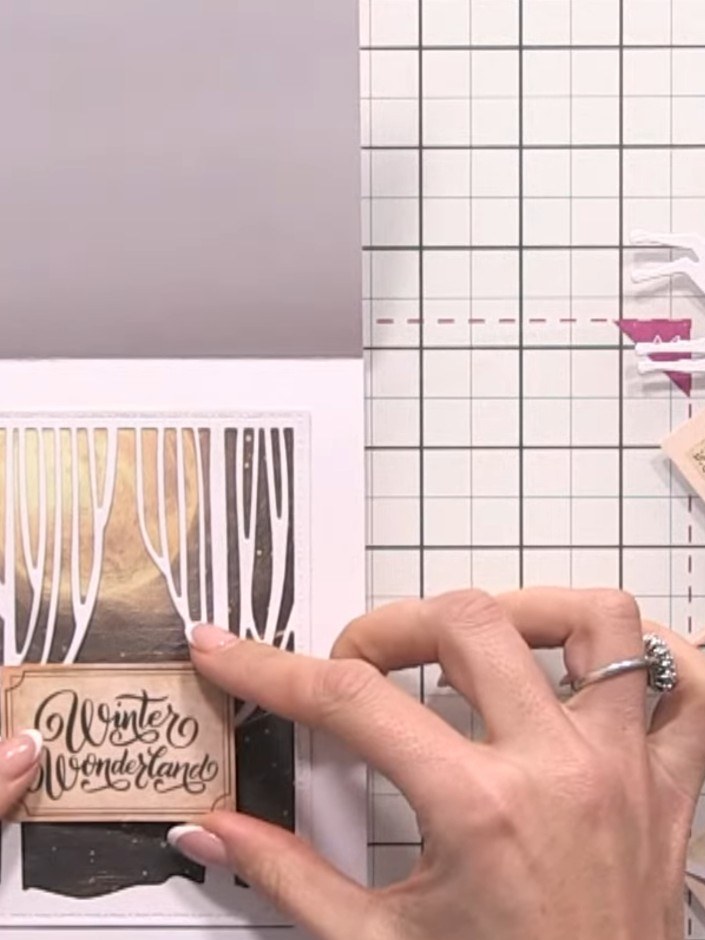
Stamp the 'Winter Wonderland' sentiment from the stamp set onto the inside of the card using brown ink. Position the stamp centrally below the winter scene aperture.
▶ watch this step (51:15)Written up from the show itself. See every guide from our shows · free how-to guides · watch live on My Telly