Give your friends £10 off their first order!
Refer a FRIEND








A project from our live show ONE DAY SPECIAL - Join Sarah Gray from Funky Fossil for her brand new launch - Broadcast 11th October 24 · 11/10/2024 · watch it from 39:30
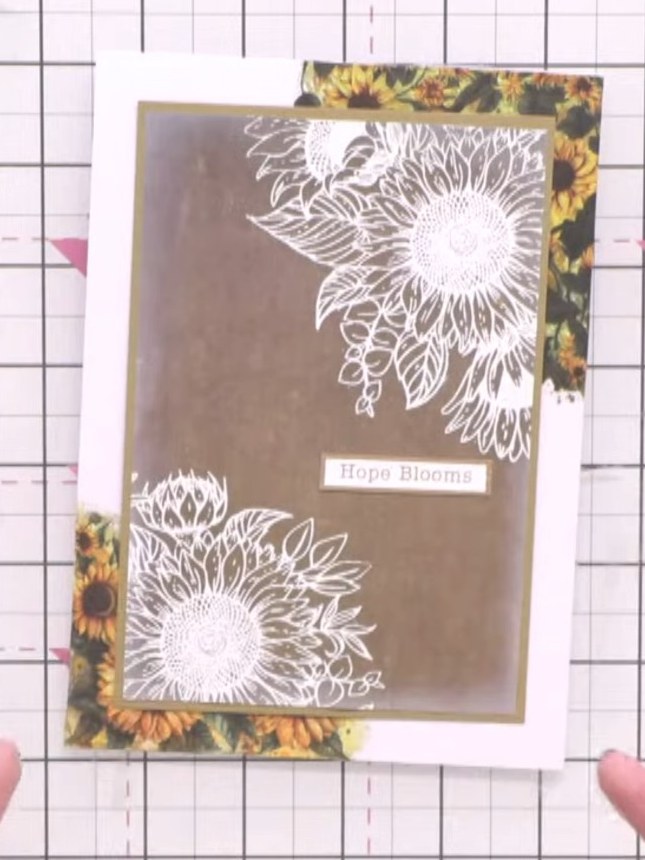
Create a sophisticated card with white heat-embossed corner details on kraft cardstock. Using an A6 floral stamp set and white embossing powder, you'll create elegant botanical motifs that stand out beautifully against the natural brown background. This simple yet striking technique produces a timeless card suitable for any occasion.
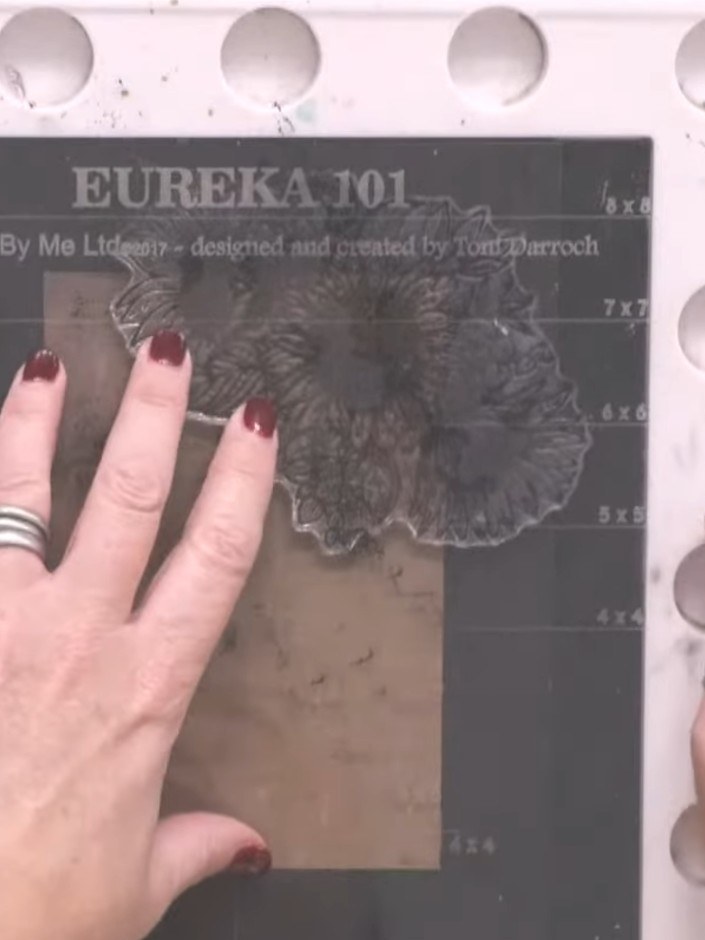
Position the Eureka 101 A6 stamp in one corner of your dark card base. Hold it in place ready for the next step.
▶ watch this step (40:00)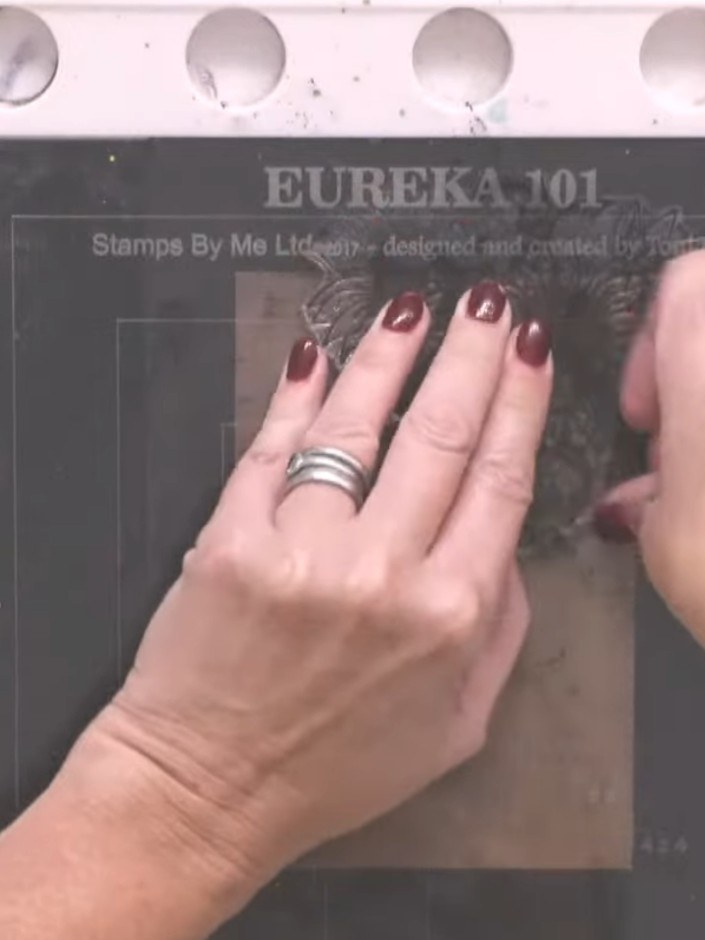
Stamp the sunflower image onto the card using white embossing ink, ensuring good contact with the card surface by pressing firmly.
▶ watch this step (40:30)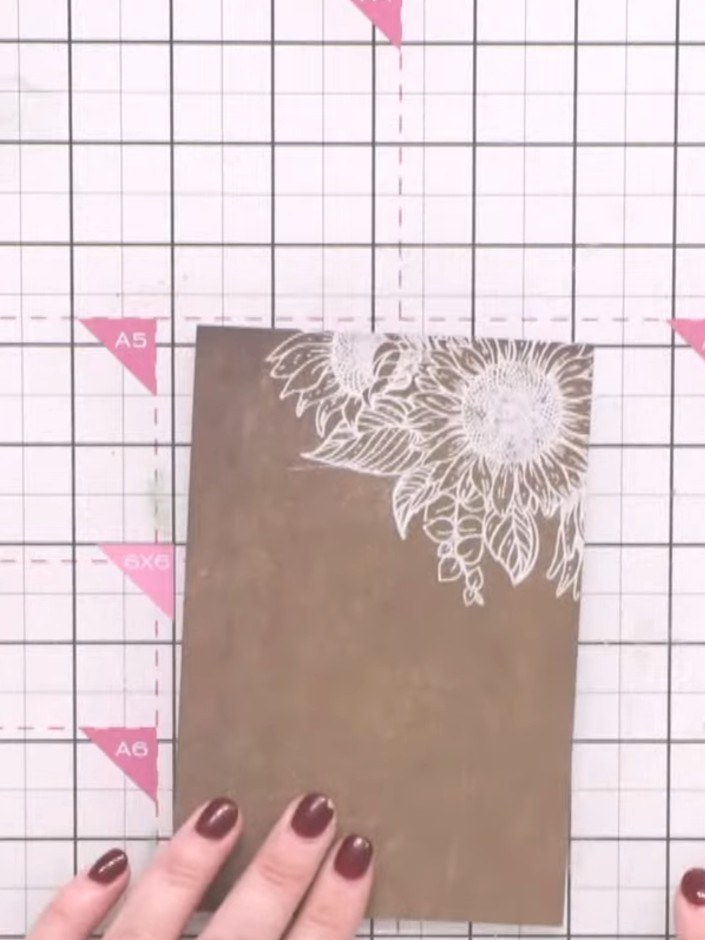
Apply white embossing powder to the wet stamped image, ensuring the entire design is coated. Tap off any excess powder.
▶ watch this step (41:00)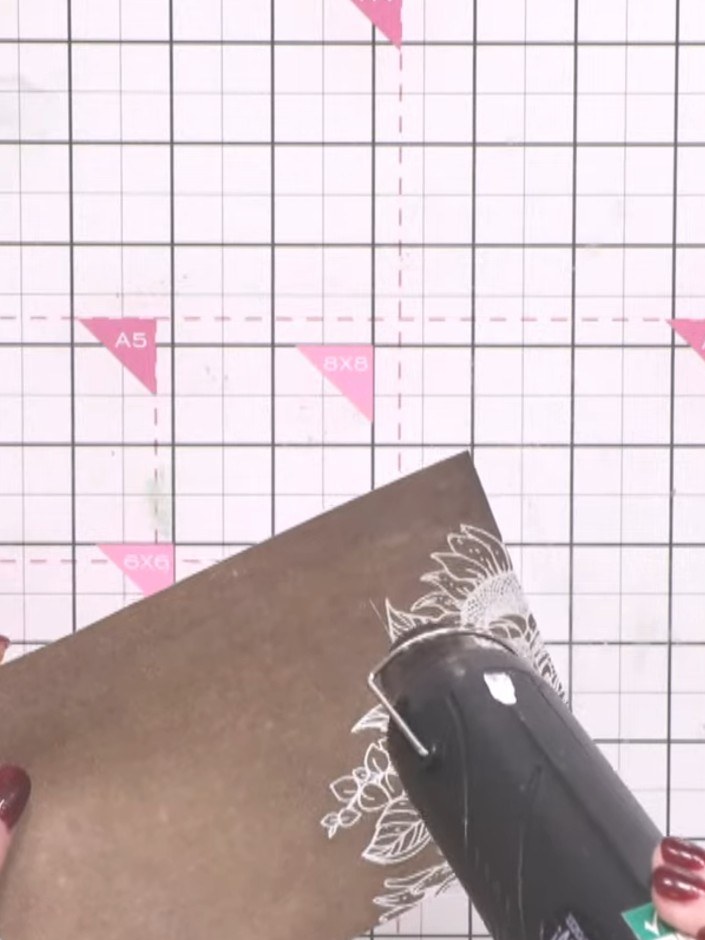
Heat set the white embossing powder with a heat gun, moving it over the design until the powder melts and becomes glossy and raised.
▶ watch this step (41:45)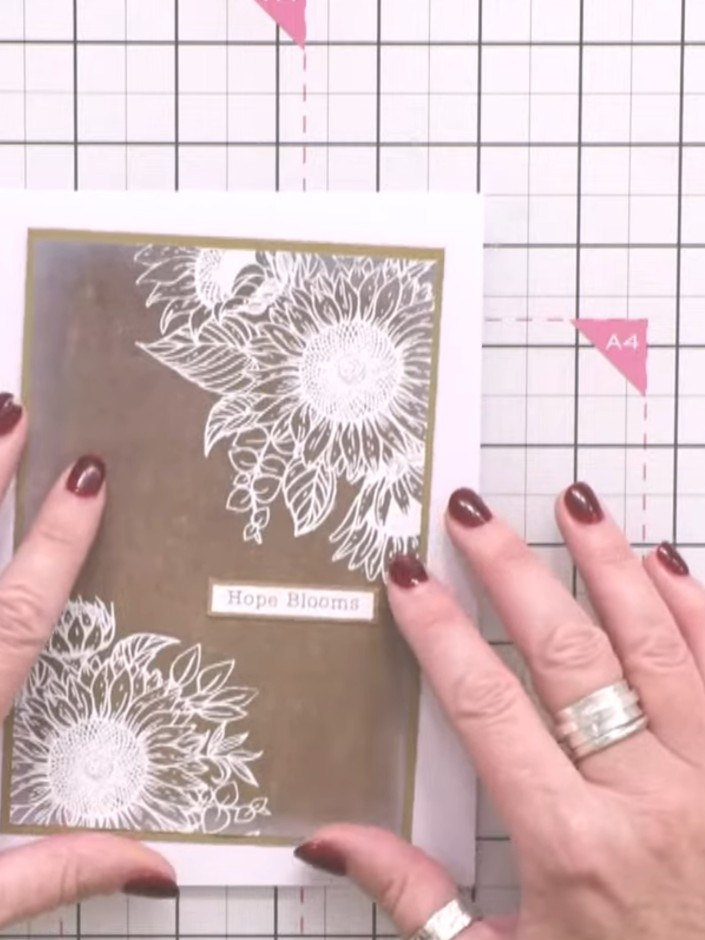
Stamp and heat emboss the floral design in the opposite corner of the card front using white embossing powder. Position the design to balance the first corner, creating a symmetrical layout with the 'Hope Blooms' sentiment in the centre.
▶ watch this step (43:00)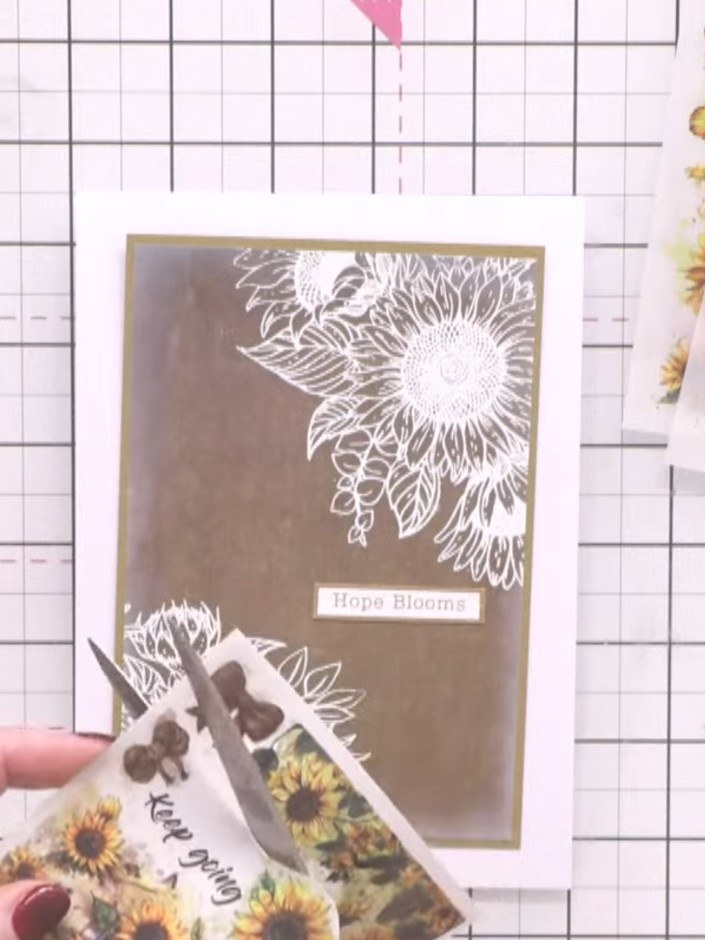
Using cotton pigment ink, blend around the edges of the sunflower decoupage piece to create a soft, watercolour finish.
▶ watch this step (43:30)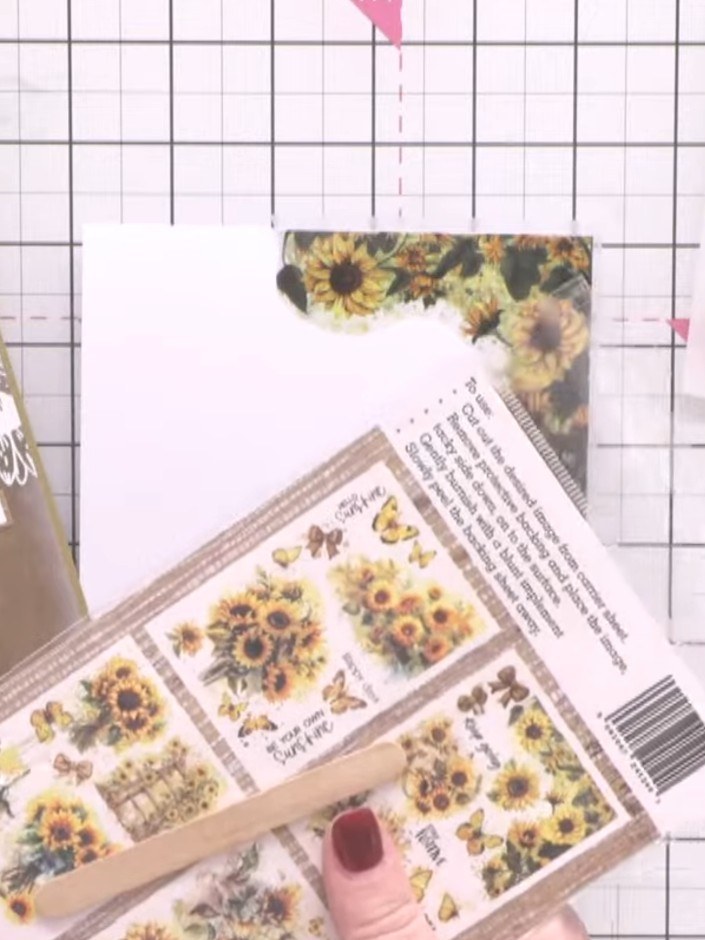
Apply rub-on corner elements from the Hope Blooms A6 Rub Ons sheet to frame the sunflower focal points on your card. Position the decorative corner designs to add embellishment around the edges of your design.
▶ watch this step (44:00)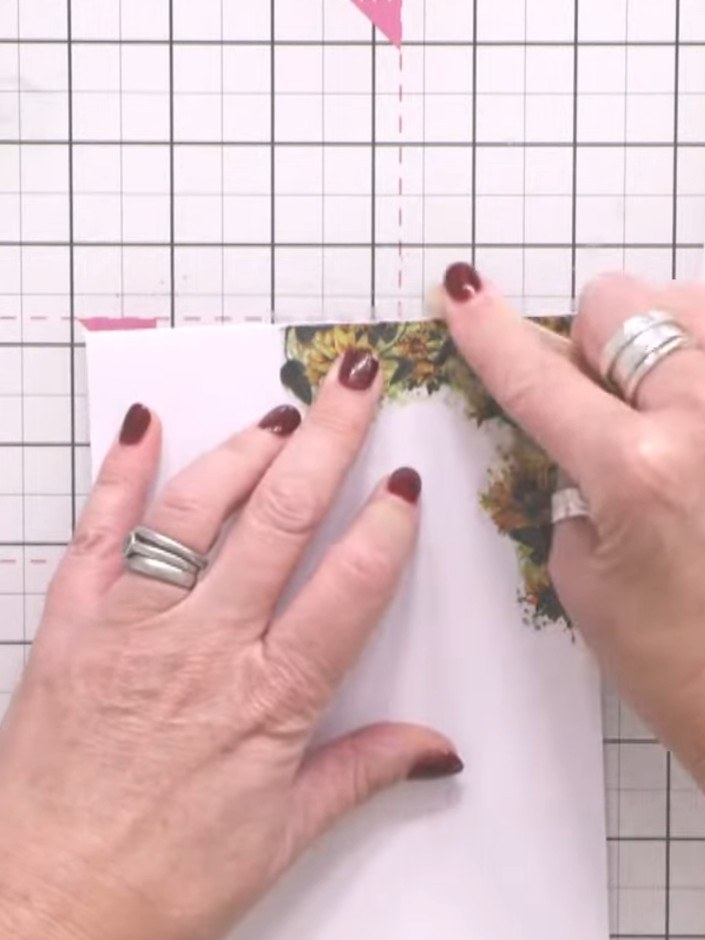
Add a sentiment from the Hope Blooms stamp set to complete your card. Position it in your chosen location and stamp or adhere it to finish the design.
▶ watch this step (45:00)Written up from the show itself. See every guide from our shows · free how-to guides · watch live on My Telly