Give your friends £10 off their first order!
Refer a FRIEND








A project from our live show MY PODCAST - Catch my latest updates broadcast October 14th 2024 · 14/10/2024 · watch it from 58:45
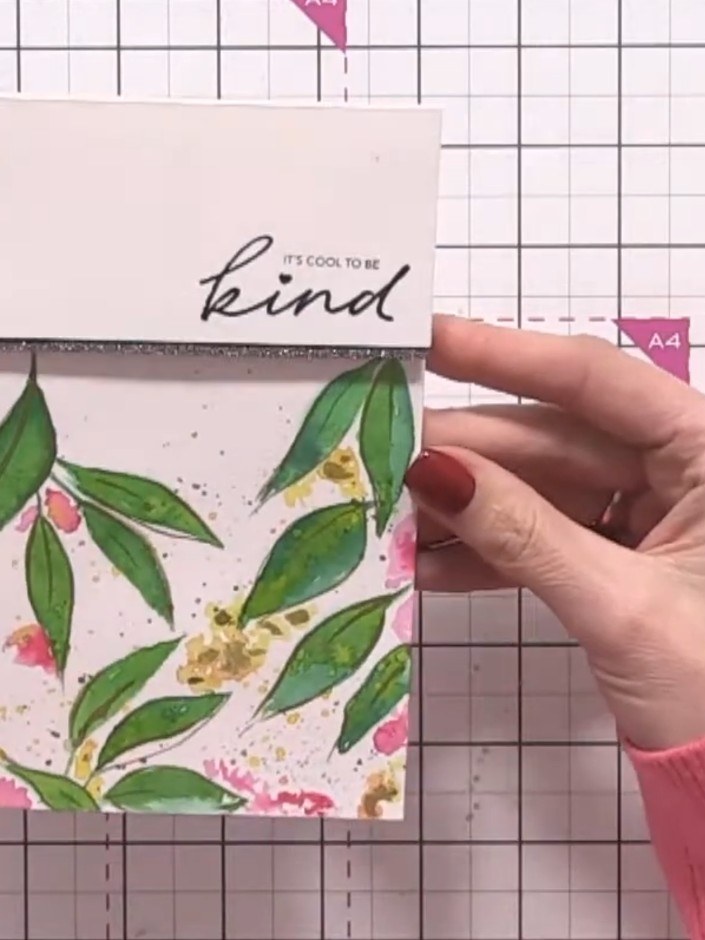
Create a beautiful hand-painted watercolour card featuring organic leaves and delicate florals in a tropical style. Using the toe-belly-toe brush technique, you'll paint lush green foliage with soft pink and yellow flowers, adding gold accents and pink splodges for a fresh, artistic finish. Complete your card with a sentiment stamp reading 'it's cool to be kind' for a thoughtful handmade greeting.
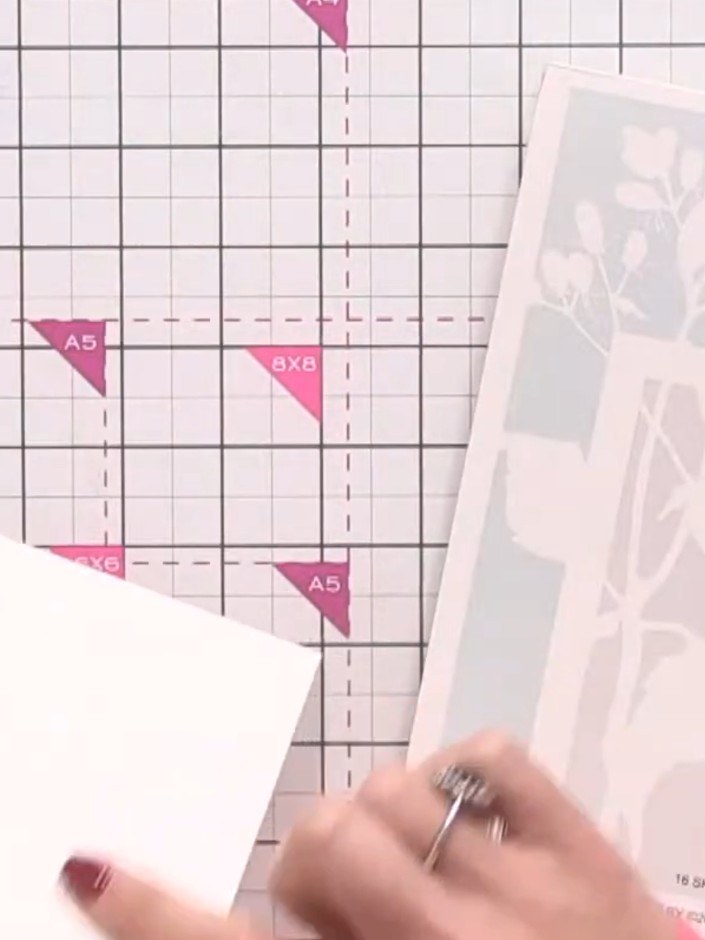
Select your Carta watercolour card and identify the smooth side, which is the side you'll be painting on. The smooth side provides the best surface for watercolour work.
▶ watch this step (1:01:30)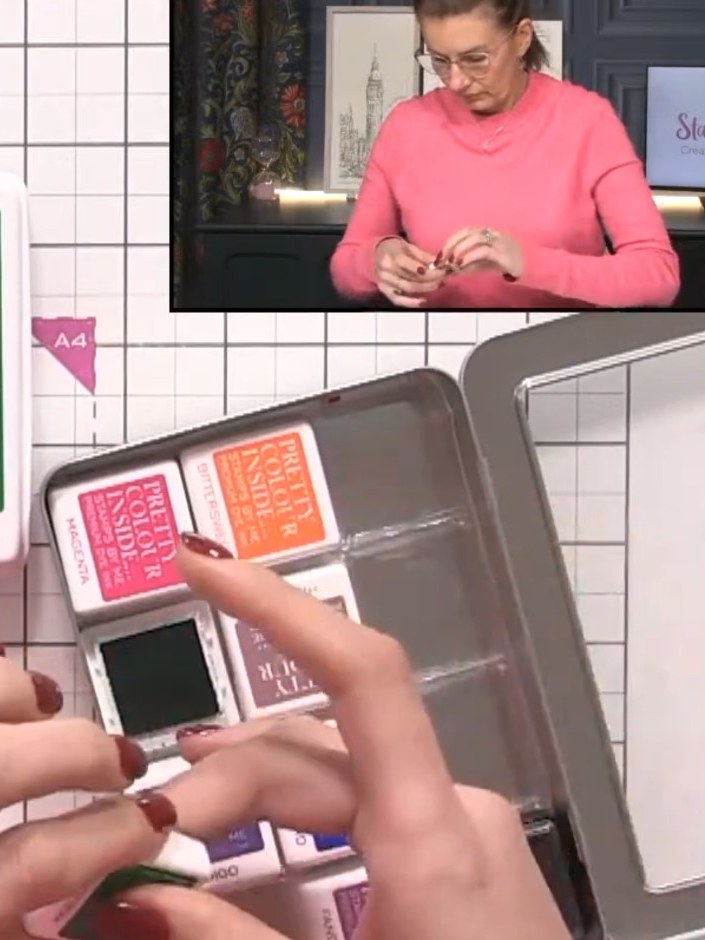
Select several ink pads in coordinating colours including greens, teal, yellow and lime. Activate the watercolour inks by adding a small amount of water to each pad using a brush or water pen to create a working palette on your craft mat.
▶ watch this step (1:02:15)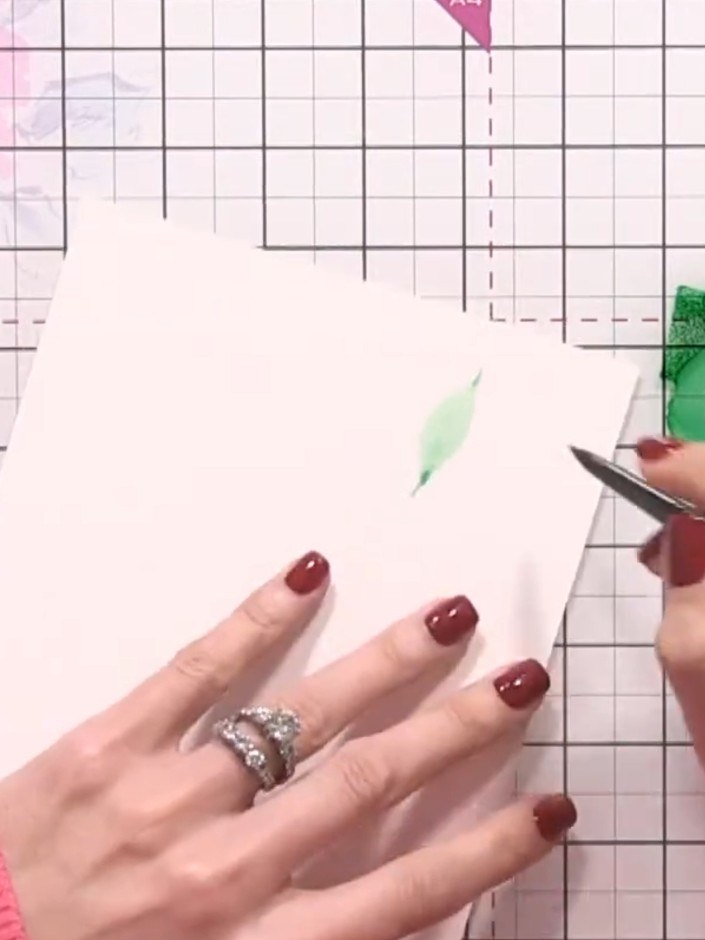
Practice the toe-belly-toe brush technique by loading your brush with colour. Touch the toe of the brush to the card, press down to the belly, then lift back to the toe to create a leaf shape.
▶ watch this step (1:03:45)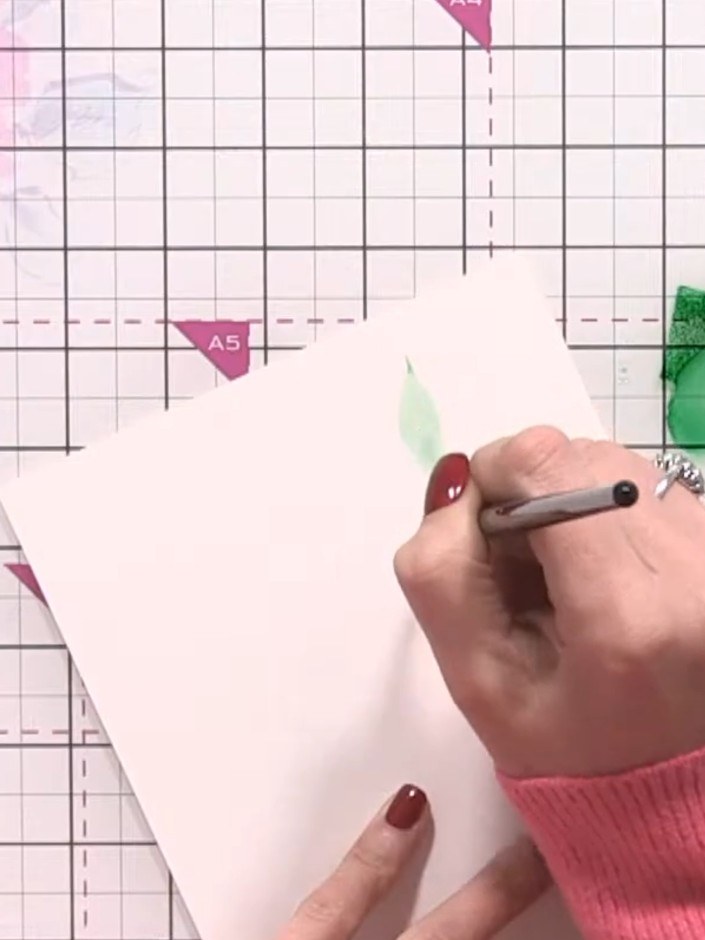
Create multiple leaf formations by painting toe-belly-toe strokes that start from the same point. Build up clustered leaf groups with several leaves radiating outward from a central point.
▶ watch this step (1:04:30)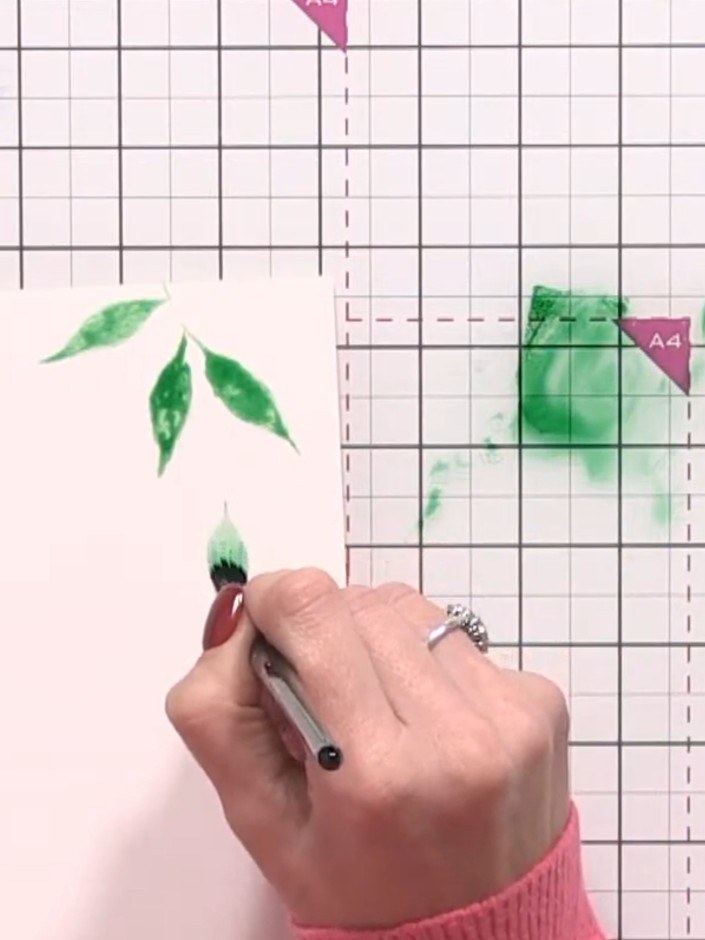
Keep your painted leaf areas wet by adding clean water with your brush as needed. This allows the green colours to bleed and blend naturally, creating soft, organic transitions between shades.
▶ watch this step (1:06:00)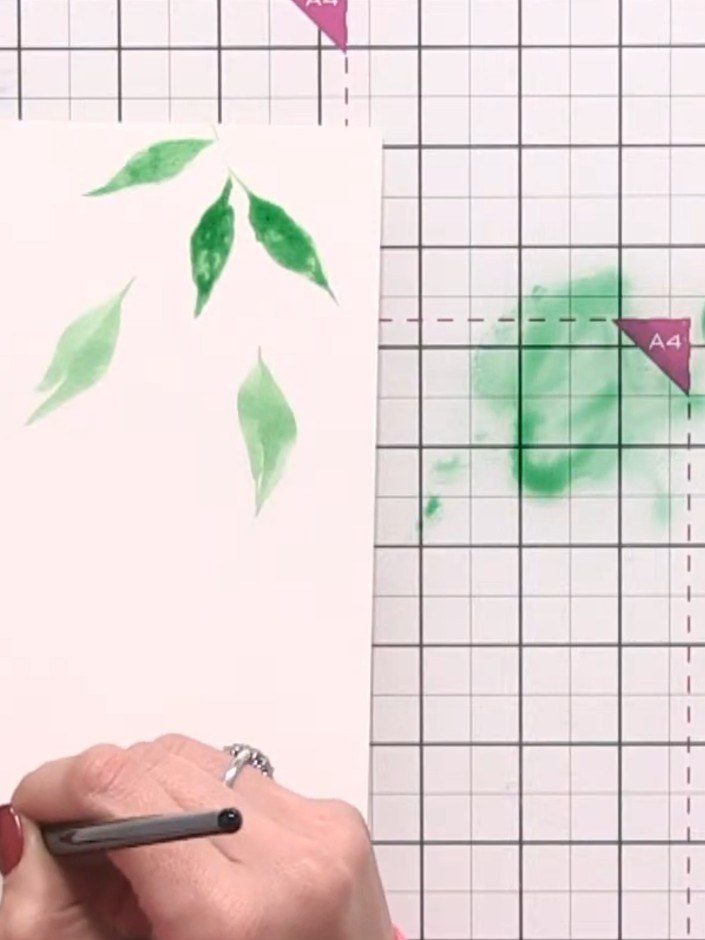
While the paint is still wet, drop additional green colours into the wet areas of your leaves to add depth and dimension. Allow the colours to blend naturally on the paper.
▶ watch this step (1:07:15)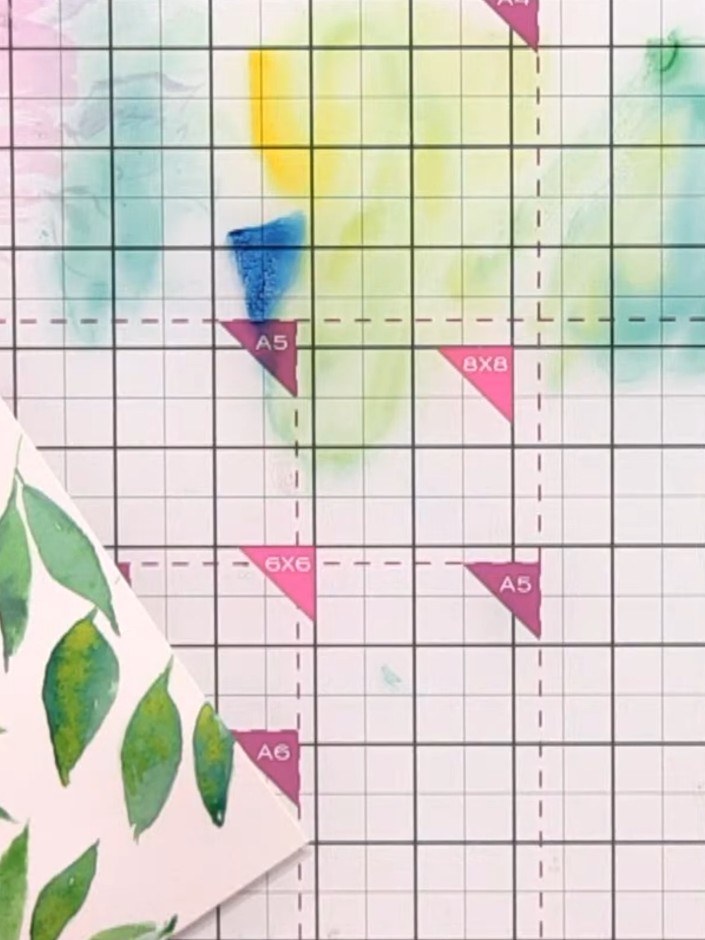
Paint abstract flowers by creating light blobs of pink and yellow watercolour on your card. Keep the shapes loose and unfinished-looking for a natural, organic effect.
▶ watch this step (1:24:30)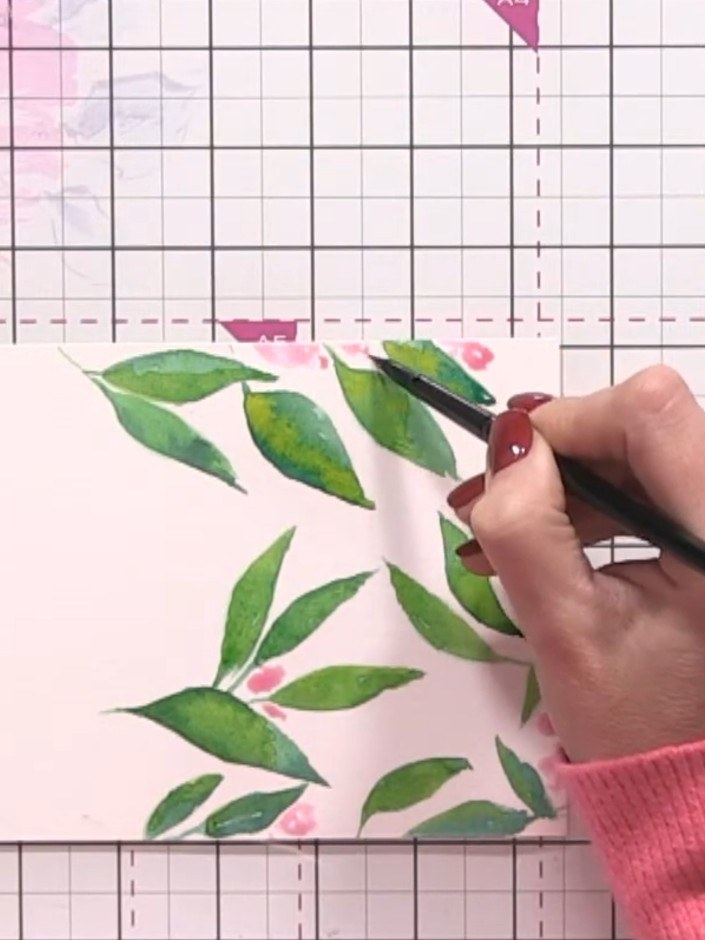
Using a darker shade of ink, drop small amounts into the wet pink flower blobs to create dimension. Allow the darker colour to blend naturally into the wet areas, creating visual interest with subtle variations in tone.
▶ watch this step (1:26:00)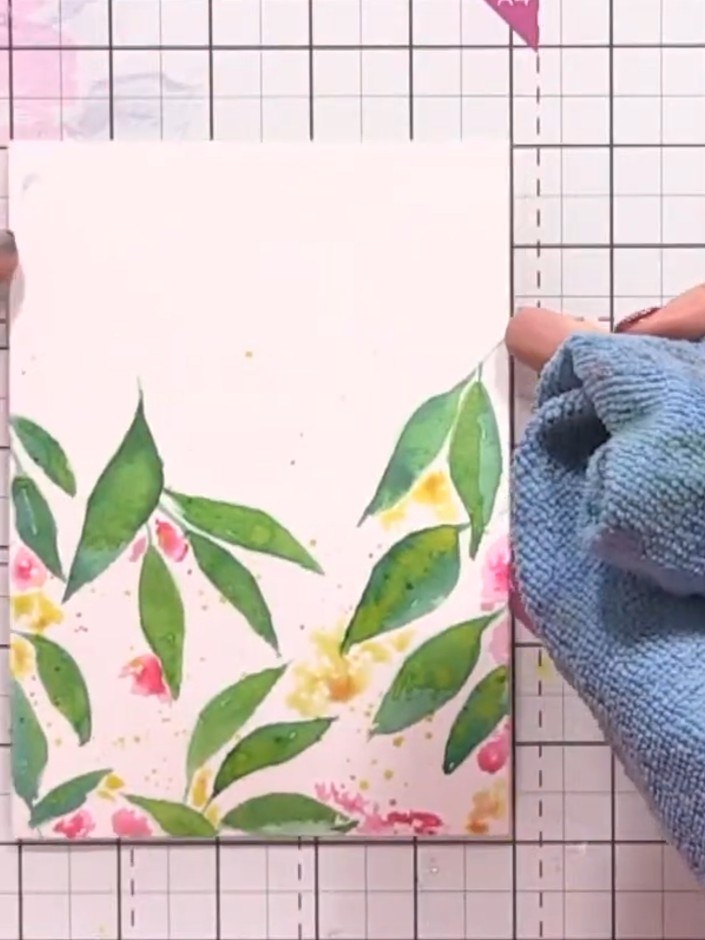
Dry your painted panel thoroughly with a heat gun to set the watercolours. Hold the heat gun over the panel, moving it around to ensure even drying.
▶ watch this step (1:28:45)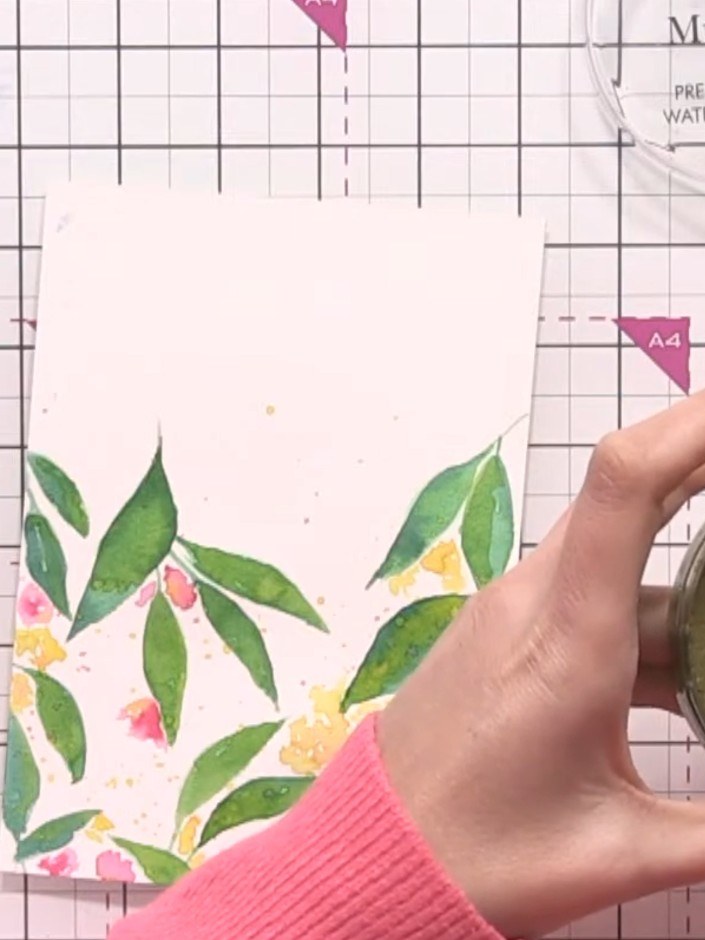
Using a fine brush and gold ink, add delicate detailing to selected leaves. Outline the edges of some leaves and add centre veins, rather than completing every leaf.
▶ watch this step (1:30:45)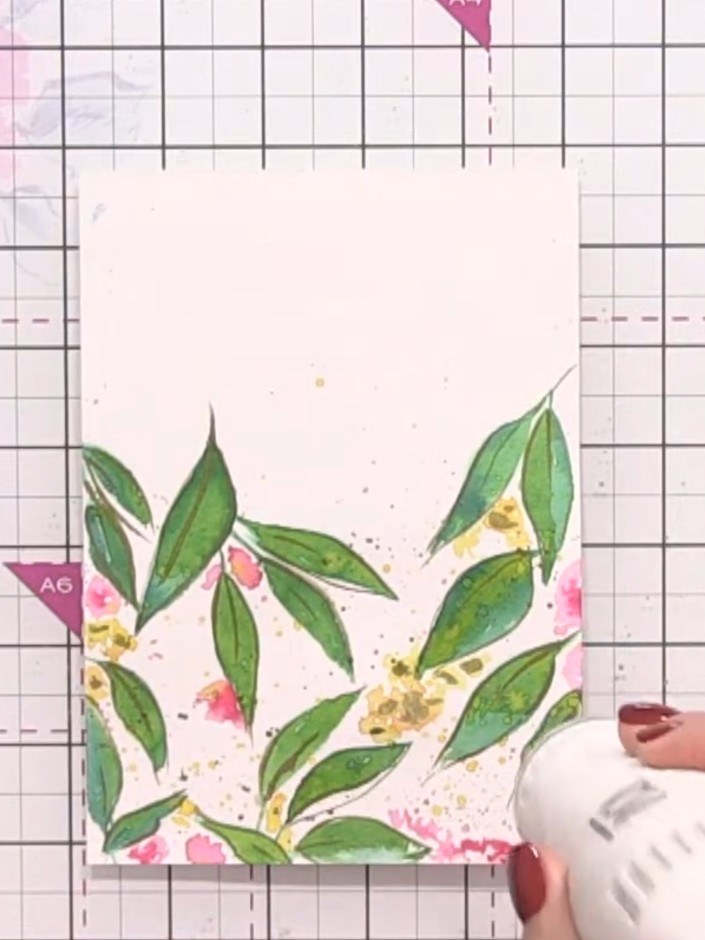
Mount your painted panel onto a white card blank using double-sided tape or adhesive. Position the panel centrally on the card front and press down firmly to secure.
▶ watch this step (1:36:30)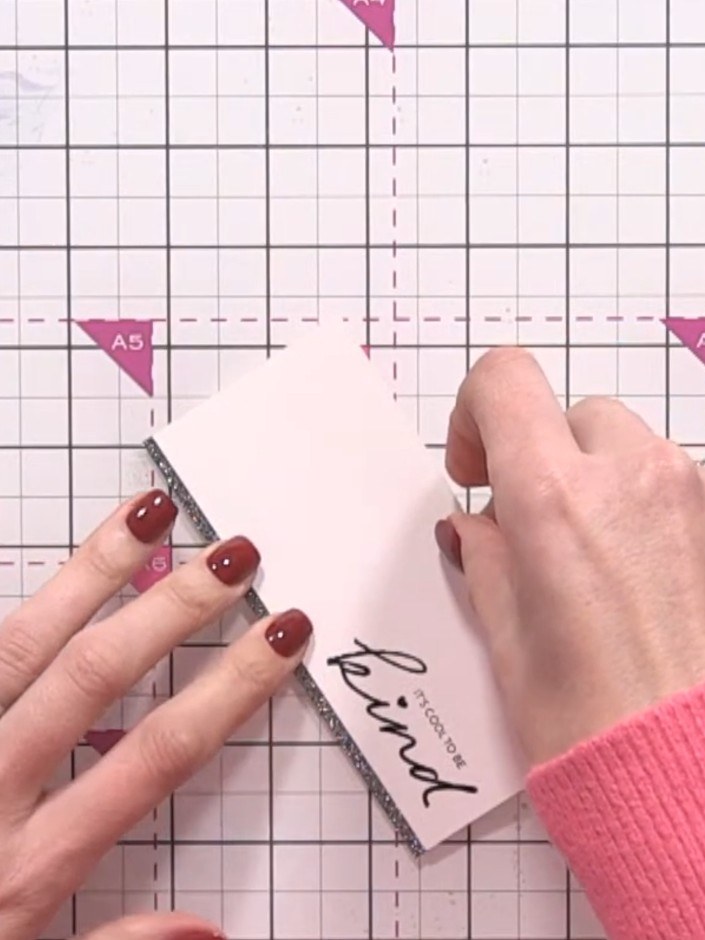
Stamp your chosen sentiment in black ink onto the white card base, positioning it to one side of your painted floral design to leave open space around the artwork.
▶ watch this step (1:39:30)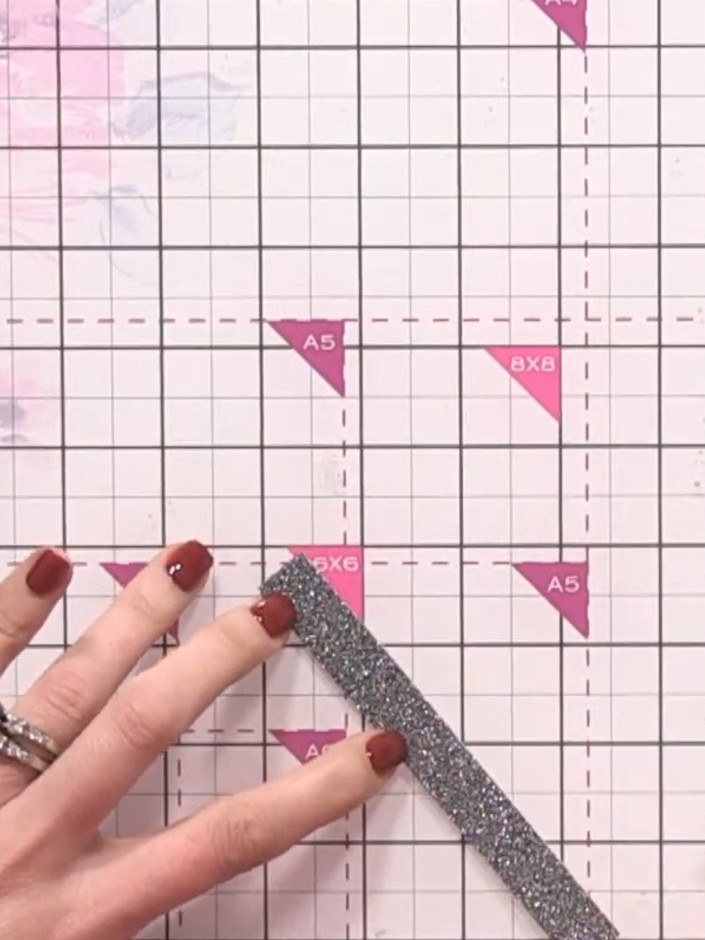
Add a decorative black sparkle strip along one edge of the card using tape for a finishing touch.
▶ watch this step (1:40:45)Written up from the show itself. See every guide from our shows · free how-to guides · watch live on My Telly