Give your friends £10 off their first order!
Refer a FRIEND








A project from our live show ONE DAY SPECIAL - Join Toni for brand new launch - Broadcast 25th October 24 · 25/10/2024 · watch it from 12:00
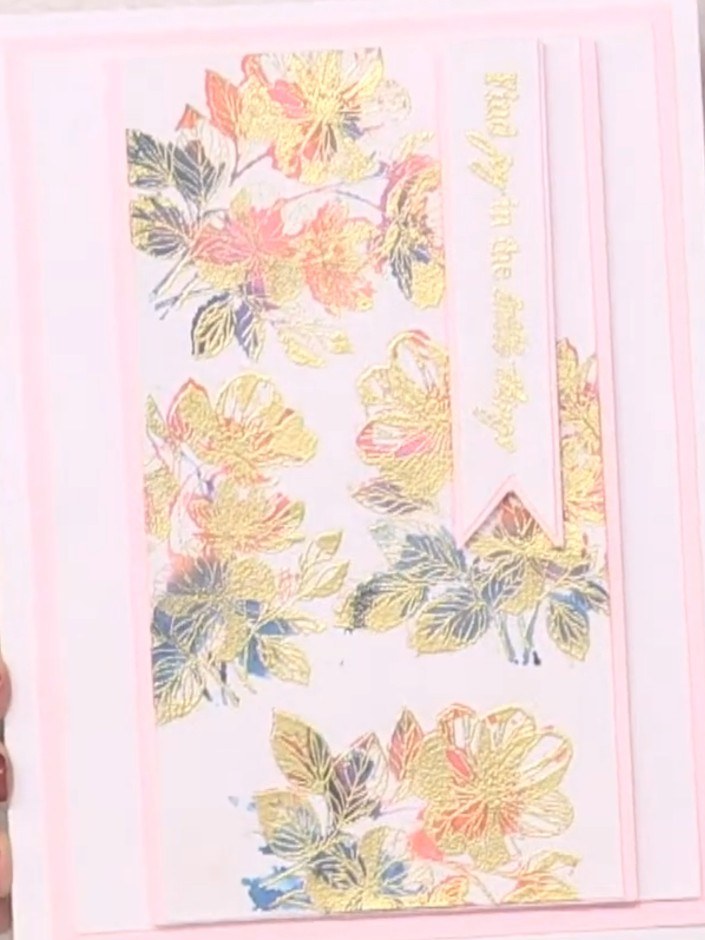
Create a stunning signature square card featuring beautiful floral lamination stamps with a vibrant multicoloured watercolour effect background and elegant gold embossed details. This project showcases the innovative two-part lamination system to achieve a hand-painted look with crisp, defined outlines. The finished card combines soft watercolour washes in pink, yellow and blue tones with delicate botanical imagery for a sophisticated handmade greeting.
 Stamps By Me Lamination Stamp Set - the Little Things - 230823BSEE IT
 Stamps By Me Lamination Stamp Set - Chance to Grow - 220524ASEE IT
 Stamps By Me - Premium Dye Ink Pad - Fandango - 121022FSEE IT
 Stamps By Me - Premium Dye Ink Pad - Heather - 121022ESEE IT
 Stamps By Me - Premium Dye Ink Pad - Tiffany - 121022CSEE IT
 Stamps By Me - Premium Dye Ink Pad - Ocean - 121022BSEE IT
 Stamps By Me - Premium Dye Ink Pad - Limeade - 121022ASEE IT
 100089 - HTCN - Eureka 101 Watercolour and Scoring Tablet - 240921GSEE IT
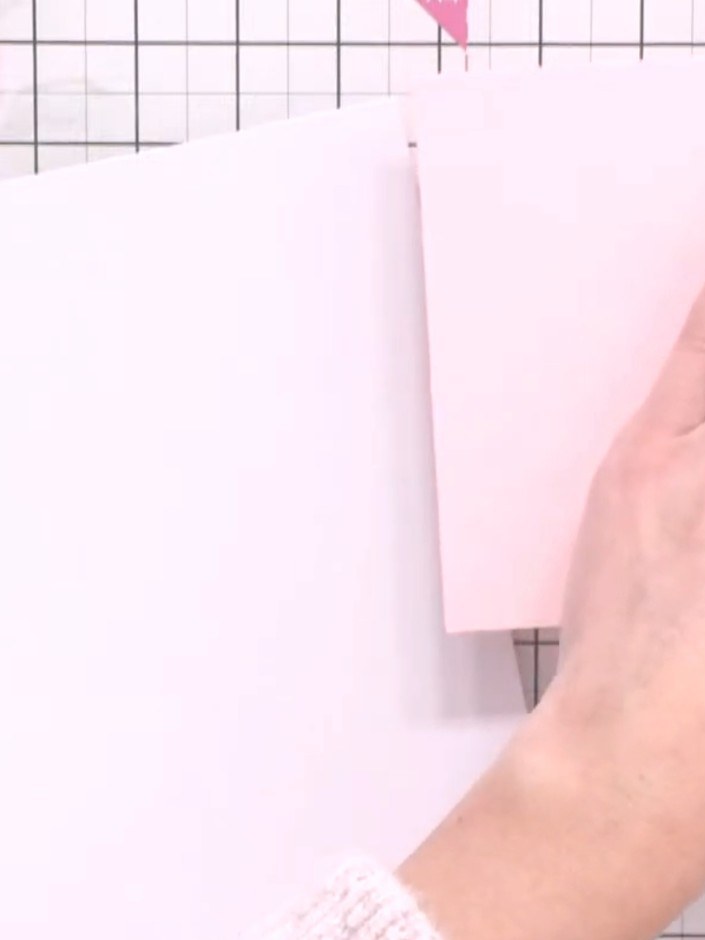
Cut down a pink card blank to create a panel. Cut white card panels to layer beneath the pink panel for a mat and layer design.
▶ watch this step (13:15)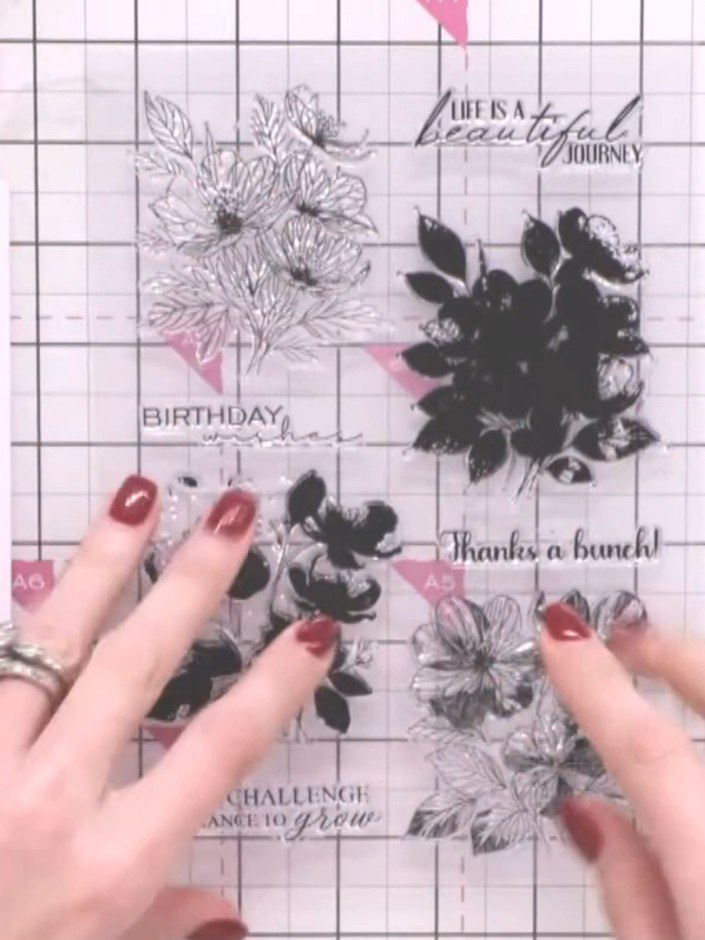
Stamp the solid portion of your first lamination stamp onto the white panel using the colour ink pads. Apply pink, orange and teal inks to different areas of the floral design to create a watercolour effect.
▶ watch this step (17:00)
Spray the stamped panel with water several times to activate and blend the inks. Allow the card to absorb the colour and watch the watercolour effect develop.
▶ watch this step (20:00)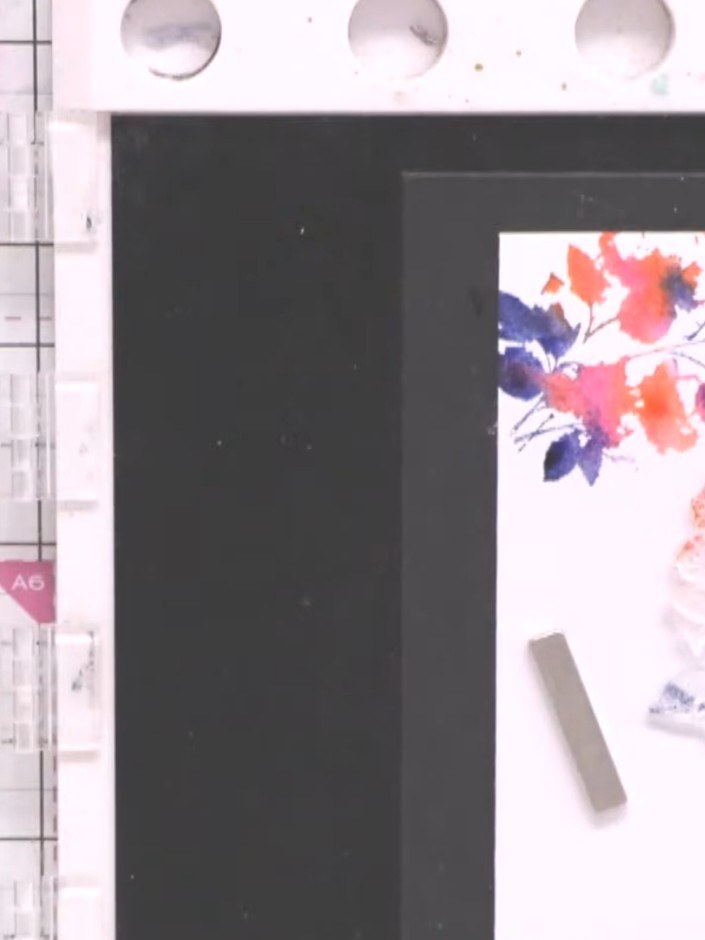
Use a heat tool to completely dry the watercoloured panel before moving on to the next step. Ensure all the ink is fully dry to prevent smudging.
▶ watch this step (21:00)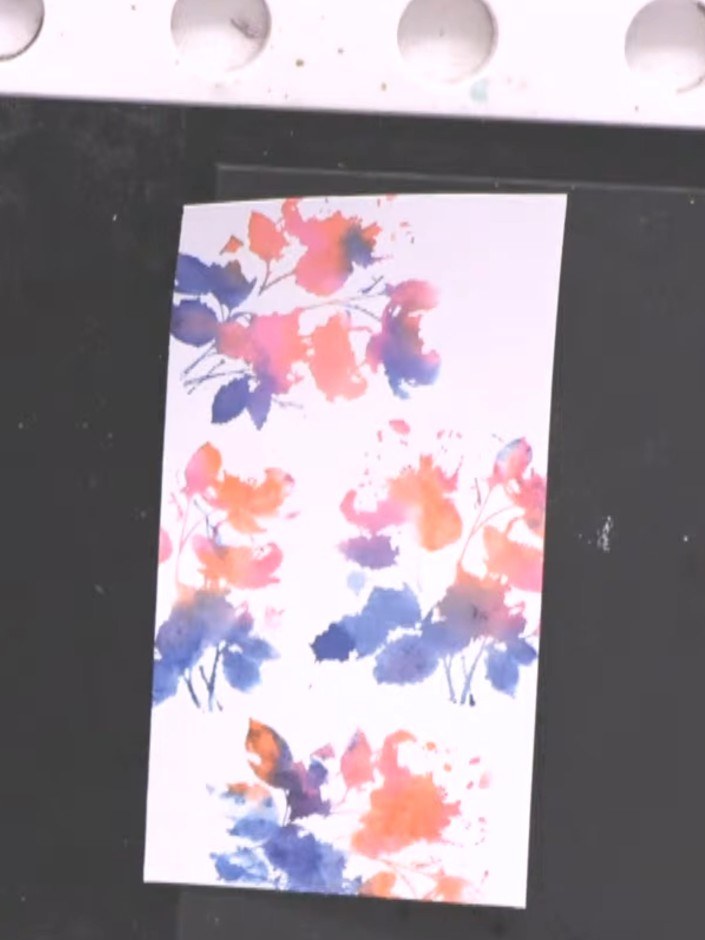
Using a sticky ink pad with gold embossing ink, stamp the detailed portion of the lamination stamp over the dried watercolour background to add fine line detail on top of the watercolour flowers.
▶ watch this step (26:00)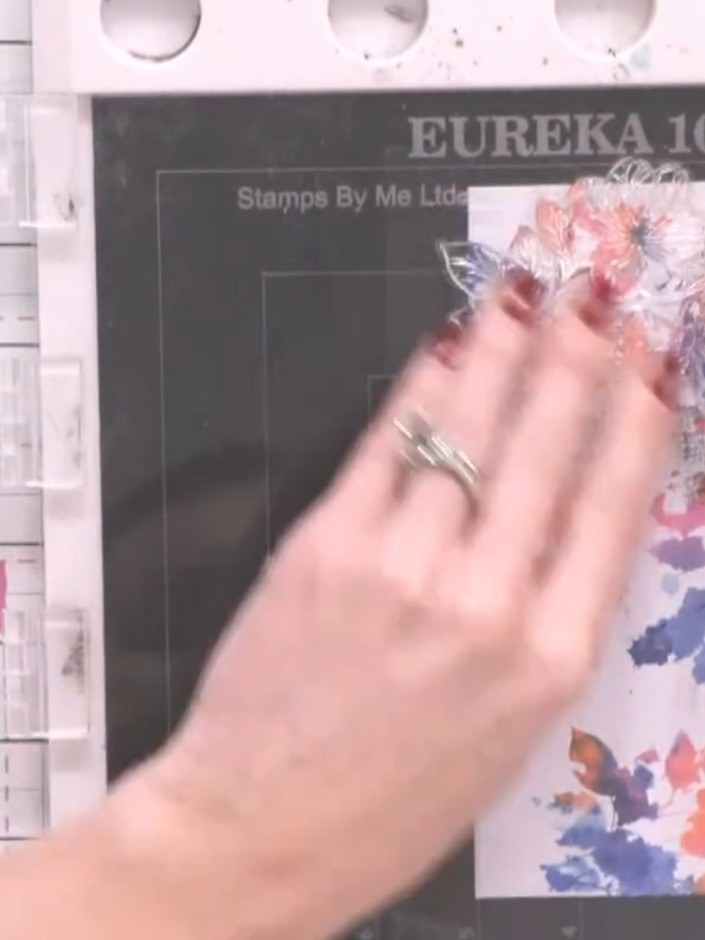
Apply gold embossing powder to the stamped floral areas. Tap off any excess powder back into the container.
▶ watch this step (28:00)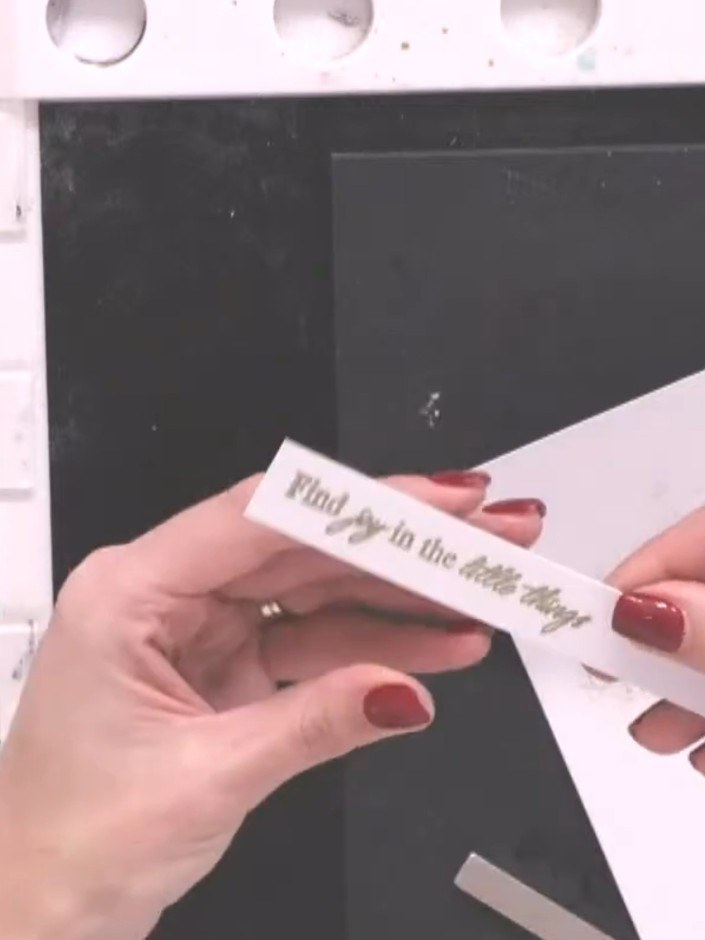
Heat set the embossing powder using a heat gun to create a raised, shiny finish on the stamped sentiment. Hold the heat gun a few inches away and move it gently over the embossed area until the powder melts and becomes glossy.
▶ watch this step (33:00)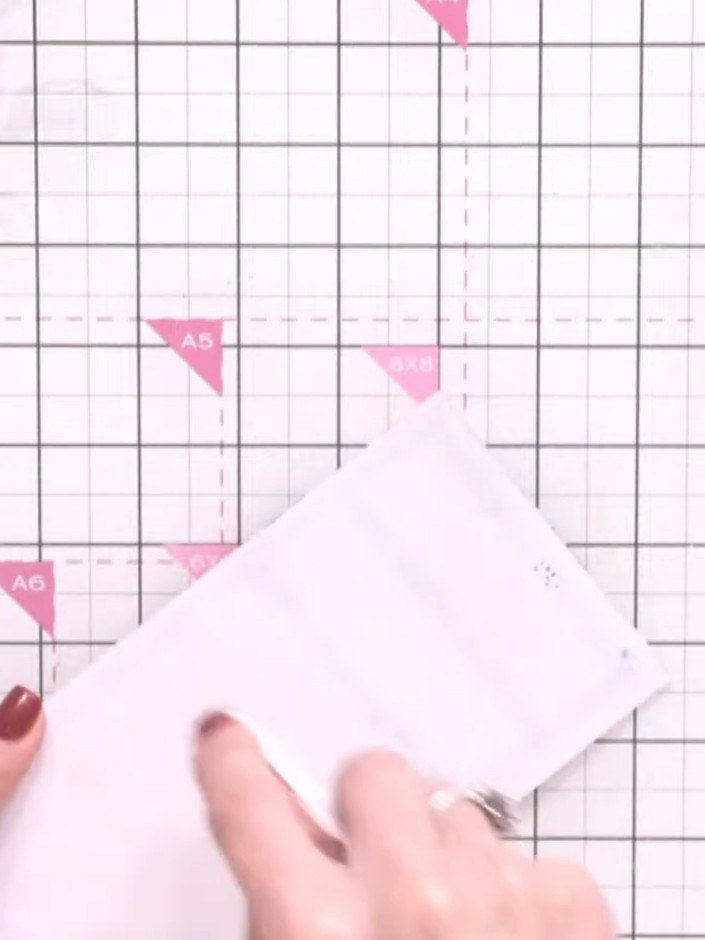
Layer the decorated white panel onto the pink mat, then attach both layers to the white card base using adhesive.
▶ watch this step (36:00)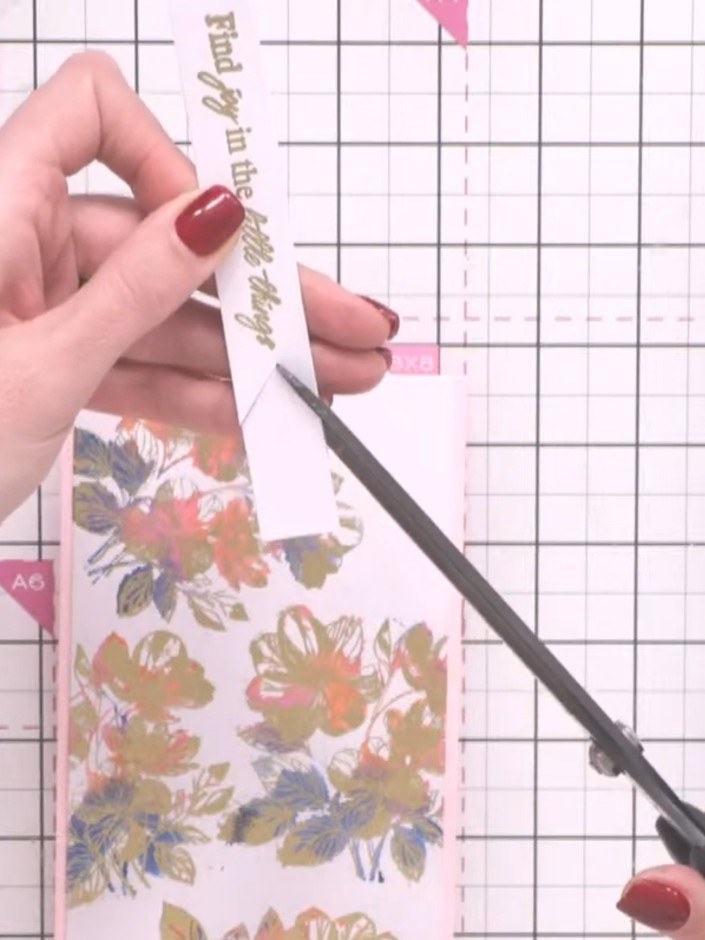
Stamp your chosen sentiment from the stamp set onto a white banner strip using black ink. Position the sentiment centrally on the banner.
▶ watch this step (37:00)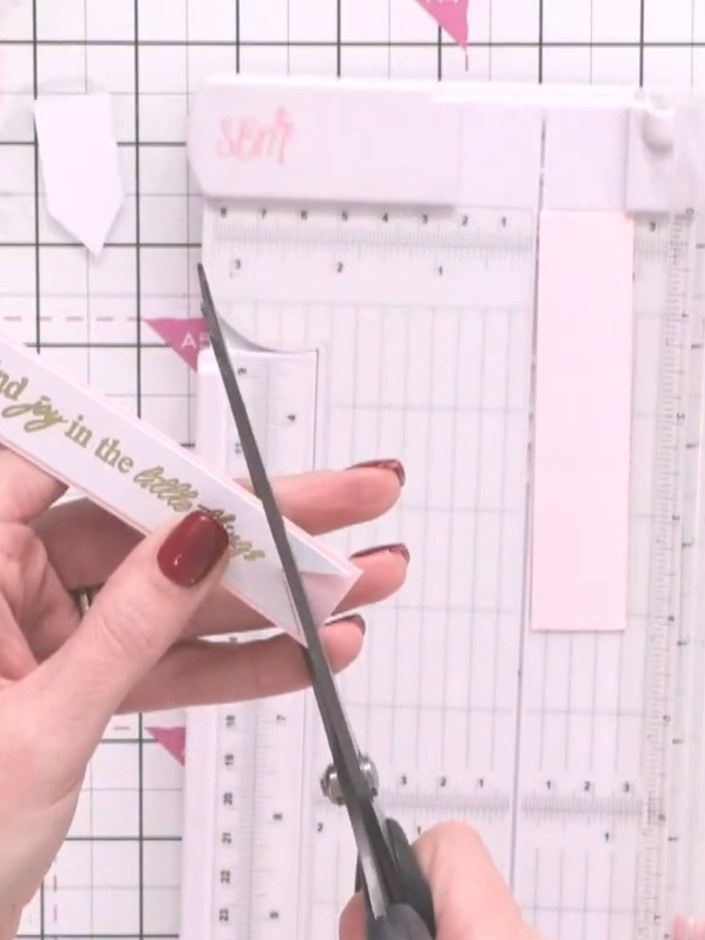
Trim the sentiment banner with decorative scissors to create a fishtail or banner tail effect at one end.
▶ watch this step (38:00)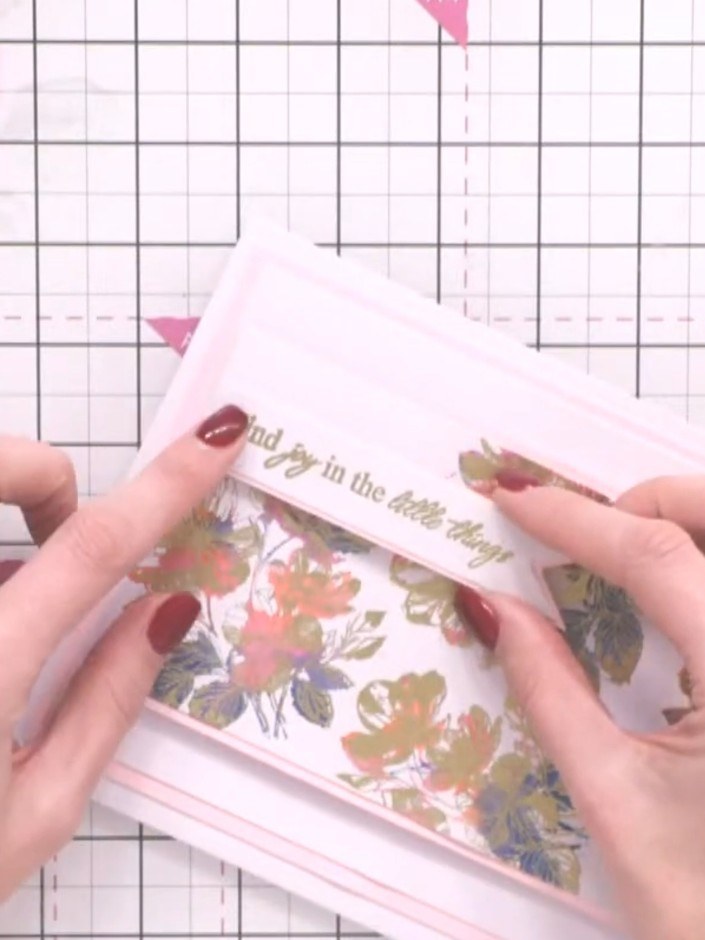
Adhere the sentiment banner across the front of the card, positioning it over the floral design. Use adhesive to secure it in place.
▶ watch this step (41:00)Written up from the show itself. See every guide from our shows · free how-to guides · watch live on My Telly