Give your friends £10 off their first order!
Refer a FRIEND








Prices change straight away. Every language is our own translation, not Google.
A project from our live show MY PODCAST - Catch my latest updates broadcast 25th November 2024 · 25/11/2024 · watch it from 16:45
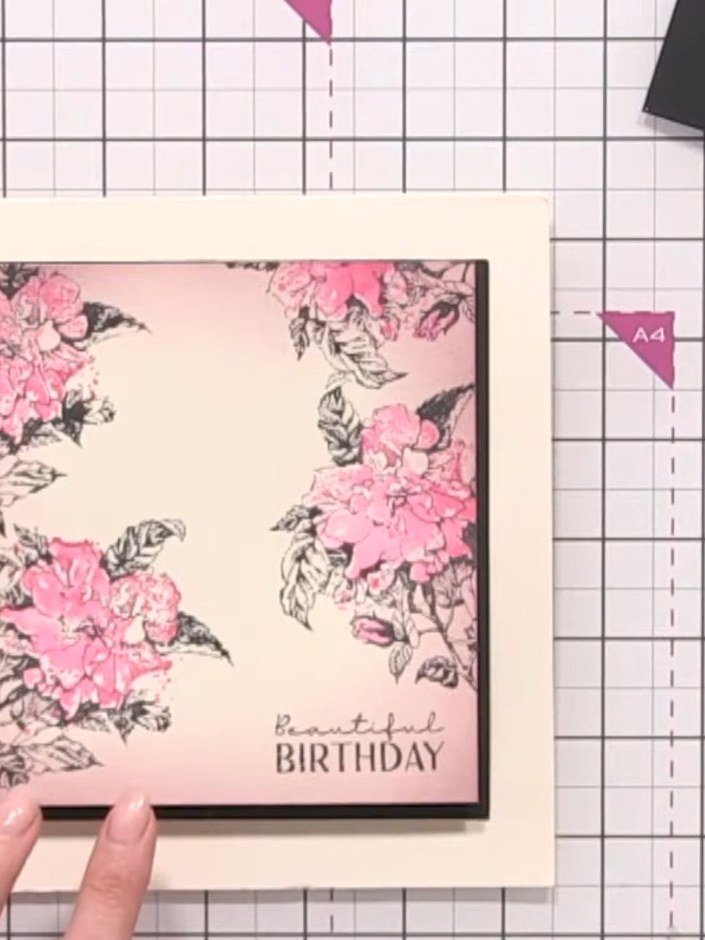
Create this elegant 7x7 inch square birthday card featuring a beautiful vintage floral design with pink blooms and grey-toned leaves. Using the 'Here for You' lamination stamp, you'll achieve a stunning painted watercolour effect with layered elements and distressed edges. The design is finished with a 'Beautiful Birthday' sentiment and mounted on a contrasting dark frame for added dimension.
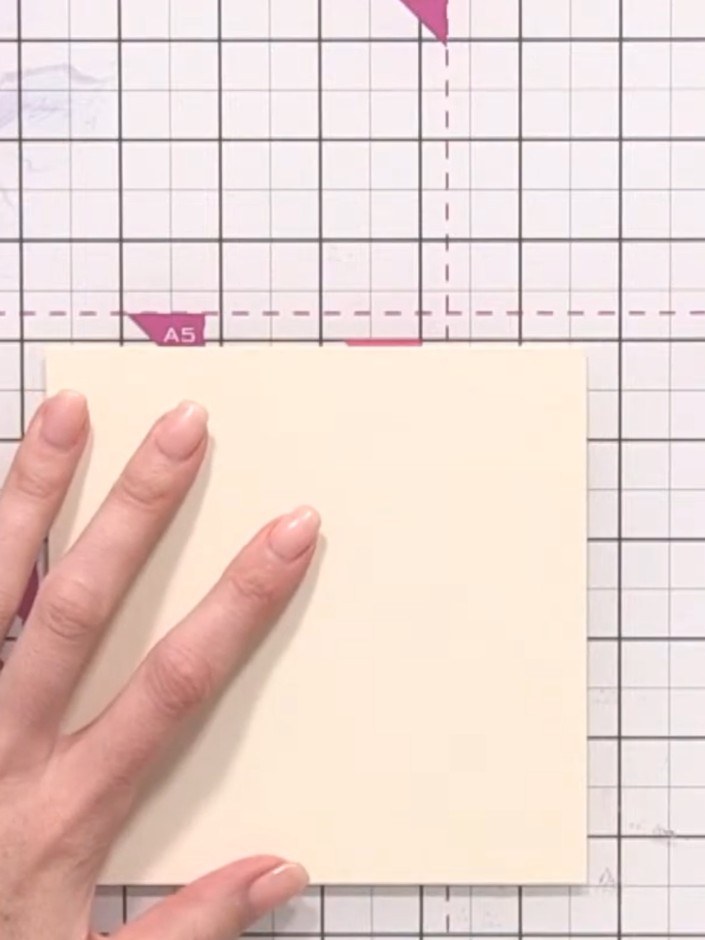
Cut a square card blank to 7 by 7 inches from cream cardstock. Trim a mat and layer panel for the front of your card base. Use a blending brush with ink to blend colour around all edges of the cream card base to give it a vintage look.
▶ watch this step (16:45)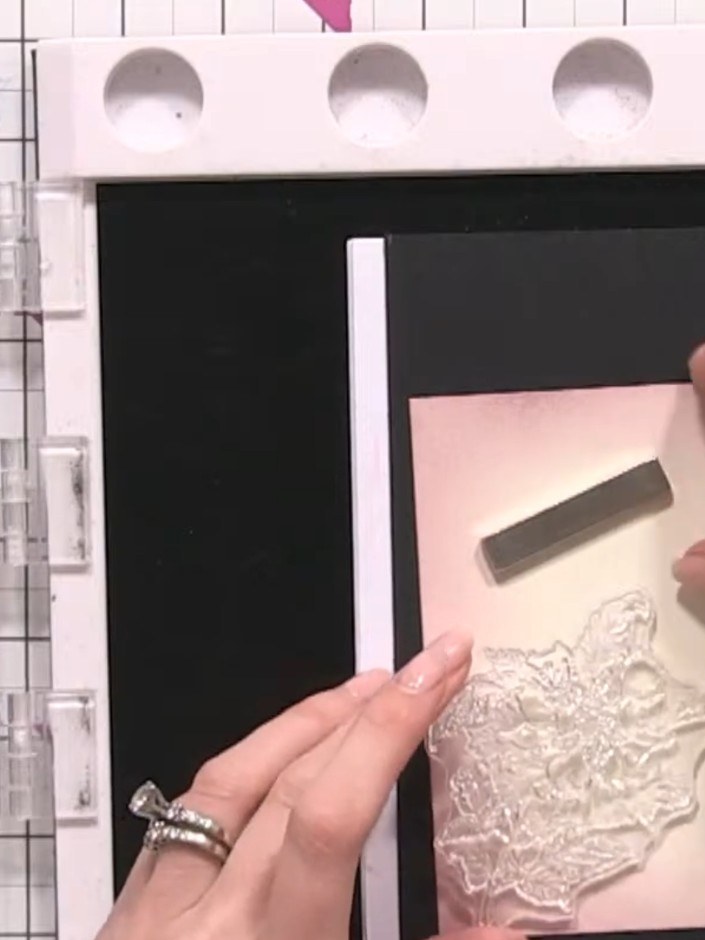
Stamp the main floral head from the lamination stamp set in black ink, positioning it coming in from the corner of your pink card panel.
▶ watch this step (28:00)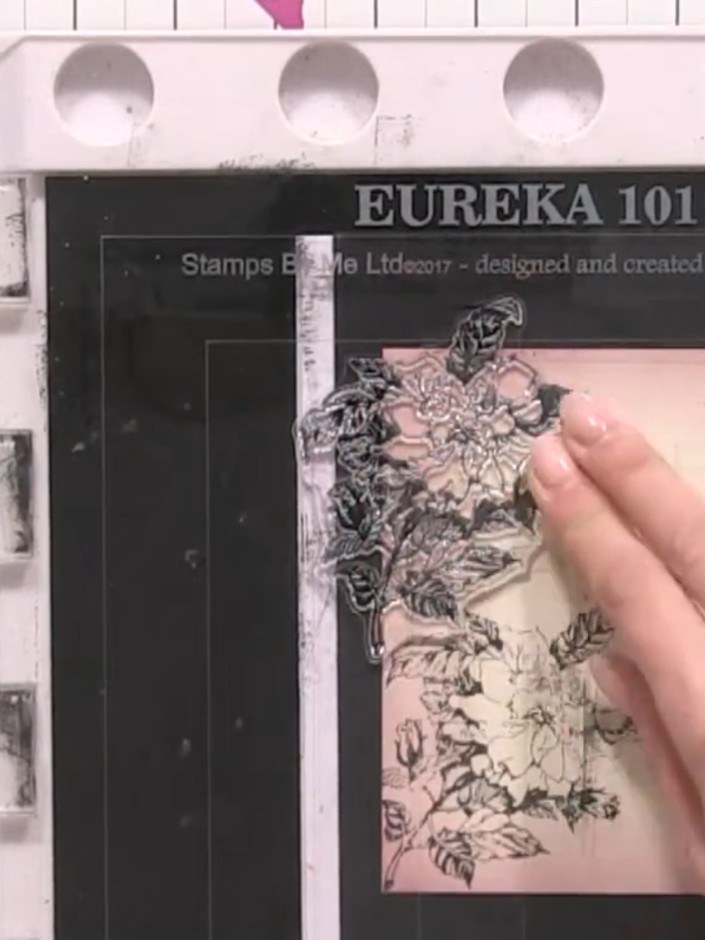
Stamp the side bud element from the A5 Lamination stamp set in black ink onto the pink panel, positioning it to complement the main flower image.
▶ watch this step (31:00)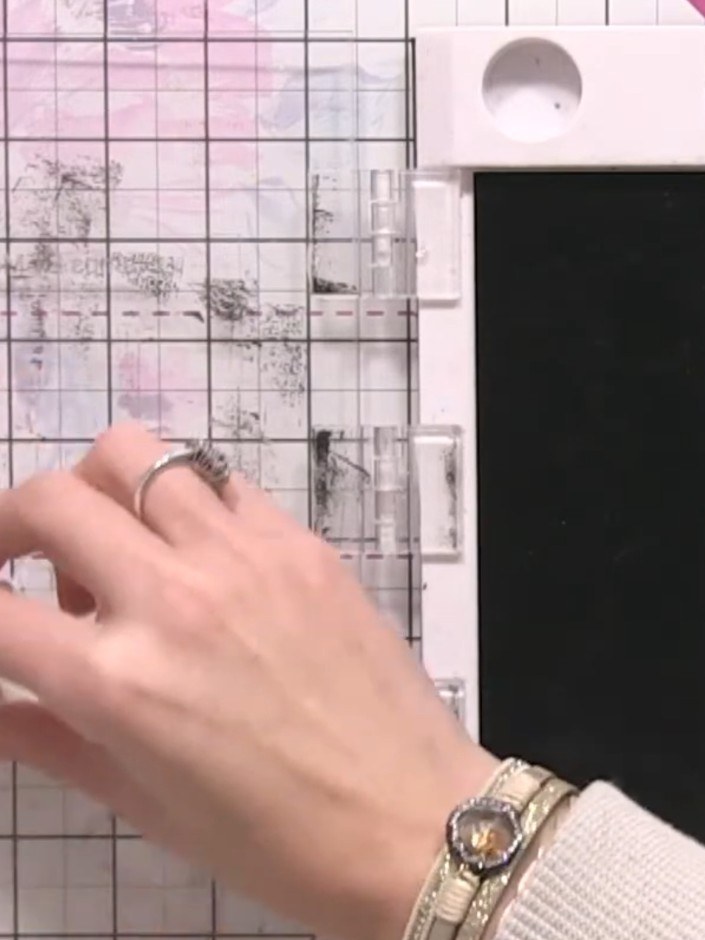
Lightly tap the stamp onto a small ink pad to load it with minimal ink. Use a tissue to remove any excess ink from the stamp.
▶ watch this step (35:00)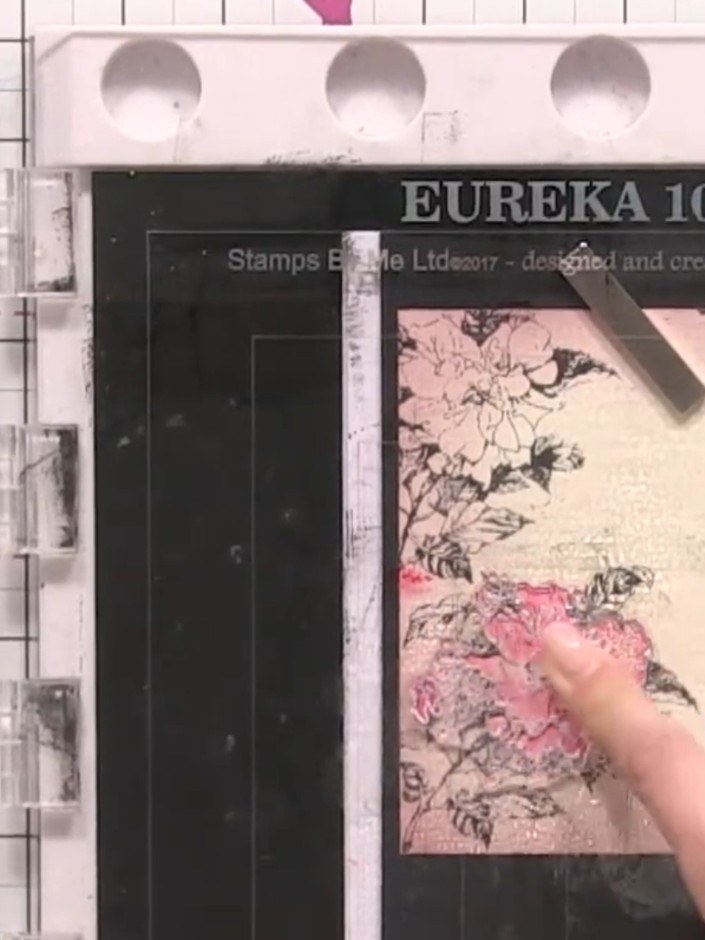
Spray the stamp three times with water, then press it firmly onto the card to create the lamination watercolour effect over the floral design.
▶ watch this step (35:45)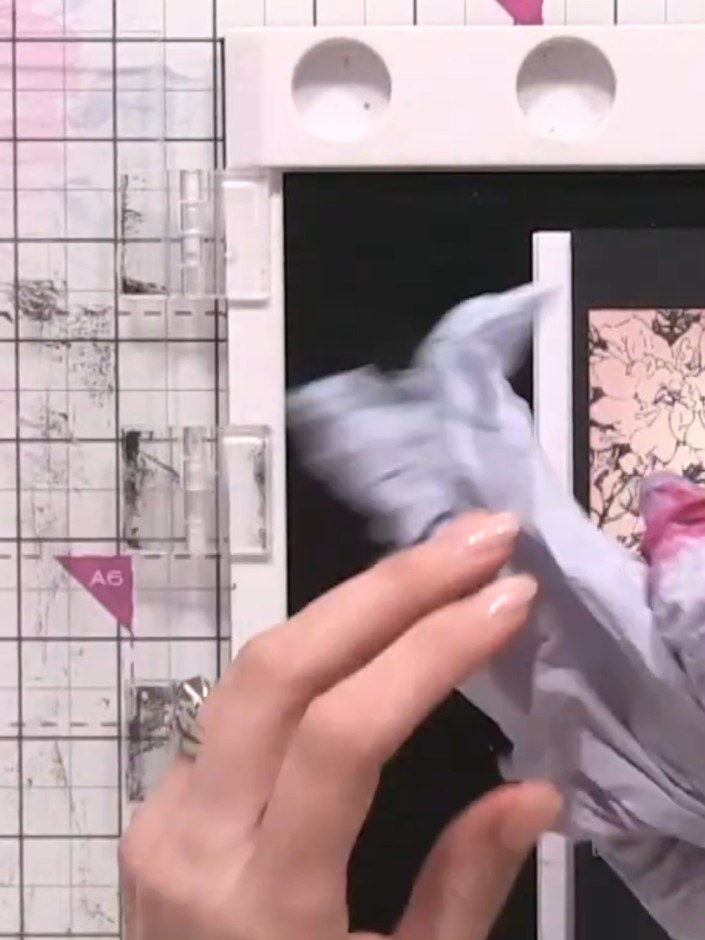
Apply ink to the remaining floral elements using the same water-spray lamination technique. Spray water onto the stamp, press onto the card, then use a cloth to lift and blend the ink.
▶ watch this step (37:00)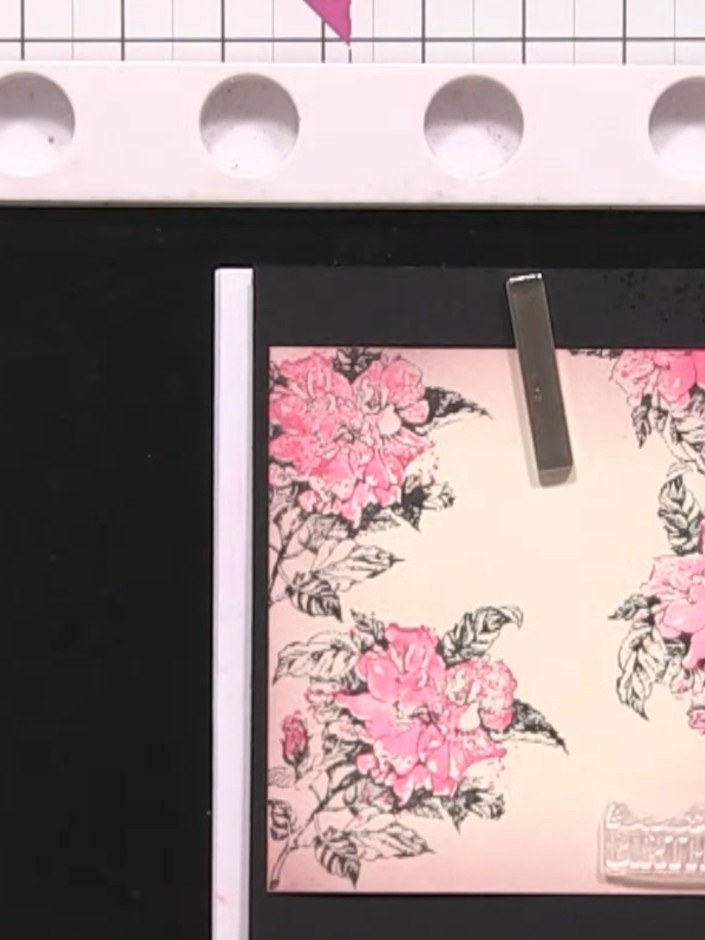
Stamp the 'Beautiful Birthday' sentiment in black ink at the bottom right of the floral panel. Ensure the ink dries completely on the flowers.
▶ watch this step (39:30)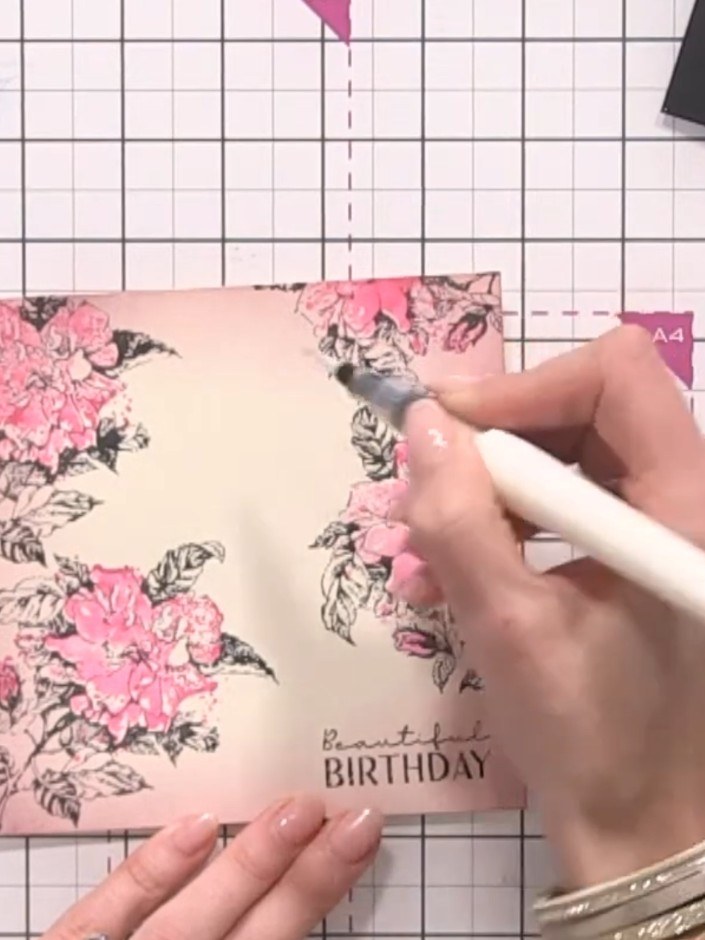
Add sparkle to selected leaves using a sparkle pen for subtle embellishment. Focus on the grey and black leaves around the pink floral clusters. Apply the sparkle pen lightly to create a delicate shimmer effect.
▶ watch this step (40:30)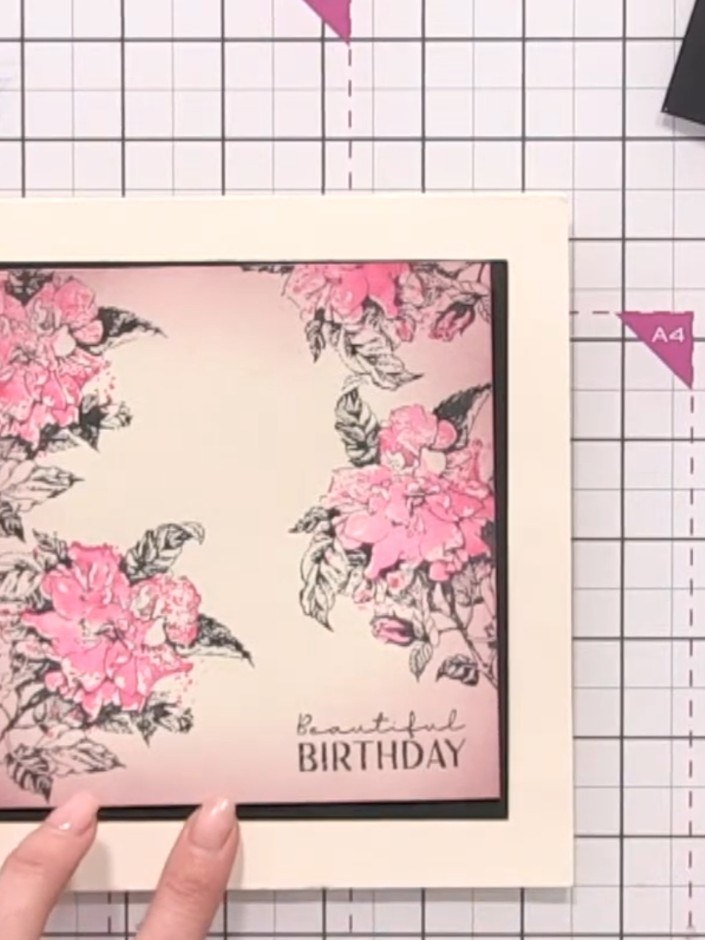
Layer the decorated floral panel onto the black mat layer and attach it to the cream card base to complete your card.
▶ watch this step (41:30)Written up from the show itself. See every guide from our shows · free how-to guides · watch live on My Telly



