Give your friends £10 off their first order!
Refer a FRIEND








Prices change straight away. Every language is our own translation, not Google.
A project from our live show ONE DAY SPECIAL - Join Toni for her brand new launch - Broadcast 6th December 24 · 06/12/2024 · watch it from 48:30
Create beautiful mini embossed cards using the All Occasions embossing folder and vibrant DCWV cardstock. This project demonstrates a stunning multi-colour ink technique, layering different ink shades directly onto the embossing folder, then using water spray and white ink to add depth and dimension. The result is a collection of elegant cards in pink, turquoise, coral and burgundy tones, each featuring delicate raised floral designs with decorative frames.
Select a light pink piece of DCWV cardstock for your mini card base.
▶ watch this step (49:00)
Ink the raised side of the mini All Occasions embossing folder with pink ink pad, ensuring even coverage across the embossed surface.
▶ watch this step (49:30)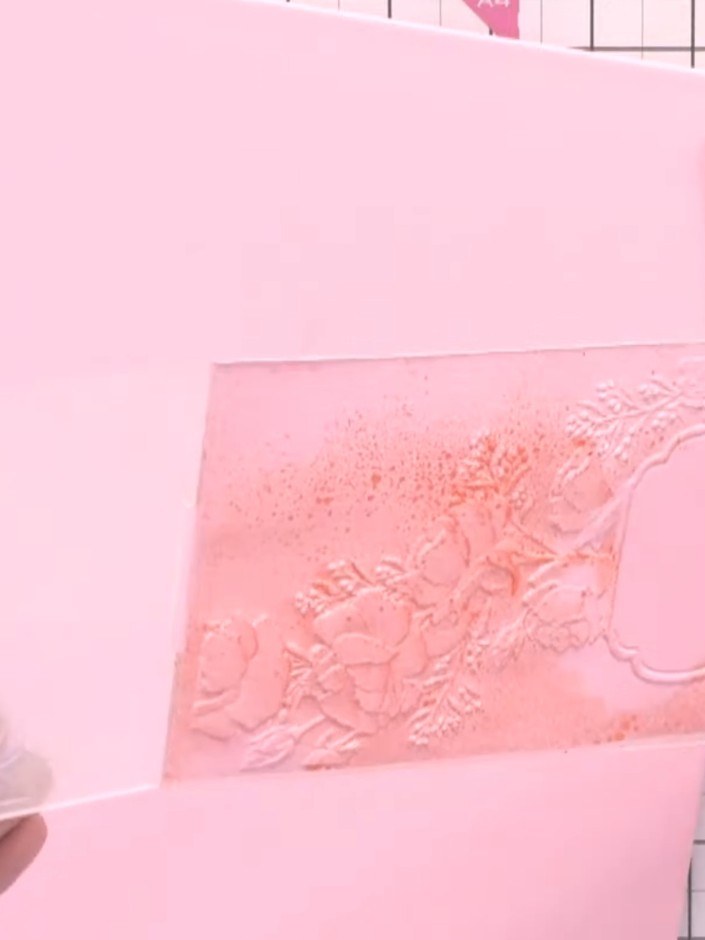
Apply additional ink colours to specific areas of the embossing folder. Use purple or other desired colours on the flower details and decorative elements of the design.
▶ watch this step (50:00)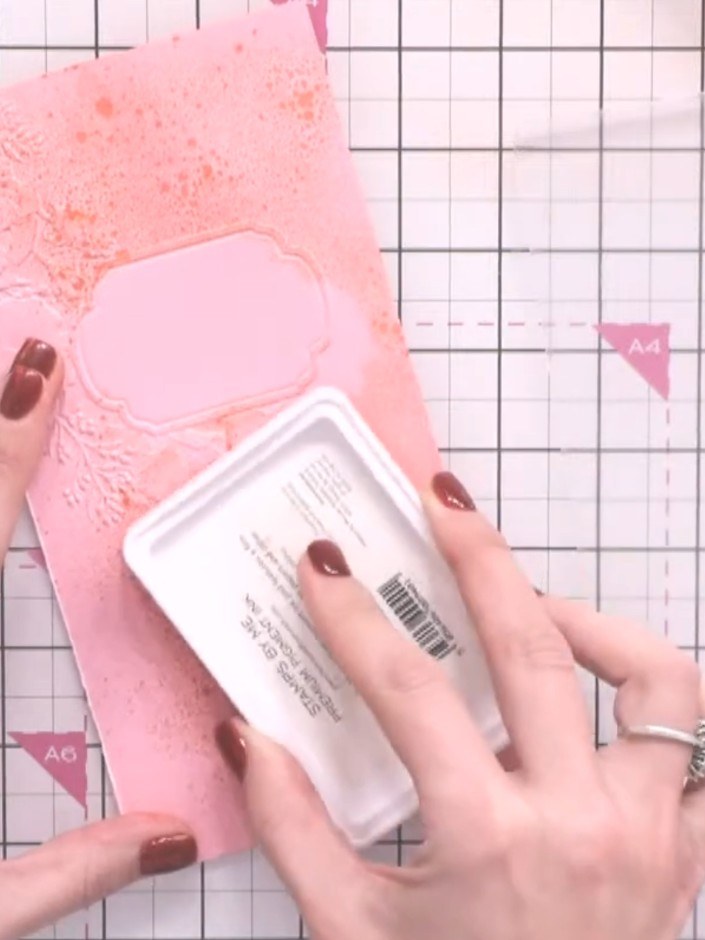
Place the inked embossing folder onto the pink base plate on your cutting mat.
▶ watch this step (50:30)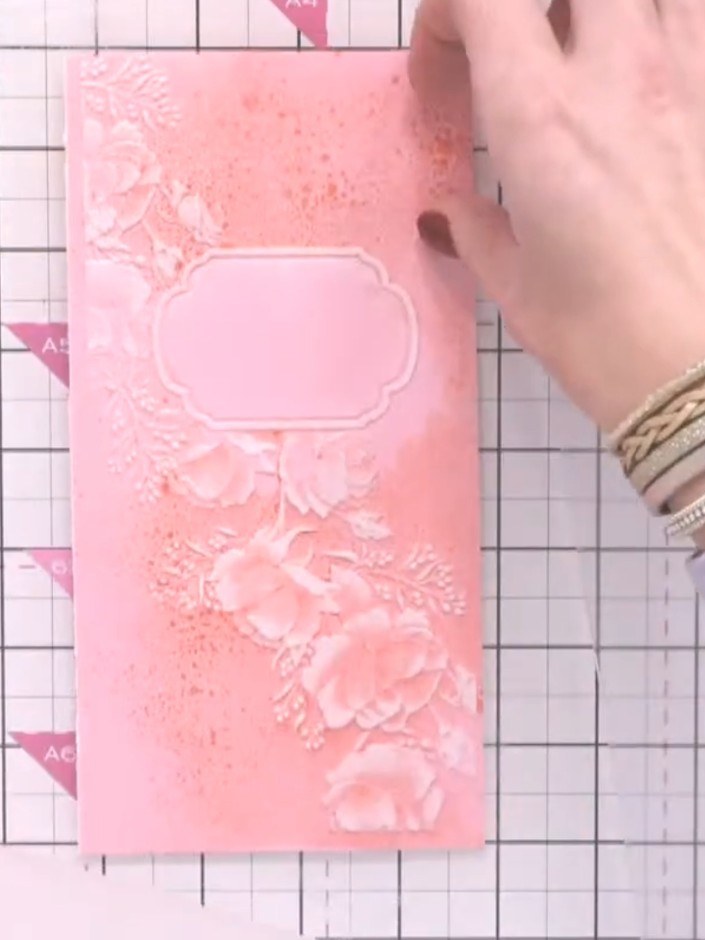
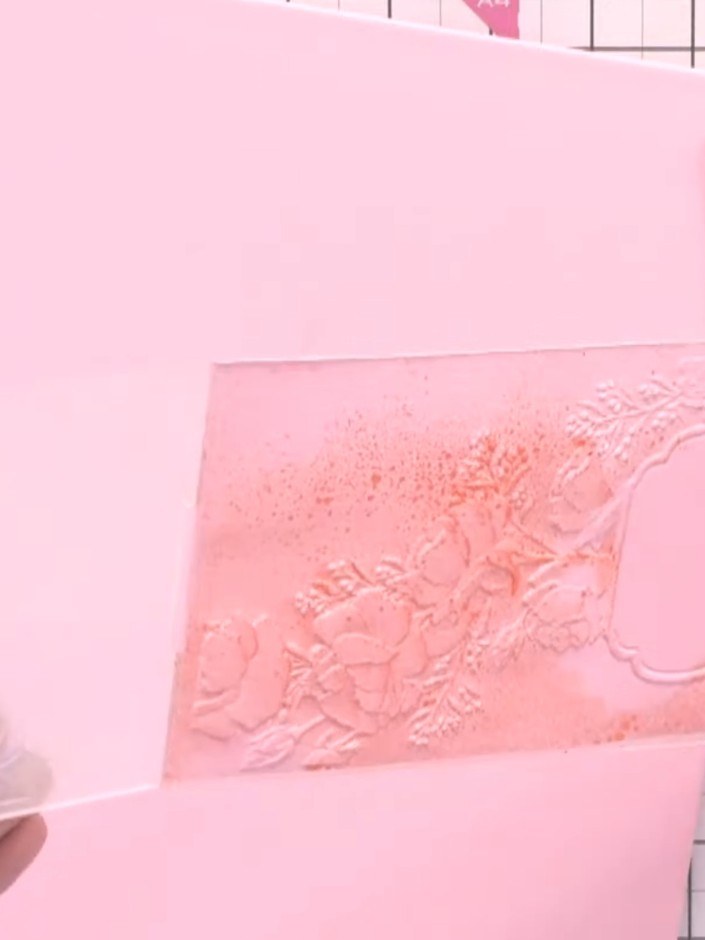
Position your pink cardstock on top of the embossing folder, ensuring it is centred over the design. The embossed pattern should align with your card panel.
▶ watch this step (51:00)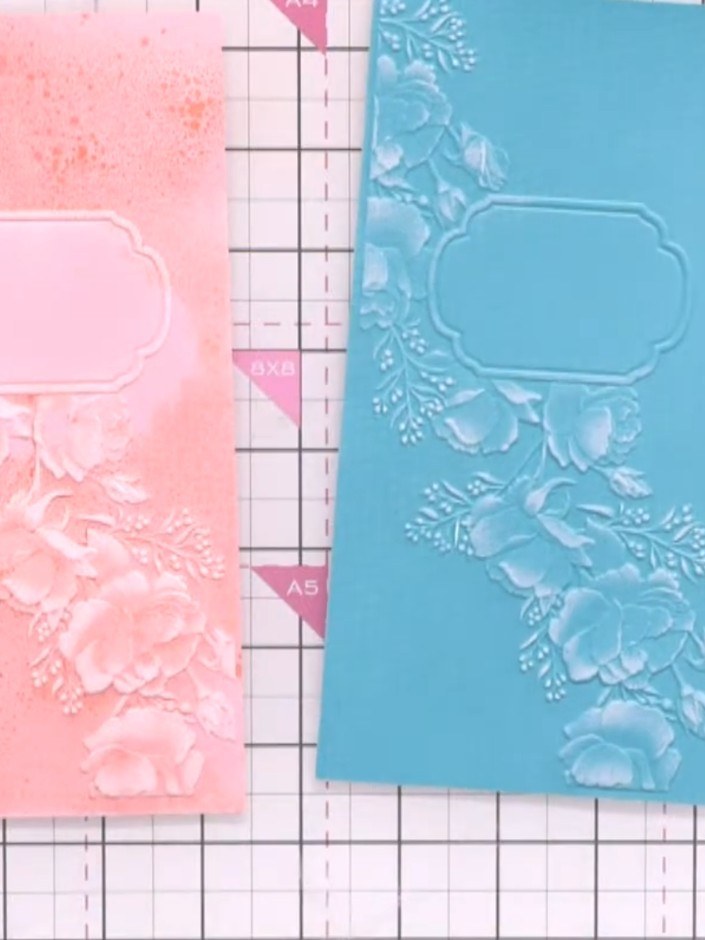
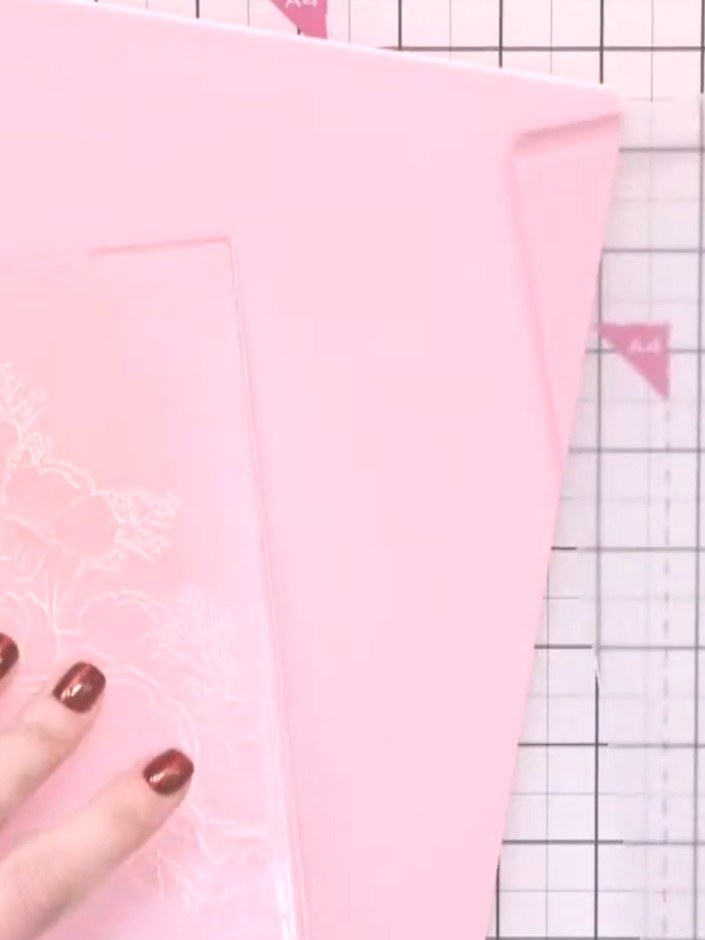
Place a clear plate on top of your embossed card and run it through the die-cutting machine to set the embossing.
▶ watch this step (51:15)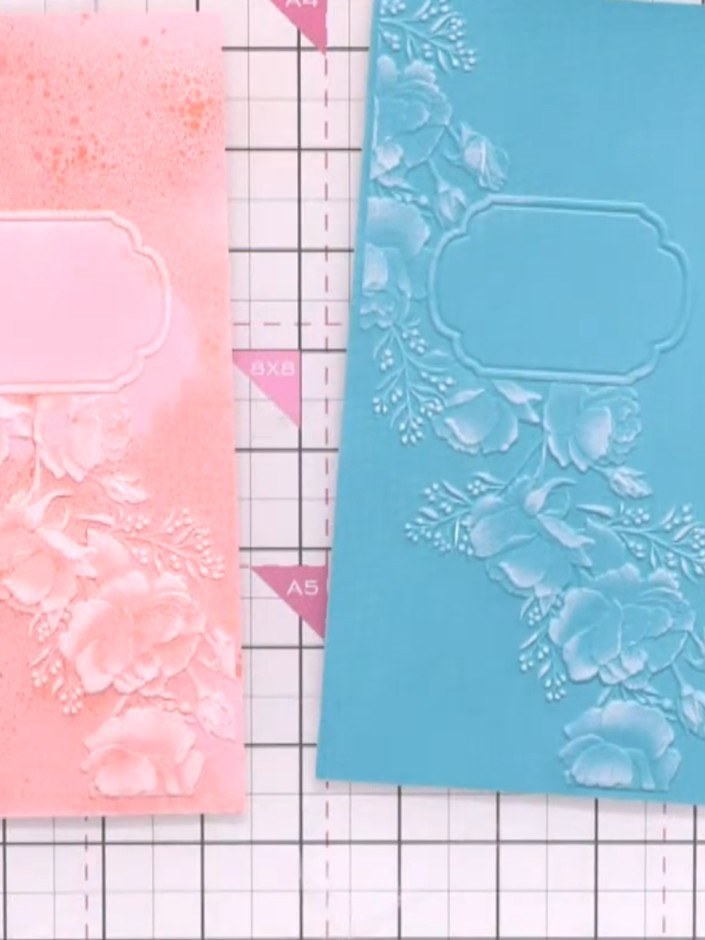
Lightly spray the embossed cards with water to blend the ink colours slightly. The water will help soften the transitions between the different ink colours on the embossed design. Allow the inked card to dry completely before proceeding to the next step.
▶ watch this step (51:45)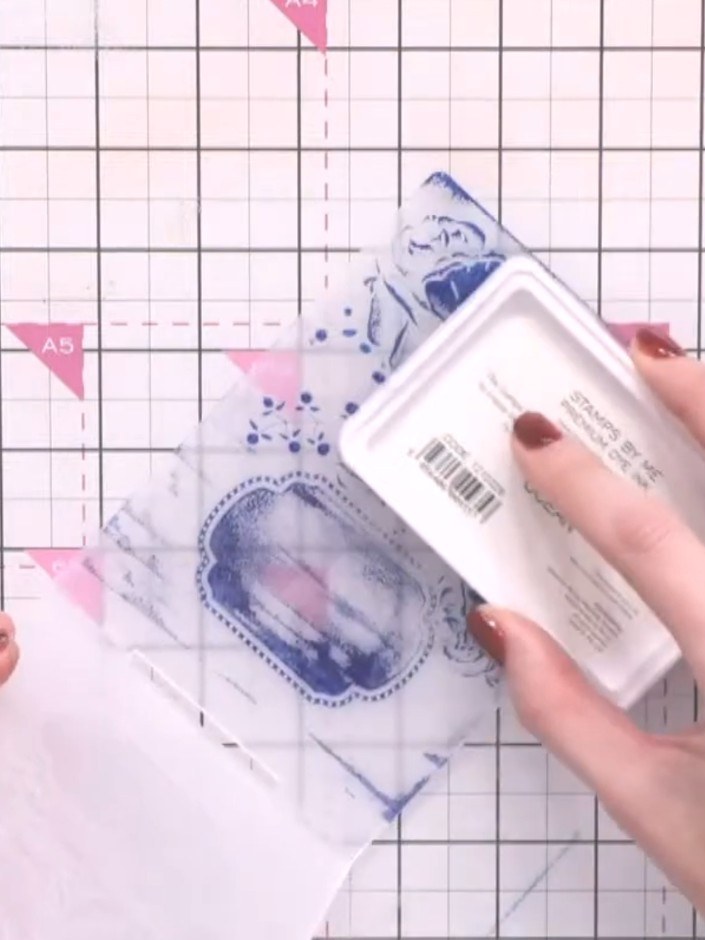
Use the white ink pad to tap over the raised embossed details on the card. This will highlight the design and make it stand out against the coloured background.
▶ watch this step (52:30)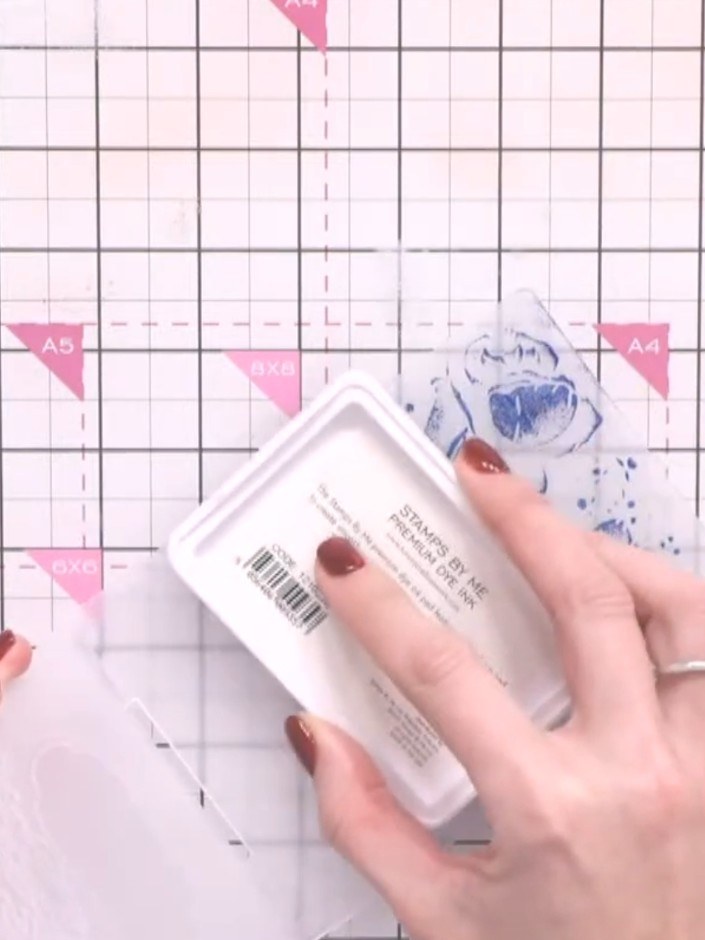
If desired, gently blend the white ink with your fingertip to create a softer, more subtle effect on the embossed areas.
▶ watch this step (53:00)Written up from the show itself. See every guide from our shows · free how-to guides · watch live on My Telly



