Give your friends £10 off their first order!
Refer a FRIEND








Prices change straight away. Every language is our own translation, not Google.
A project from our live show ONE DAY SPECIAL - Join Toni for her brand new launch - Broadcast 6th December 24 · 06/12/2024 · watch it from 33:00
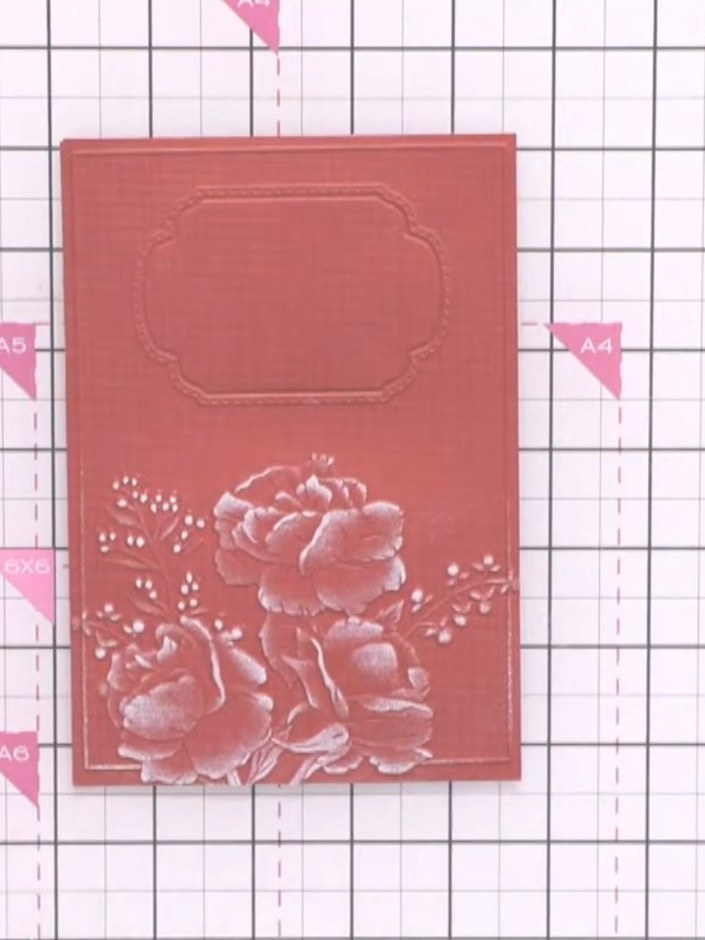
Create a beautiful festive Christmas card featuring an elegant embossed rose design. Using DCWV white core cardstock in a warm coral shade and the All Occasions embossing folder, you'll create stunning dimensional detailing that reveals white through the embossed areas when sanded. This simple yet sophisticated technique produces a professional-looking card perfect for the holiday season.
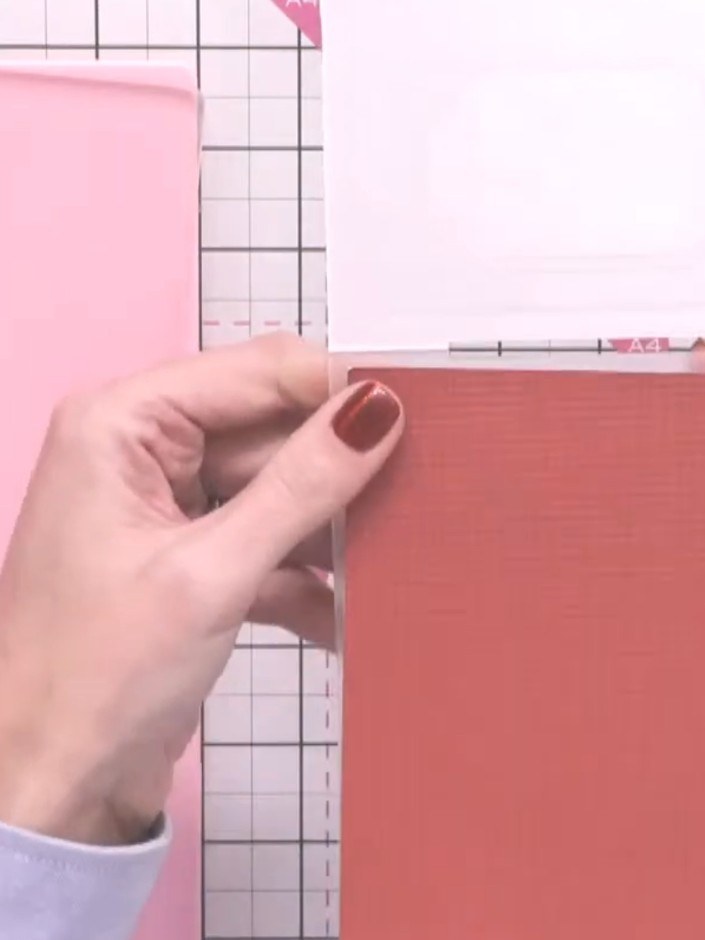
Tear a piece of the red DCWV cardstock from the 5x7 stack. Place the coral cardstock in the centre of the pink base plate on your cutting mat.
▶ watch this step (33:45)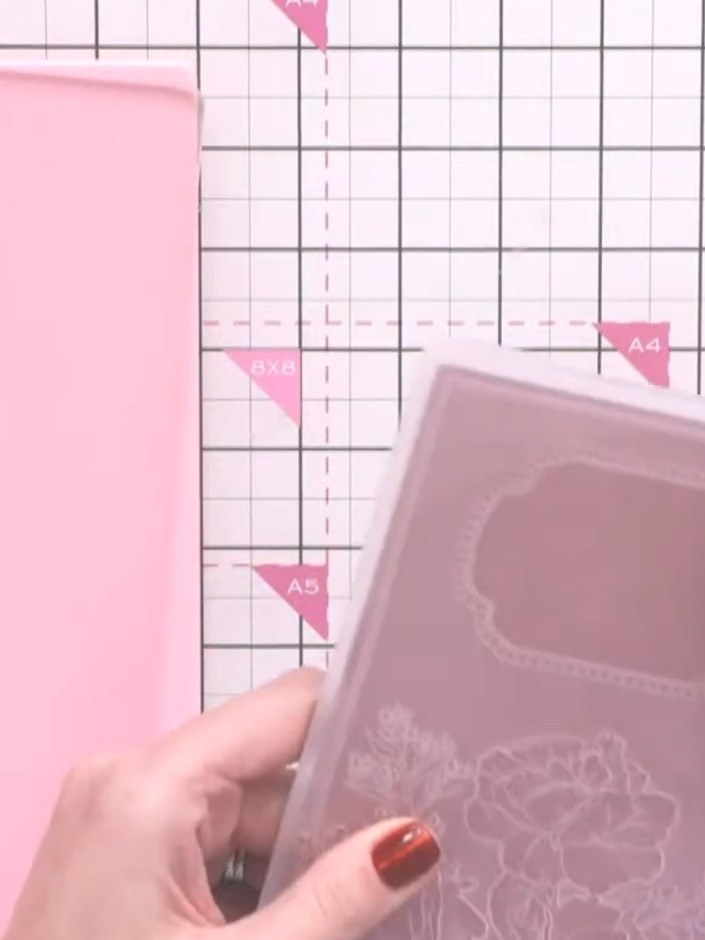
Position the All Occasions embossing folder on top of the pink cardstock, ensuring it is centred over the card base.
▶ watch this step (38:15)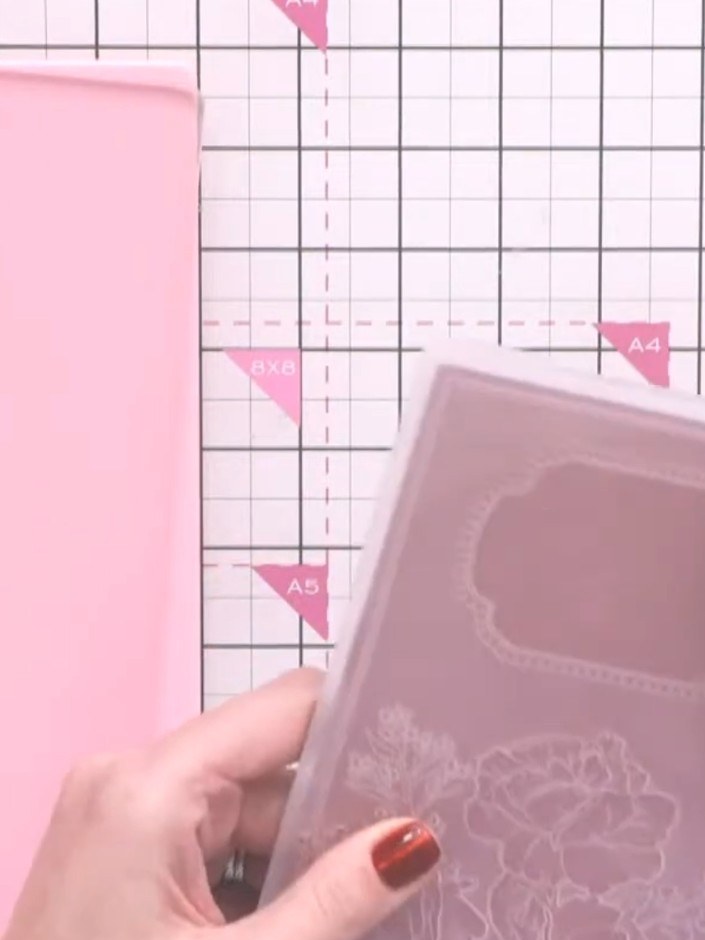
Place a clear plate on top of the embossing folder to hold it in place.
▶ watch this step (38:30)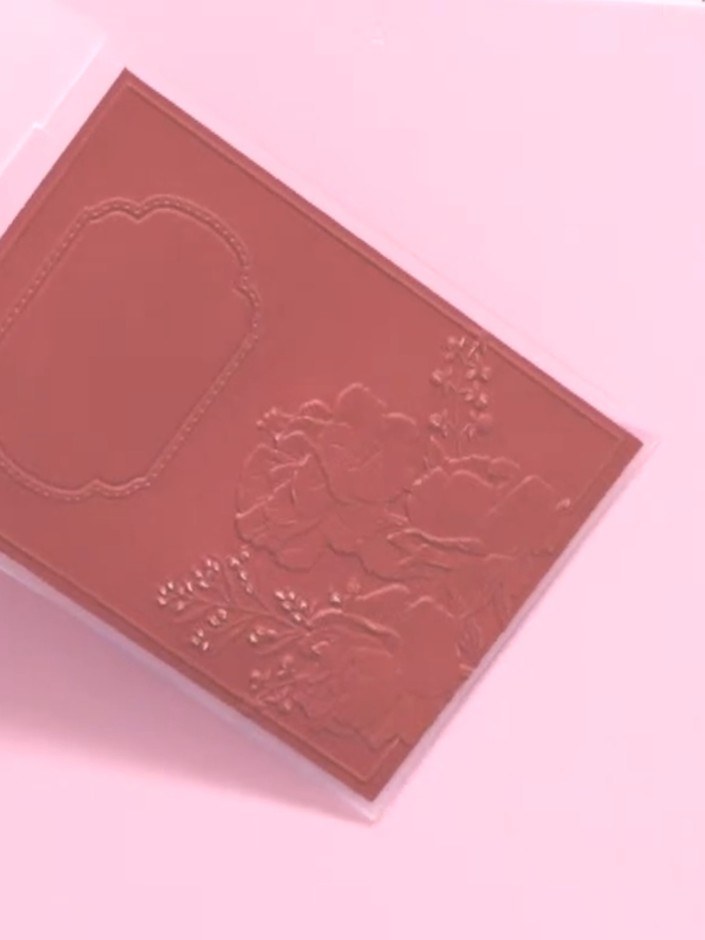
Lower the hinged door of the embossing machine and turn the hand crank smoothly to run the embossing plate and cardstock through the machine.
▶ watch this step (38:45)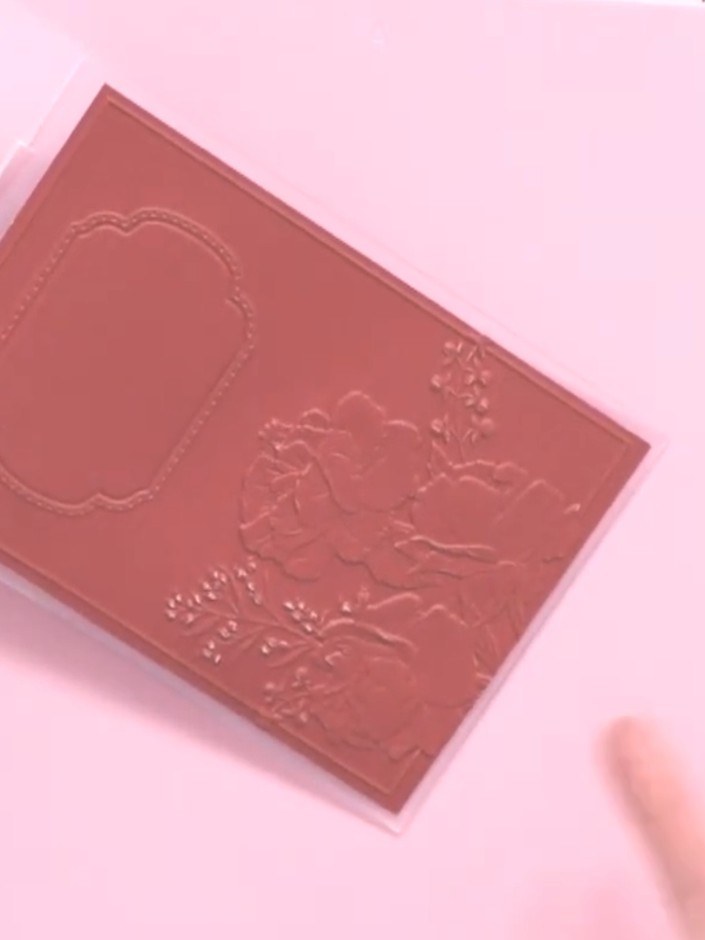
Remove the embossed cardstock from the folder and admire the raised rose and frame detail created by the embossing process.
▶ watch this step (39:00)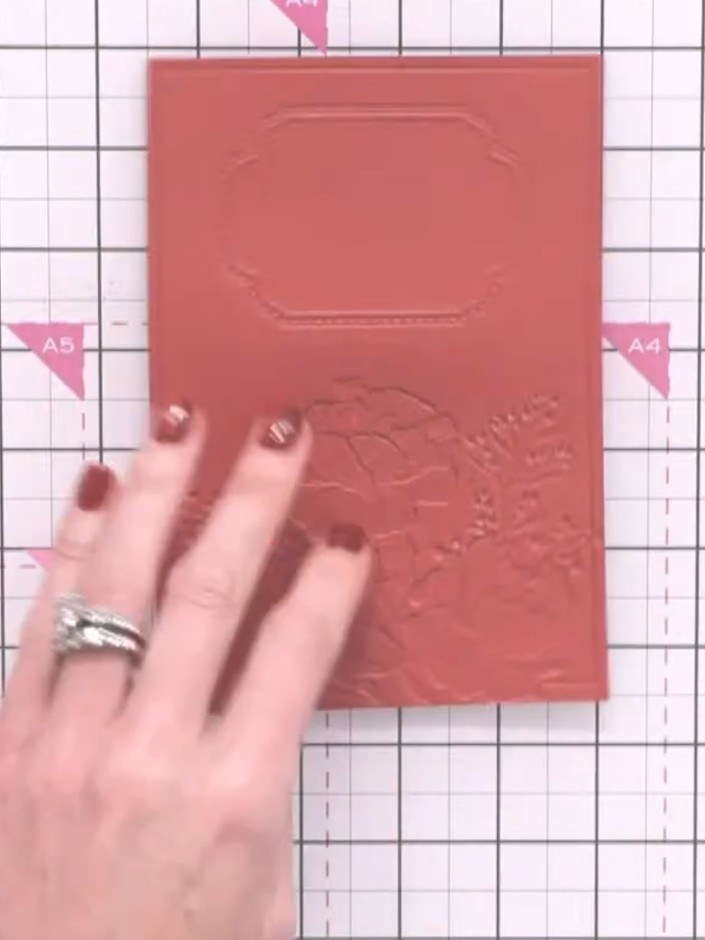
Apply white embossing ink to the raised embossed areas of the red cardstock using a white ink pad. Gently dab the ink pad over the embossed design to highlight the raised details.
▶ watch this step (40:00)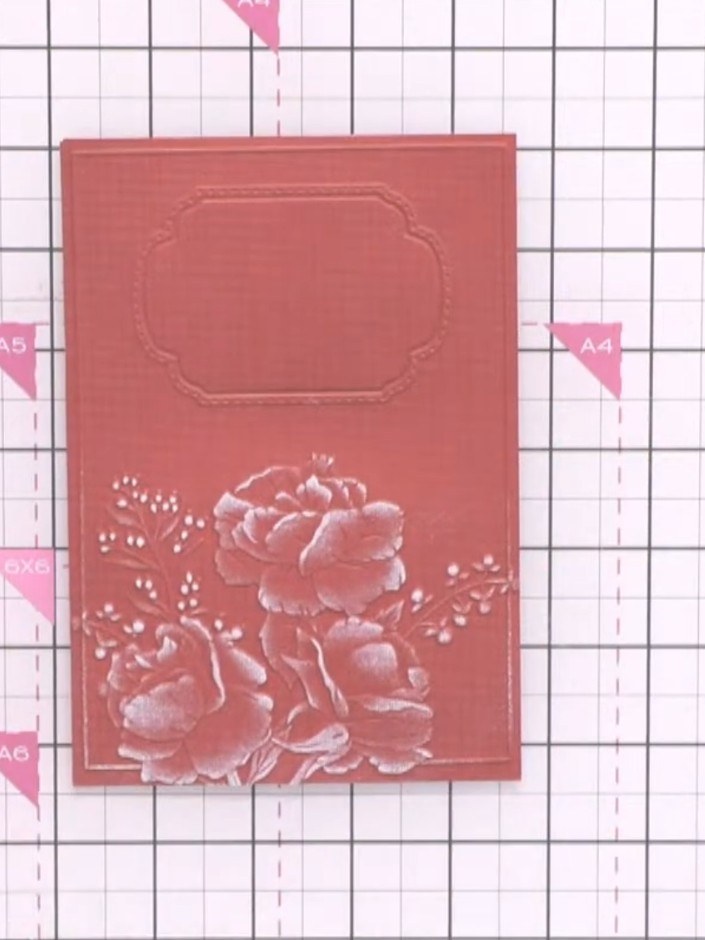
Allow the embossed and inked coral cardstock to dry completely before proceeding to the next step.
▶ watch this step (40:30)Written up from the show itself. See every guide from our shows · free how-to guides · watch live on My Telly



