Give your friends £10 off their first order!
Refer a FRIEND








A project from our live show ONE DAY SPECIAL - Join Toni for her brand new launch - Broadcast 21st December 24 · 21/12/2024 · watch it from 18:15
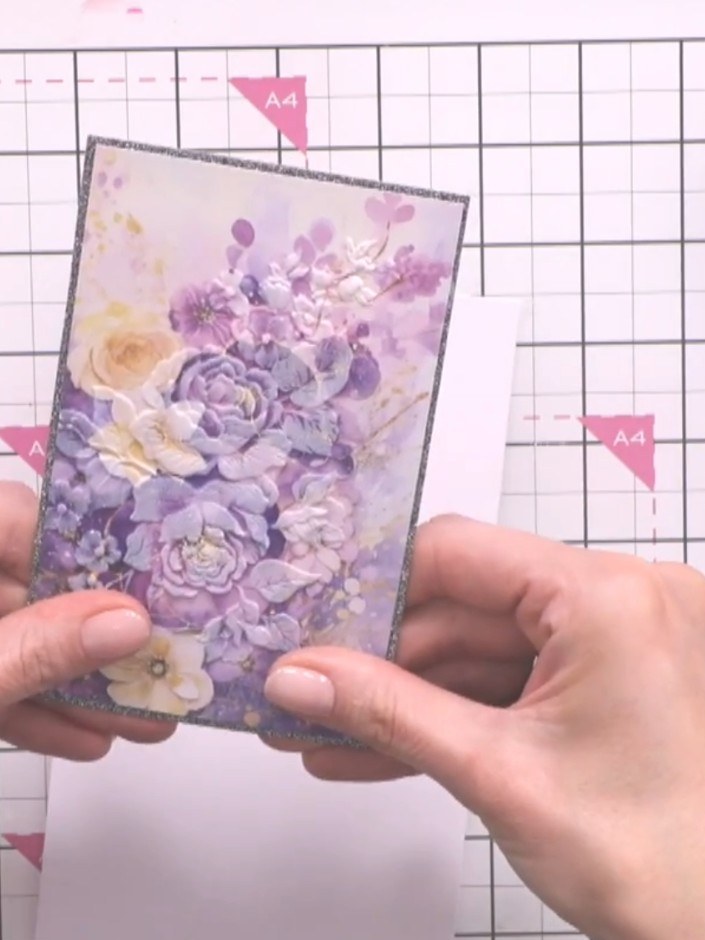
Create a stunning multi-layered card featuring the iconic Eiffel Tower with beautiful purple and yellow floral elements. This elegant design combines stencilling, stamping, and embossing techniques on sparkly black cardstock to create a sophisticated dimensional piece. The four-stage Quattro D system brings depth and artistry to this Parisian-themed card.
 Stamps By Me Quattro D - Paris - 180424CSEE IT
 Stamps By Me 8.5 Inch Die Cutting & Embossing Machine - 170724ASEE IT
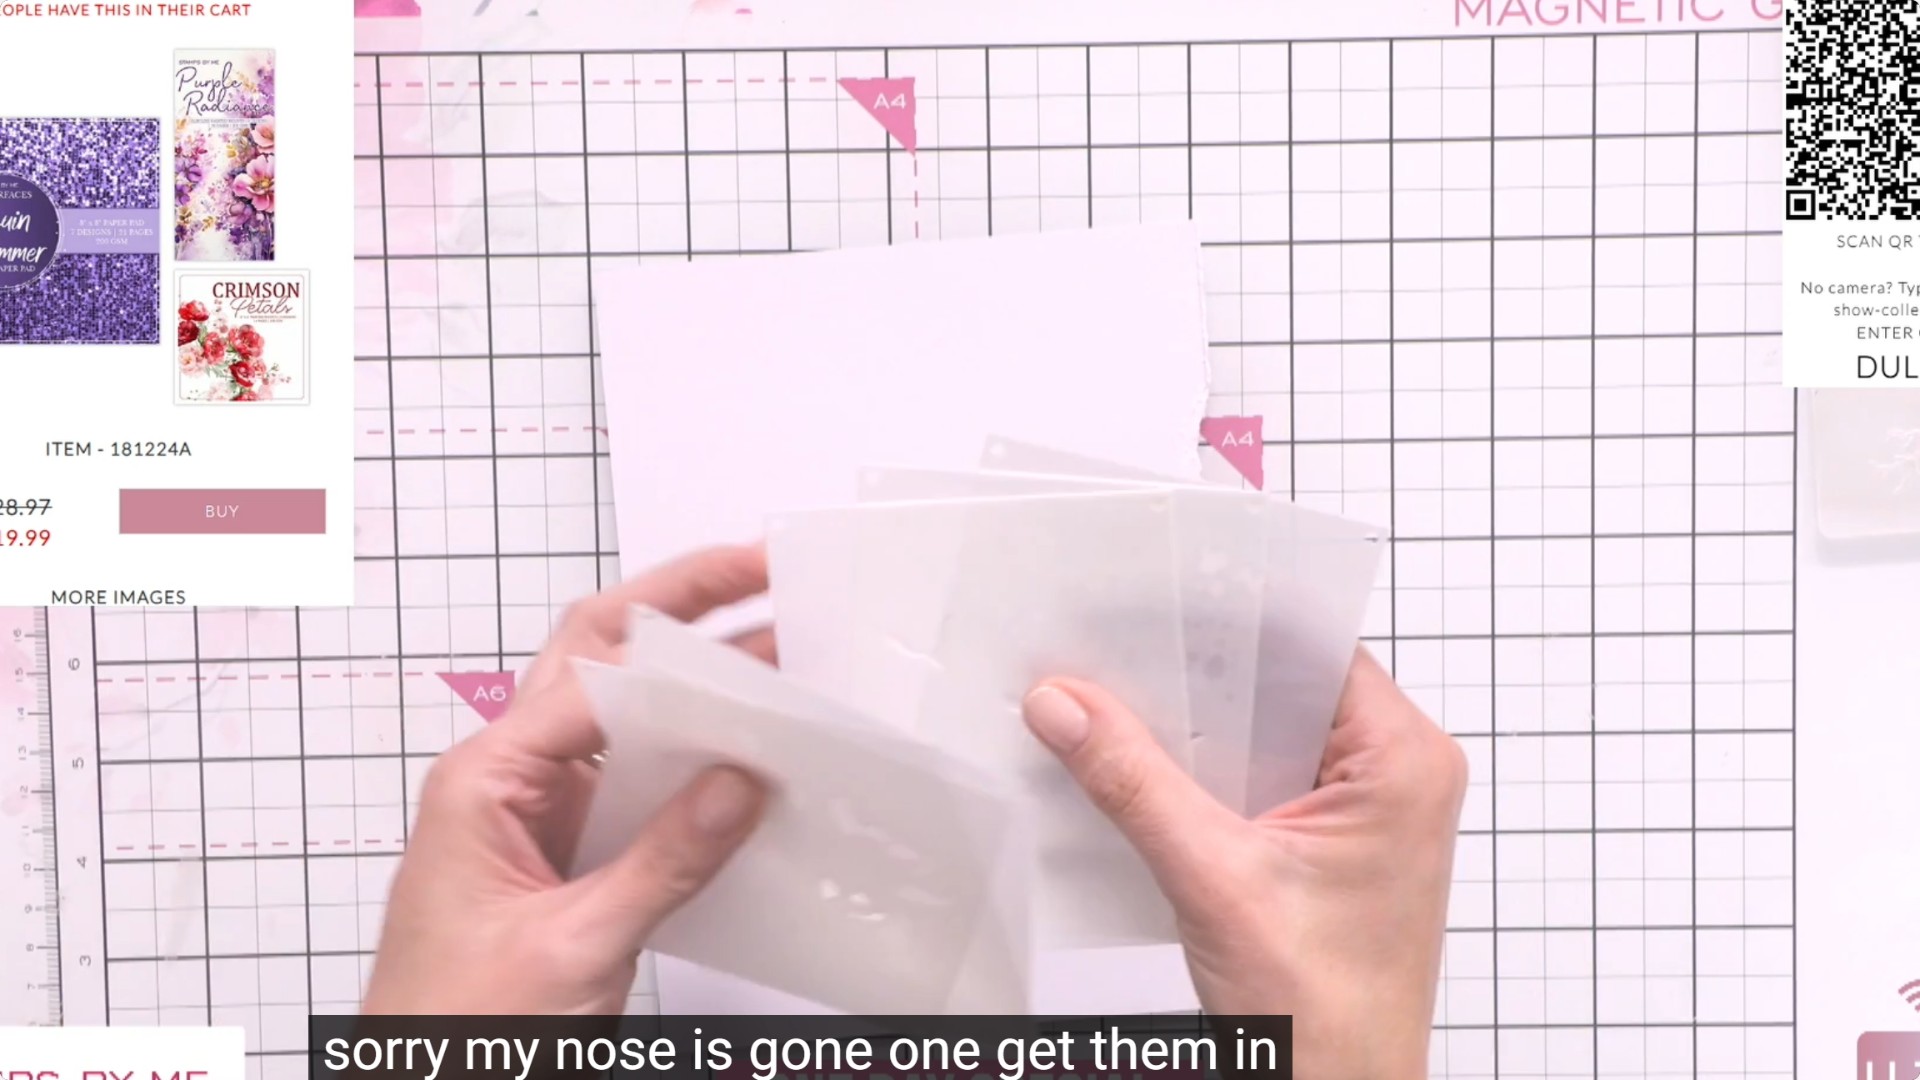
Gather all six numbered stencils from the Quattro D Paris set and arrange them in numerical order on your work surface.
▶ watch this step (18:30)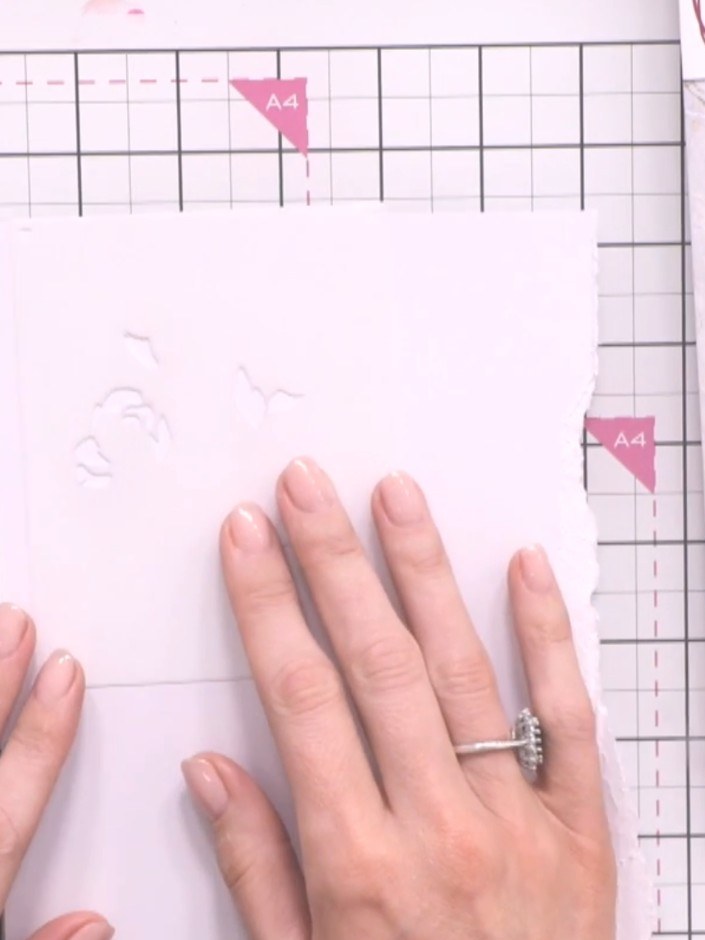
Position stencil number one on your white card base, aligning it with the edge using the heart guides in the corners. Smooth it flat with your hands to ensure it stays in place.
▶ watch this step (19:00)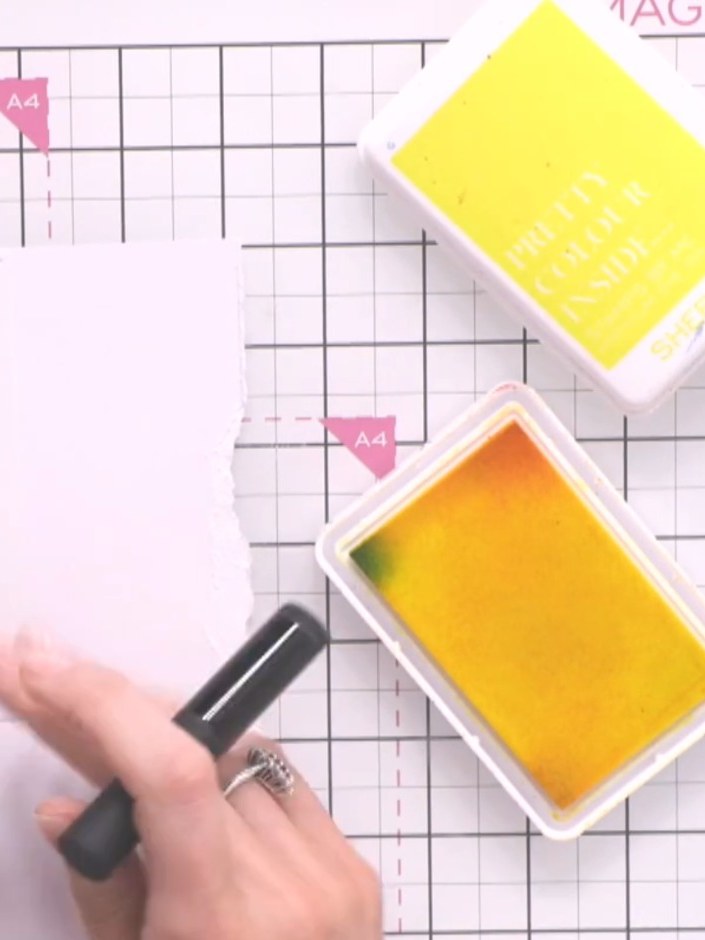
Use the yellow ink pad with the stencil to apply light colour to your card base. Gently dab the ink through the stencil openings to create a soft yellow background.
▶ watch this step (20:00)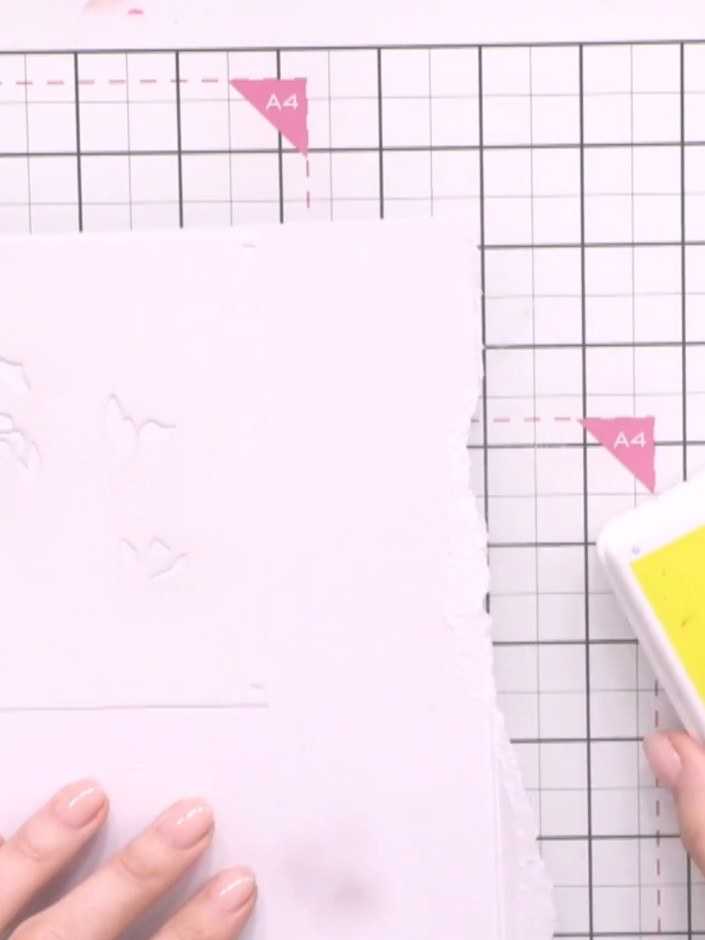
Position stencil two over your card and ink through with a darker shade of yellow ink using a blending tool.
▶ watch this step (20:15)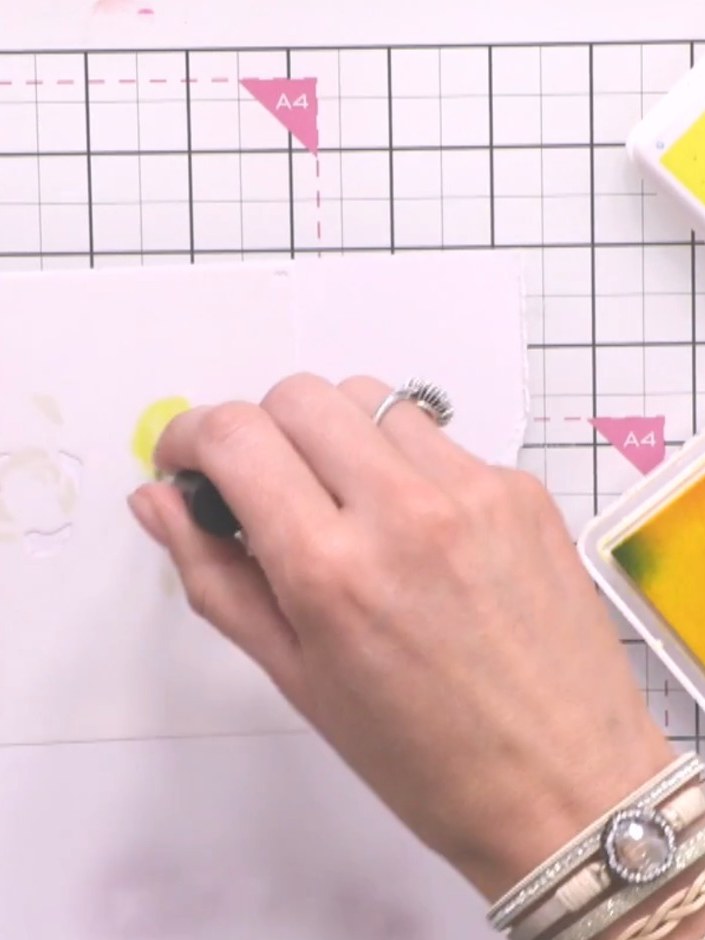
Position stencil three over your card. Using a blending tool, apply yellow ink through the stencil, then add orange ink to create colour variation and depth.
▶ watch this step (20:45)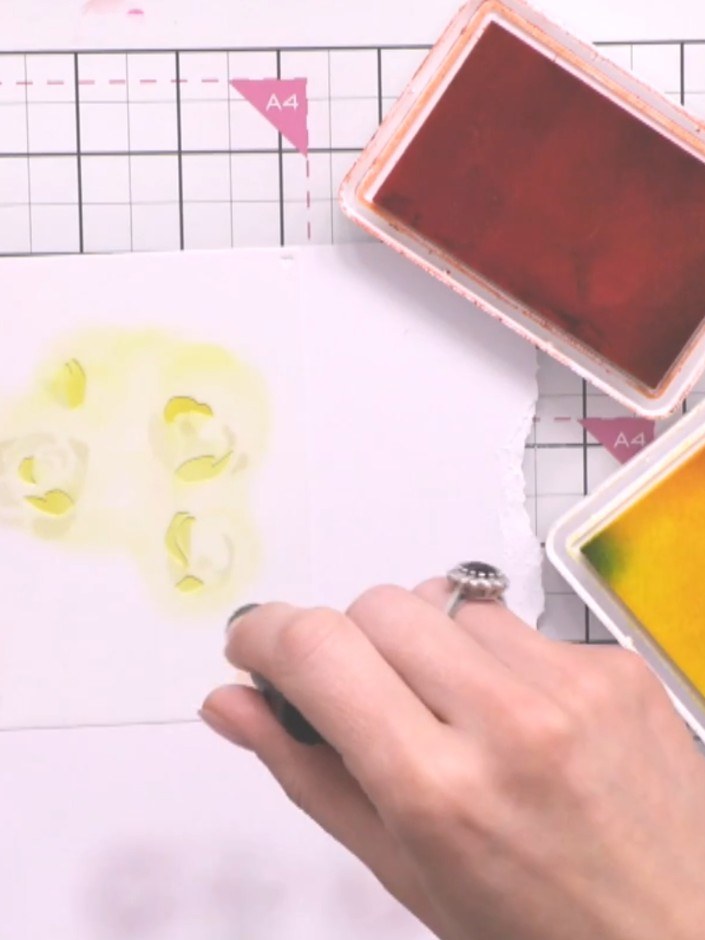
Position stencil four over your card and apply teal or green ink through the stencil to create foliage details. Use a blending tool or sponge to dab the ink through the stencil openings.
▶ watch this step (21:15)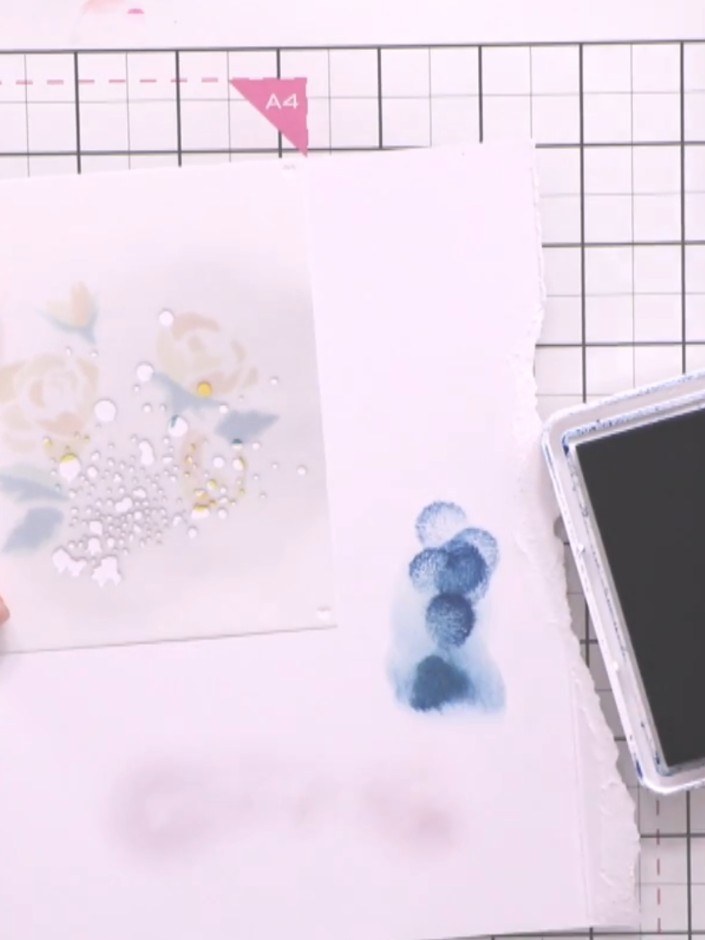
Apply stencil five using darker teal ink to add depth to your design. Use a small amount of ink and dab gently through the stencil.
▶ watch this step (21:45)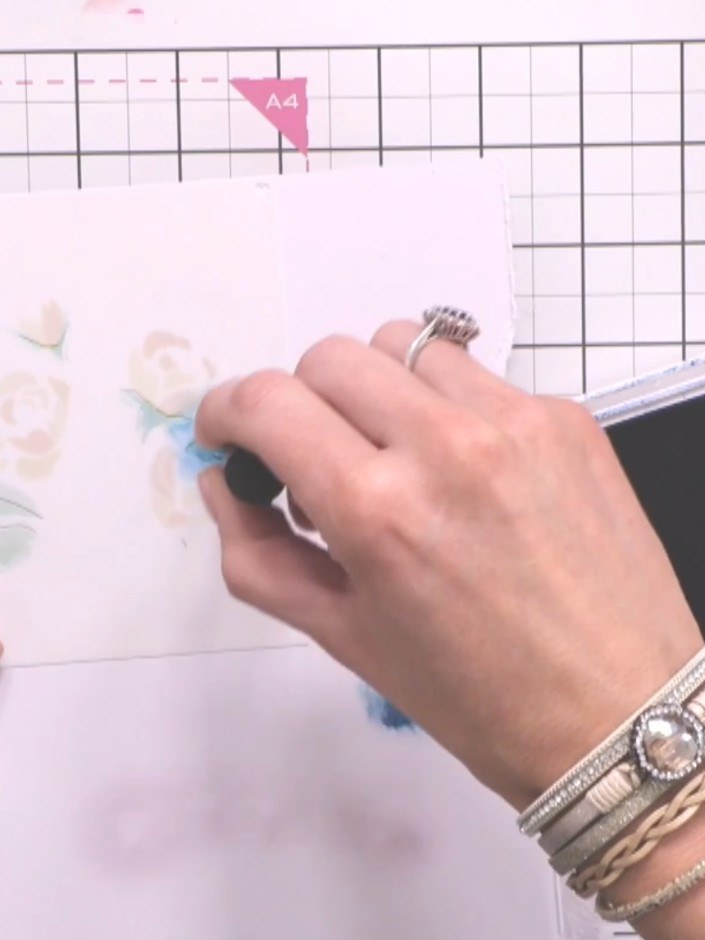
Position stencil six over your card and apply purple ink very lightly using a blending tool to create decorative splats.
▶ watch this step (22:15)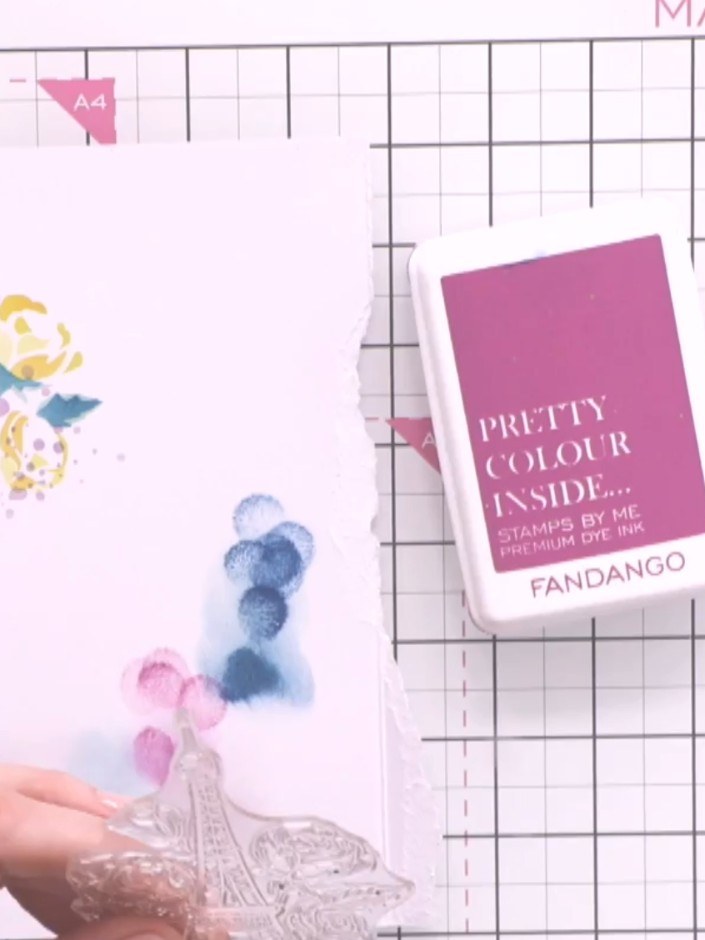
Place the Paris tower stamp onto the Eureka 101 stamping platform. Position the clear acrylic stamp block with the tower design over the stamped watercolour elements and press down firmly to stamp in black ink.
▶ watch this step (23:00)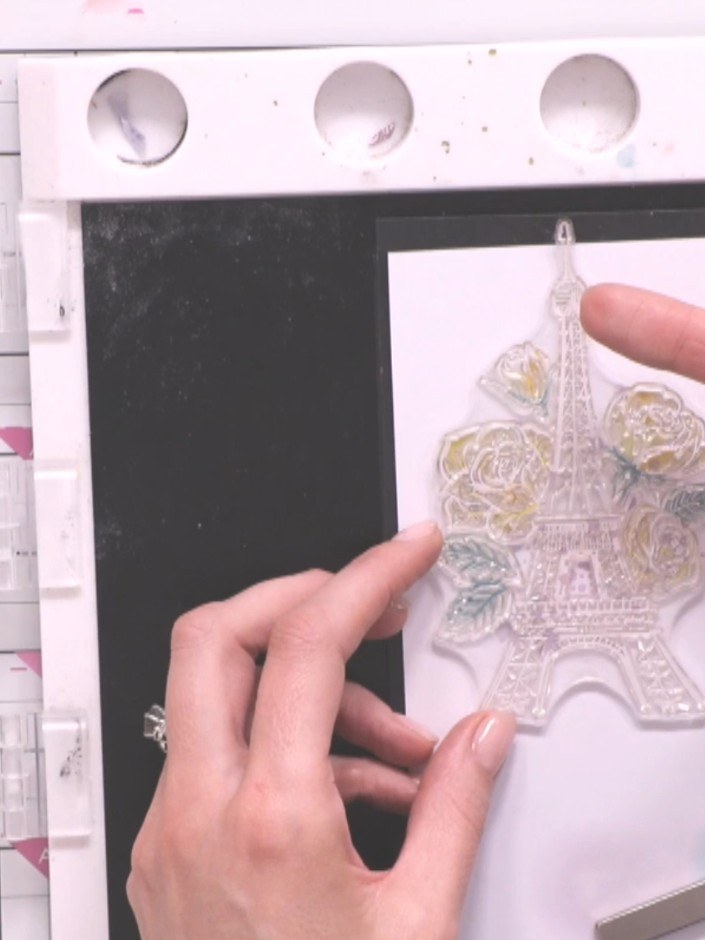
Place the stamped Paris tower piece into your die-cutting machine along with an embossing folder to add texture to the design. Run it through the machine to emboss the tower.
▶ watch this step (24:15)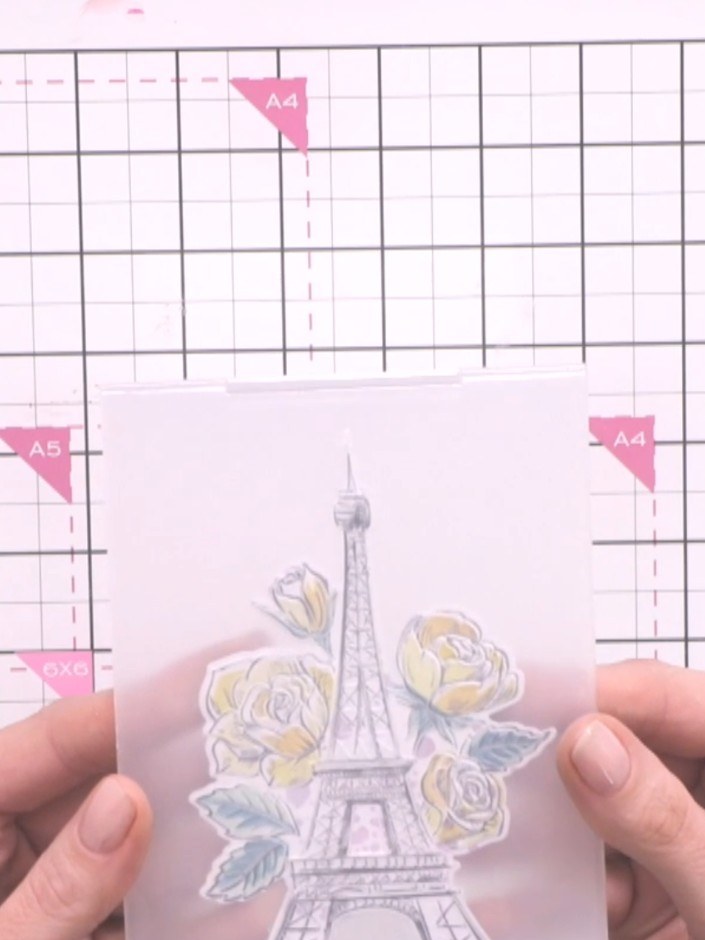
Mat the embossed piece onto black sparkle cardstock for contrast. Take a moment to line it up carefully to ensure the design is centred.
▶ watch this step (28:00)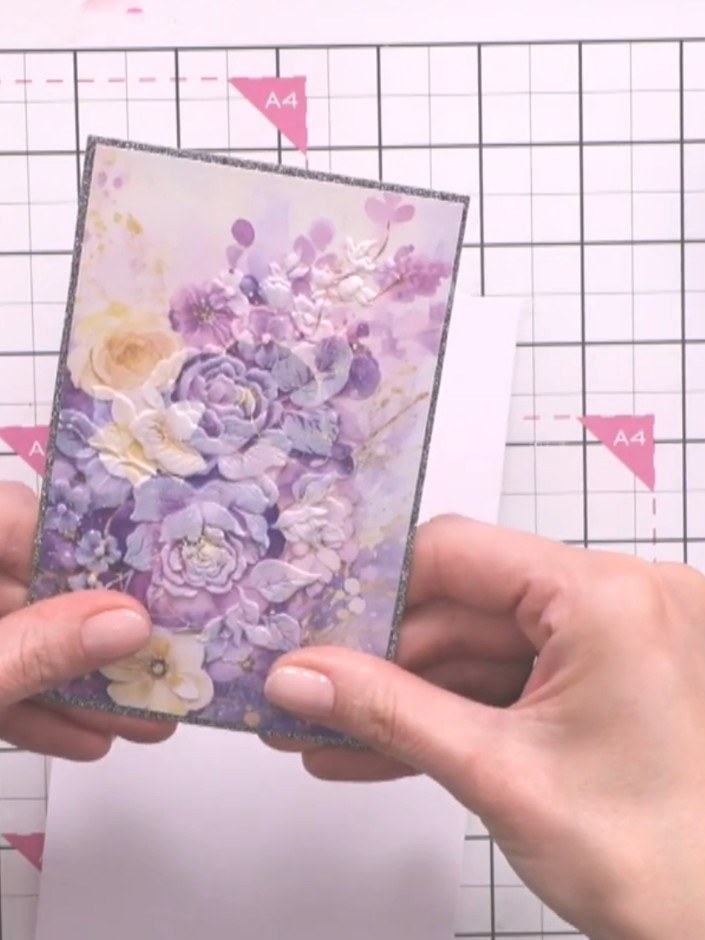
Adhere the layered floral design to your card base. Add a sentiment or embellishment as desired to complete your card.
▶ watch this step (31:30)Written up from the show itself. See every guide from our shows · free how-to guides · watch live on My Telly