Give your friends £10 off their first order!
Refer a FRIEND








A project from our live show MIGHTY MONDAY - Join Toni for her detailed papercrafting sessions - Broadcast 13th Jan 2025 · 13/01/2025 · watch it from 8:15
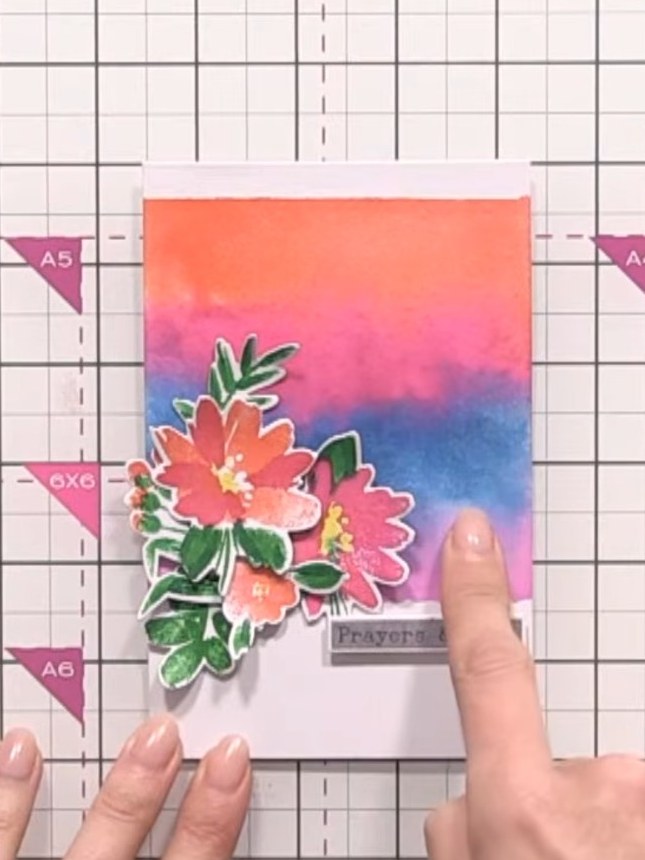
Create a vibrant greeting card featuring layered watercolour-effect flowers in coral, pink and green tones. The design showcases dimensional floral elements stamped and built up with coordinating images, set against a blended ink background in sunset hues of orange, pink and blue. Use an acrylic block technique to create the graduated background, then add your stamped flowers and a sentiment for a stunning handmade card.
 Stamps By Me - 12X12 Paper Collection Berry Fresh - 070623HSEE IT
 Stamps By Me Luxury Pen - 080125ASEE IT
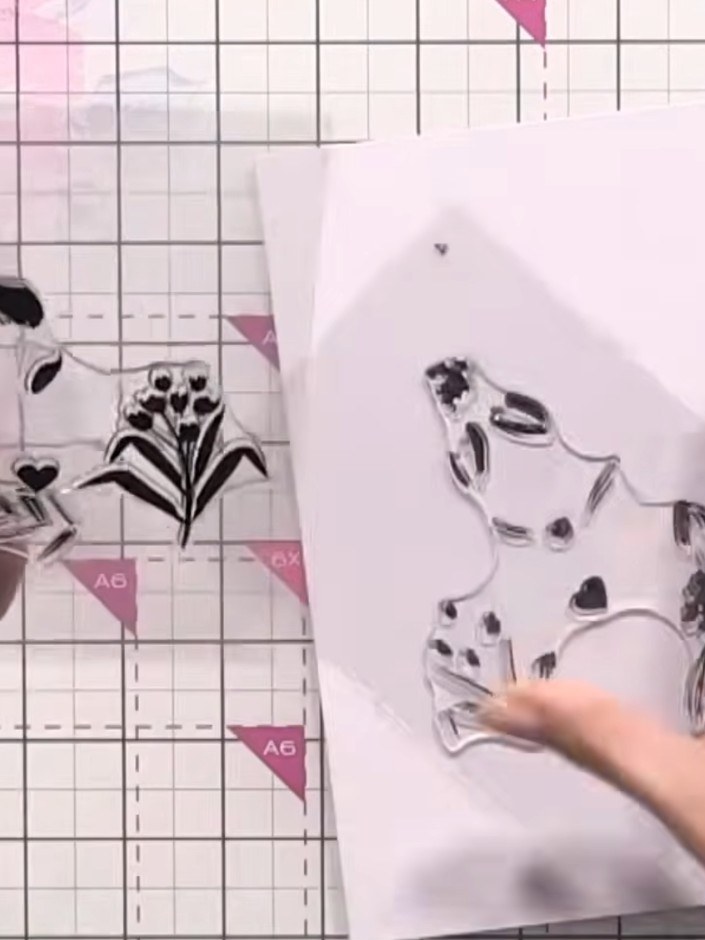
Gather your white card and select the four A6 stamps from the Wow Blooms set, numbered one through four. Arrange the stamps on your work surface ready for use.
▶ watch this step (8:15)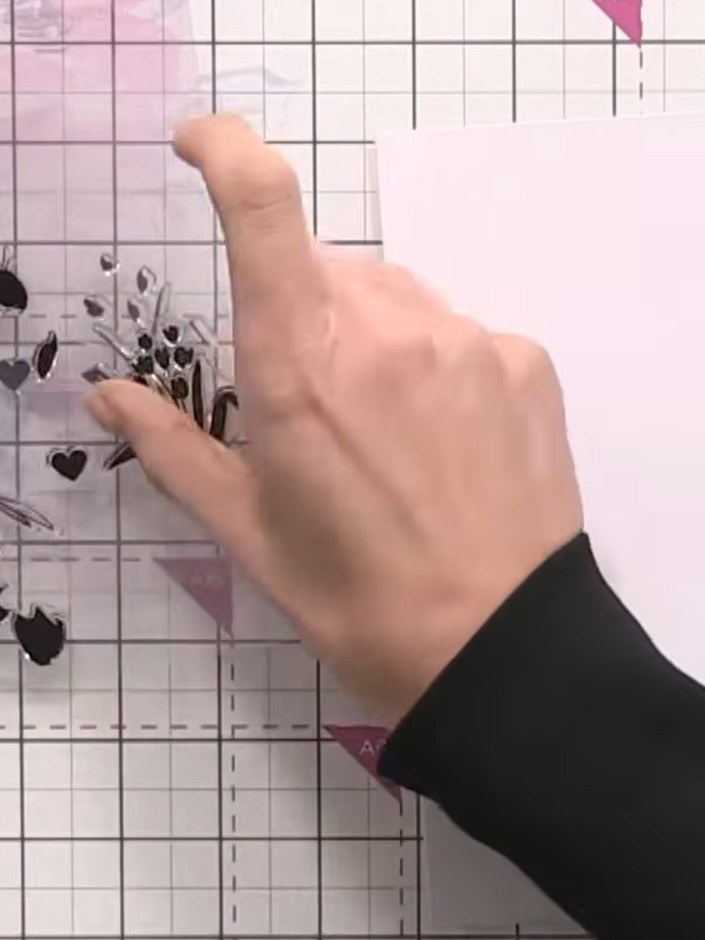
Ink up stamp number one with orange and pink ink, aligning the heart positioning marker on the stamp with your card.
▶ watch this step (8:45)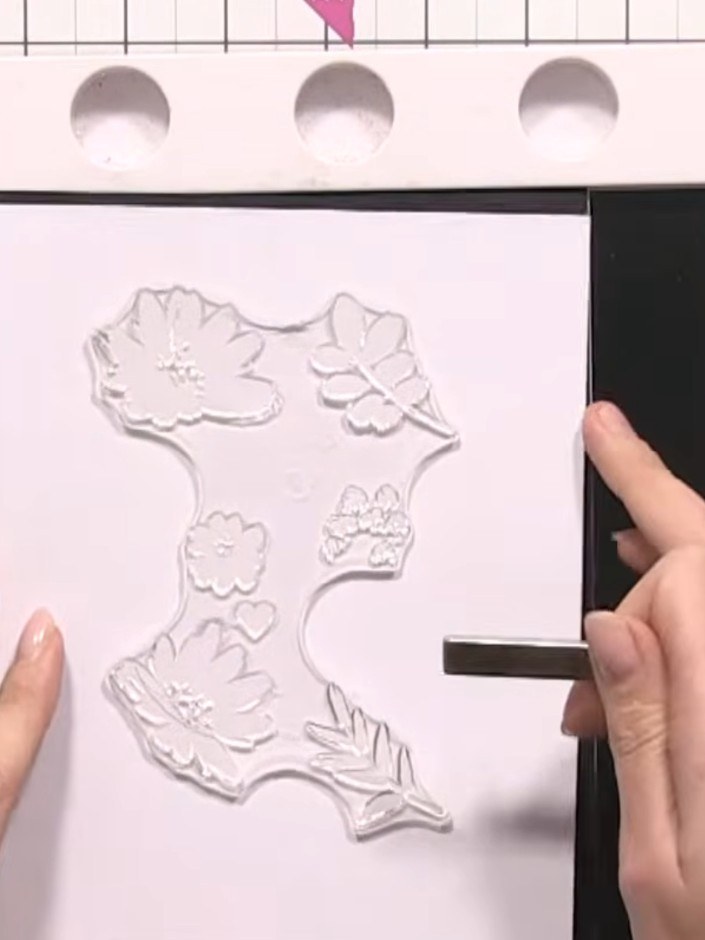
Spray the inked stamp three times with water to create a watercolour effect, then press firmly onto the white card to transfer the ink.
▶ watch this step (9:30)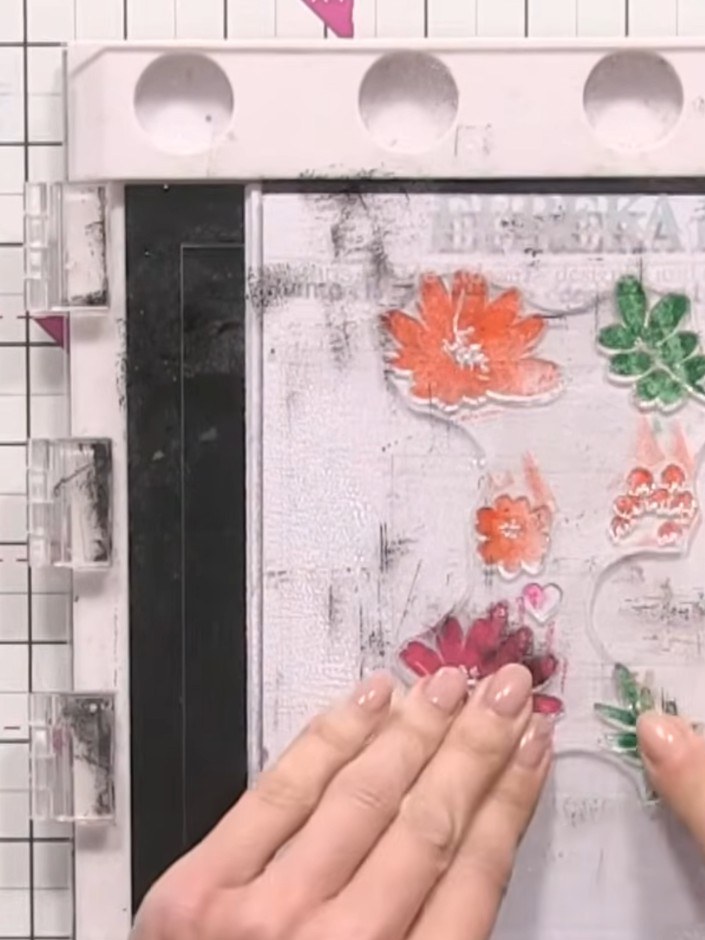
Spray the stamped flowers with water using a spray bottle. Press stamp number two onto the wet card to add the next layer of detail and texture.
▶ watch this step (11:00)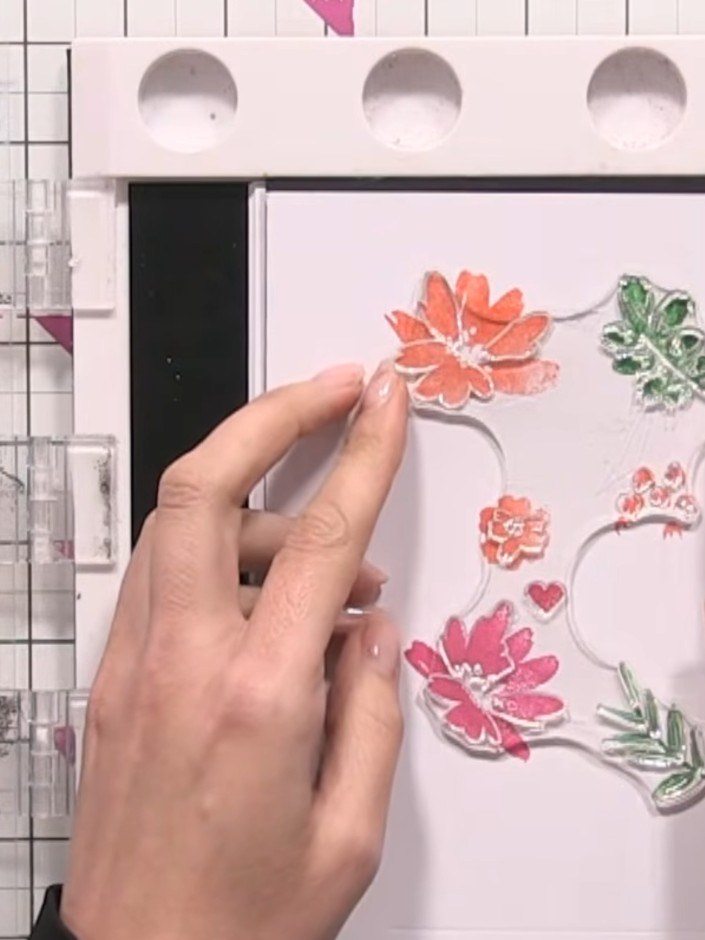
Using predominantly green ink, stamp the third floral image onto the card, aligning the heart marker with the previous stamped images to ensure proper placement.
▶ watch this step (12:00)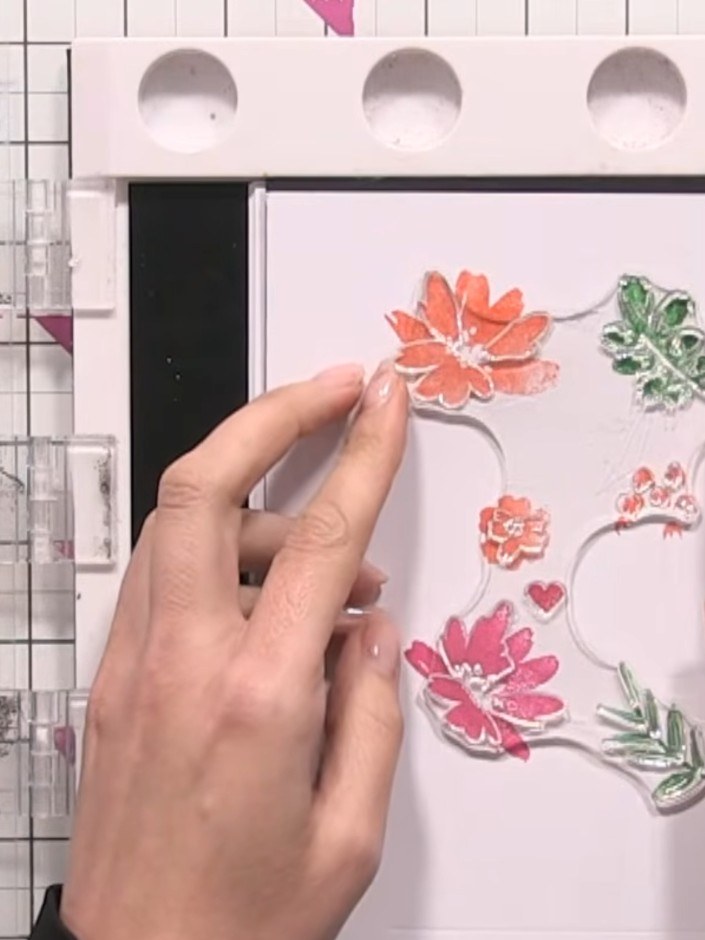
Use stamp number four to add fine detail to the flower centres and leaves. Apply yellow ink to stamp the centres of the flowers and green ink for subtle definition on the leaves.
▶ watch this step (13:00)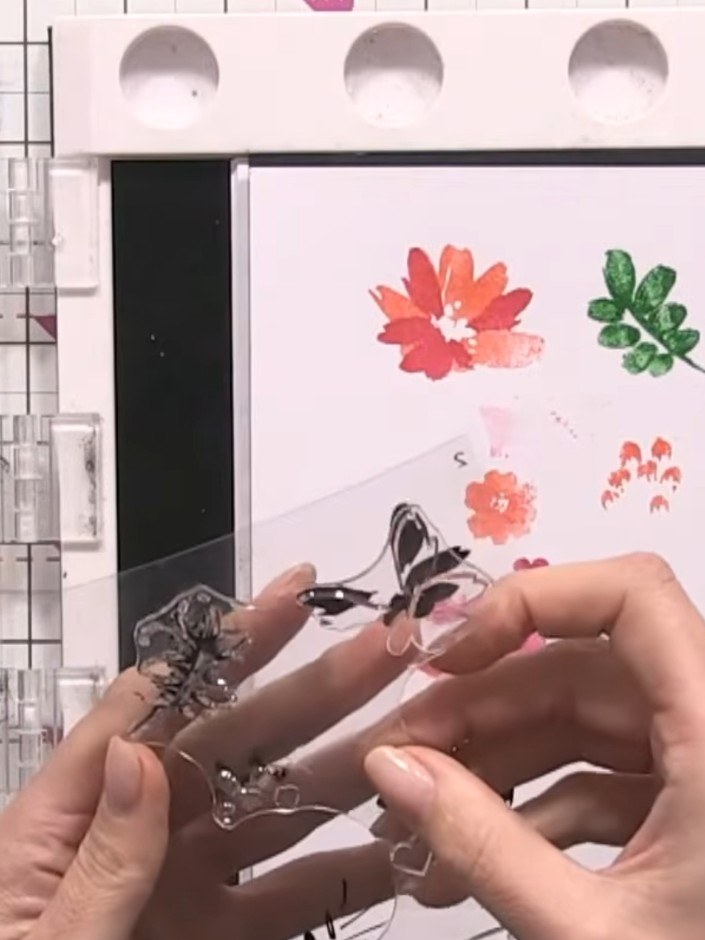
Carefully tear away the excess card around the stamped floral design to create a rough, organic edge. Remove any unwanted pieces to tidy up the edges of your stamped panel.
▶ watch this step (14:30)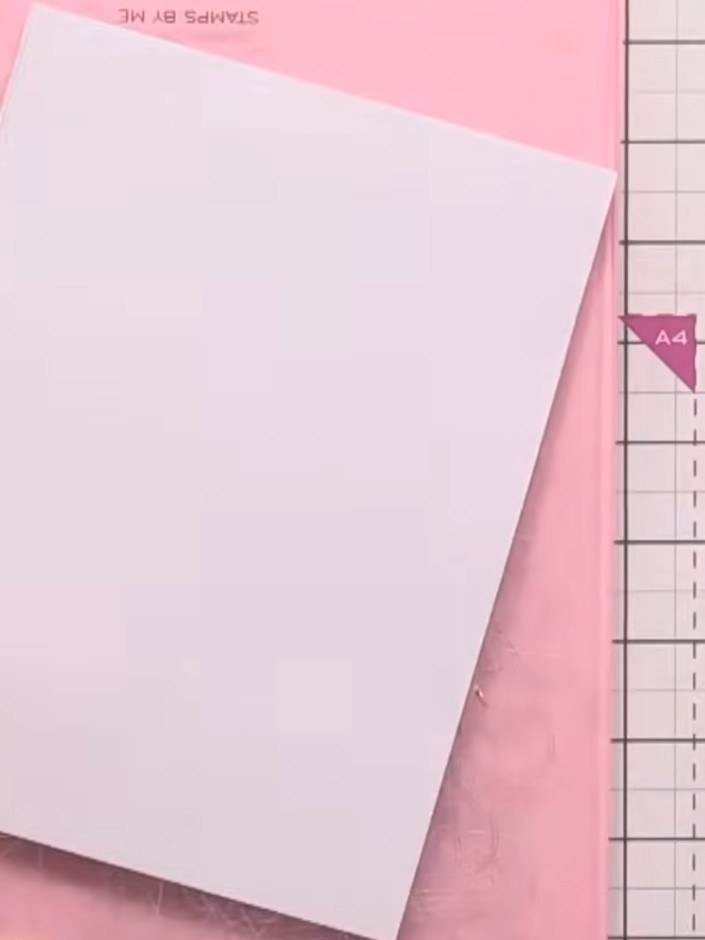
Place the stamped card into the die-cutting machine with the coordinating die and run through to cut out the flower design.
▶ watch this step (20:00)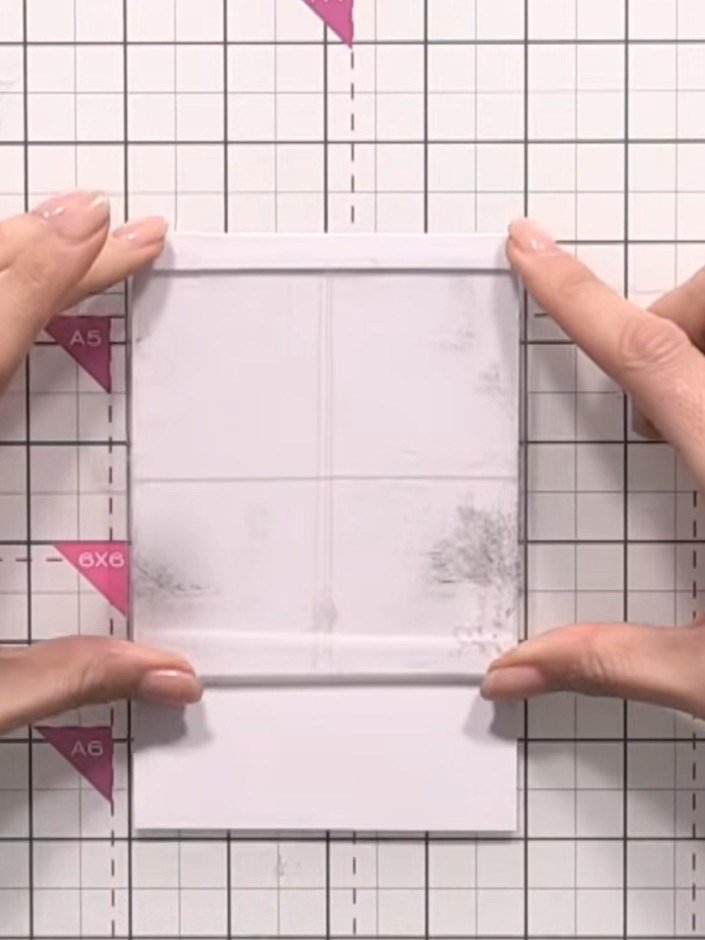
Ink up an acrylic block with orange, pink, purple and teal inks, blending the colours together on the block surface.
▶ watch this step (23:00)
Spray the inked acrylic block generously with water until saturated. Press the block upside down onto a pale pink card blank to transfer the watercolour background.
▶ watch this step (24:30)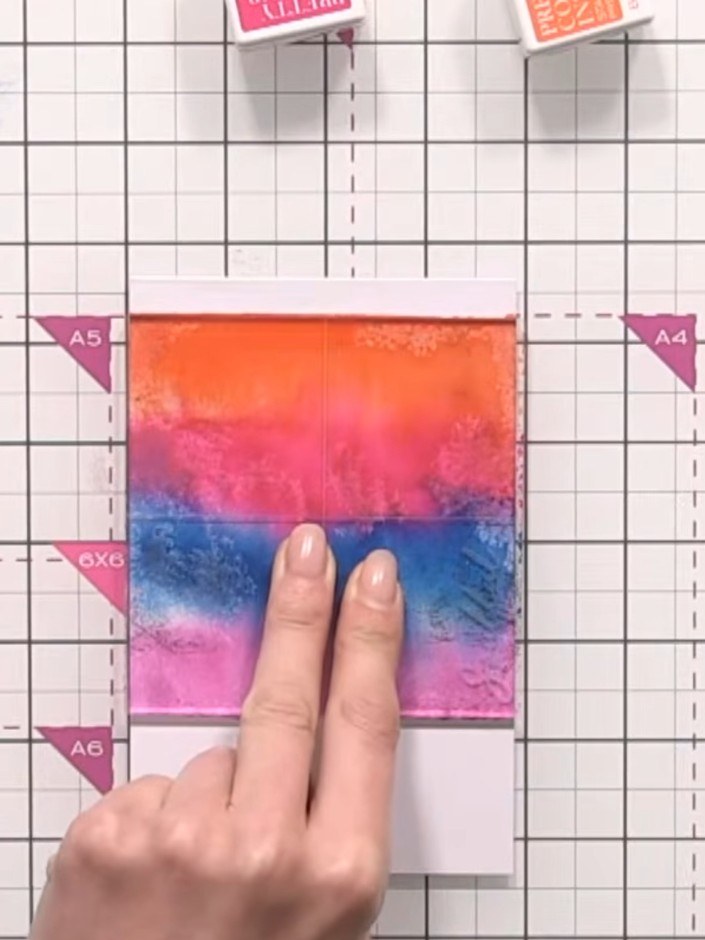
Hold the acrylic block in place for a moment to allow the ink to transfer, then carefully lift it straight up to reveal the blended watercolour background. Set the card aside to dry completely before continuing.
▶ watch this step (25:30)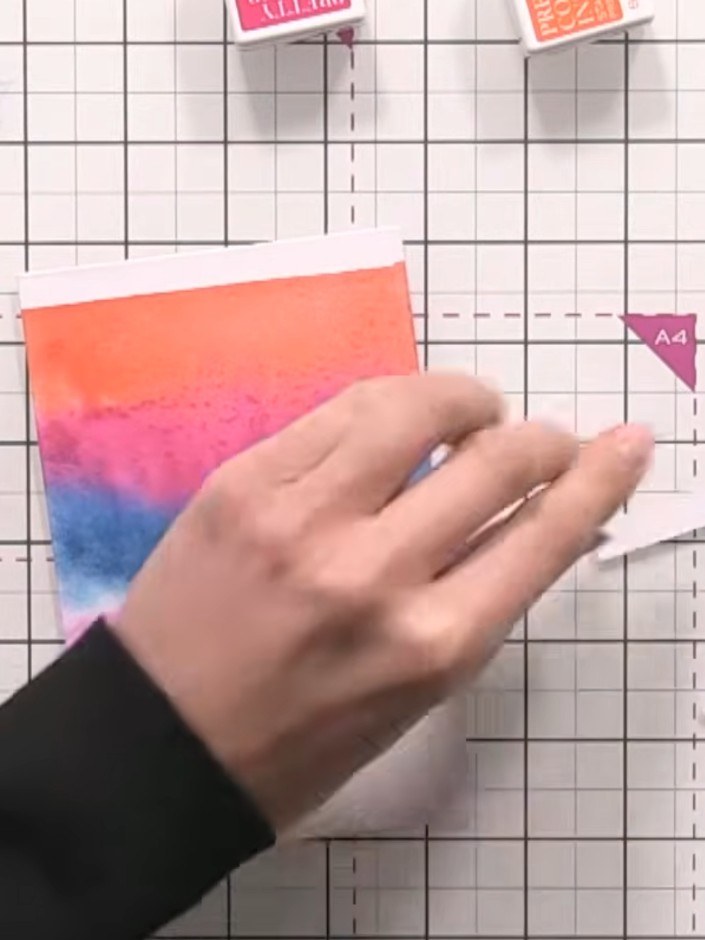
Adhere the die-cut flower elements to the watercolour background card using glue. Arrange the floral pieces to create a pleasing bouquet composition on the lower portion of the card.
▶ watch this step (27:45)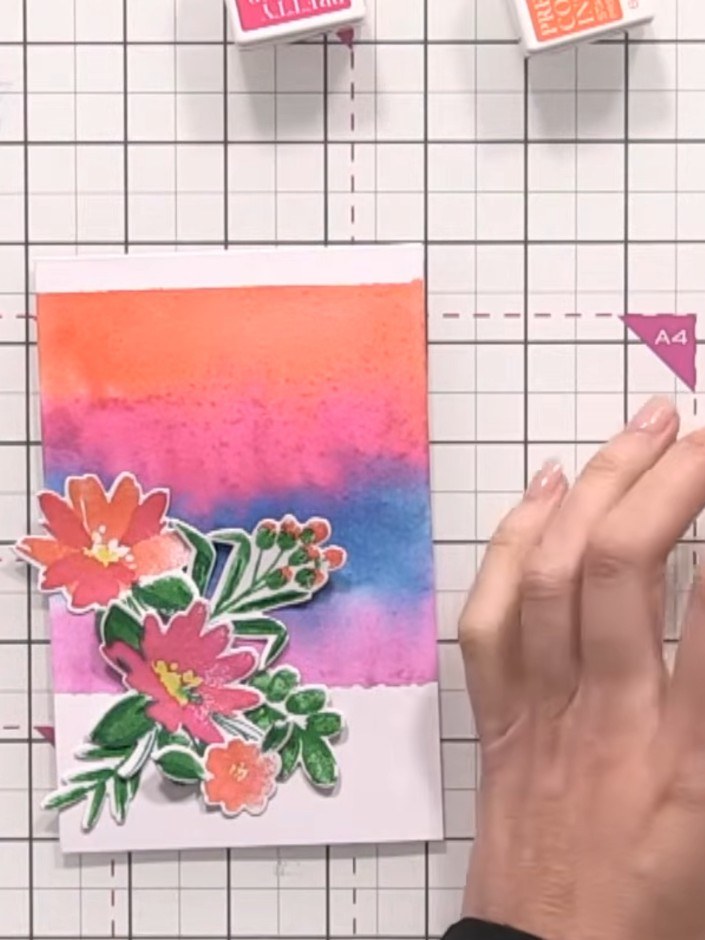
Add your chosen sentiment to the card using adhesive foam pads to position it between or below the flower arrangement. The foam pads will add dimension to your sentiment.
▶ watch this step (28:00)Written up from the show itself. See every guide from our shows · free how-to guides · watch live on My Telly