Give your friends £10 off their first order!
Refer a FRIEND








A project from our live show MY PODCAST - Catch my latest updates broadcast 13th January 2025 · 13/01/2025 · watch it from 23:00
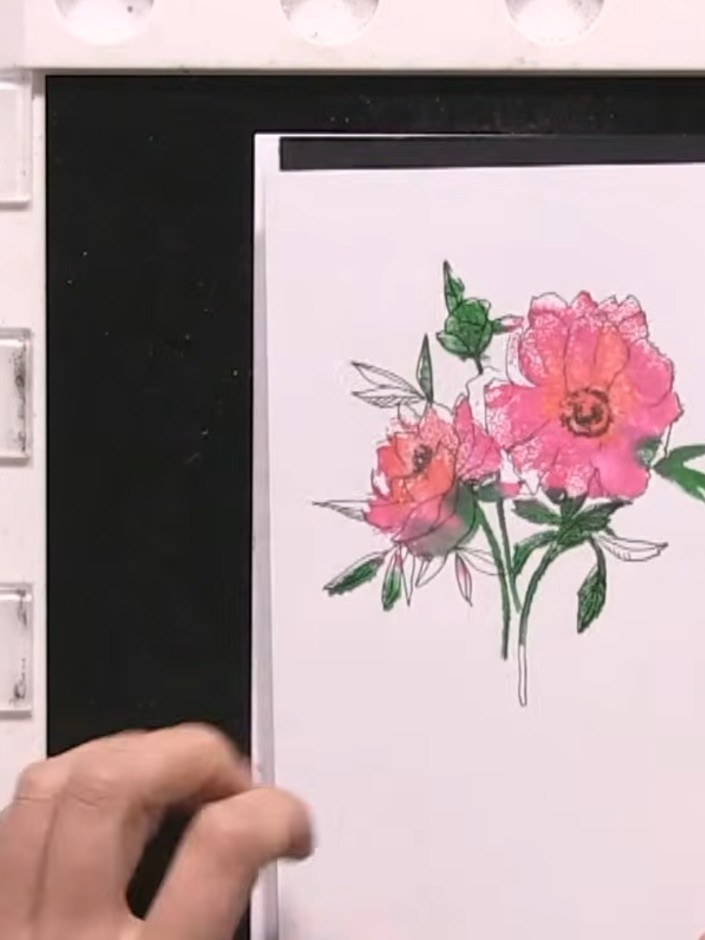
Create a beautiful floral card featuring pink watercolour-effect flowers with detailed black outlines and green foliage. This project uses a clever two-part lamination stamp system to achieve a realistic painted look without any painting skills required. The solid stamp holds vibrant coloured ink whilst the outline stamp adds crisp black detail for a professional finish.
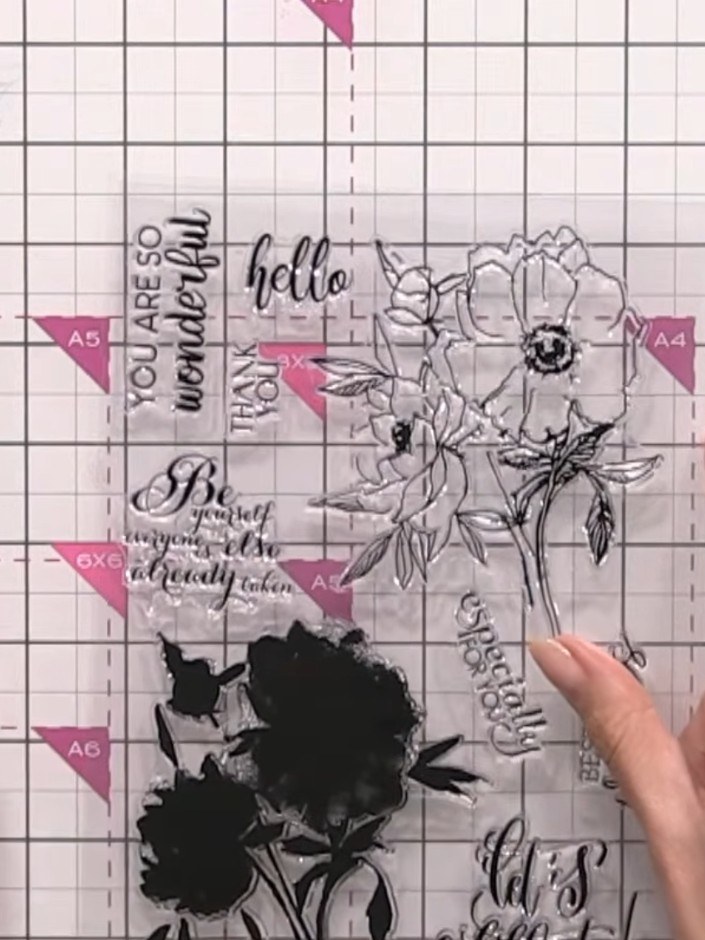
Place the clear lamination stamp face down on white card. Pick up the stamp to see the impression left on the card.
▶ watch this step (24:00)
Ink up the solid part of the stamp with pink ink on the flower head.
▶ watch this step (25:15)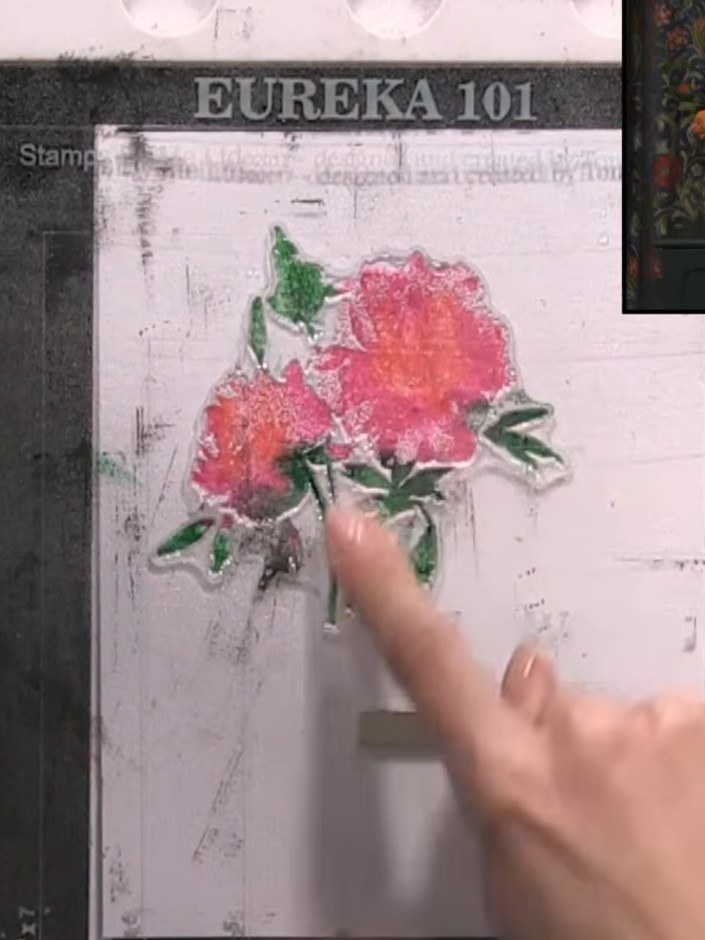
Apply green ink to the leaves of the stamped floral design. Press and blend the ink onto all the leaf areas to build up the colour.
▶ watch this step (26:45)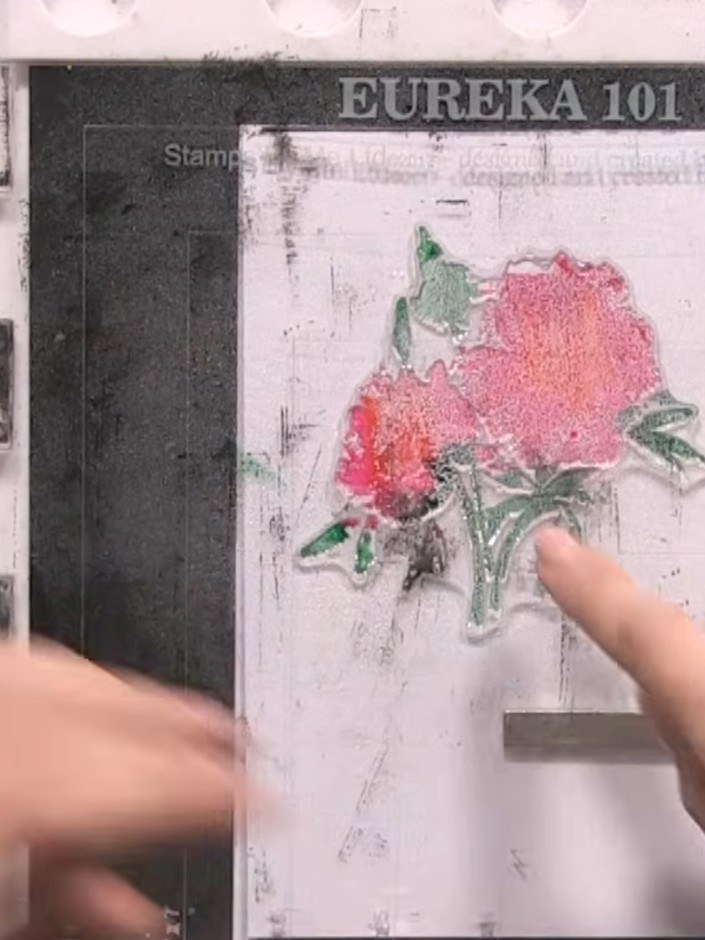
Spray the inked stamp with water using a water spray bottle. Press the stamp down gently to ensure even coverage of the watercolour effect.
▶ watch this step (27:30)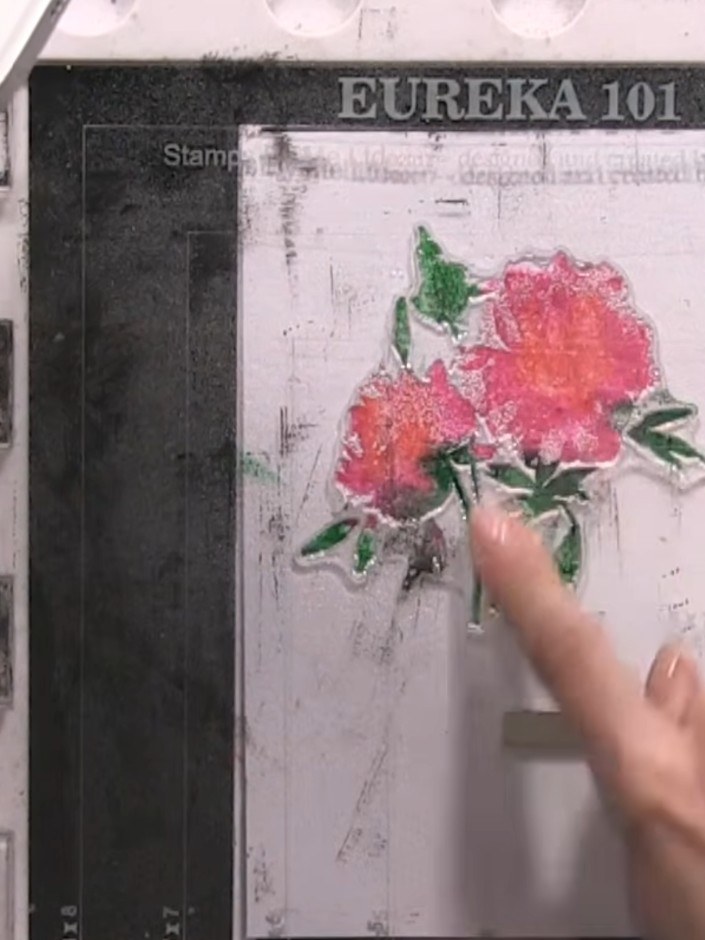
Press the lamination stamp firmly onto the card to transfer the watercoloured floral image. Apply even pressure across the entire stamp to ensure a complete transfer of the design.
▶ watch this step (28:00)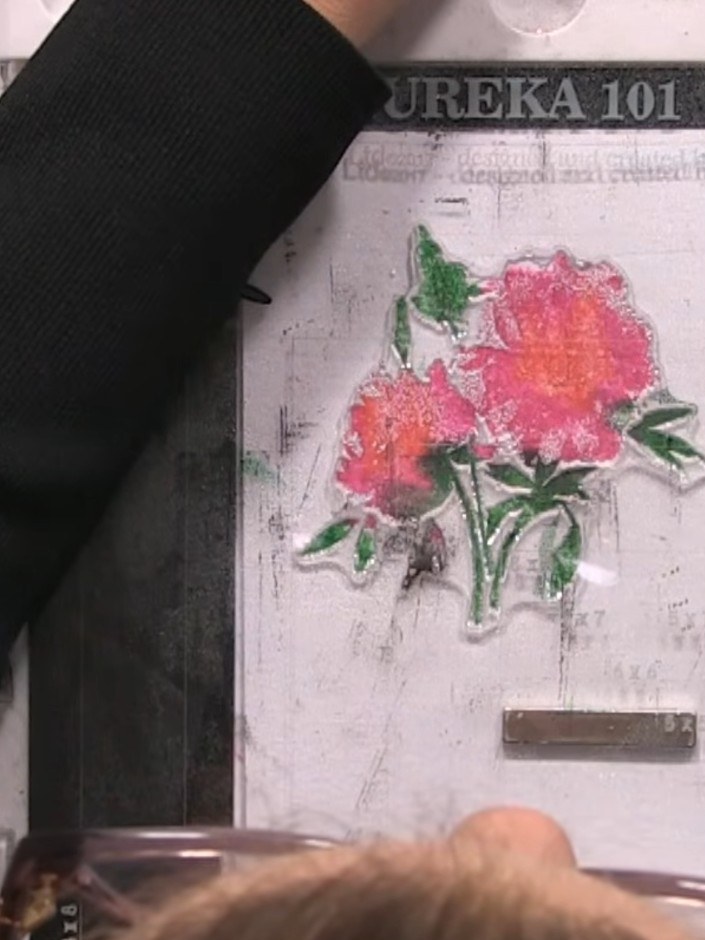
Carefully lift the lamination stamp away from the card to reveal the coloured flower image beneath.
▶ watch this step (28:30)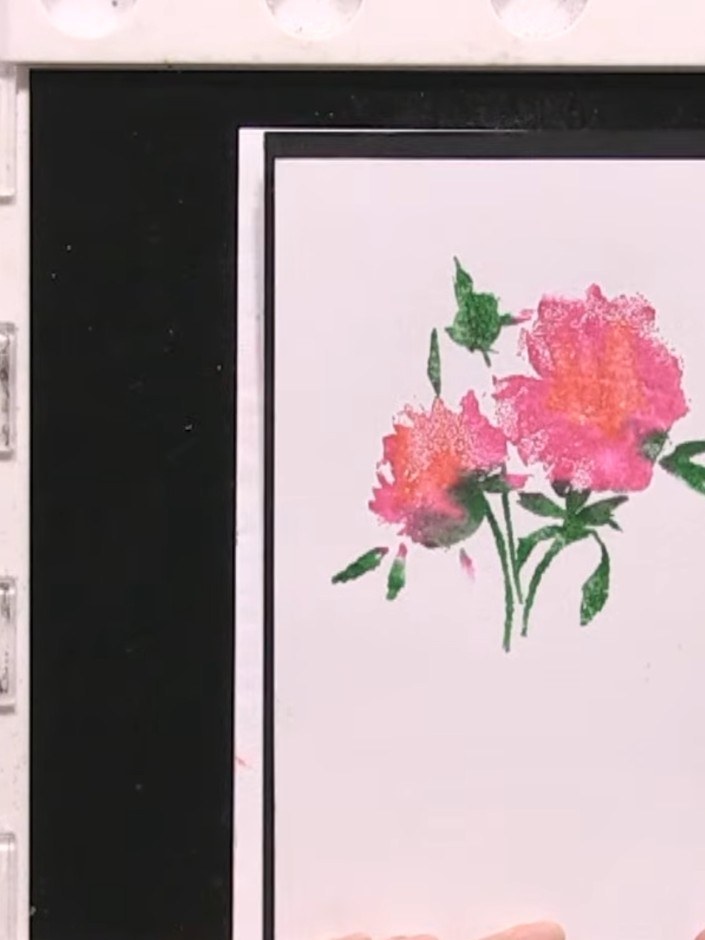
Line up the detailed stamp overlay on top of the coloured flower design, ensuring it aligns precisely with the stamped image beneath.
▶ watch this step (29:00)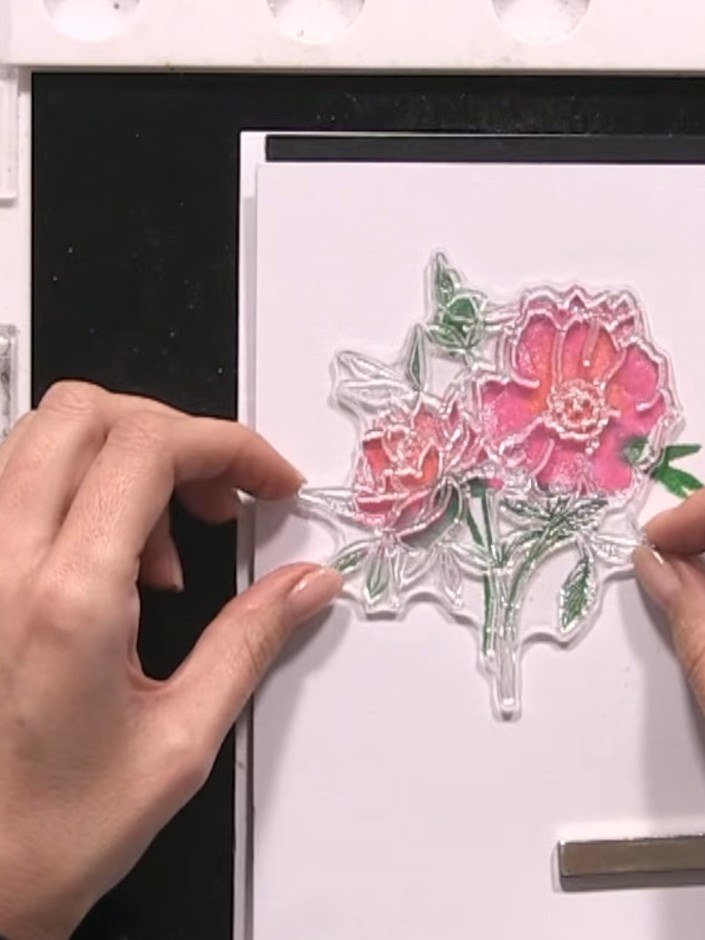
Ink the detailed stamp in black ink and press it firmly onto the stamped floral image to add sketched detail lines over the watercoloured flowers.
▶ watch this step (32:00)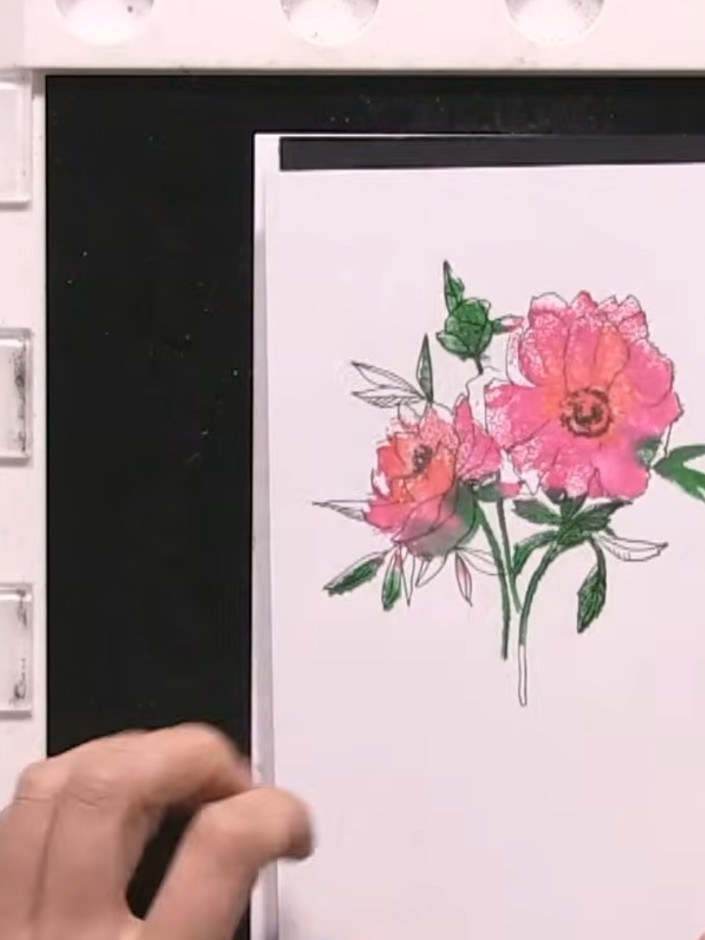
Carefully lift the lamination stamp away from the card to reveal the finished watercoloured flower design with realistic detail and dimension.
▶ watch this step (33:30)Written up from the show itself. See every guide from our shows · free how-to guides · watch live on My Telly
