Give your friends £10 off their first order!
Refer a FRIEND








A project from our live show MIGHTY MONDAY - Join Toni for her detailed papercrafting sessions - Broadcast 20th Jan 2025 · 20/01/2025 · watch it from 17:00
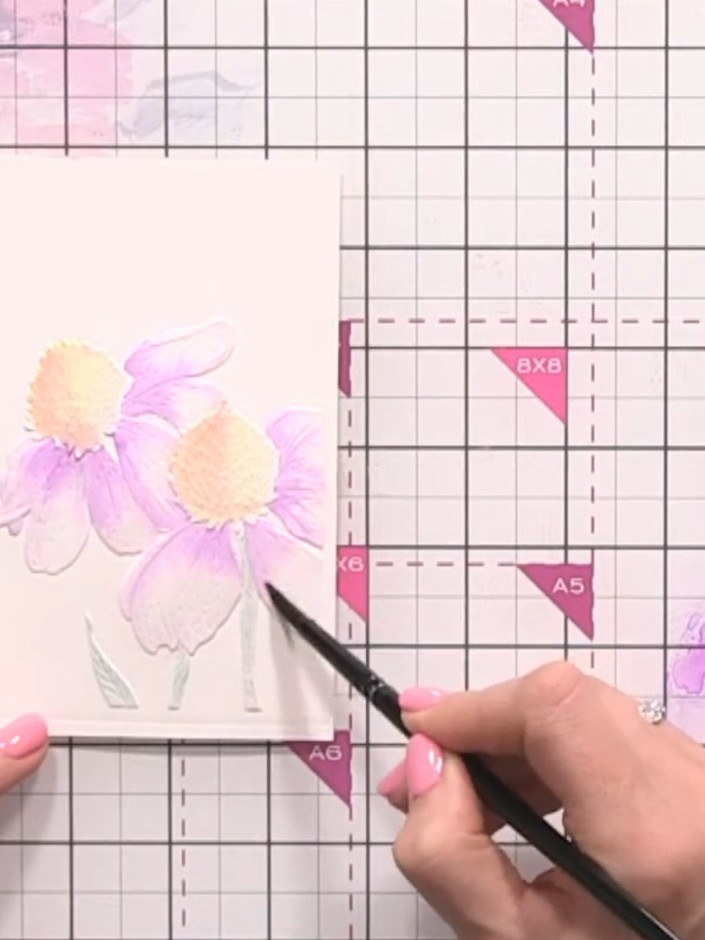
Create a beautiful watercolour card featuring delicate white roses with soft pink and yellow tones. Using a 3D embossing folder and watercolour paints, you'll achieve a naturally shaded floral design with professional-looking depth and dimension. The watercolour technique allows the paint to settle into the embossed grooves, creating realistic shadows that bring the roses to life.
 Stamps By Me - Embossing Folder - White Rose - 310822BSEE IT
 Stamps By Me 8.5 Inch Die Cutting & Embossing Machine - 170724ASEE IT
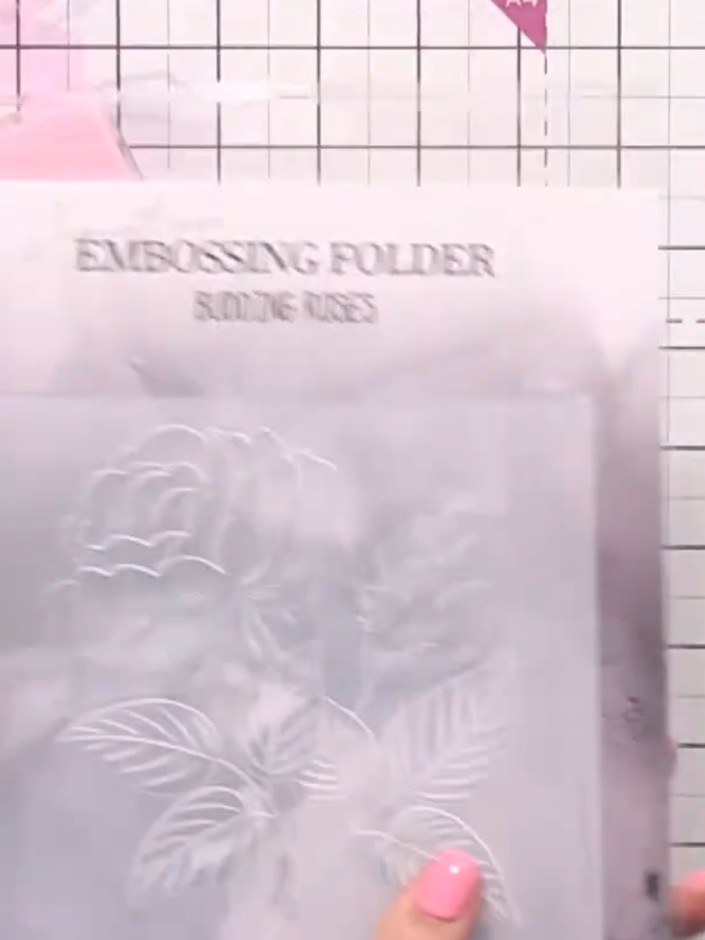
Cut your watercolour card stock to size using your die-cutting machine with the white rose embossing folder. Place the card stock into the folder and run it through the machine to emboss the design.
▶ watch this step (17:00)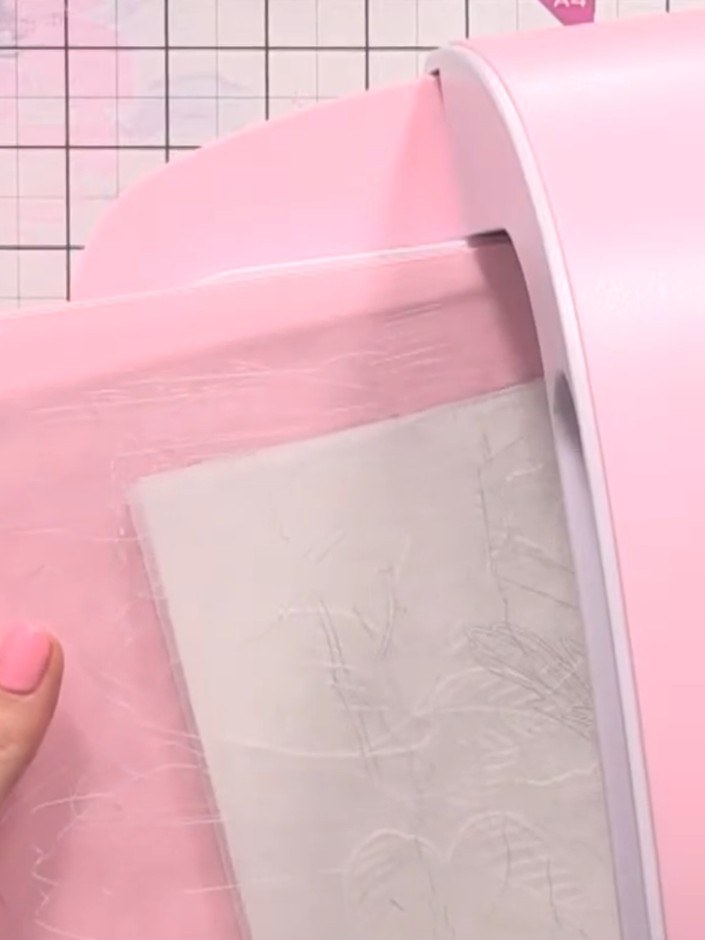
Using a damp brush with clean water, carefully wet the first petal of the embossed white rose design. Be precise with where you apply the water, keeping it within the petal area.
▶ watch this step (19:45)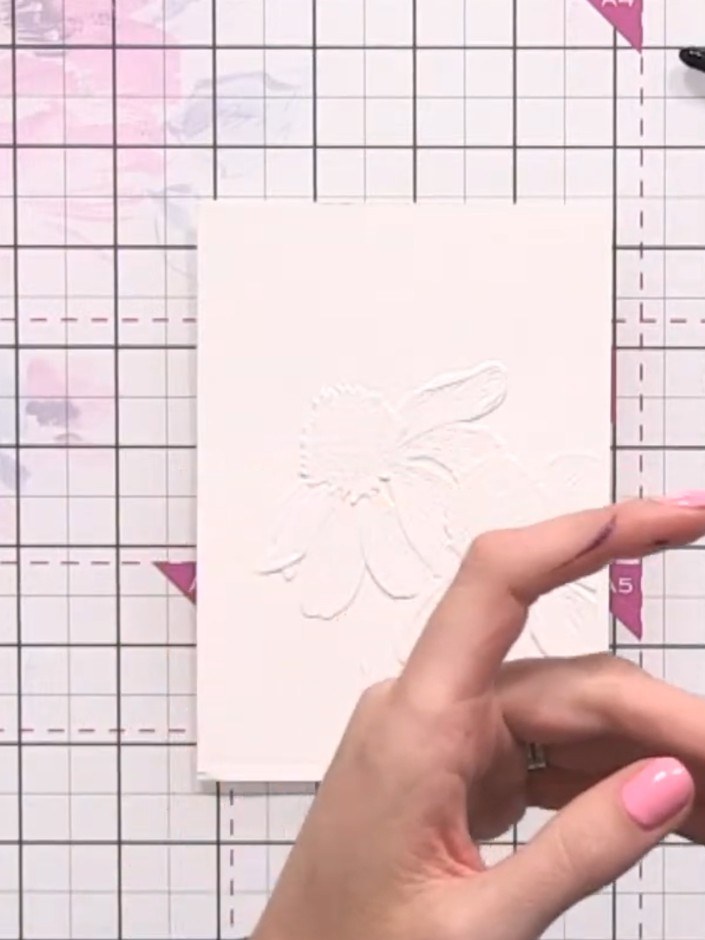
Dilute purple or grey ink with water to create a very pale shade. Using a fine brush, drop a tiny amount of the diluted ink into the corner of the wet petal on your embossed image.
▶ watch this step (22:30)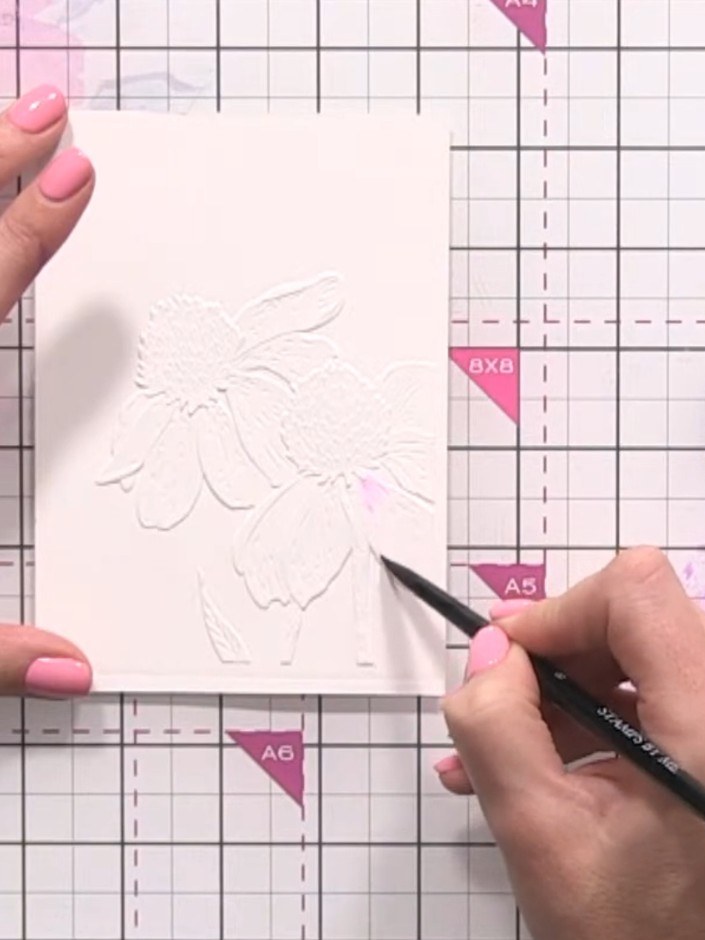
Allow the purple watercolour to disperse naturally into the water on the embossed rose petals, creating a soft shadow effect. Keep the card steady with your other hand whilst the colour spreads.
▶ watch this step (24:00)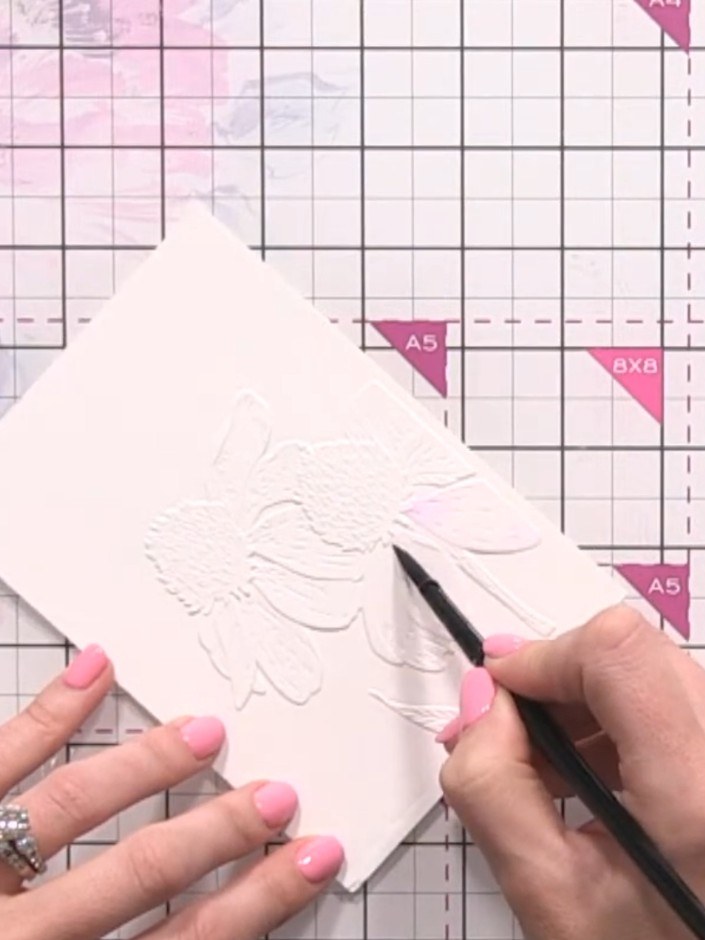
Continue applying water followed by diluted purple watercolour to the remaining rose petals on the embossed card. Allow each petal to dry slightly before moving to the next to prevent colours bleeding together.
▶ watch this step (24:45)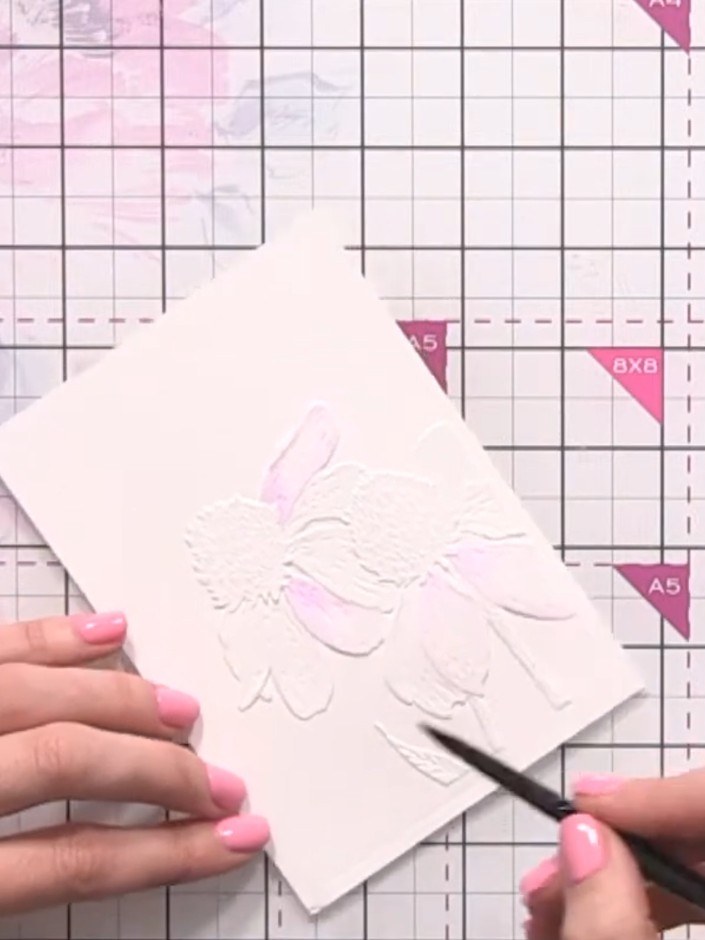
Apply a slightly darker shade of purple to the centre of each petal on the embossed rose design to add depth and dimension. Use a fine brush or pen to carefully place the colour where needed.
▶ watch this step (26:30)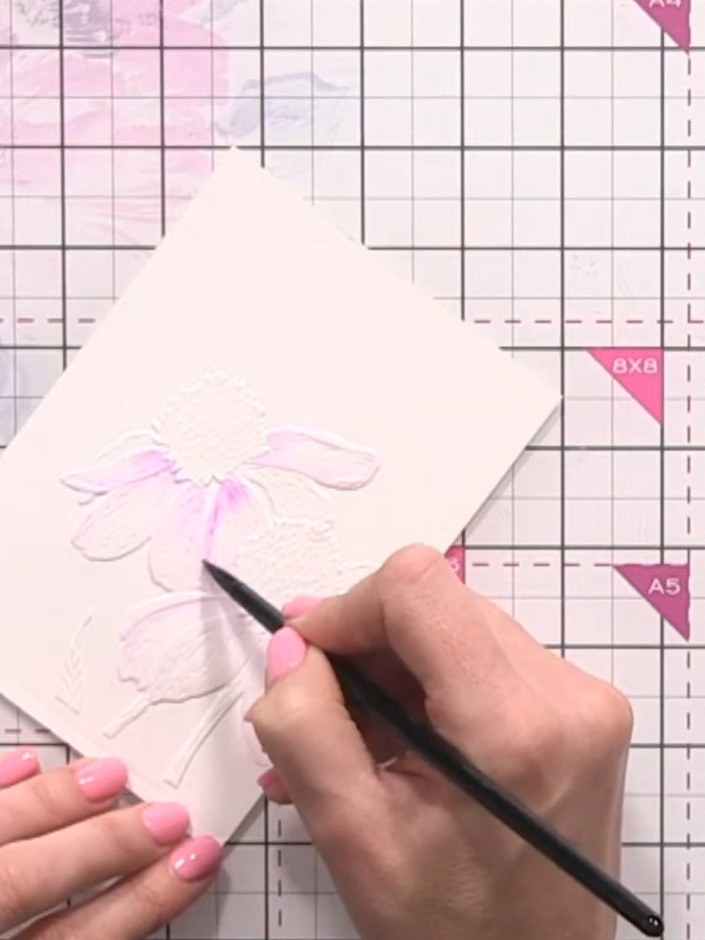
Wet the centre area of the flower with clean water using a paintbrush. Drop in diluted yellow ink to the dampened area, allowing it to spread naturally into the flower centre.
▶ watch this step (28:00)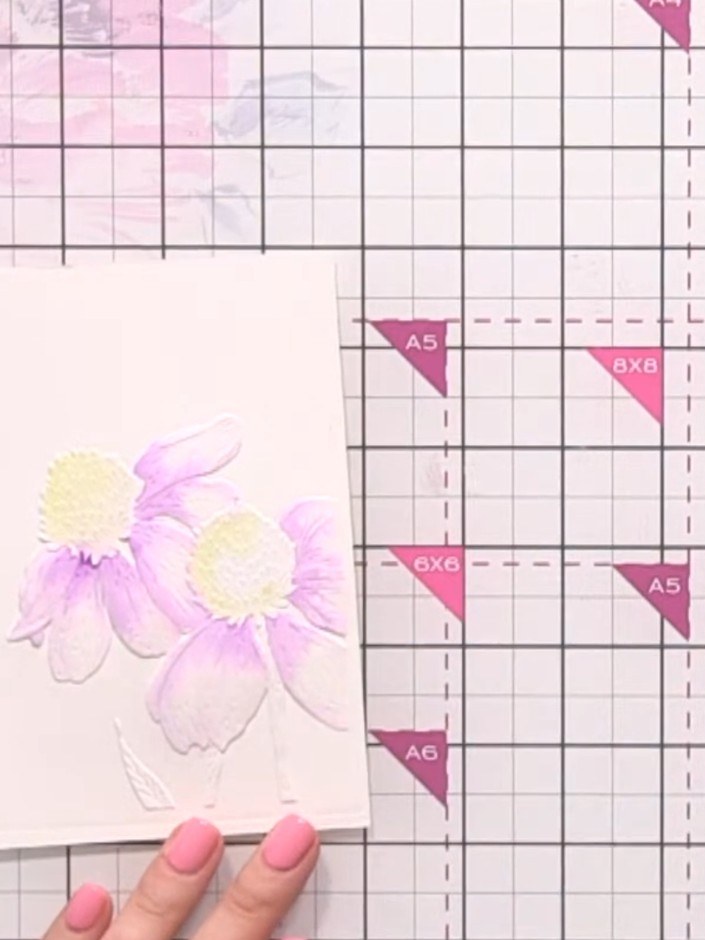
Using a brush with orange watercolour, add shadows to one side of the flower petals to create the effect of light reflecting from one direction.
▶ watch this step (34:00)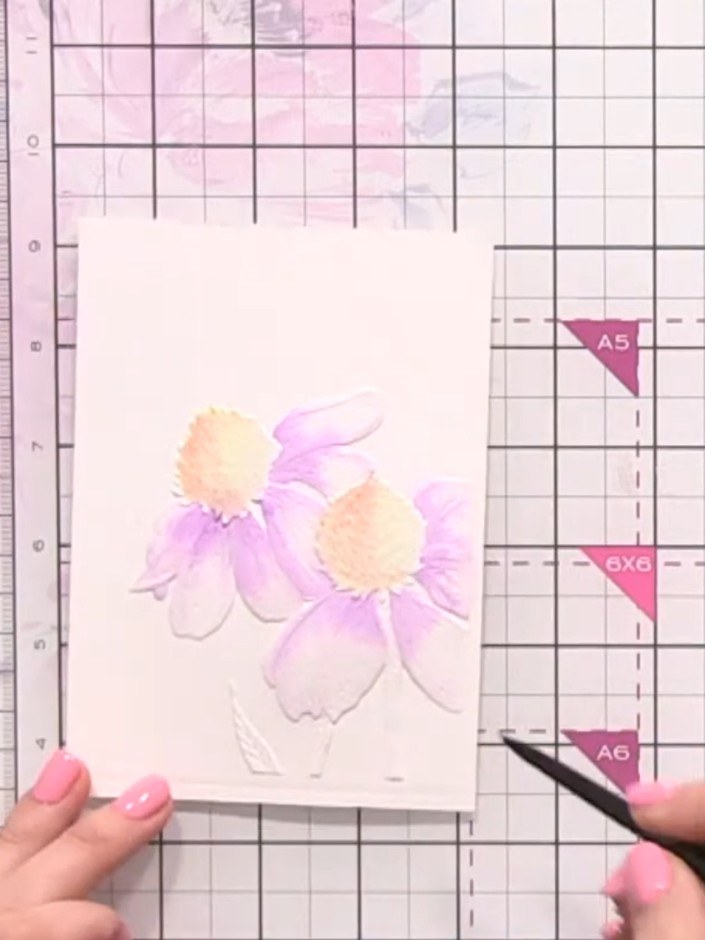
Using a diluted green watercolour, add very light leaf veins to the flowers. Keep the colour minimal and subtle for a natural effect.
▶ watch this step (35:30)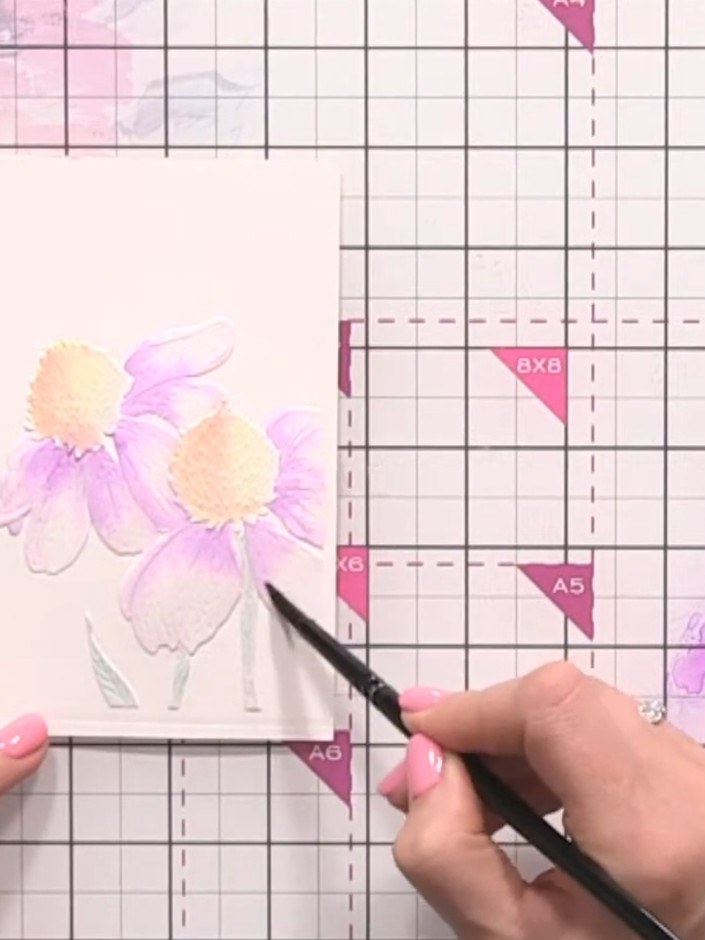
Allow the watercolour painting to dry completely. Trim the panel to size, add your chosen sentiment, and mount onto an A2 card base to complete your card.
▶ watch this step (36:30)Written up from the show itself. See every guide from our shows · free how-to guides · watch live on My Telly