Give your friends £10 off their first order!
Refer a FRIEND








A project from our live show HSN JANUARY PRODUCT PREVIEW - Join me for my Sneak Peek - Broadcast 23rd January 25 · 23/01/2025 · watch it from 1:08:00
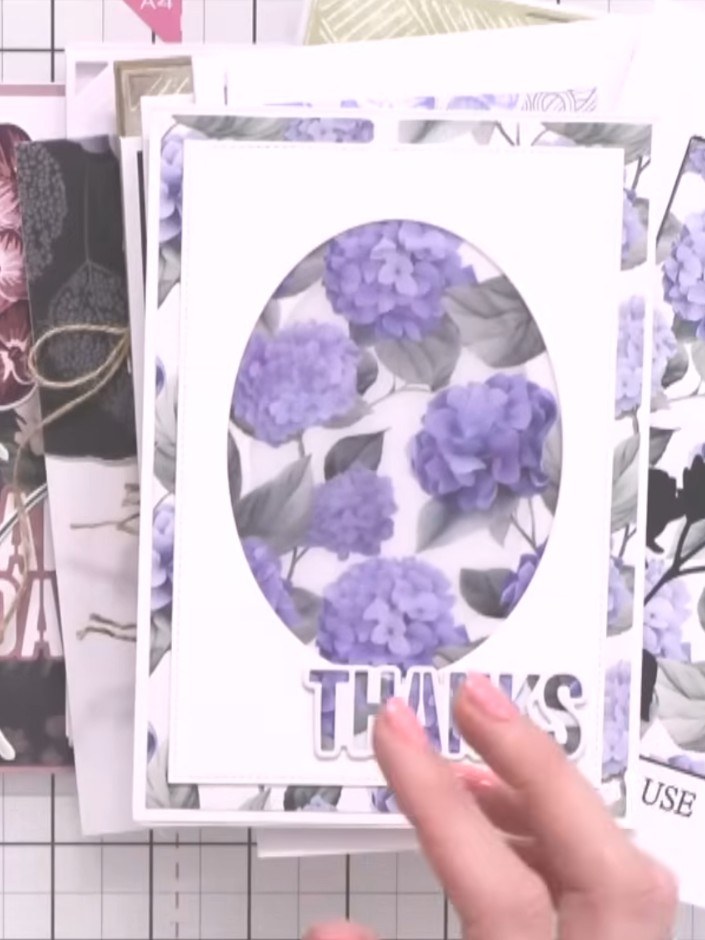
Create an elegant card featuring beautiful hydrangea blooms framed within an ornate trellis design. Using the Country Garden collection, you'll layer stencilled florals in soft purples and pinks with an embossed wood-grain trellis effect for a sophisticated, vintage-inspired finish. The main techniques include die-cutting, stencilling, and layering to build depth and dimension.
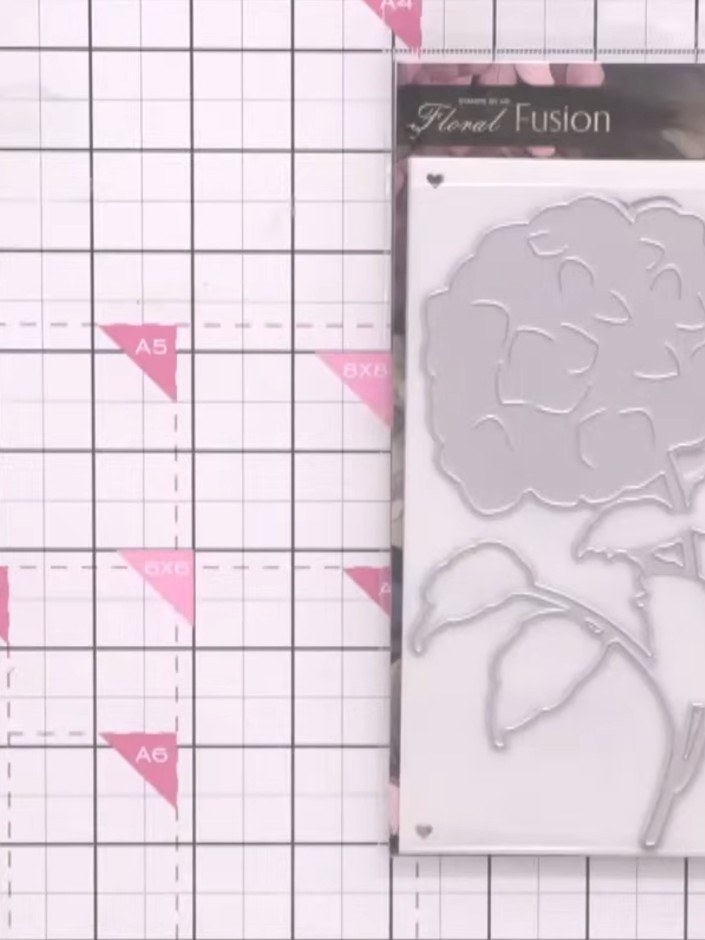
Select your layering stencil from the Country Garden Glamour collection. This collection includes luxury papers, stamps, stencils and dies featuring beautiful hydrangea designs.
▶ watch this step (1:08:30)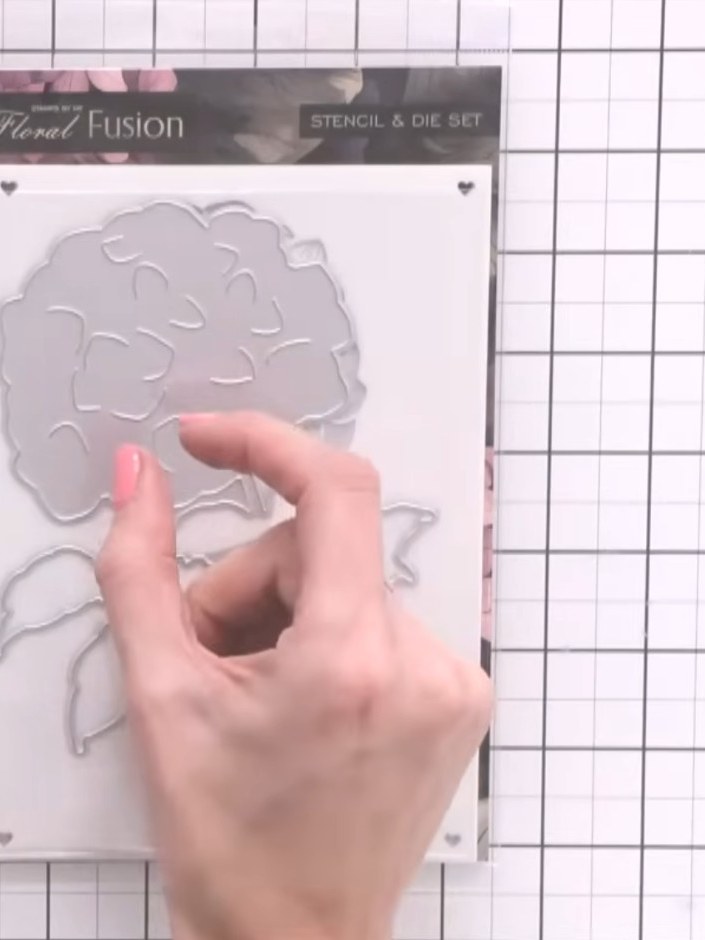
Ink through the layering stencil onto your card base using your chosen colours. Position the hydrangea stencil on the card and apply ink through the design to create the floral image.
▶ watch this step (1:09:00)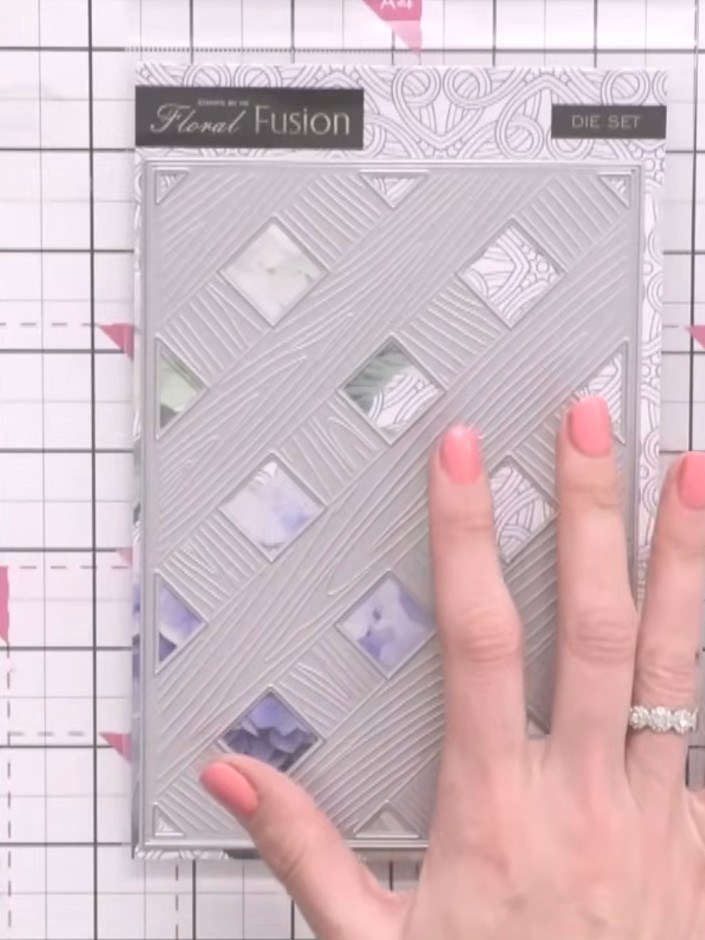
Build up the layers by inking through each layer of the Floral Fusion stencil in sequence. Work through the geometric frame stencil first, then move on to the floral elements, applying ink through each section to create depth and dimension.
▶ watch this step (1:09:30)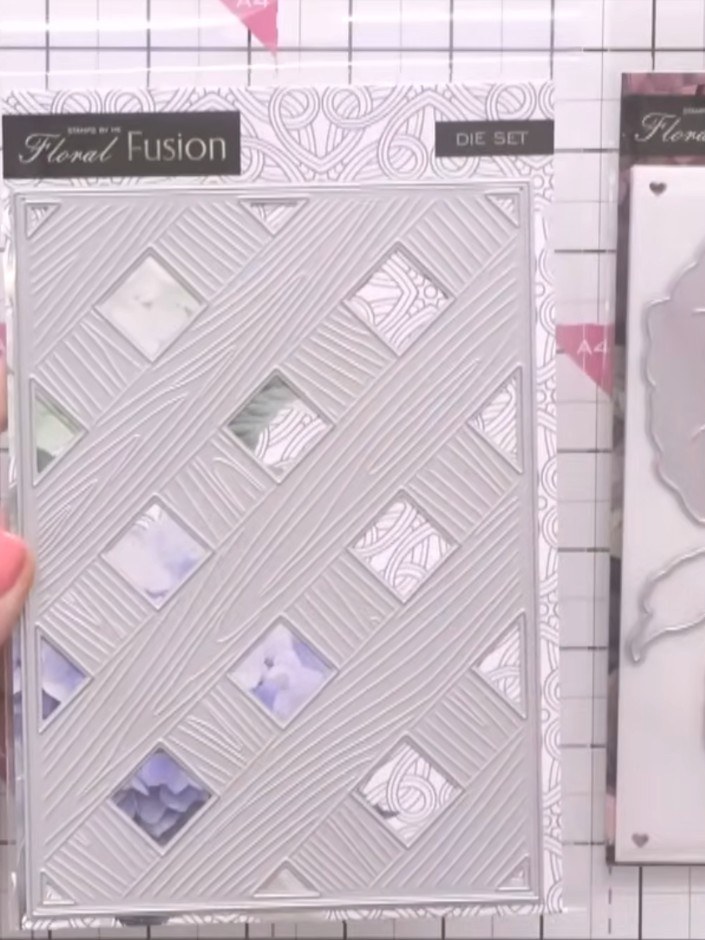
Select the trellis die from your Floral Fusion die set. This die features a geometric lattice pattern with diamond-shaped openings.
▶ watch this step (1:10:00)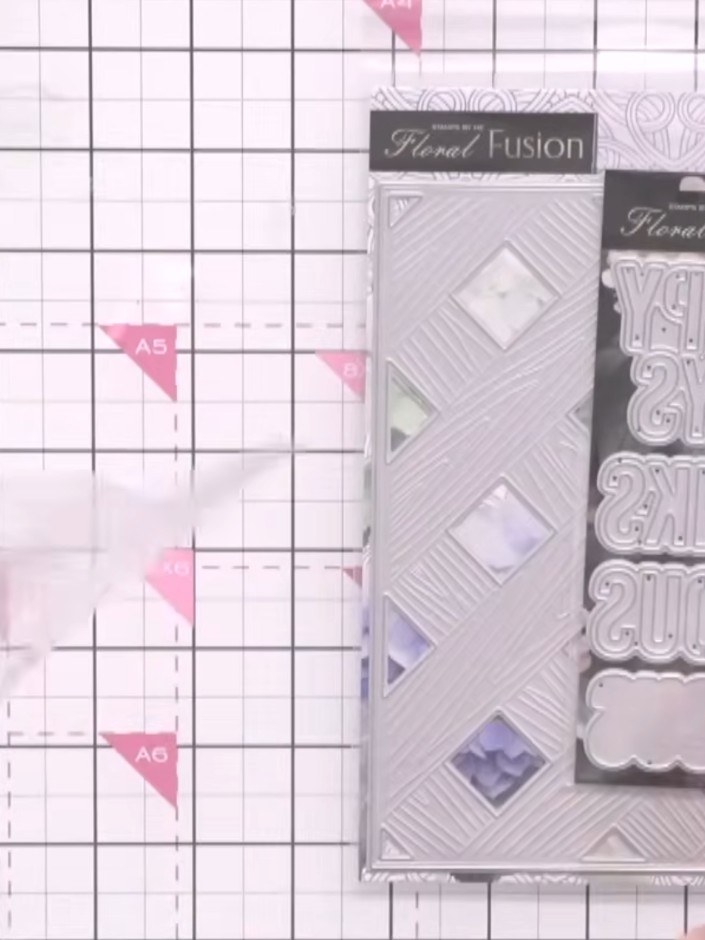
Use the trellis die to cut through white card stock, creating an embossed wood-grain effect on the die-cut piece.
▶ watch this step (1:10:30)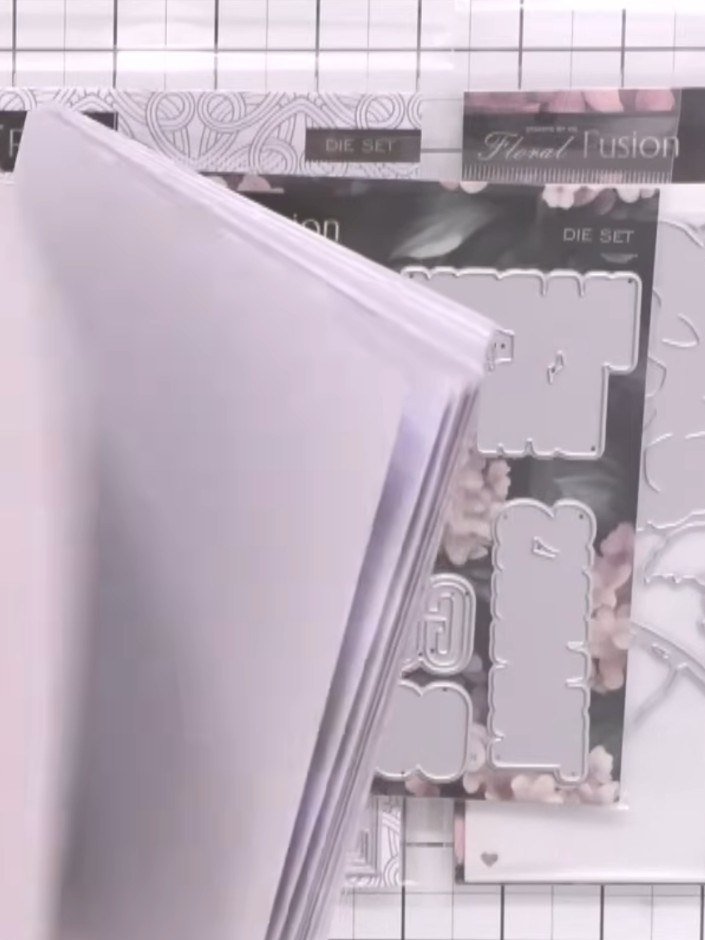
Layer the trellis die-cut on top of your stencilled background panel, positioning it centrally to create the focal point of your card.
▶ watch this step (1:11:00)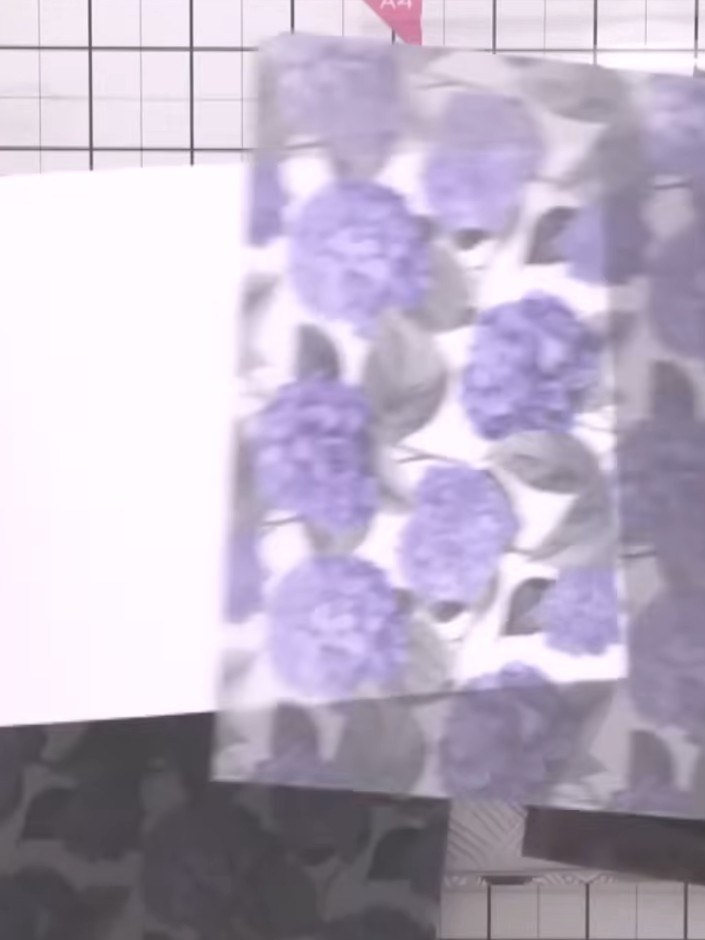
Weave the vellum sheet with purple hydrangea flowers through the openings of the trellis, positioning them to create an attractive arrangement across the card front.
▶ watch this step (1:11:30)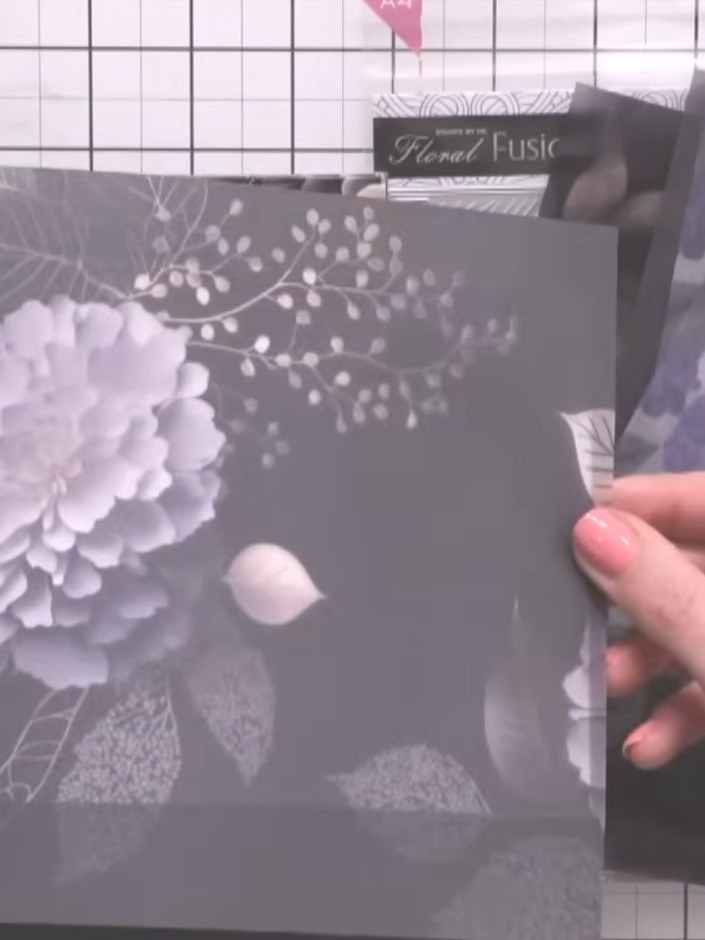
Add a sentiment to your card using the coordinating word dies from the collection. These dies feature matt and layered effects for dimensional text.
▶ watch this step (1:12:00)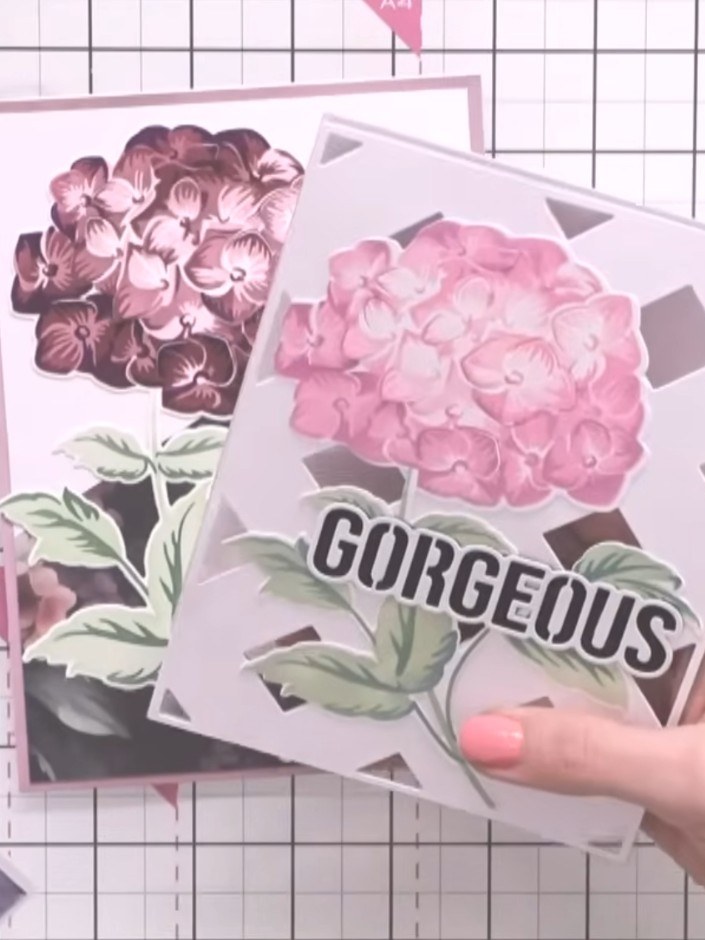
Mount your finished card onto a card blank to complete the project. The card features the hydrangea design with sentiment on the front.
▶ watch this step (1:12:30)Written up from the show itself. See every guide from our shows · free how-to guides · watch live on My Telly