Give your friends £10 off their first order!
Refer a FRIEND








A project from our live show ONE DAY SPECIAL - Join Toni for her brand new launch - Broadcast 24th Jan 2025 · 24/01/2025 · watch it from 39:30
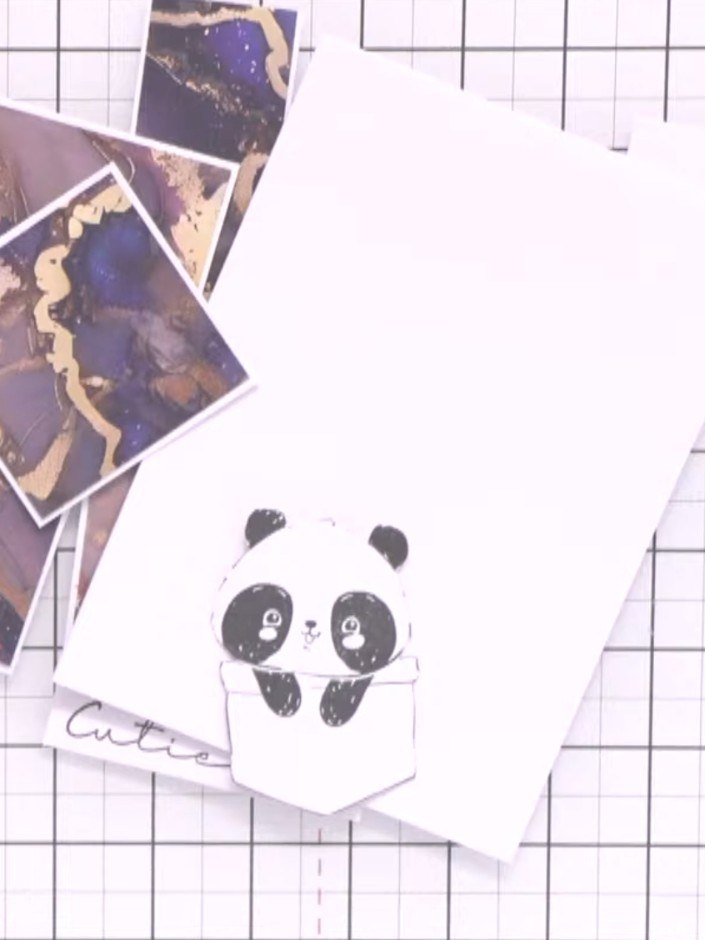
Create a charming card featuring an adorable panda character emerging from a layered pocket design. This delightful project combines patterned papers in navy, coral and gold tones with a sweet white panda that has been carefully shaded to add dimension. The card uses layering techniques and precise cutting to create a dimensional pocket effect with coordinating geometric patterns.
 Imala Stamp Bundle - More Kindness, Pocket Pals - 240125ASEE IT
 Stamps By Me All Surfaces Paper Bundle - Mosaic Moments, Golden Frantage - 240125BSEE IT
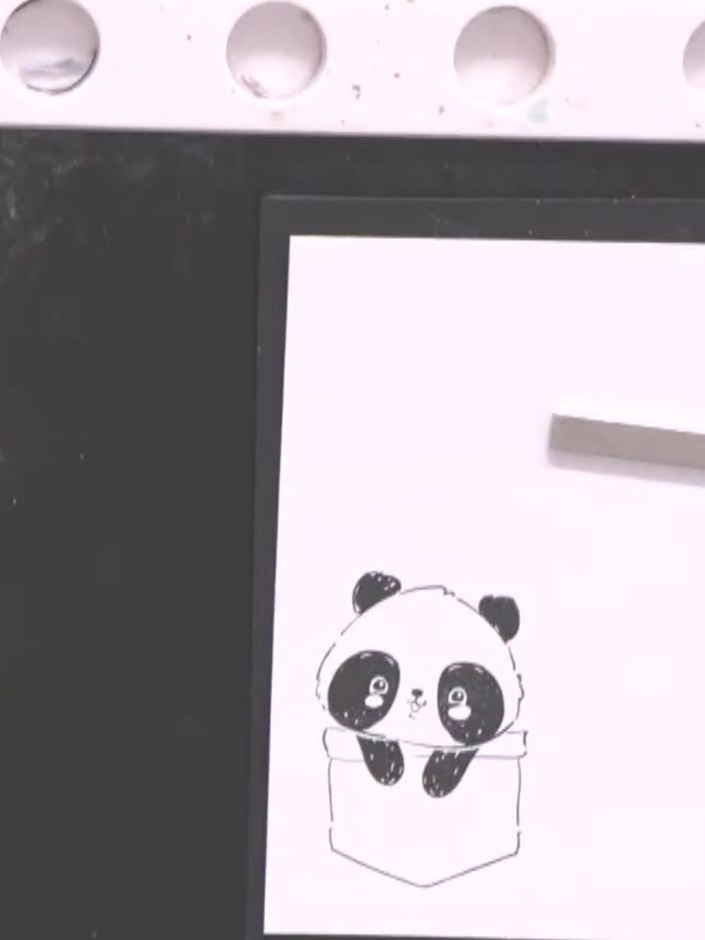
Stamp the panda pocket image from the Pocket Pals stamp set onto white cardstock using black ink. The panda should be positioned in the centre of the card front.
▶ watch this step (42:15)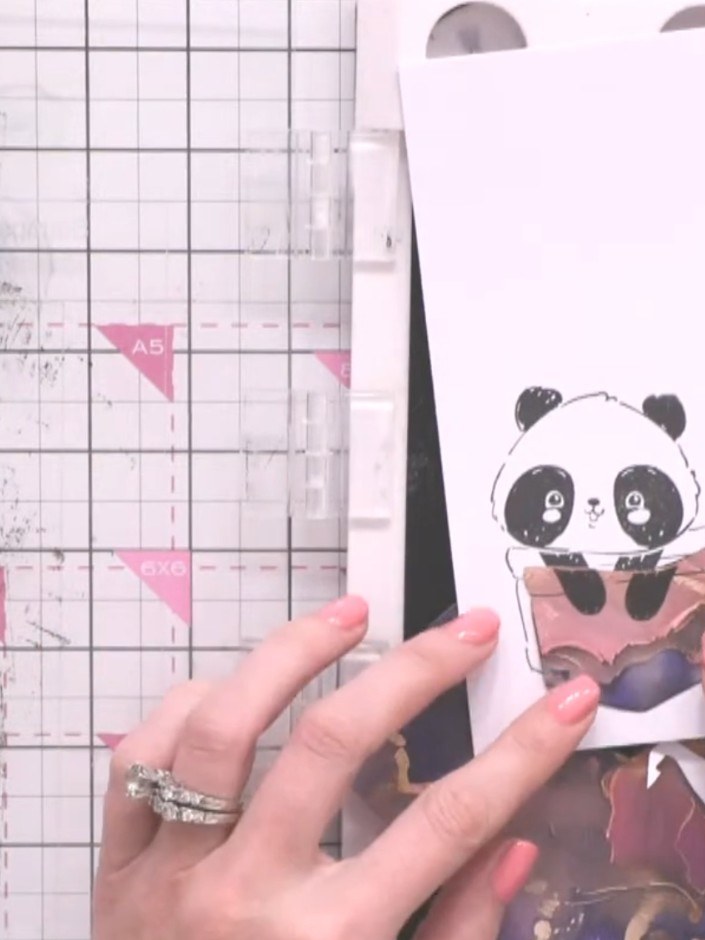
Carefully cut out the panda character from the Pocket Pals stamp set, following the outline closely with scissors.
▶ watch this step (44:15)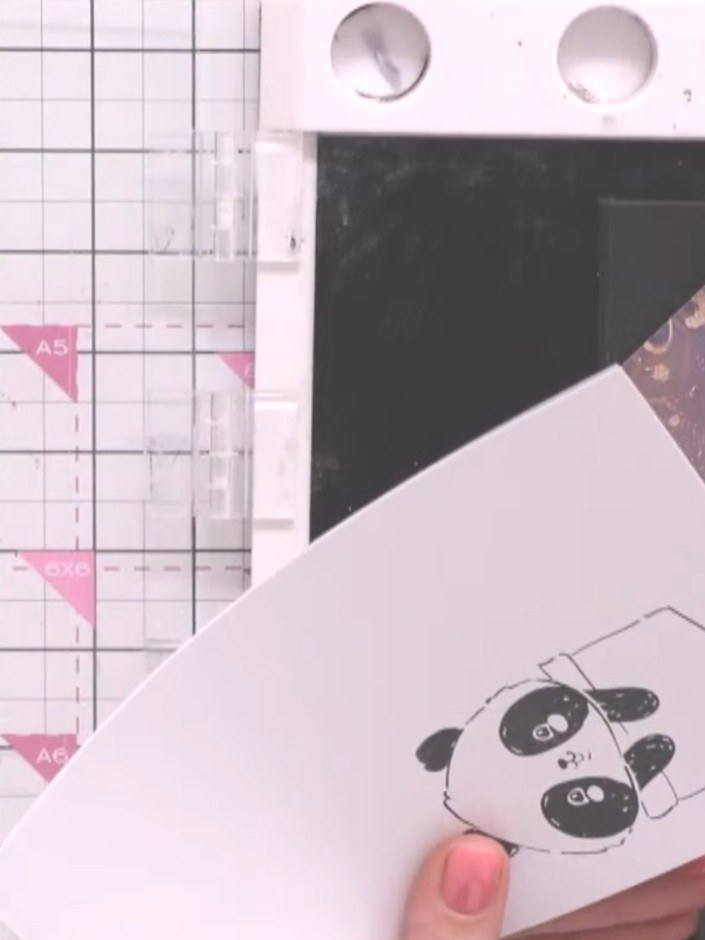
Cut away the panda's hands where they extend beyond the body to create a cleaner look when the panda emerges from the pocket.
▶ watch this step (45:00)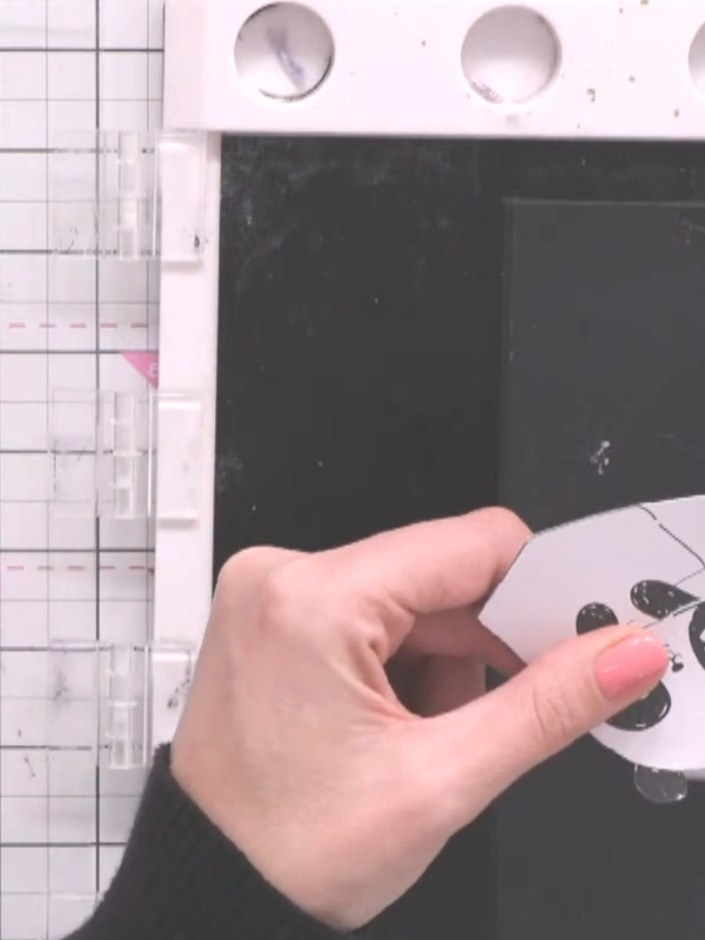
Cut the patterned paper into a 2.5 by 2.5 inch square using a guillotine.
▶ watch this step (46:30)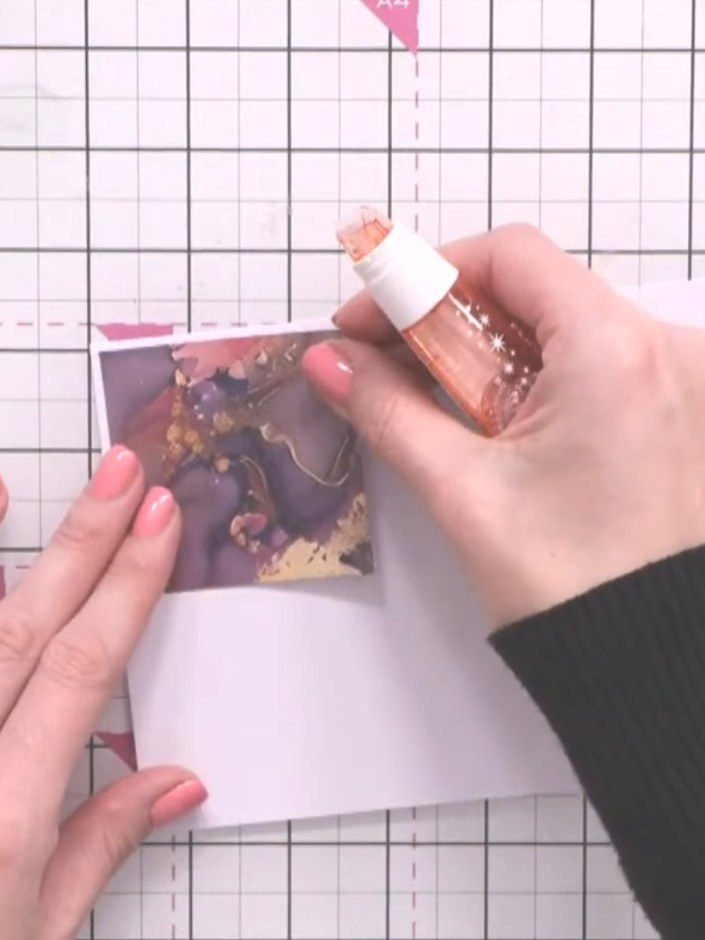
Apply glue to the back of the patterned square and adhere it onto white cardstock to create a matted layer.
▶ watch this step (47:45)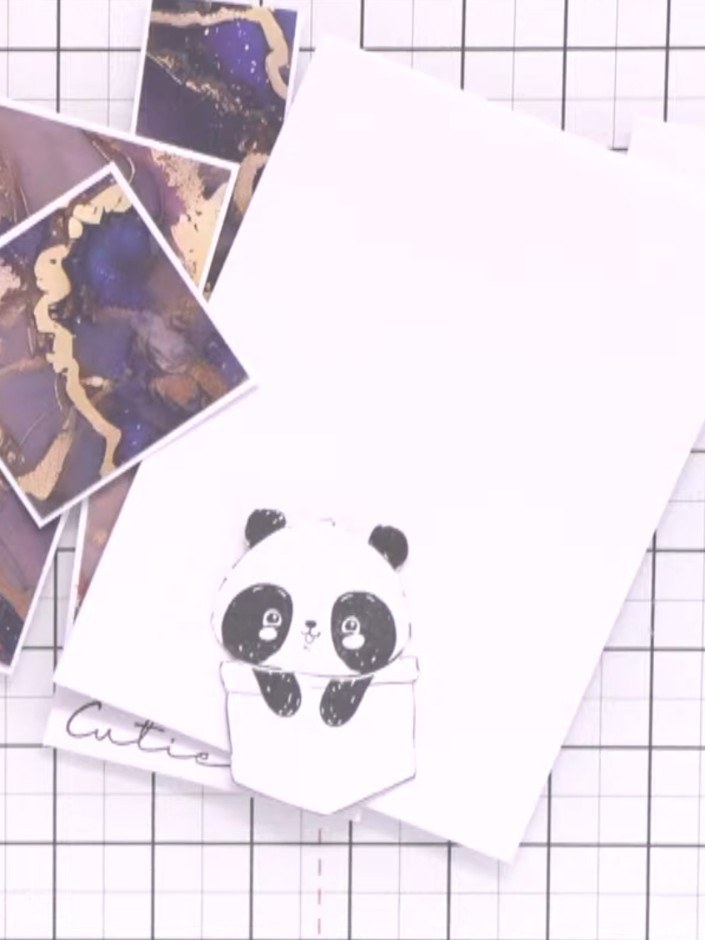
Use a blue or grey ink pad with water to shade around the panda's eyes and ears. This creates depth and makes the white areas appear brighter.
▶ watch this step (54:00)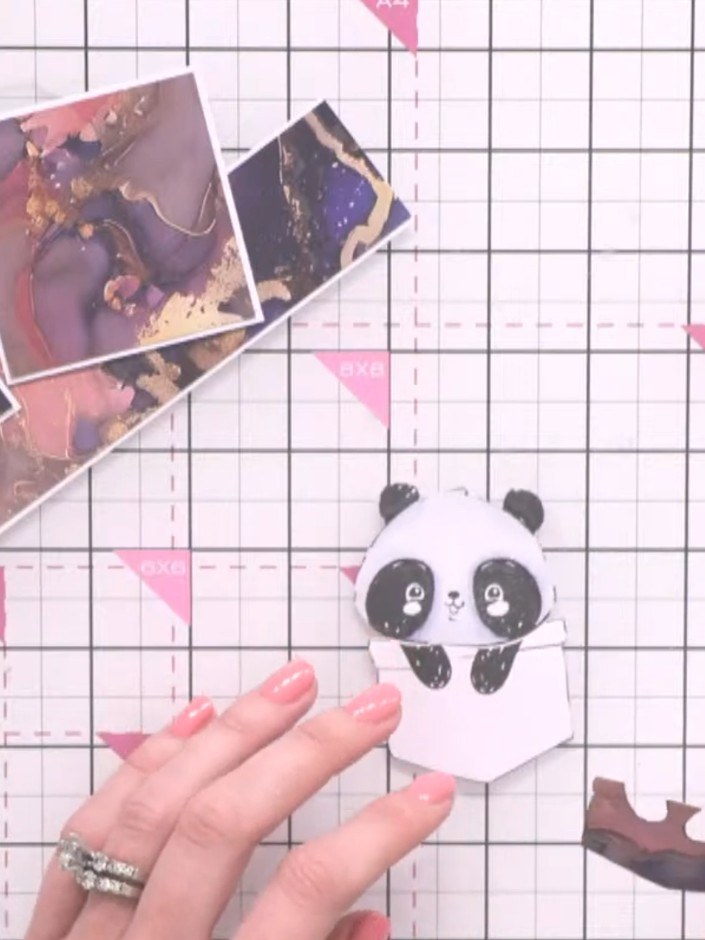
Adhere the panda pocket detail to the centre of the patterned square using glue.
▶ watch this step (58:30)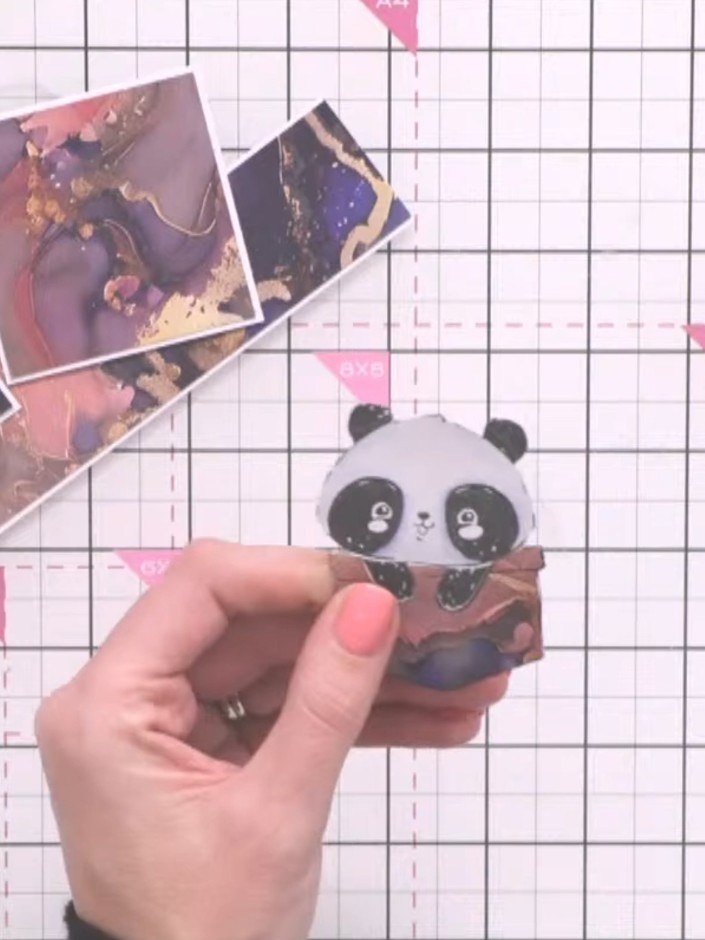
Glue the panda character on top of the pocket so it appears to emerge from it. Position the panda centrally over the pocket opening.
▶ watch this step (59:15)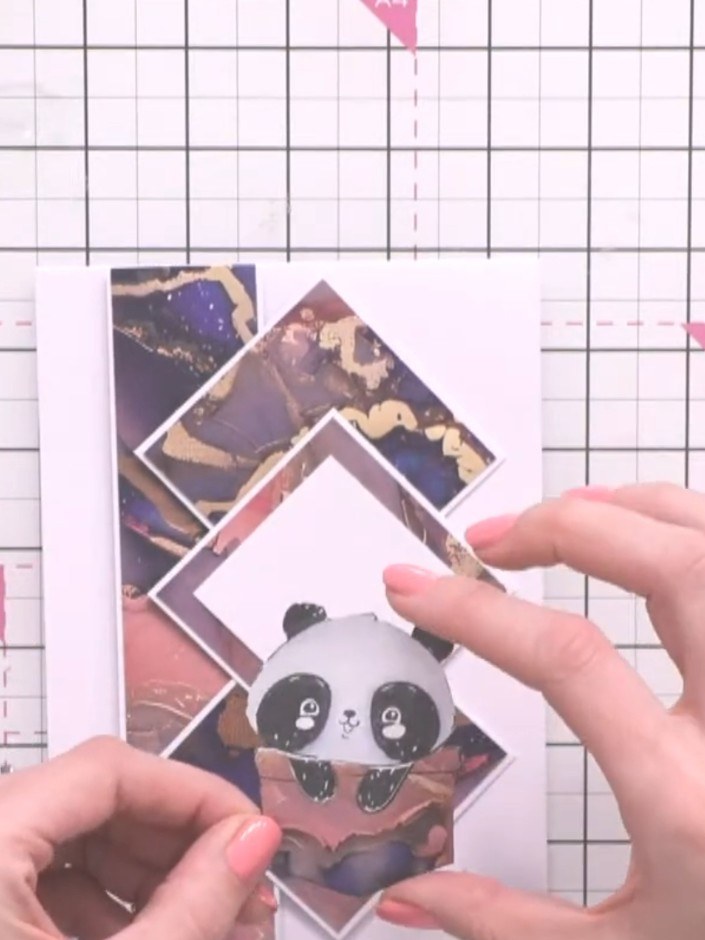
Cut a 2 by 2 inch white square. Position it in the centre of the card to break up the patterned background.
▶ watch this step (1:00:30)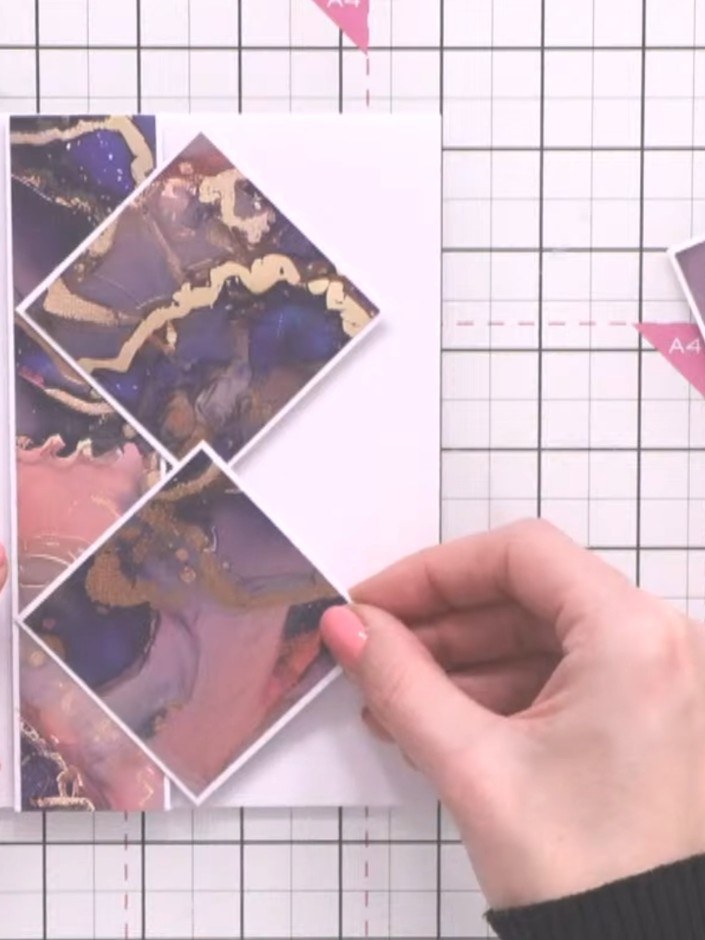
Attach foam pads to the back of the patterned panel in a diamond formation rather than a square grid. Position one pad at each corner and one in the centre to create dimension.
▶ watch this step (1:01:30)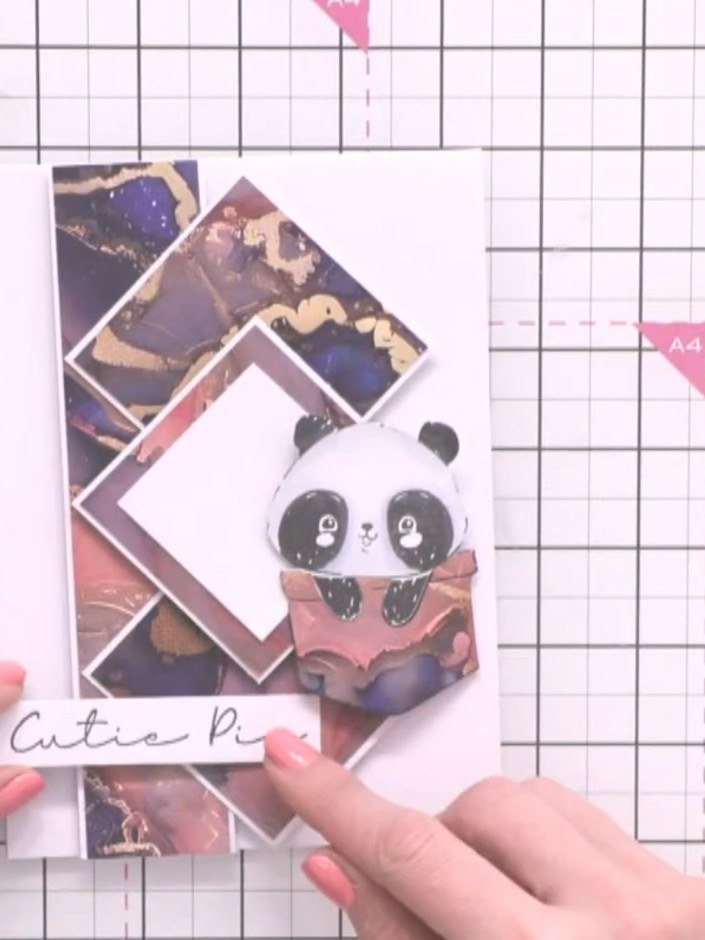
Position the 'Cutie Pie' sentiment stamp on white cardstock and adhere it to the lower portion of the card design.
▶ watch this step (1:03:00)Written up from the show itself. See every guide from our shows · free how-to guides · watch live on My Telly