Give your friends £10 off their first order!
Refer a FRIEND








A project from our live show MIGHTY MONDAY - Join Toni for her detailed papercrafting sessions - Broadcast 3rd Feb 2025 · 03/02/2025 · watch it from 4:00
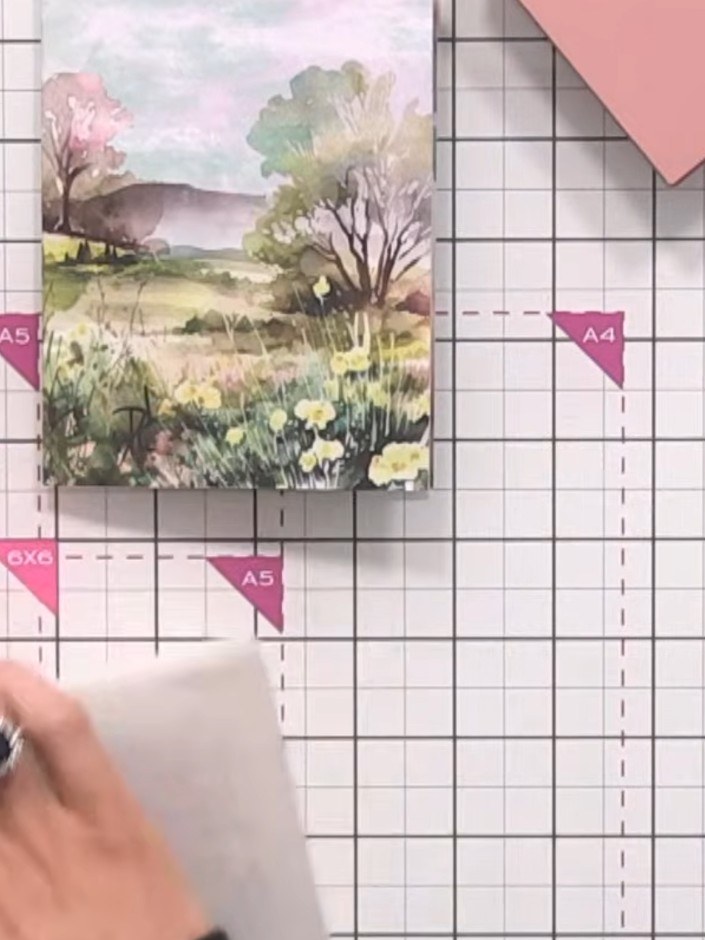
Create an elegant card featuring a scenic background wrapped in translucent vellum with embossed corner details. The vellum overlay creates a sophisticated see-through effect in soft greens and natural tones, allowing the beautiful landscape underneath to show through. This project uses simple wrapping and embossing techniques to achieve a professional, layered finish.
 Stamps By Me - Embossing Folder - White Rose - 310822BSEE IT
 100085 - HTCN - Stamps By Me Mini Professional Paper Trimmer 3 X 6 Inch - 240921CSEE IT
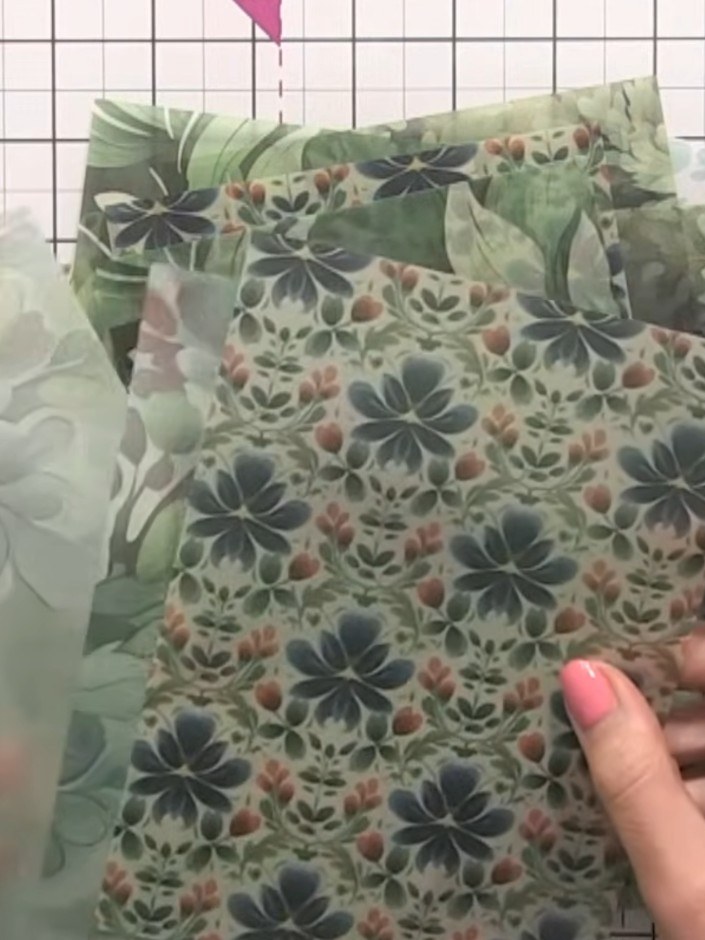
Select a piece of patterned vellum from your collection. Choose one with a light area so you can see detail underneath when layering.
▶ watch this step (4:00)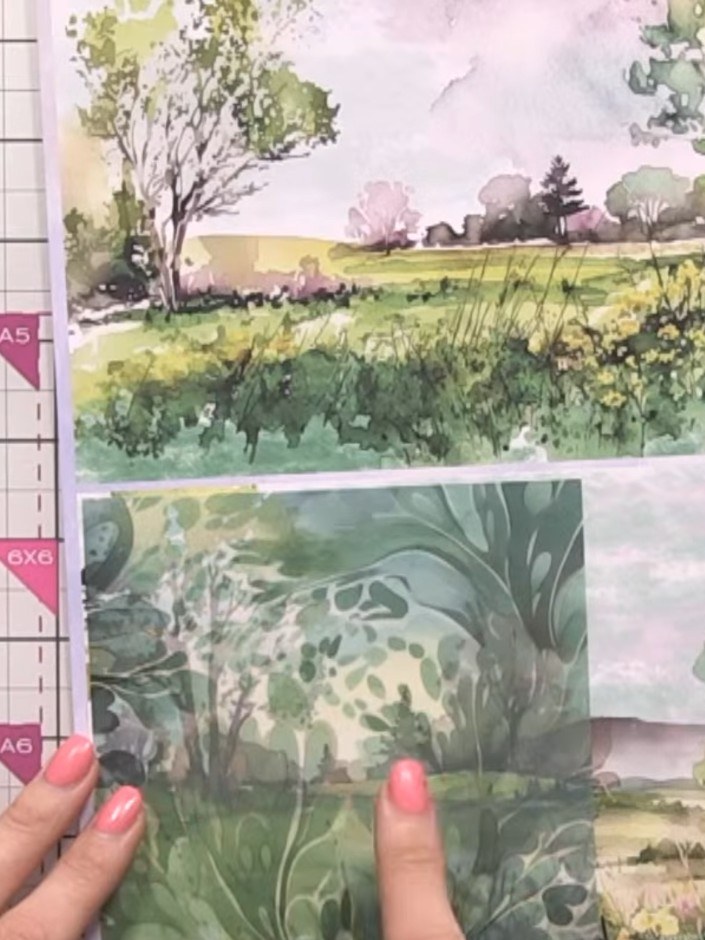
Select a piece of patterned paper from your collection to use as your card base. The paper shown features a peaceful landscape scene with greenery and foliage.
▶ watch this step (6:45)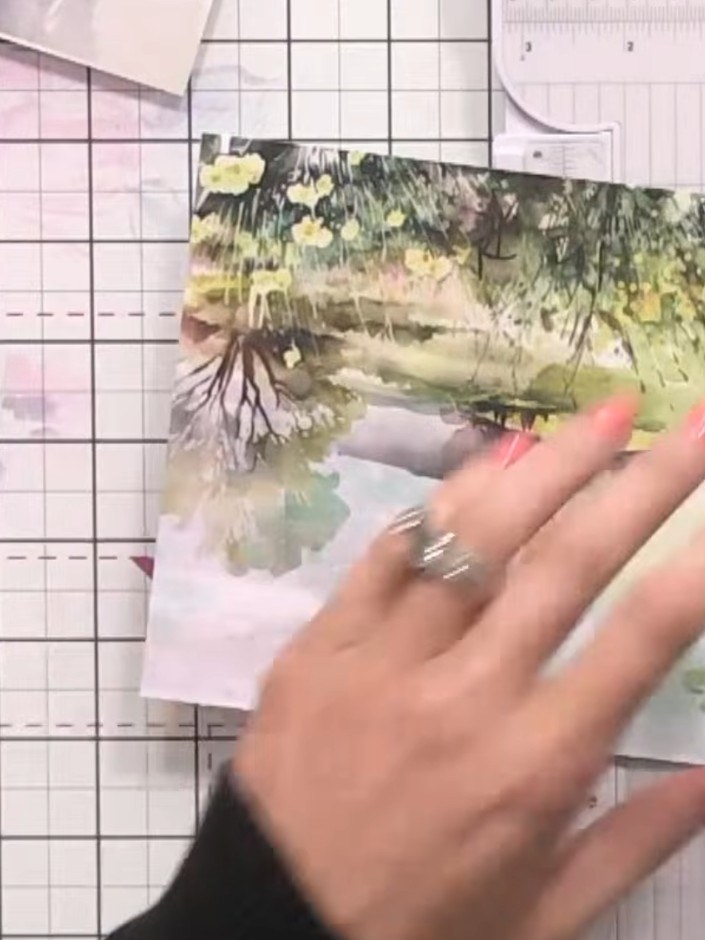
Cut your vellum to the same size as your card base using a mini trimmer for precision. Align the vellum carefully and trim to create a neat edge.
▶ watch this step (7:30)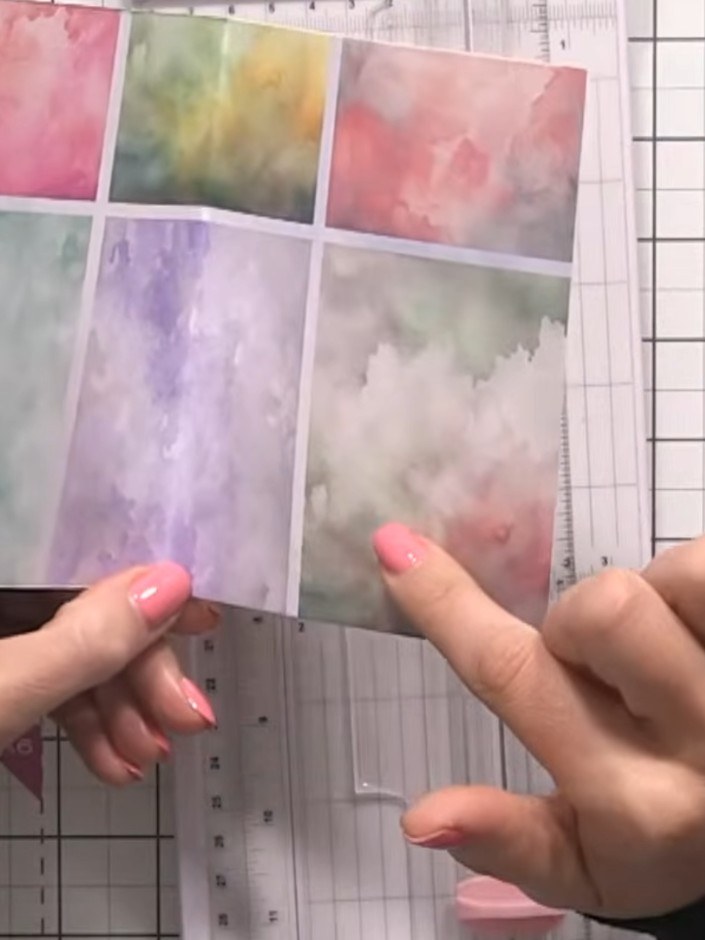
Take one of the remaining vellum pieces and fold it in half to create a small decorative card from the offcut. The embossed White Rose design should be visible on the front.
▶ watch this step (8:15)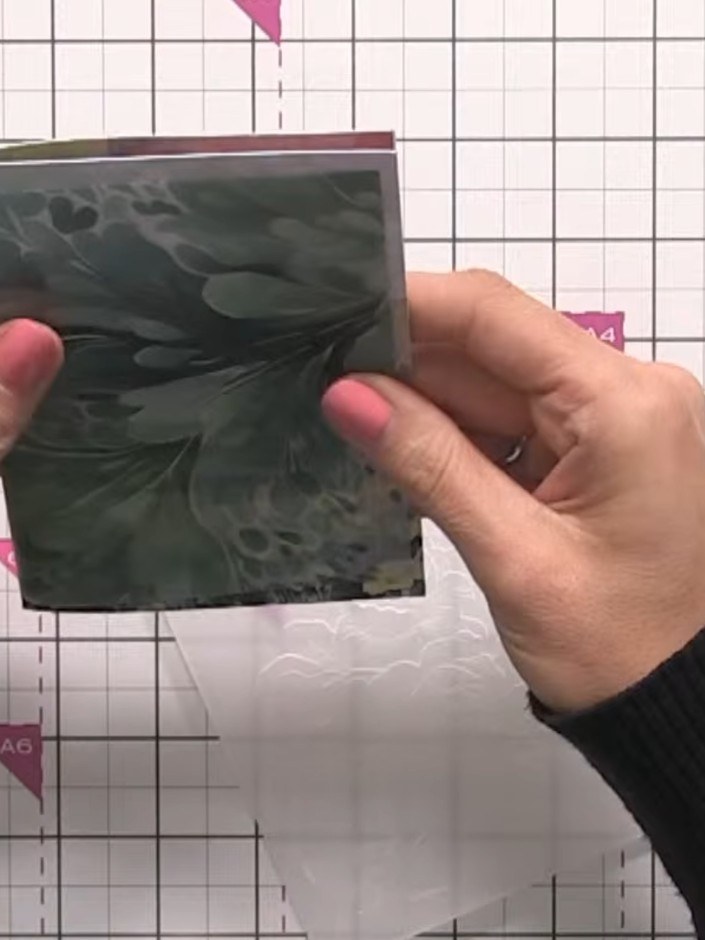
Position your vellum piece as a wrap around the front of the card base. Allow the vellum to extend slightly around the back edge to secure it in place.
▶ watch this step (10:45)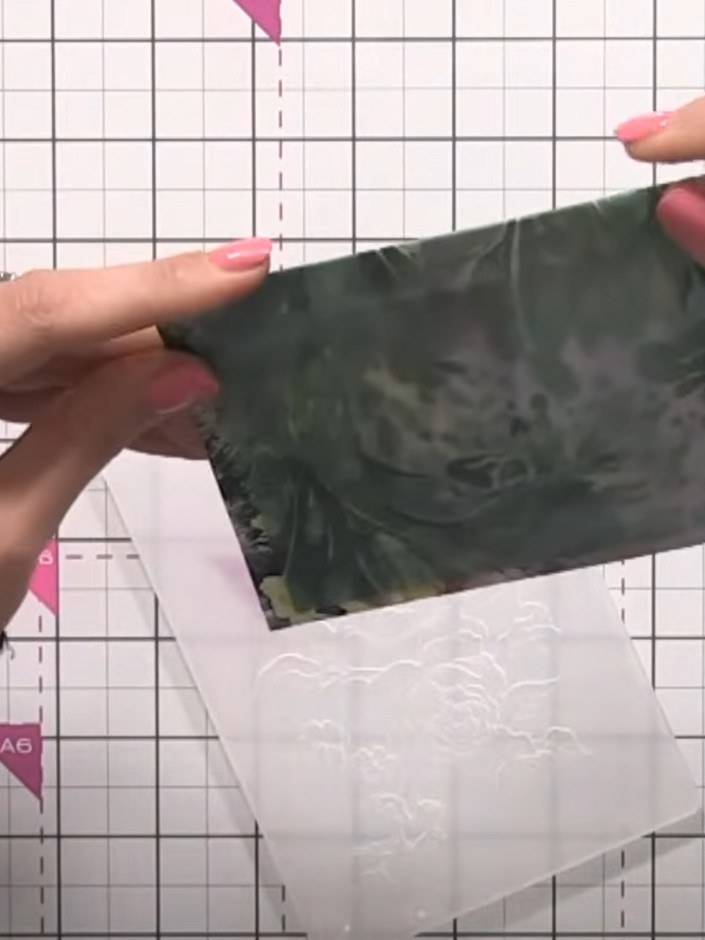
Trim the vellum on the back of the card to approximately one inch depth. This creates an intentional wrapped look rather than appearing accidental.
▶ watch this step (11:15)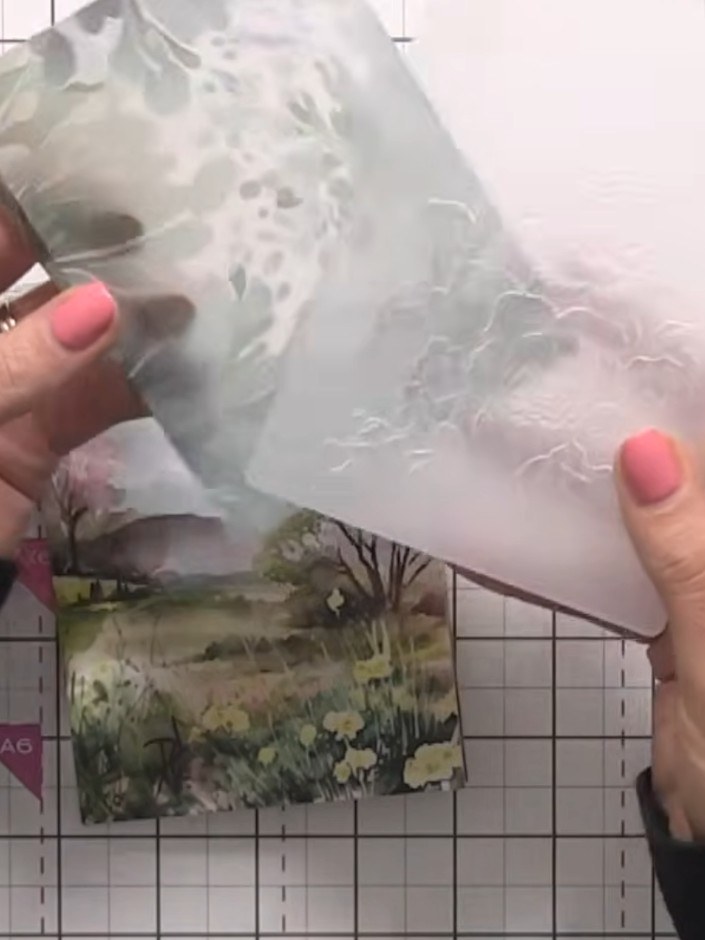
Run the corner of the vellum through an embossing folder to add a delicate embossed detail, such as a rose, to the corner.
▶ watch this step (12:45)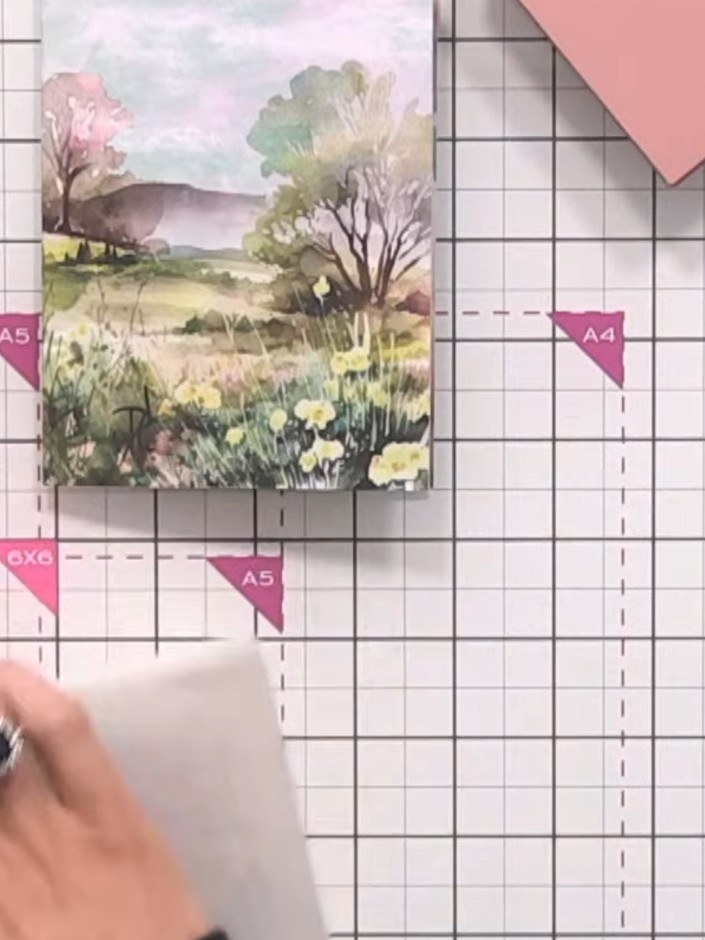
Secure the vellum wrap to the back of the card using double-sided tape. Position the tape along the hinge area where the vellum overlaps the card base.
▶ watch this step (14:00)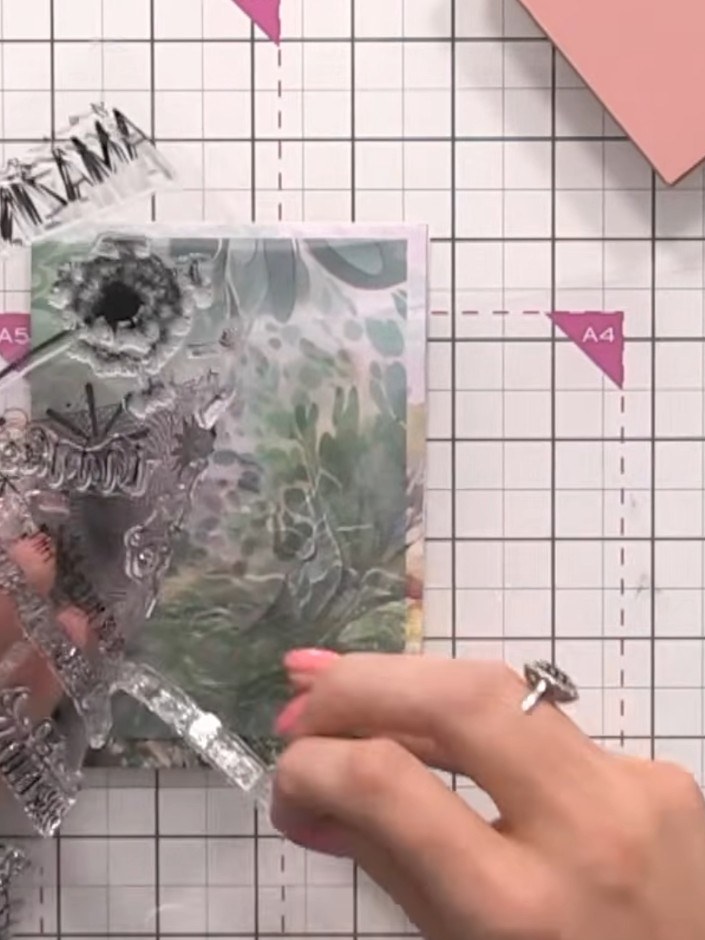
Stamp a sentiment onto white card stock. Trim the stamped sentiment to size using your paper trimmer.
▶ watch this step (16:00)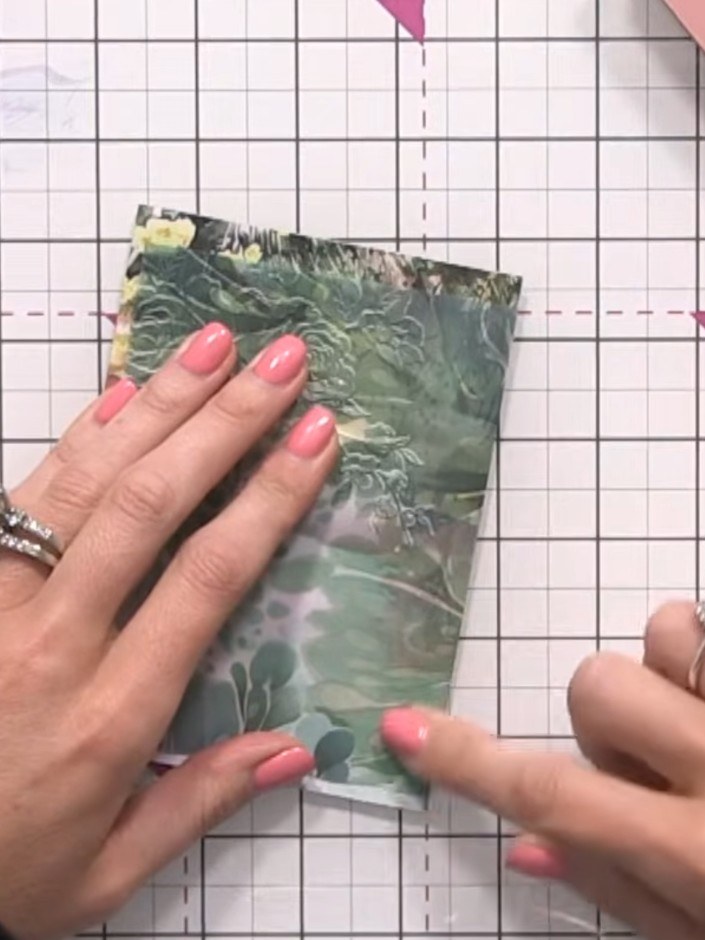
Adhere your sentiment panel to the front of the card, positioning it so it shows through the vellum overlay. Press firmly to ensure a good crease and secure adhesion.
▶ watch this step (16:30)Written up from the show itself. See every guide from our shows · free how-to guides · watch live on My Telly