QUICK LINKS

info@howtocraftnetwork.com
We just got smarter - shop and watch with the SBM appGET THE APPWatch us live on your smart TVSEE HOWDiscover our dedicated IPTV channel - go to my-telly.comWATCHCollect loyalty points on every orderFIND OUT MORE
Welcome to the How to Craft Network
 
SBM SHOP
FOLLOW US
GIVE YOUR FRIENDS £10 OFF REFER A FRIEND › DISCOVER MY-TELLY.COM › WE JUST GOT SMARTER GET THE APP › AWARD WINNING CHANNEL ON YOUR TV › JOIN THE CLUB FOR SAVINGS ›
 
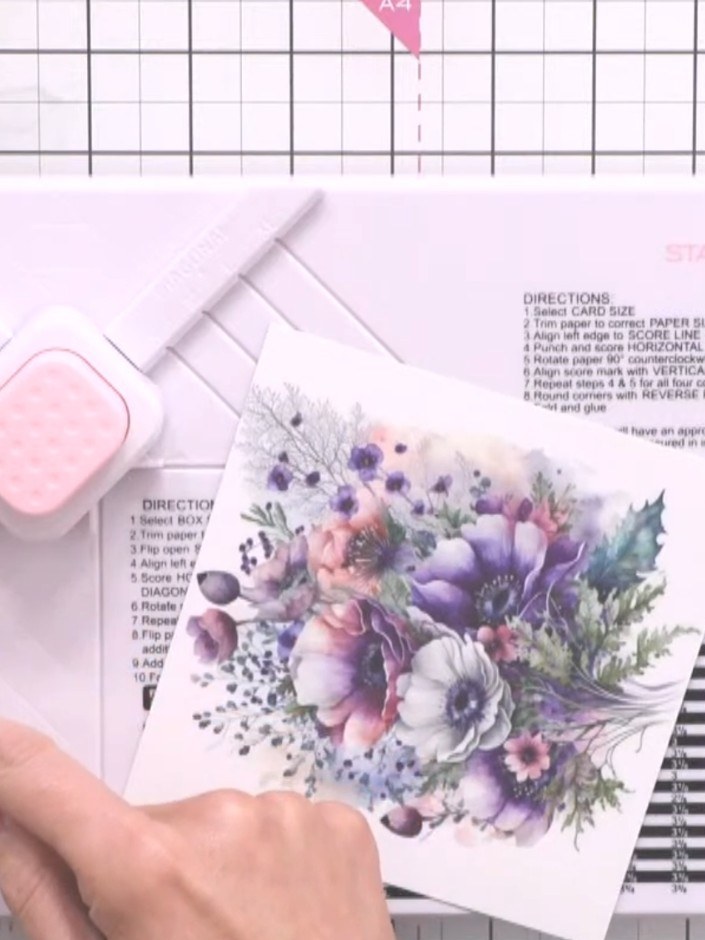
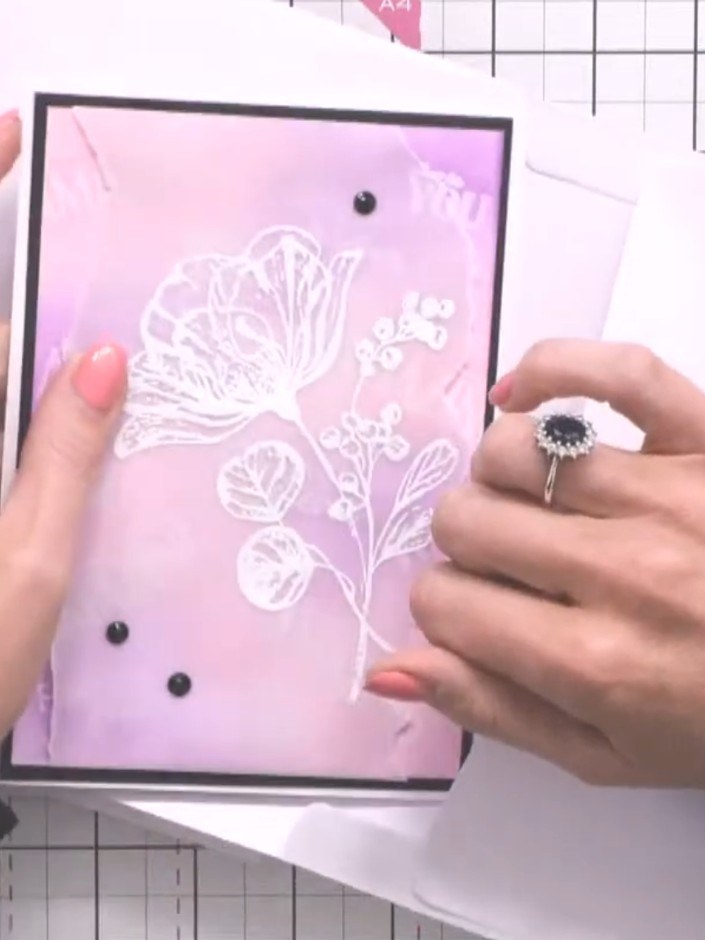
6x6 Envelope from Coloured Card Stock - the finished project
The finished project
As seen on the show · step by step

6x6 Envelope from Coloured Card Stock

A project from our live show ONE DAY SPECIAL - Join Toni for her brand new launch - Broadcast 6th Feb 2025 · 06/02/2025

Create a charming 6x6 inch envelope from coloured card stock, perfect for presenting gift cards or small handmade greetings. This project uses a scoreboard and envelope maker tool to achieve crisp folds and a professionally rounded flap. The finished envelope features a soft grey colour that coordinates beautifully with floral designs.
11steps
37:15in the show
Step 1 of 11

You will need

the products used on the show

Step by step

Tap “watch” to see each step being made
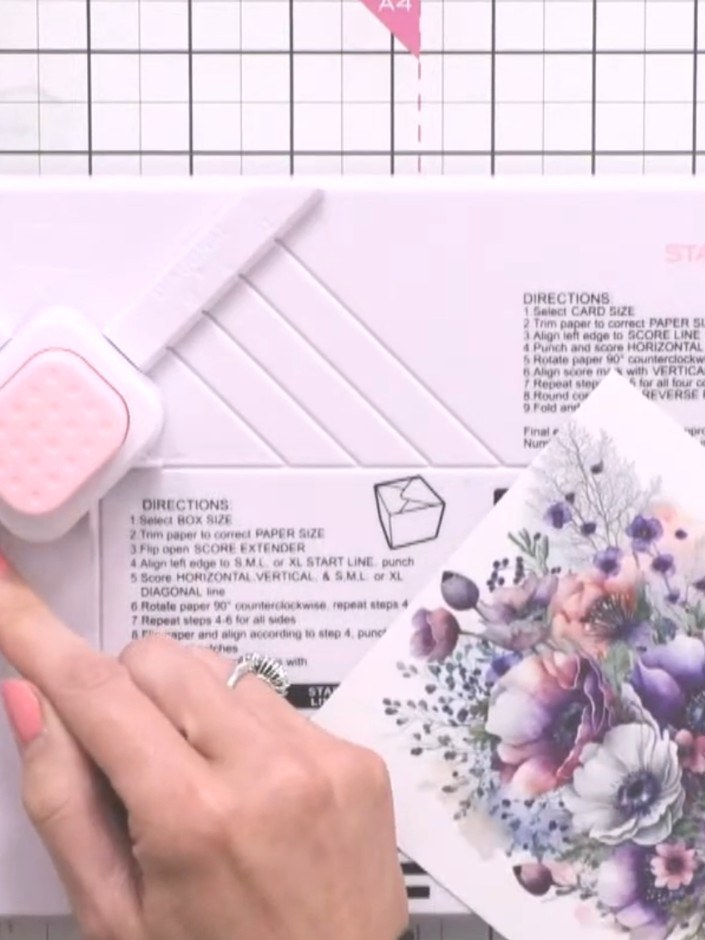
  1. Step 1: Select a 6x6 inch piece of coloured card stock from your stash. This will be used to create your envelope base1

    Select a 6x6 inch piece of coloured card stock from your stash. This will be used to create your envelope base.
    ▶ watch this step 37:30
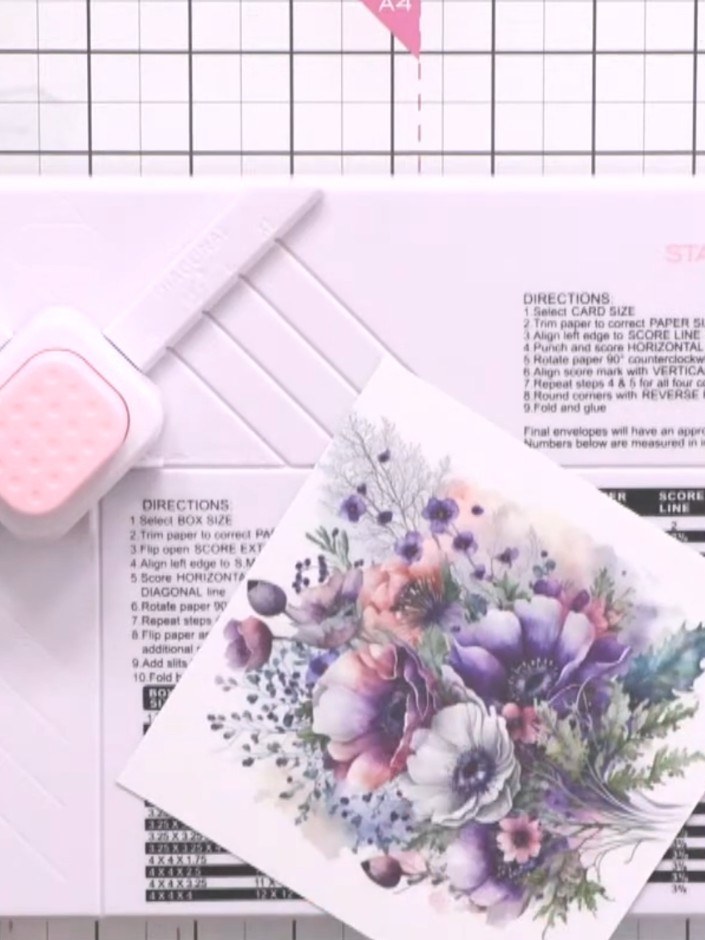
  2. Step 2: Refer to the scoreboard on your envelope template to locate the 6x6 card size. Note the corresponding score li2

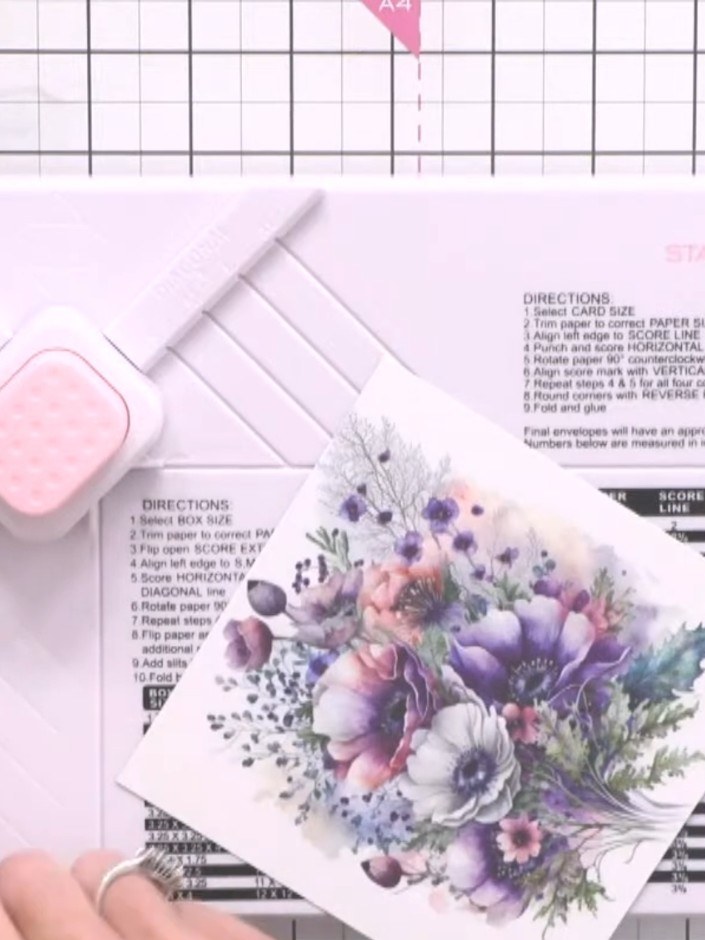
    Refer to the scoreboard on your envelope template to locate the 6x6 card size. Note the corresponding score line measurement, which is number three on the chart.
    ▶ watch this step 37:45
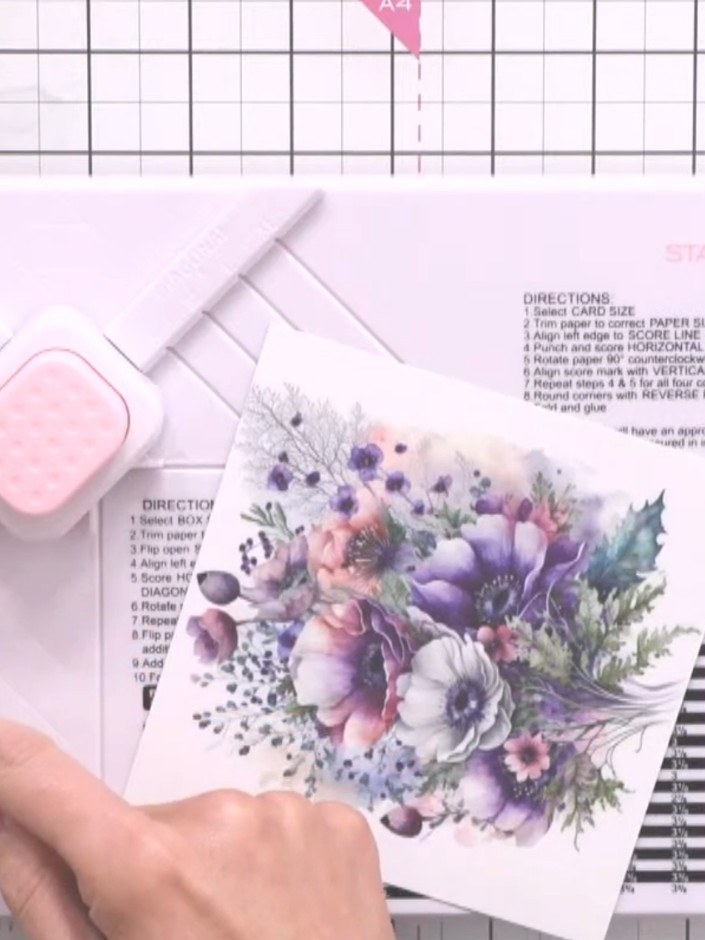
  3. Step 3: Place your card stock on the scoreboard and align the left edge with the number 3 marking on the board.3

    Place your card stock on the scoreboard and align the left edge with the number 3 marking on the board.
    ▶ watch this step 38:00
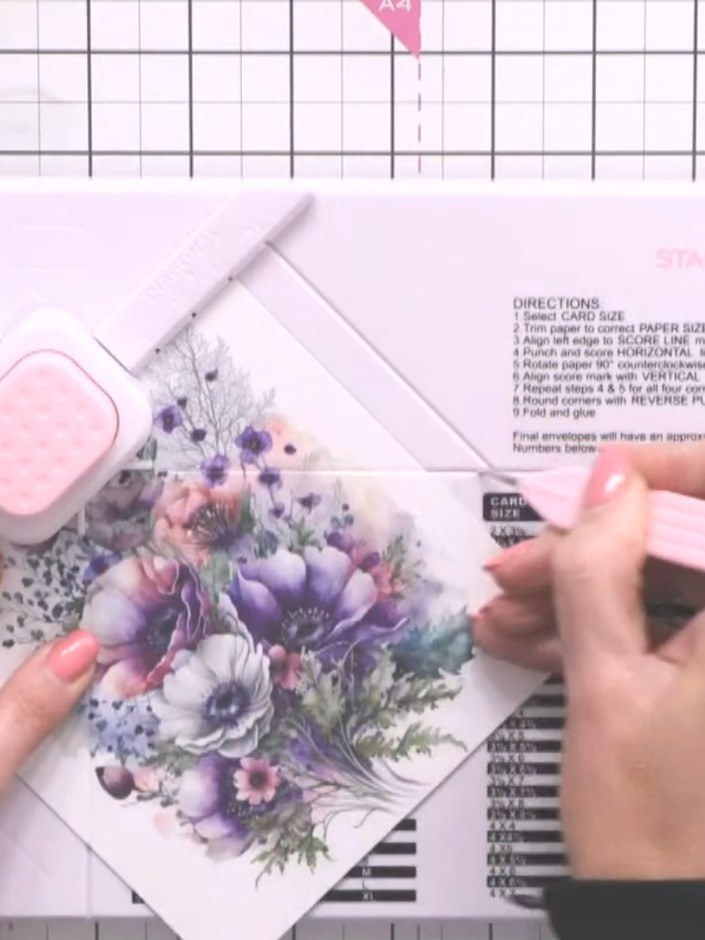
  4. Step 4: Use the score tool to score down the length of the card. Then score across at the marked horizontal line to cr4

    Use the score tool to score down the length of the card. Then score across at the marked horizontal line to create the envelope fold lines.
    ▶ watch this step 38:15
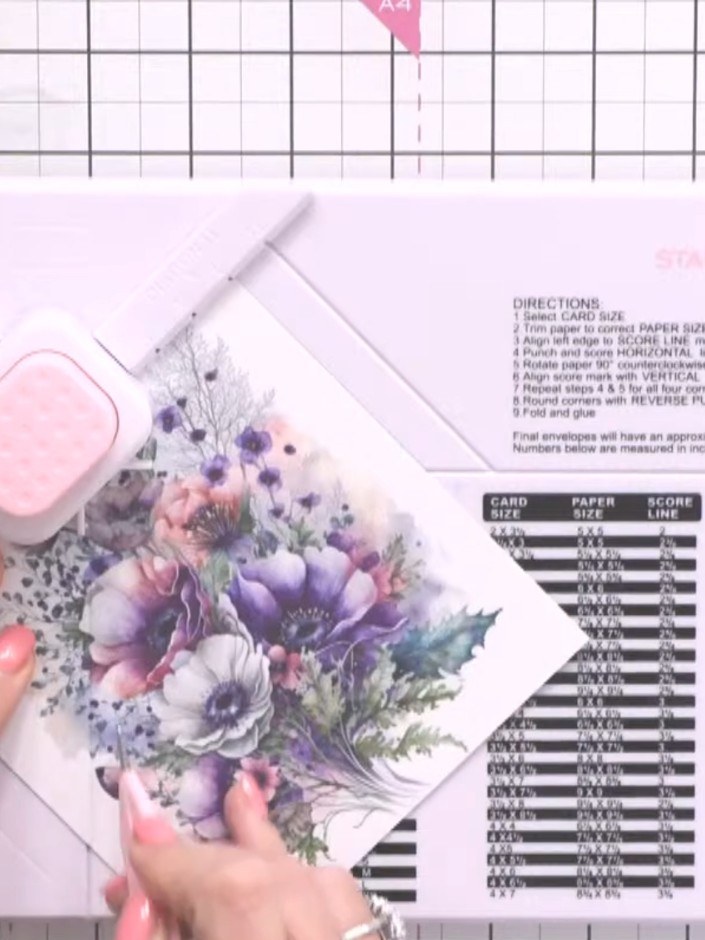
  5. Step 5: Punch the card at the designated point marked on the scoreboard to create the hole for the envelope closure.5

    Punch the card at the designated point marked on the scoreboard to create the hole for the envelope closure.
    ▶ watch this step 38:30
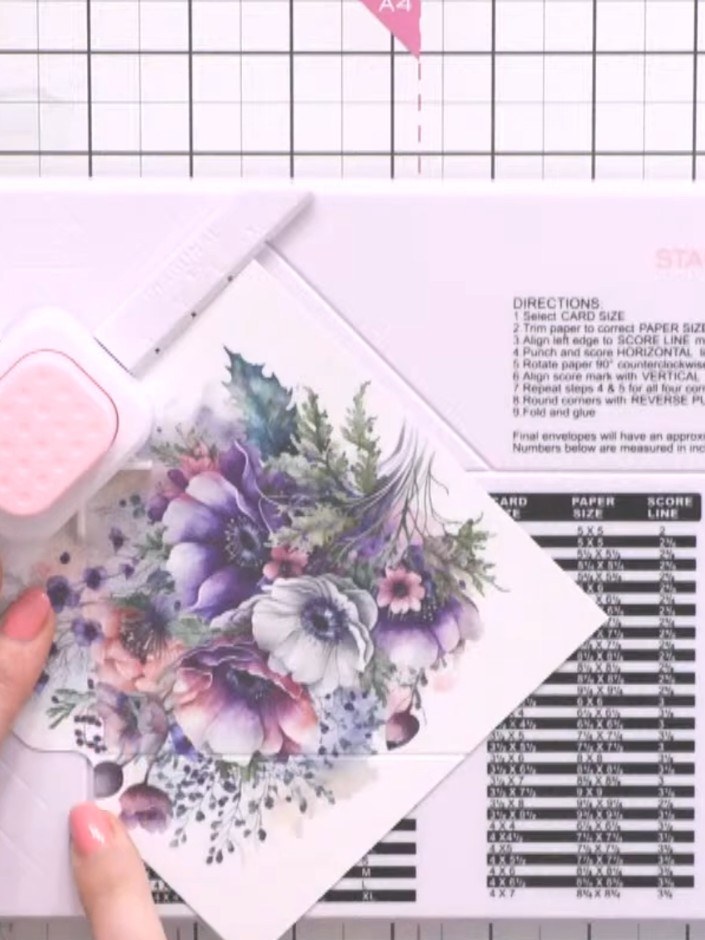
  6. Step 6: Twist the envelope and line the score line back up with the corresponding line on the scoreboard.6

    Twist the envelope and line the score line back up with the corresponding line on the scoreboard.
    ▶ watch this step 38:45
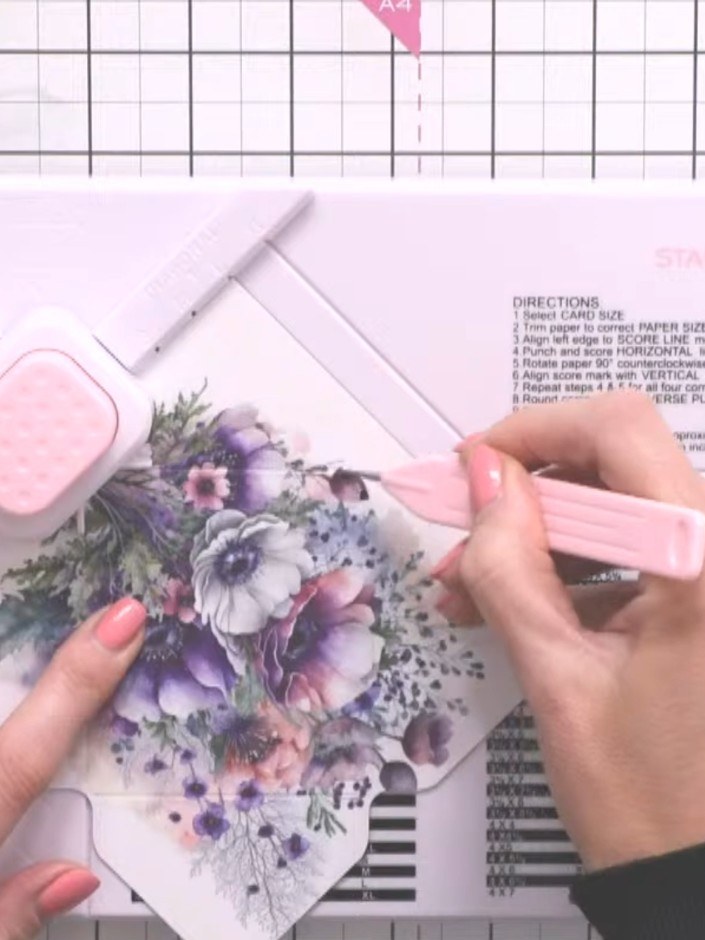
  7. Step 7: Align the score line with the vertical line on the scoring board and score across horizontally. Punch the enve7

    Align the score line with the vertical line on the scoring board and score across horizontally. Punch the envelope again to complete the scoring pattern.
    ▶ watch this step 39:00
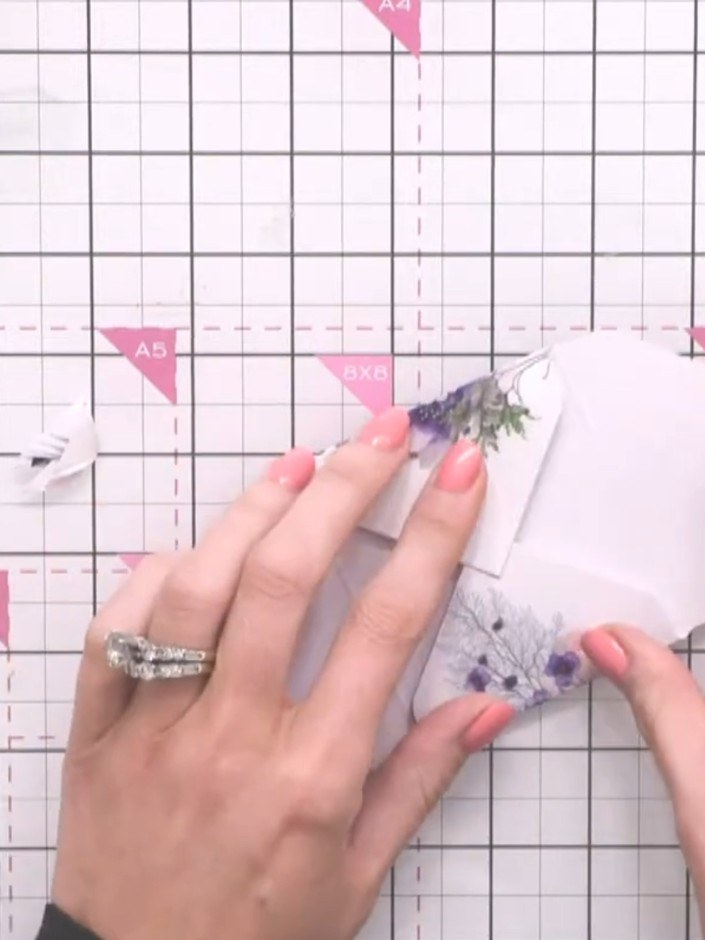
  8. Step 8: Fold up the sides of the envelope along the score lines using a bone folder to create crisp creases.8

    Fold up the sides of the envelope along the score lines using a bone folder to create crisp creases.
    ▶ watch this step 39:15
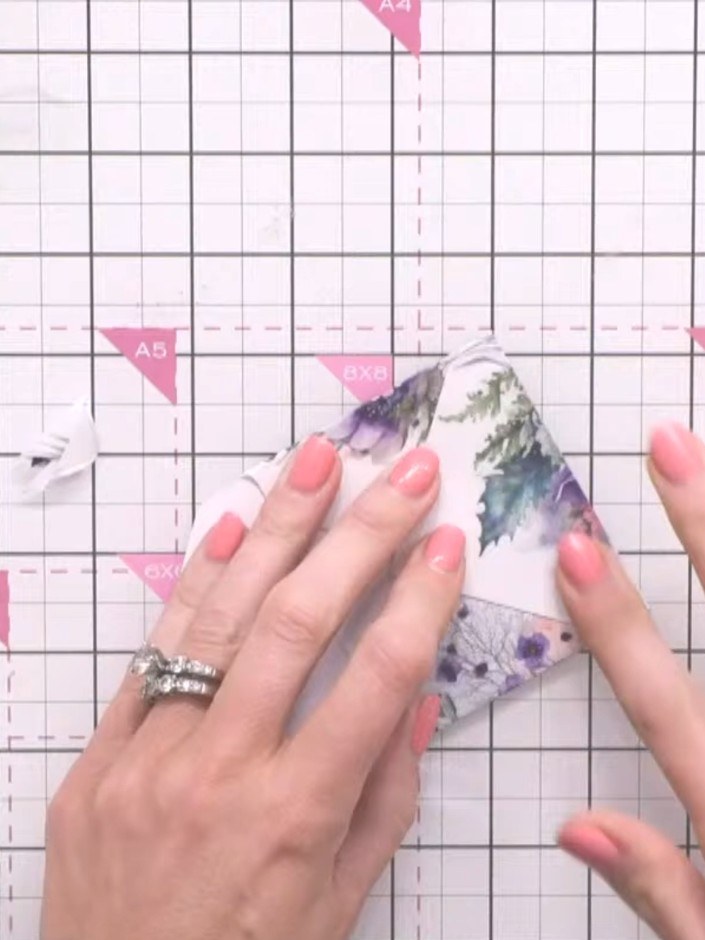
  9. Step 9: Fold in the side flaps of the envelope and secure them with double-sided tape to create the envelope shape.9

    Fold in the side flaps of the envelope and secure them with double-sided tape to create the envelope shape.
    ▶ watch this step 39:30
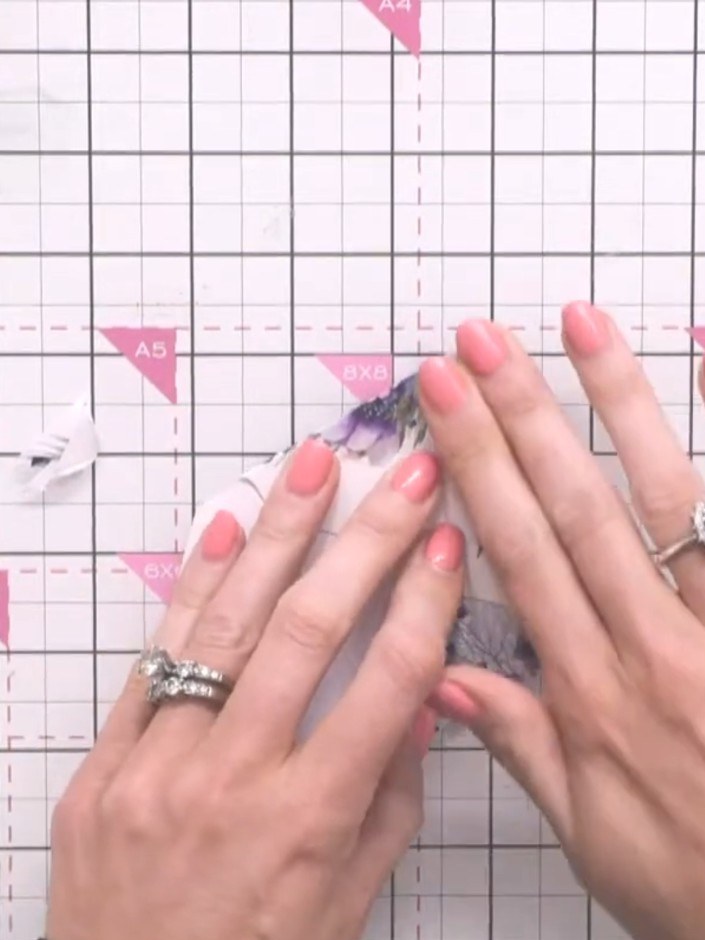
  10. Step 10: Insert the pointed flap of the envelope into the corner rounder tool to create a curved top edge.10

    Insert the pointed flap of the envelope into the corner rounder tool to create a curved top edge.
    ▶ watch this step 39:45
  11. Step 11: For a neater finish, fold the bottom flap of the envelope inward before sealing.11

    For a neater finish, fold the bottom flap of the envelope inward before sealing.

    ▶ watch this step 40:00

Tips from the show

You made it!

Share your make with the Stamps By Me community - and keep this guide for next time.

Written up from the show itself. See every guide from our shows · free how-to guides · watch live on My Telly · the previous layout