Give your friends £10 off their first order!
Refer a FRIEND








Prices change straight away. Every language is our own translation, not Google.
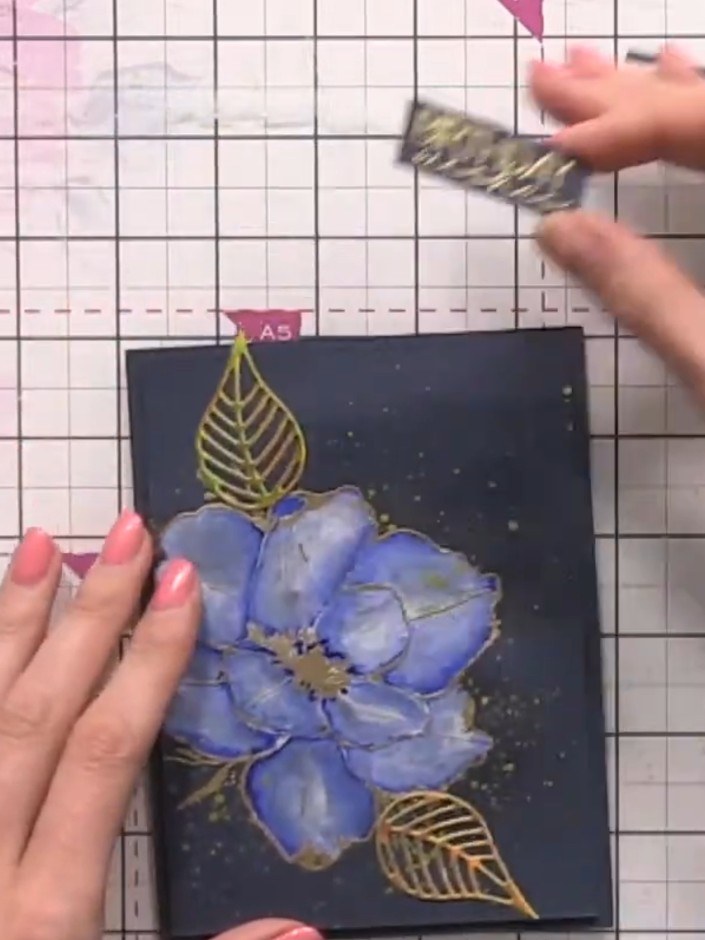
A project from our live show Create Together Club - 5 Days of Creativity - Broadcast Thursday 13TH Feb 2025 · 13/02/2025
Create a stunning ethereal card featuring a hand-painted blue flower on navy card stock. This elegant design combines heat-embossed gold leaves and floral details with watercolour washes to achieve a dreamy, misty effect. The technique demonstrates how to add vibrant colour to dark backgrounds using white ink as a base layer before applying watercolours.
 1
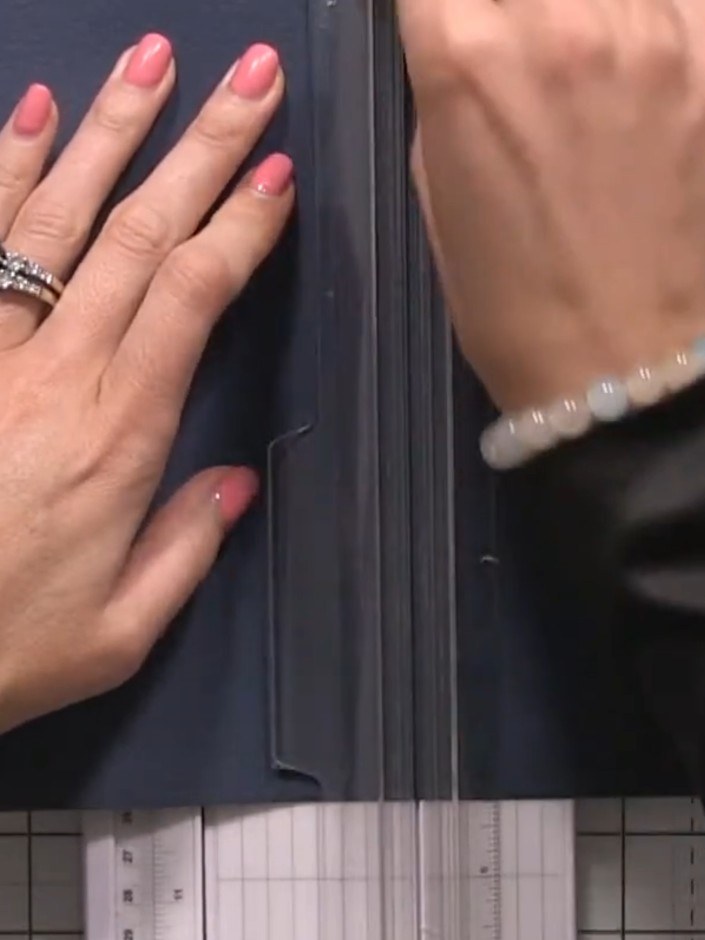
Score and fold your navy card stock to create a card blank approximately 6 by 4.5 inches.
 2
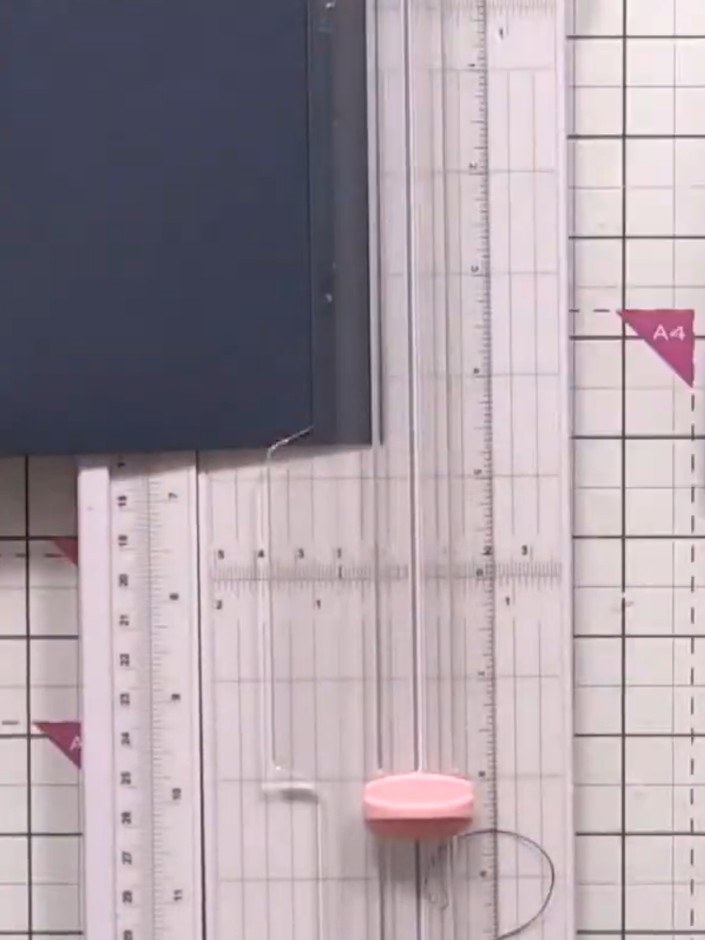
Cut a second piece of navy card stock slightly smaller than your card base to create a working layer.
 3
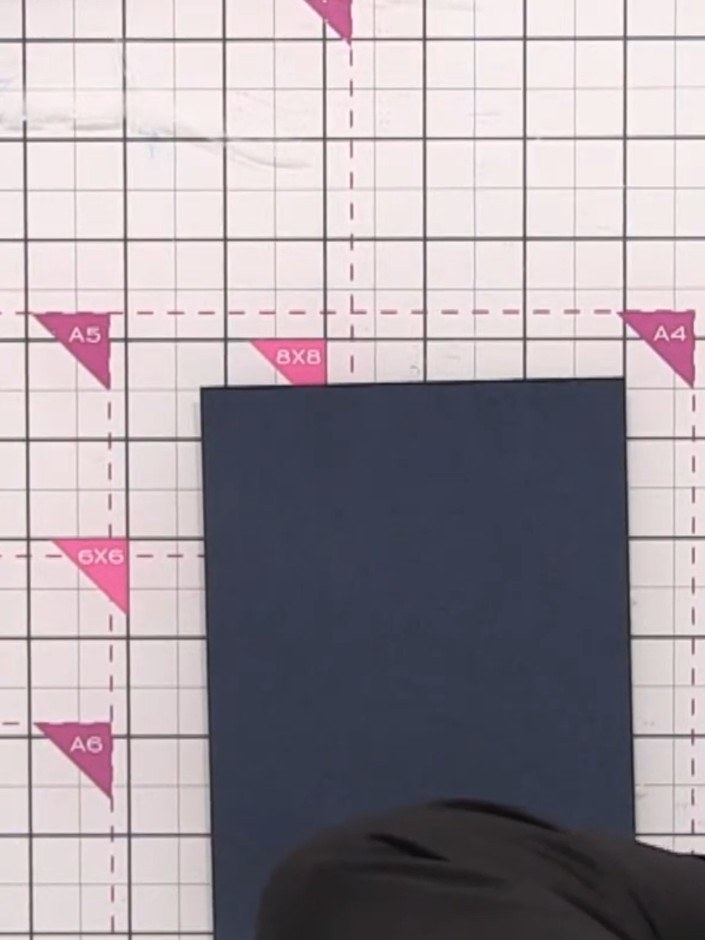
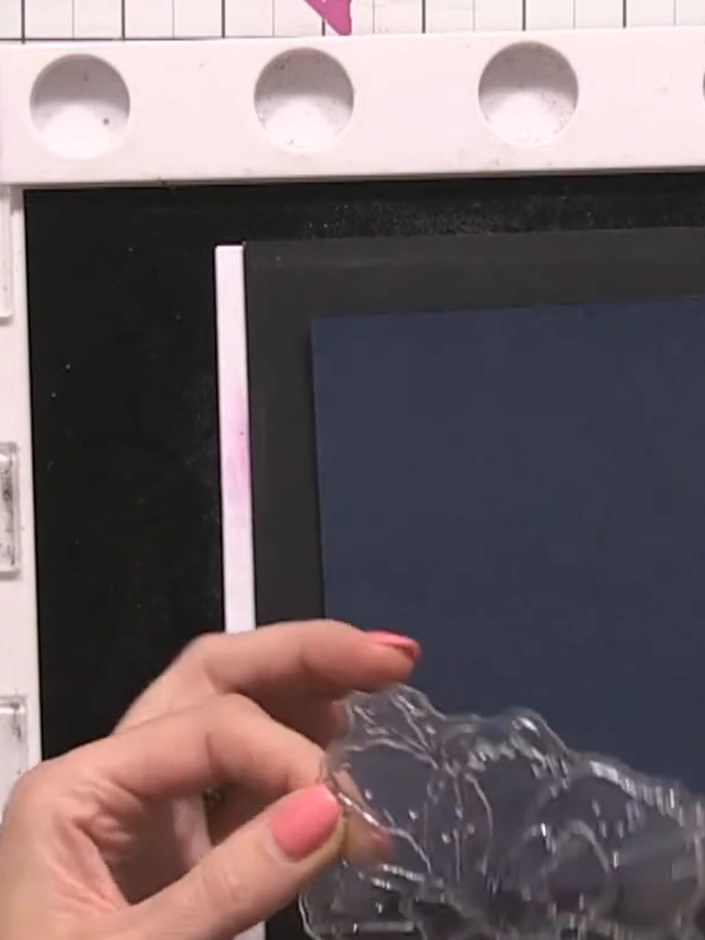
Place the navy card stock on your craft mat. Use an antistatic bag to prepare the surface, then apply the Forever Lilies flower stamp using a sticky ink pad to stamp the image onto the navy card.
 4
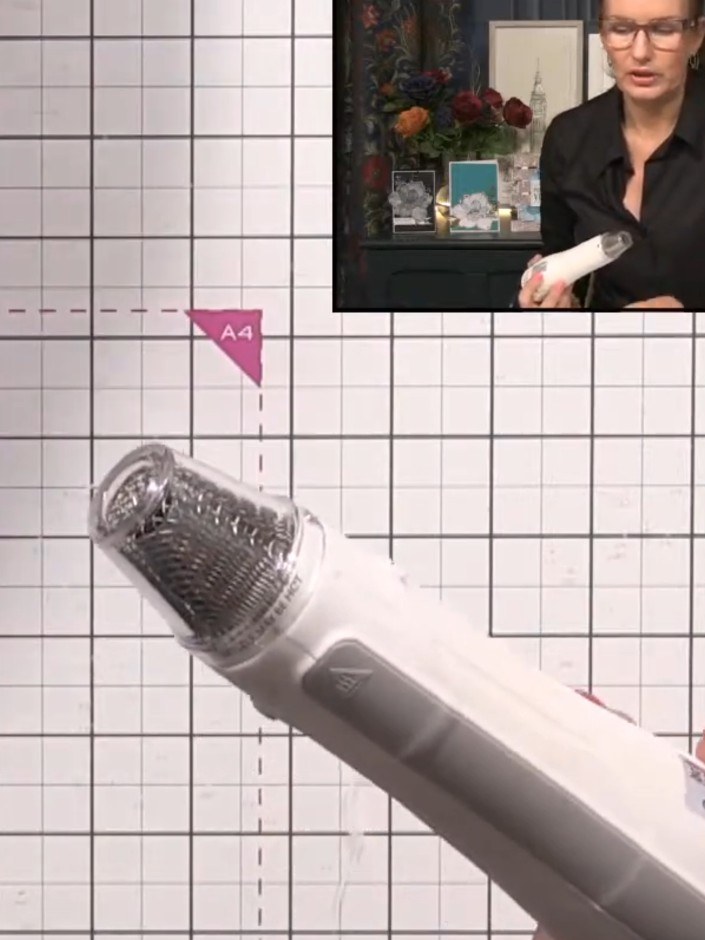
Apply gold embossing powder to the stamped image, ensuring it covers all the details and splats. Tap off any excess powder back into the container.
 5
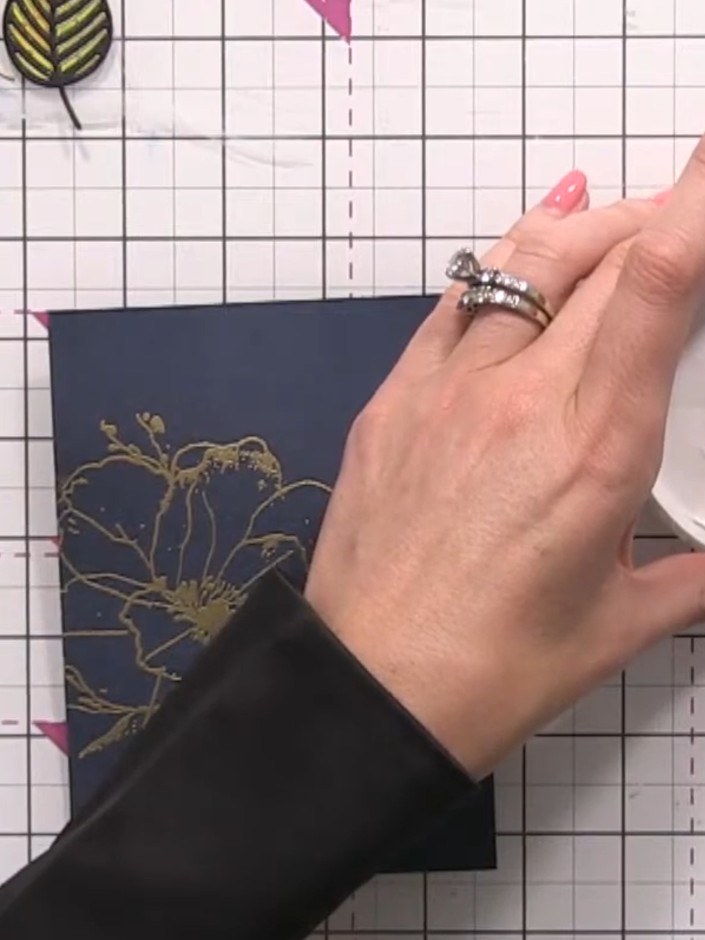
Heat set the embossed gold image on the navy card using a heat gun, moving it over the surface until the embossing powder is fully melted and shiny.
 6
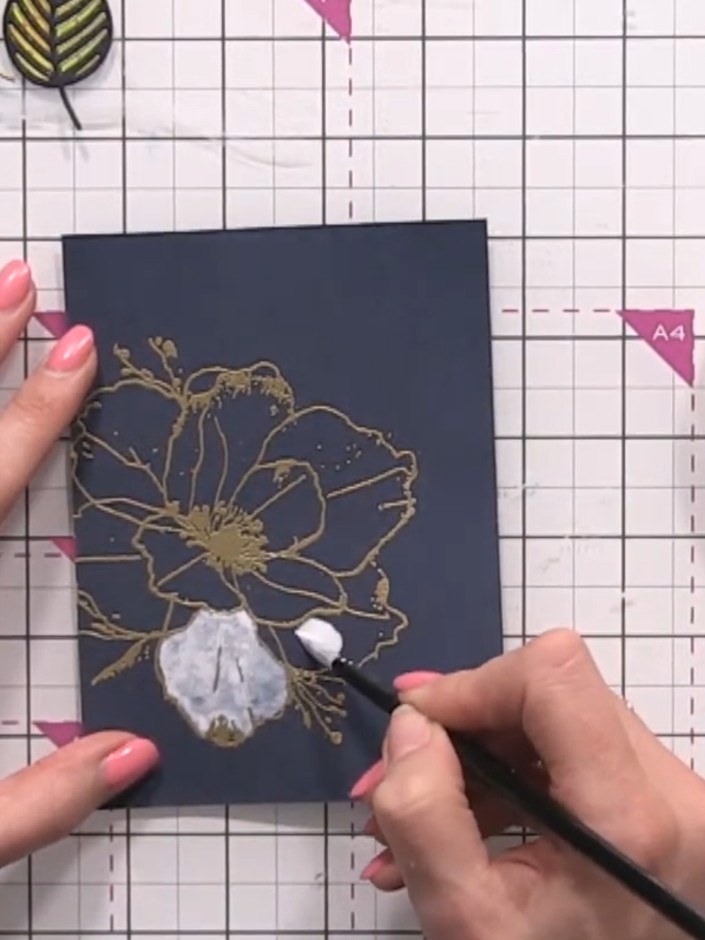
Add water to white ink in a palette to create a paintable consistency. Use a brush to mix the ink and water together until you achieve a fluid, workable paint.
 7
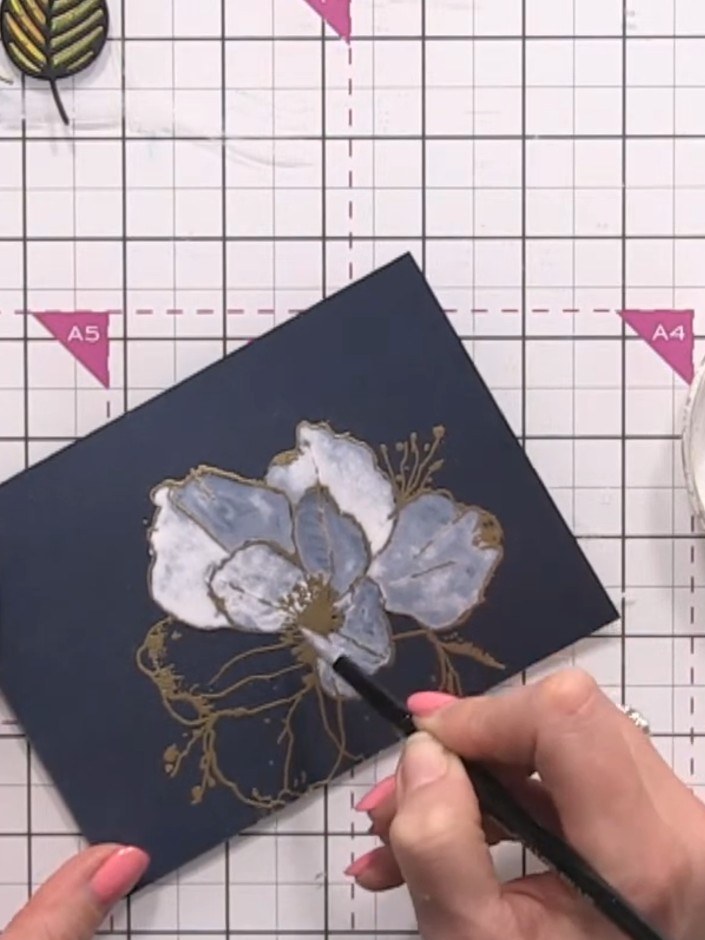
Paint the entire flower with the white ink mixture, carefully staying within the embossed gold lines. Use a paintbrush to apply the white ink evenly over all the petals and flower details.
 8
Allow the white paint to dry completely. Areas with more water will create a smoky, ethereal effect on the flower petals.
 9
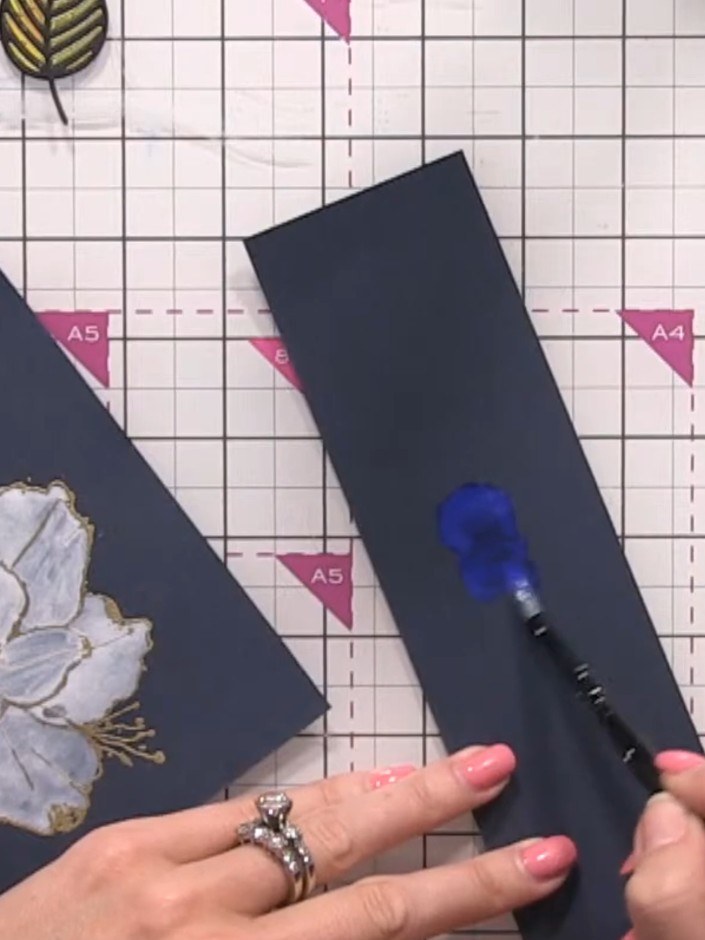
Pick up blue watercolour paint with a wet brush and apply it to a piece of navy cardstock, creating a wash of colour. Work the paint onto the card surface to achieve the desired consistency and coverage.
 10
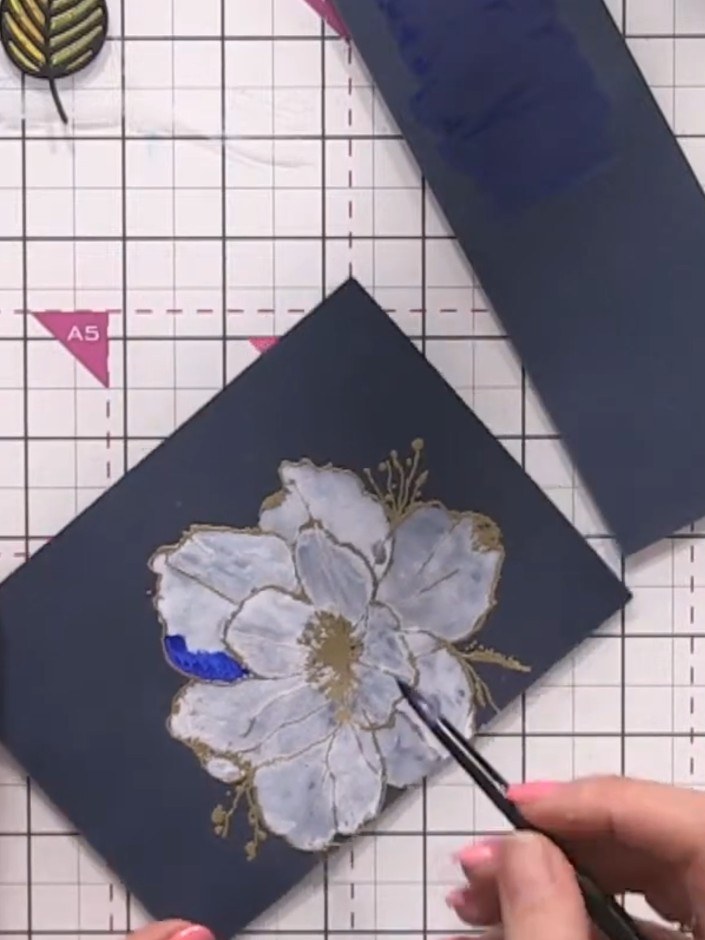
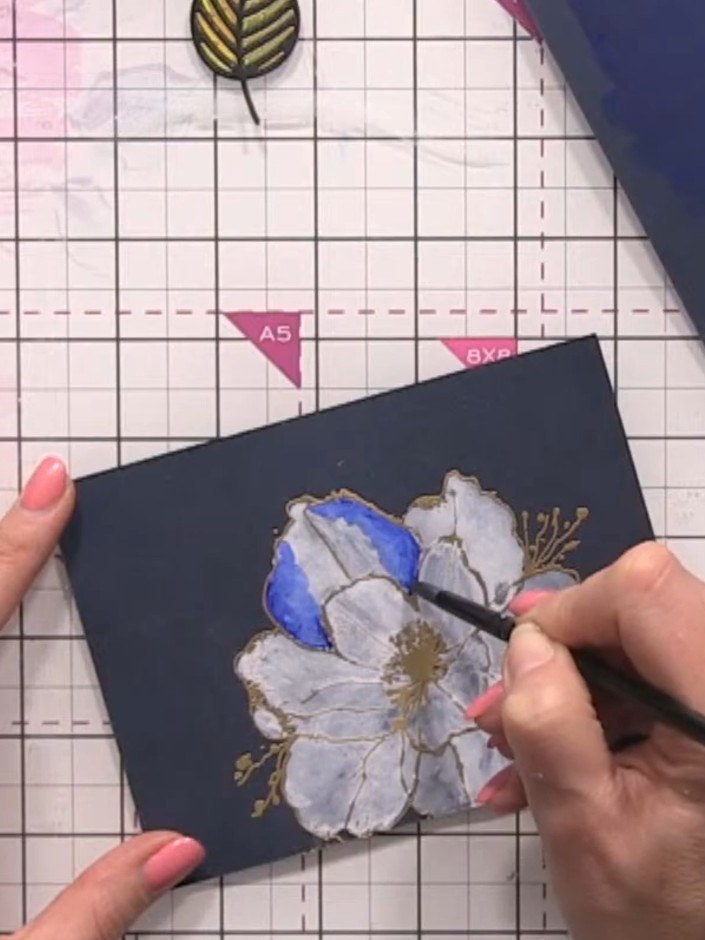
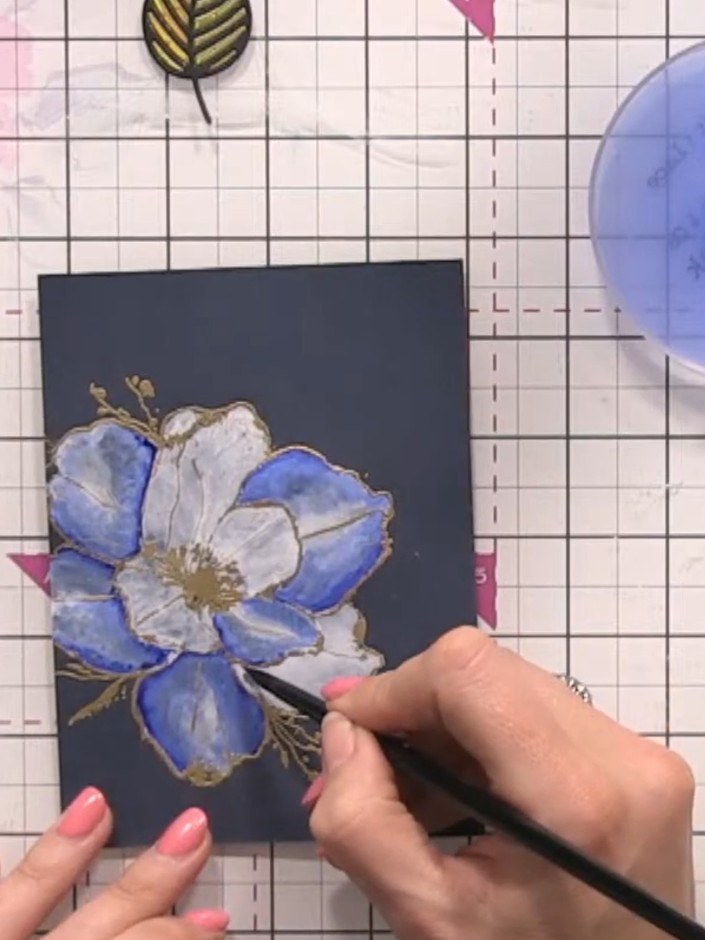
Using blue watercolour, paint the outer edges of each petal on the flower. Work on one petal at a time, carefully applying the colour to define the edges.
 11
Clean your brush and dampen it with water. Blend the blue coloured edges inward toward the white centre of the flower to create a soft gradient effect.
 12
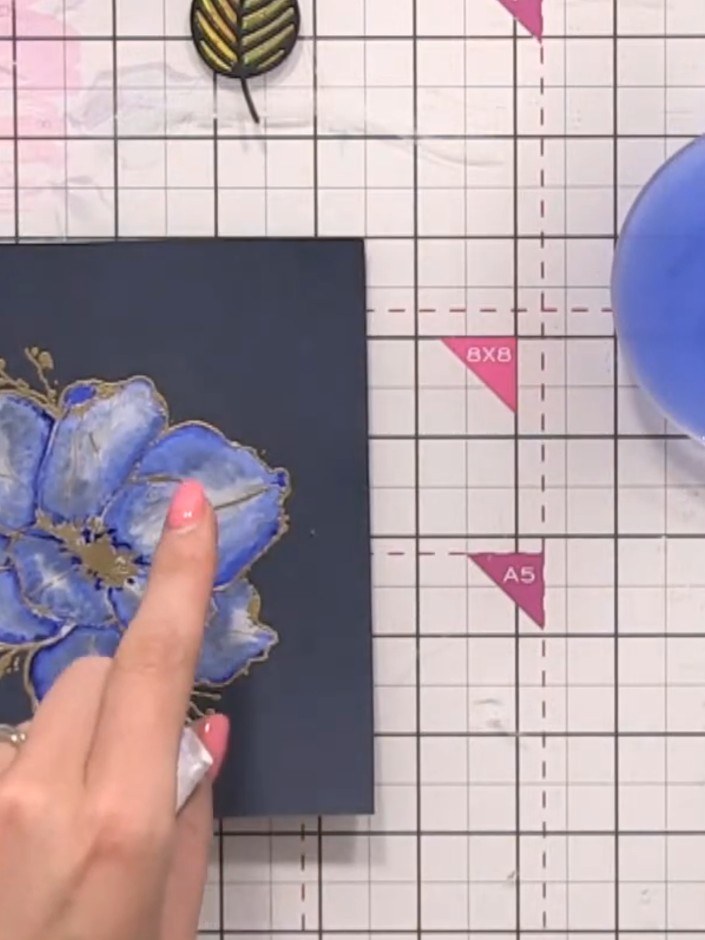
Once the paint is dry, add additional definition to the flower by painting darker blue details in the creases and around the gold embossing. Use a less-watered brush for more concentrated colour and precise detailing.
 13
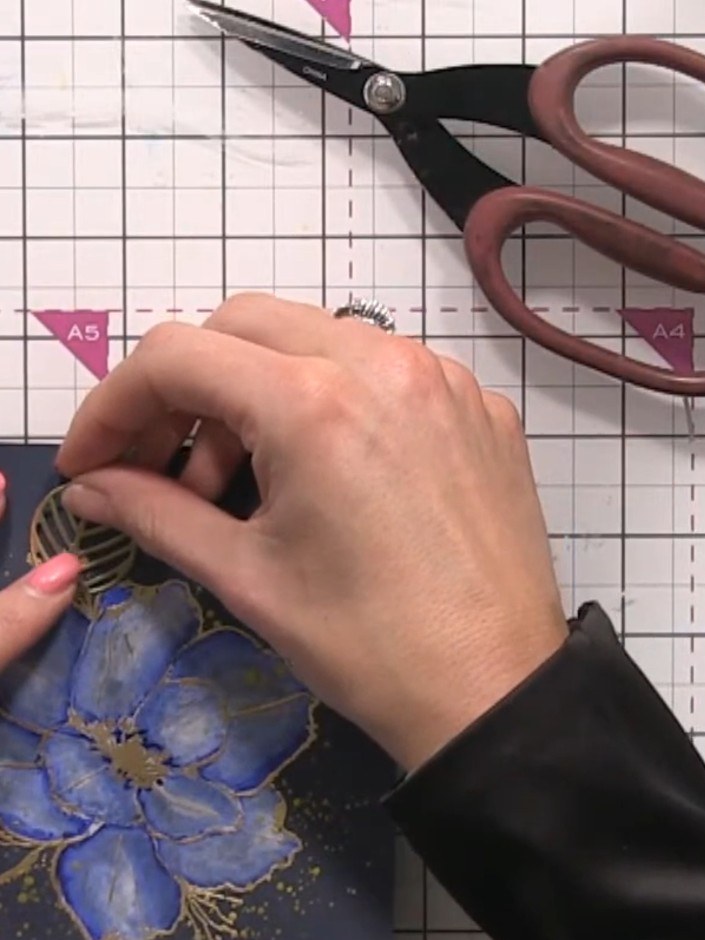
Wet your brush and add gold paint splats around the flower for decorative accents.
 14
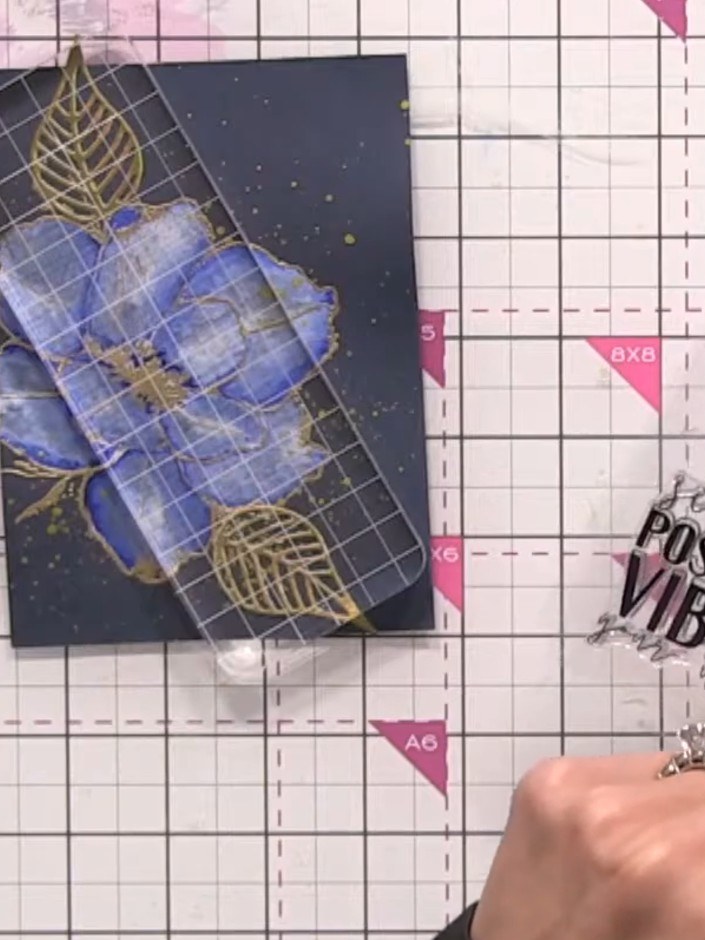
Cut out the gold foliage skeleton leaves using the die-cut pieces. Layer and position them onto the painted blue flower design on the navy card.
 15
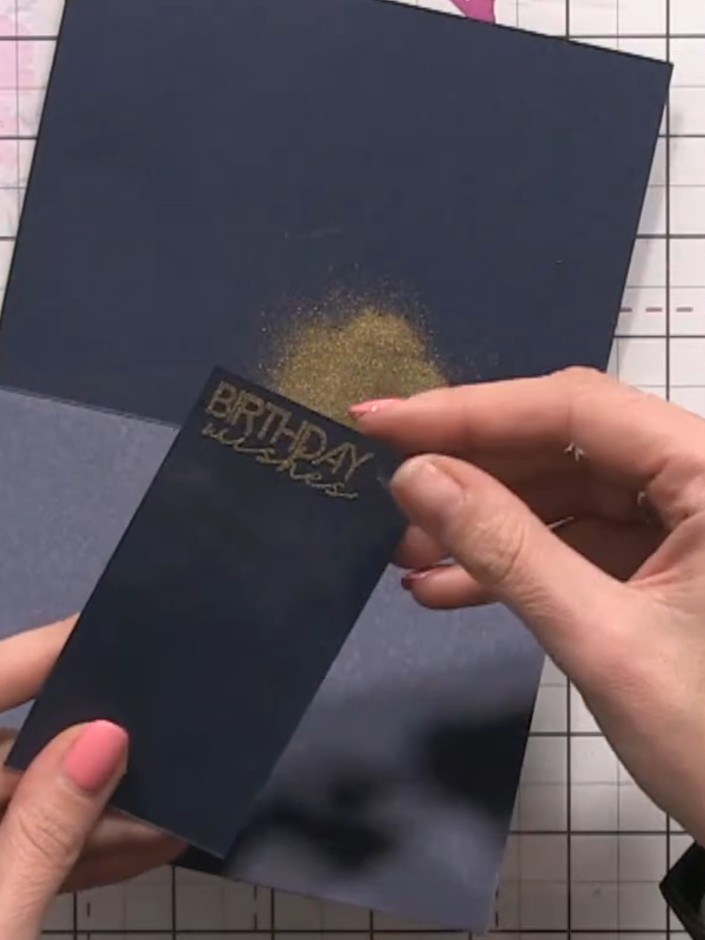
Stamp a sentiment such as 'Birthday Wishes' onto a small piece of navy card stock using gold embossing powder. Heat emboss to set the design.
 16
Heat set the sentiment using a heat tool. Trim down the sentiment piece and create a small foam pad by stacking pieces of card stock together.
Share your make with the Stamps By Me community - and keep this guide for next time.
Written up from the show itself. See every guide from our shows · free how-to guides · watch live on My Telly · the previous layout


