Give your friends £10 off their first order!
Refer a FRIEND








Prices change straight away. Every language is our own translation, not Google.
A project from our live show MIGHTY MONDAY - Join Toni for her detailed papercrafting sessions - Broadcast 24th Feb 2025 · 24/02/2025 · watch it from 26:00
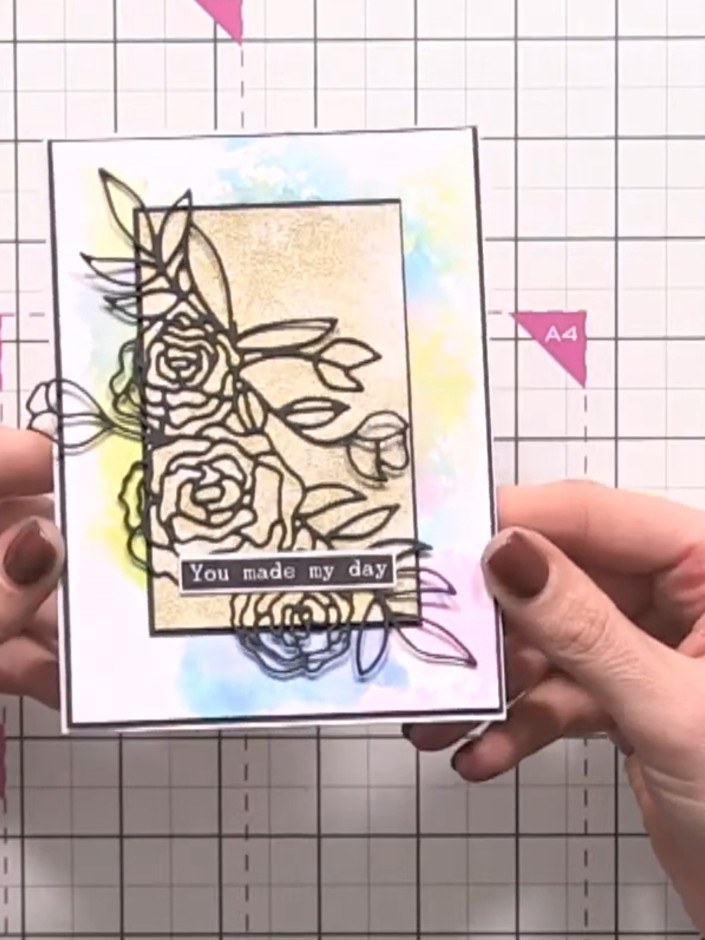
Create a stunning layered card featuring an elegant die-cut rose design over richly textured backgrounds. Combine a vibrant inky cellophane transfer with a shimmering gold panel, both mounted on black card for dramatic contrast. Complete your card with a delicate washi tape sentiment for a sophisticated handmade greeting.
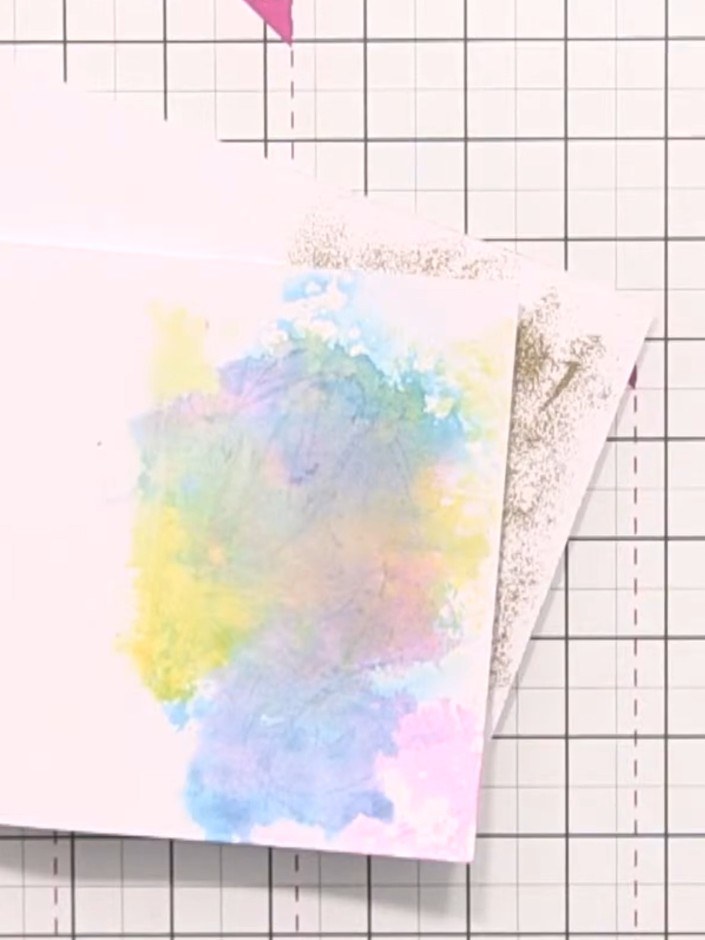
Trim the coloured cellophane transfer background to a neat rectangular panel and set aside. Remove any excess glitter or debris from your craft mat.
▶ watch this step (26:00)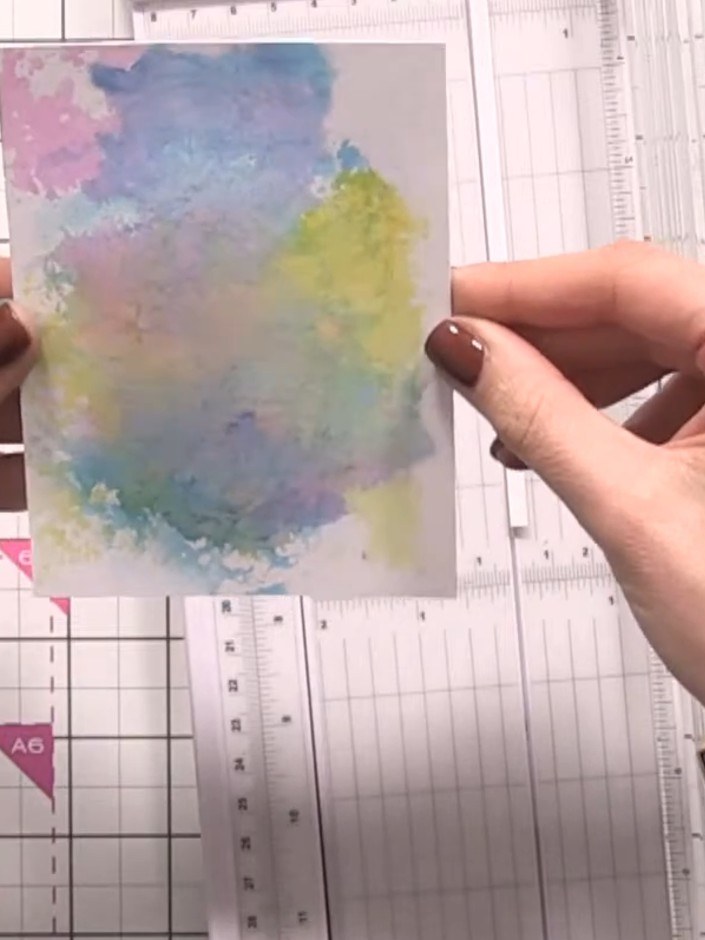
Trim the watercolour panel to a neat rectangular shape using your paper trimmer, creating a smaller panel from the inky background.
▶ watch this step (26:30)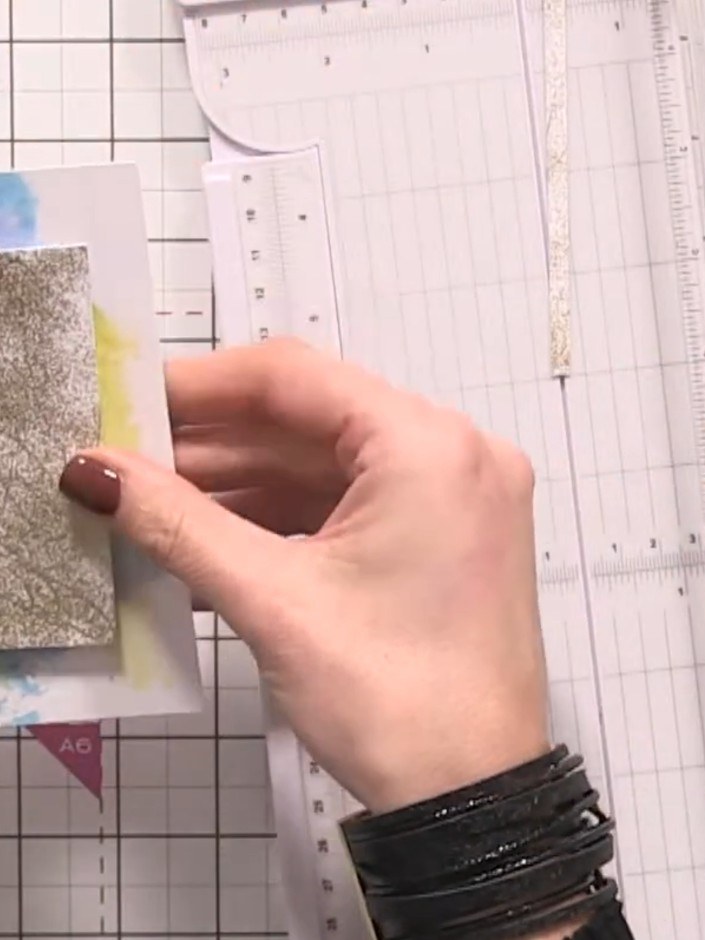
Cut a piece of black card stock to use as a mounting layer for your glitter panel.
▶ watch this step (27:00)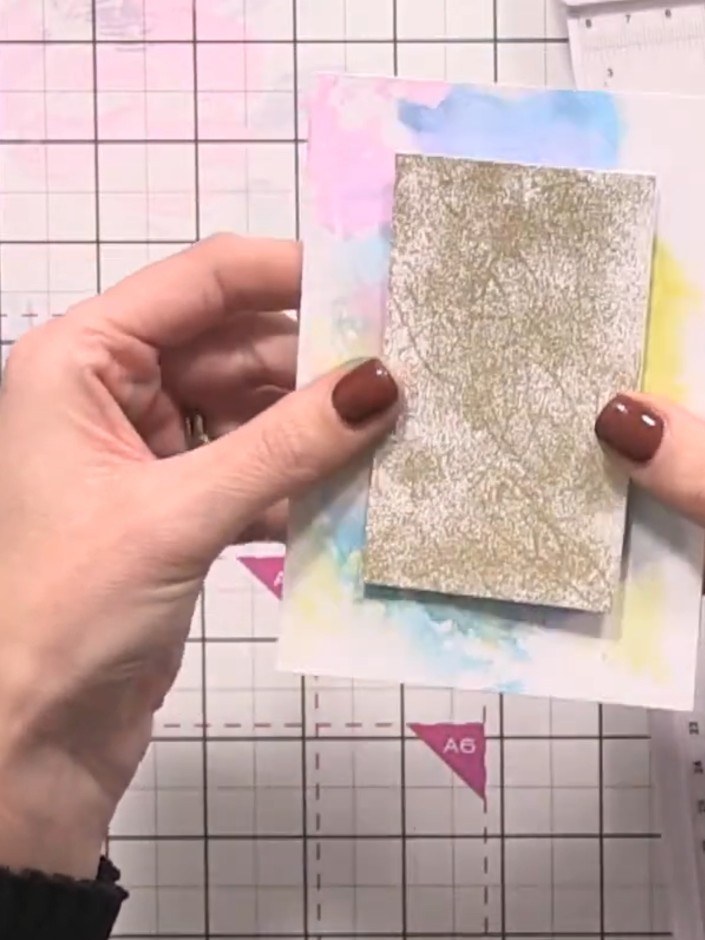
Adhere the watercolour panel to the gold glitter card, positioning it so a thin border of gold shows around all edges.
▶ watch this step (27:30)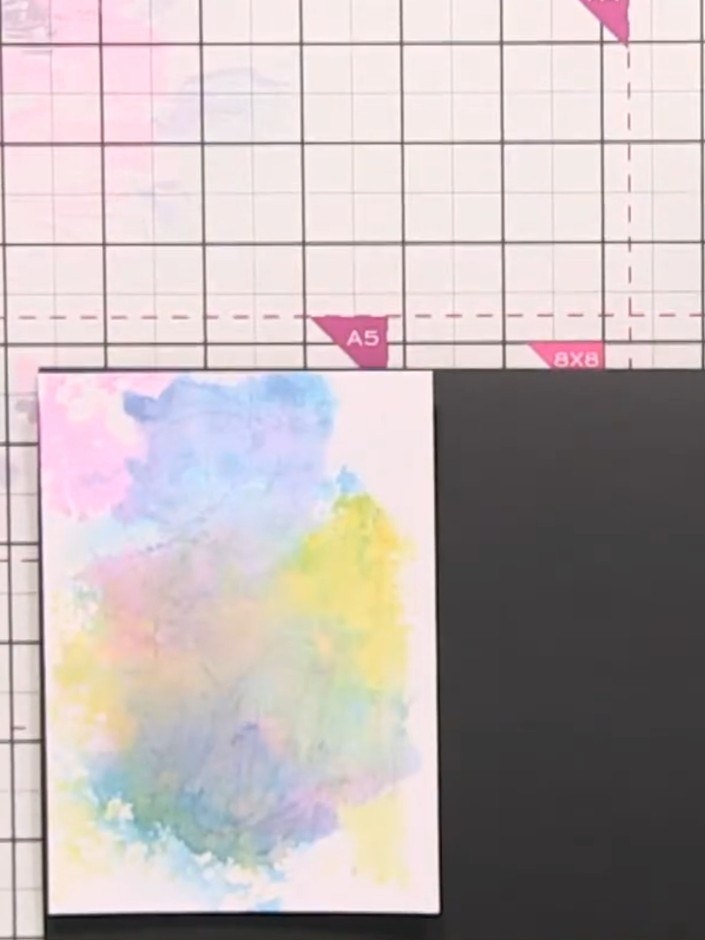
Trim the black-backed panel to size using your ruler and trimmer. Position the trimmed panel on your card blank to check the fit before adhering.
▶ watch this step (28:00)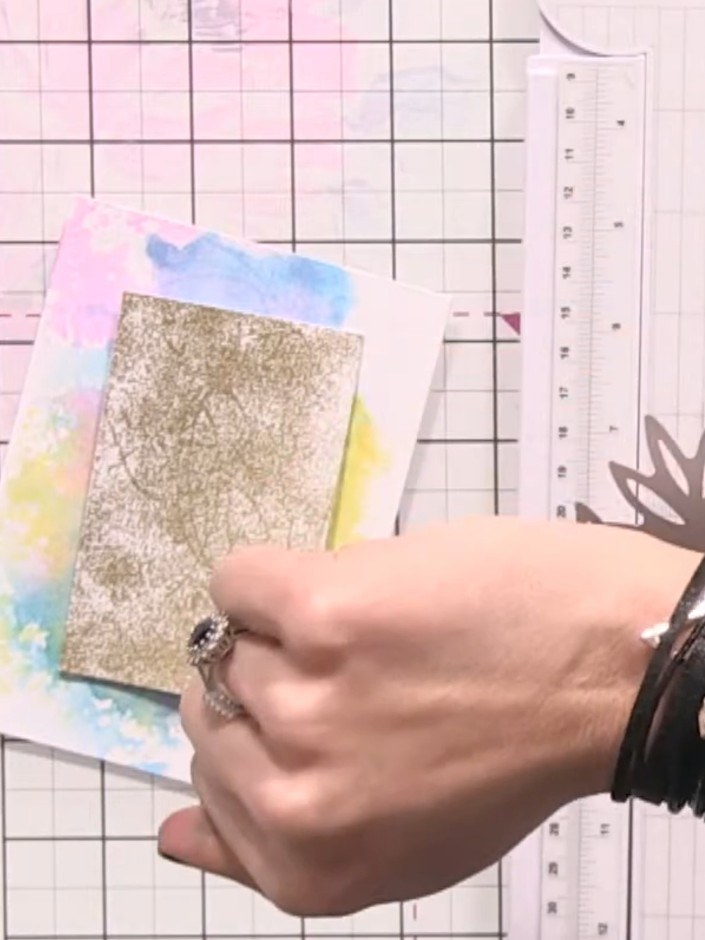
Position the gold glitter panel in the centre of the watercolour background card and adhere it in place.
▶ watch this step (28:30)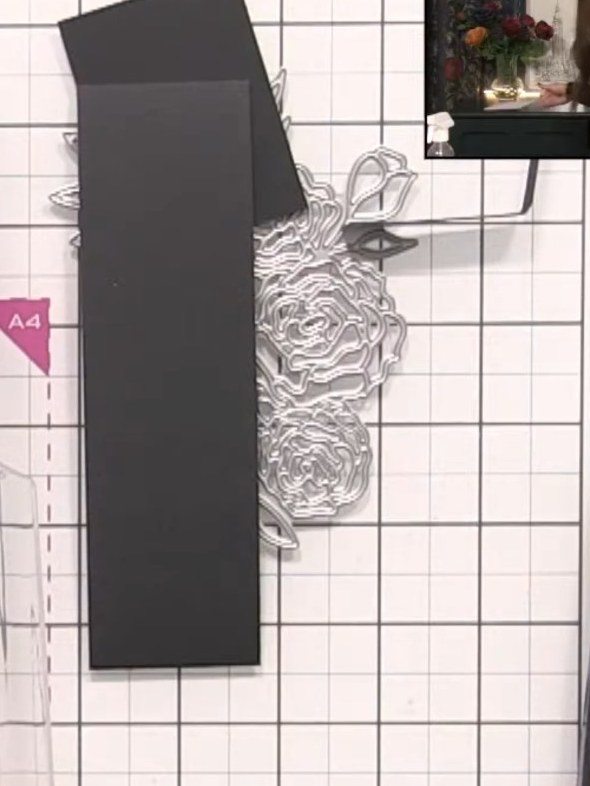
Place the detailed rose die onto black card stock with a support layer underneath in your cutting machine.
▶ watch this step (32:00)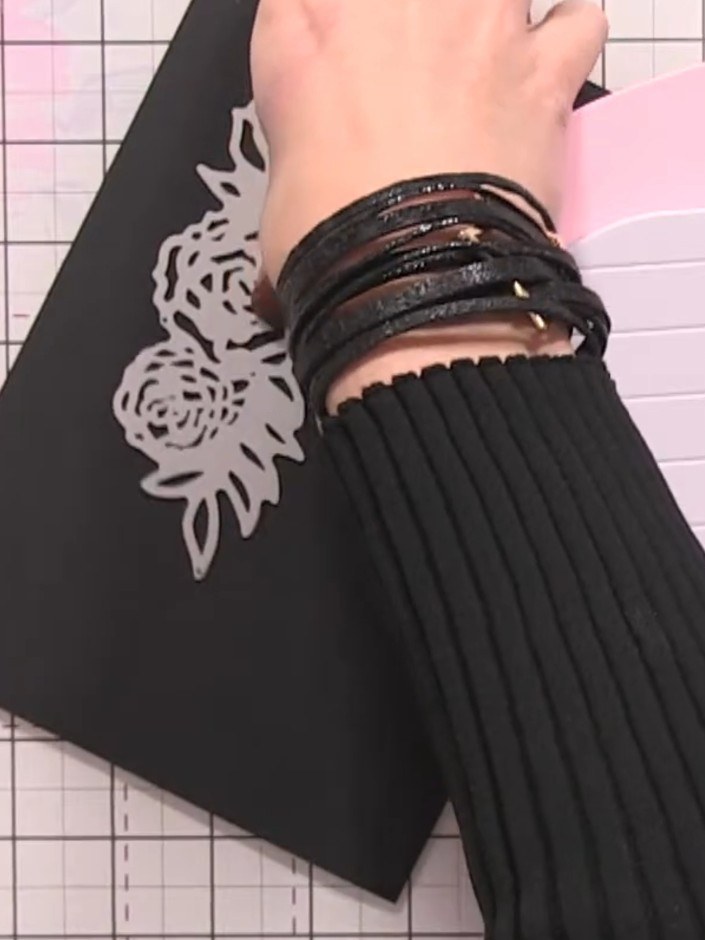
Place the black cardstock with the rose die on top onto the cutting platform. Run it through your die-cutting machine to cut out the detailed rose design.
▶ watch this step (32:30)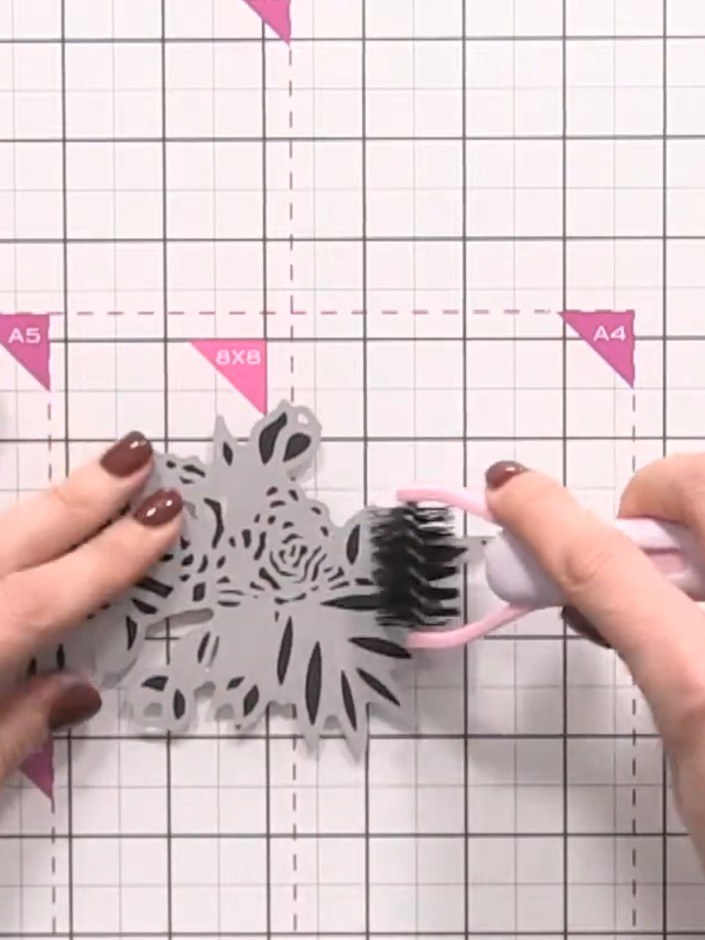
Use a small brush to gently brush out the die-cut rose pieces, helping to release any intricate cut sections from the die.
▶ watch this step (34:30)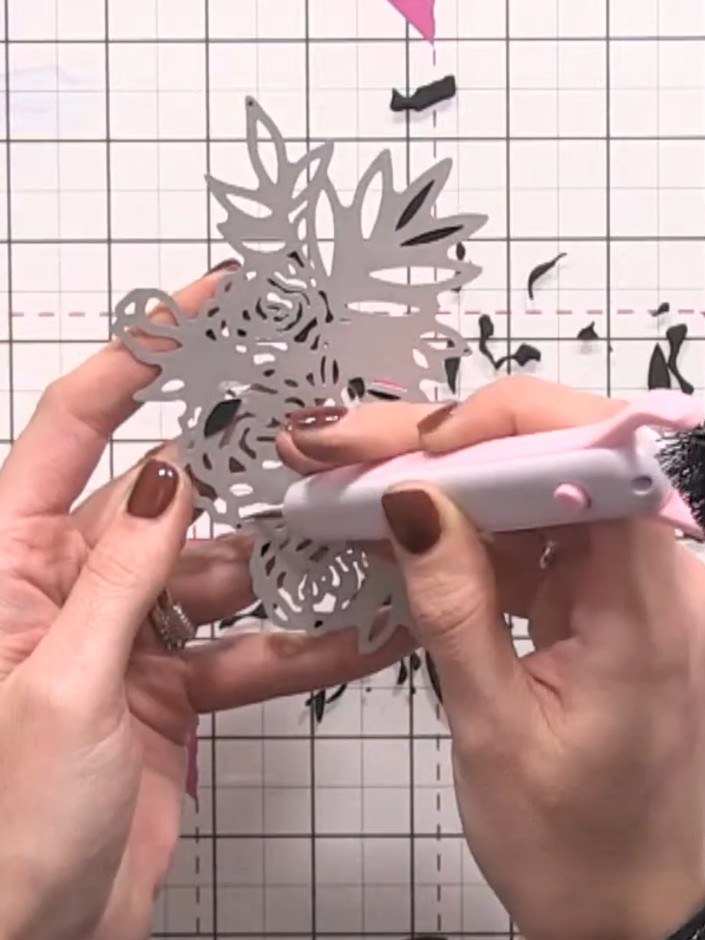
Use a pokey tool to carefully pop out the detailed pieces from the die-cut rose. Remove all the small intricate cut-out sections from the black die-cut floral design.
▶ watch this step (35:00)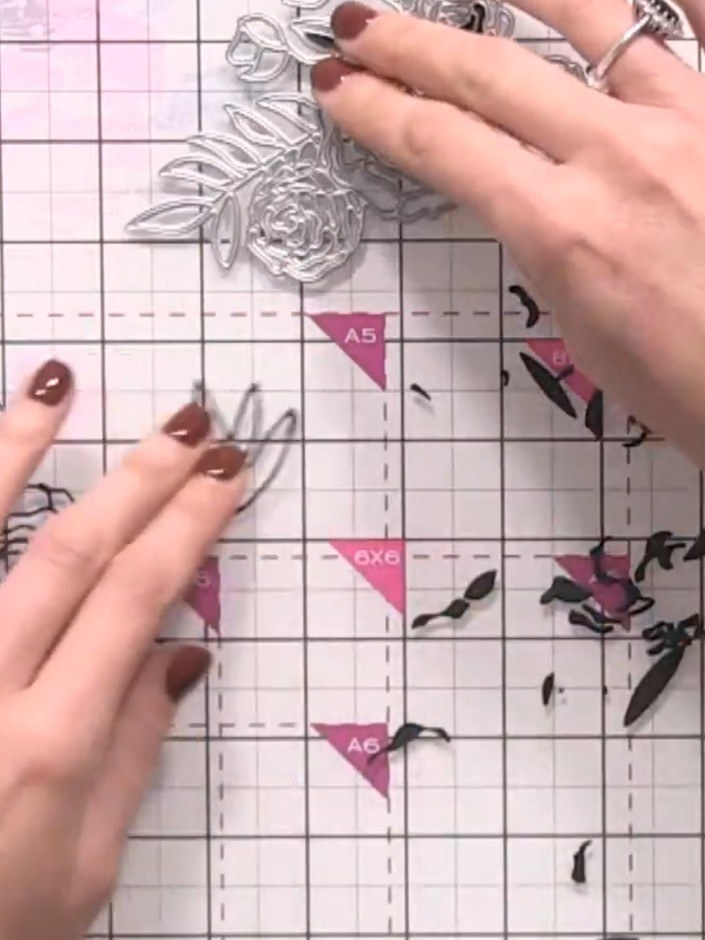
Examine the die-cut rose and trim away any excess or torn pieces to neaten the edges.
▶ watch this step (36:00)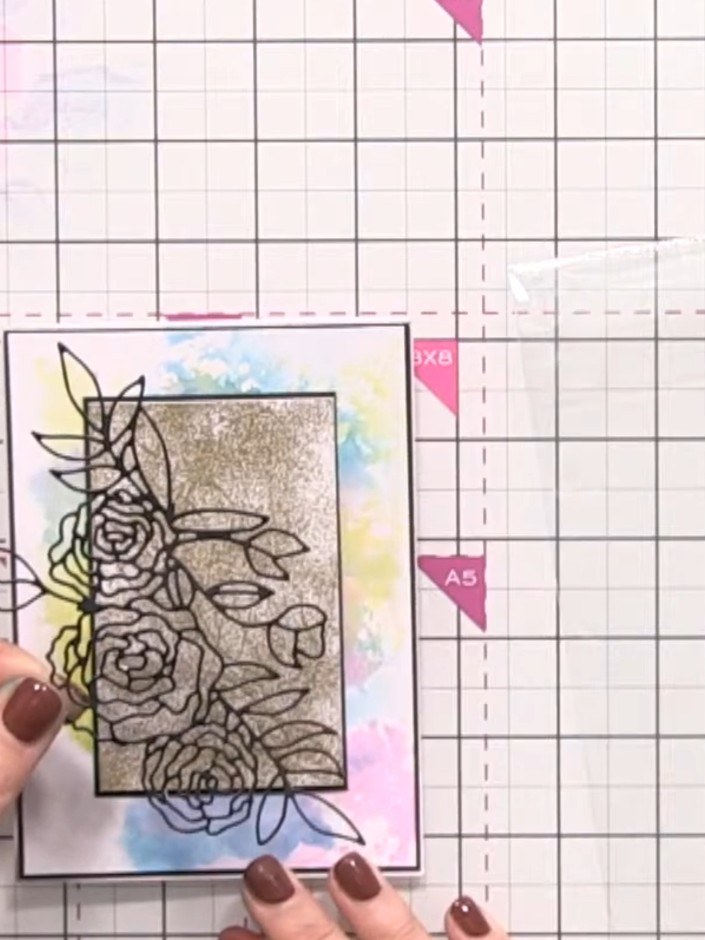
Apply glue to select areas of the die-cut rose and position it over the glitter panel on the card front. Use an acrylic block to hold the rose in place whilst the glue sets.
▶ watch this step (38:15)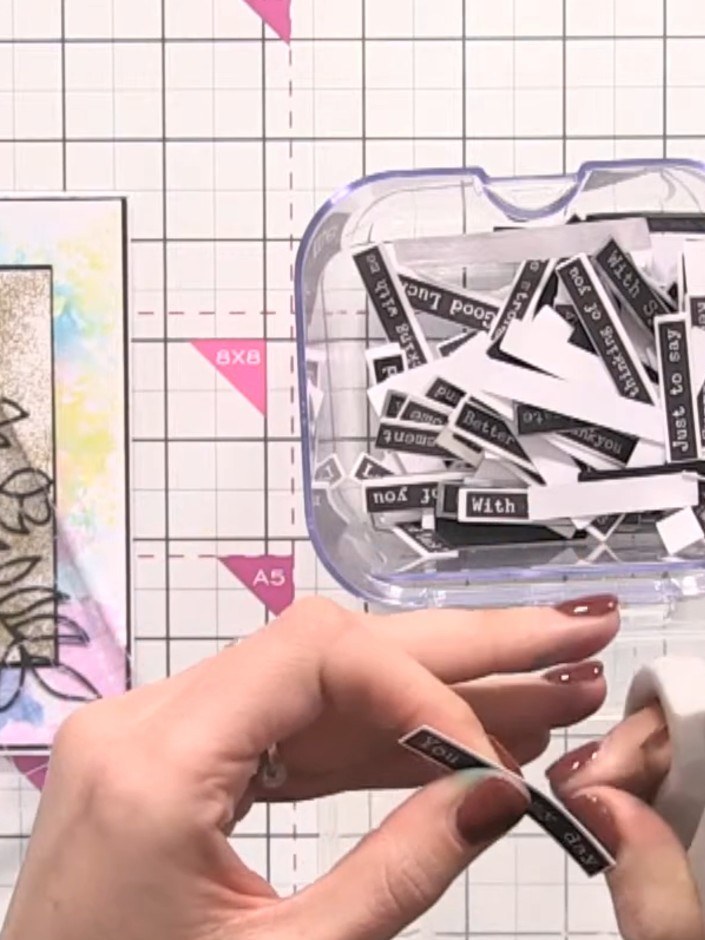
Trim a piece of washi tape to the desired length and adhere it to the card front as a sentiment strip.
▶ watch this step (39:15)Written up from the show itself. See every guide from our shows · free how-to guides · watch live on My Telly



