Give your friends £10 off their first order!
Refer a FRIEND








Prices change straight away. Every language is our own translation, not Google.
A project from our live show ONE DAY SPECIAL - Join Toni for her brand new launch - Broadcast 28th March 2025 · 28/03/2025
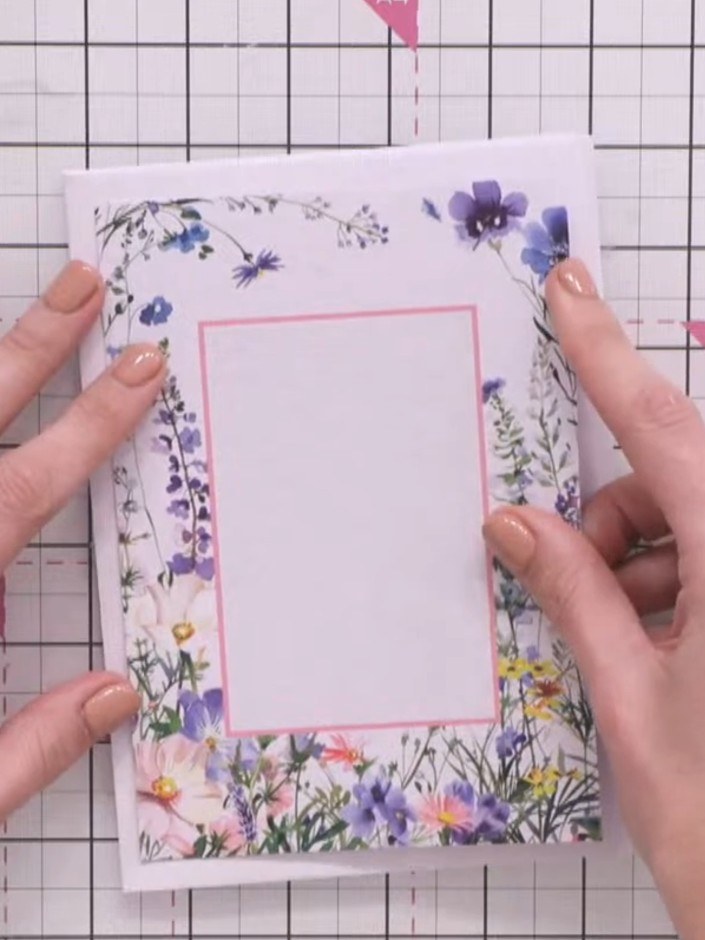
Create a charming mini memory album using decorative envelopes from the Flora & Fauna collection. This delightful keepsake features multiple pockets and flip-flop pages adorned with watercolour florals and sweet animal illustrations in soft pastels. The project uses simple folding and layering techniques to transform envelopes into an accordion-style album perfect for storing photographs, notes, or treasured mementos.
 1
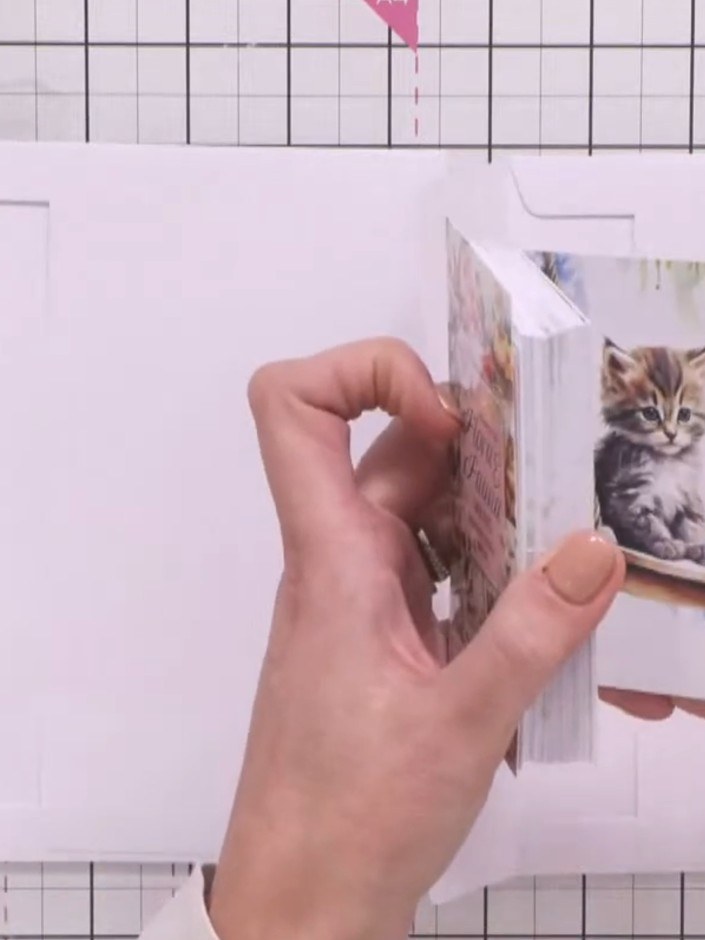
Take two white envelopes and tuck the flap of one envelope inside the flap of the other to create a pocket page. Apply adhesive to secure the flaps together.
 2
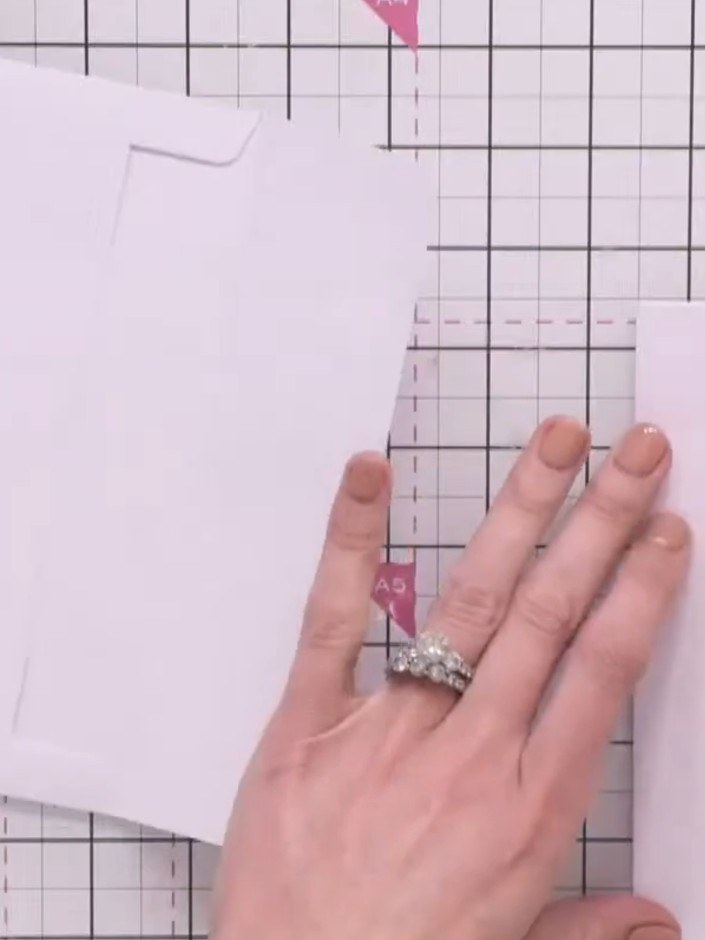
Take a second white envelope and position it next to your first envelope on the craft mat. Secure the second envelope in place by adding adhesive tape along the edge where they meet, creating a hinged connection that allows the envelopes to open like pages.
 3
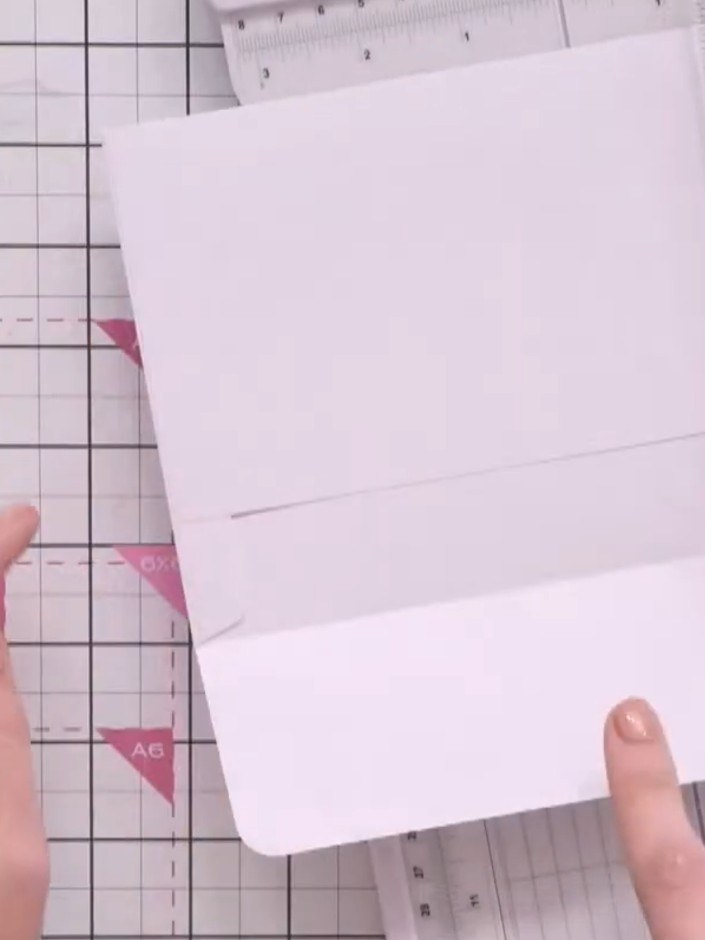
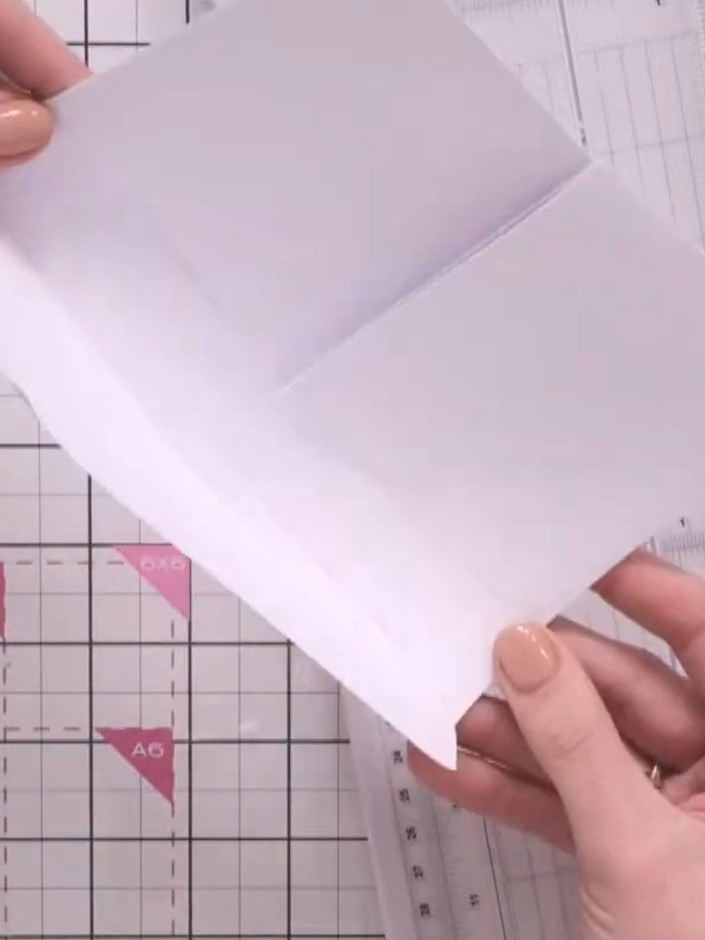
Open an envelope's flap and position it on the guillotine. Cut from the centre of the envelope up to the score line of the flap.
 4
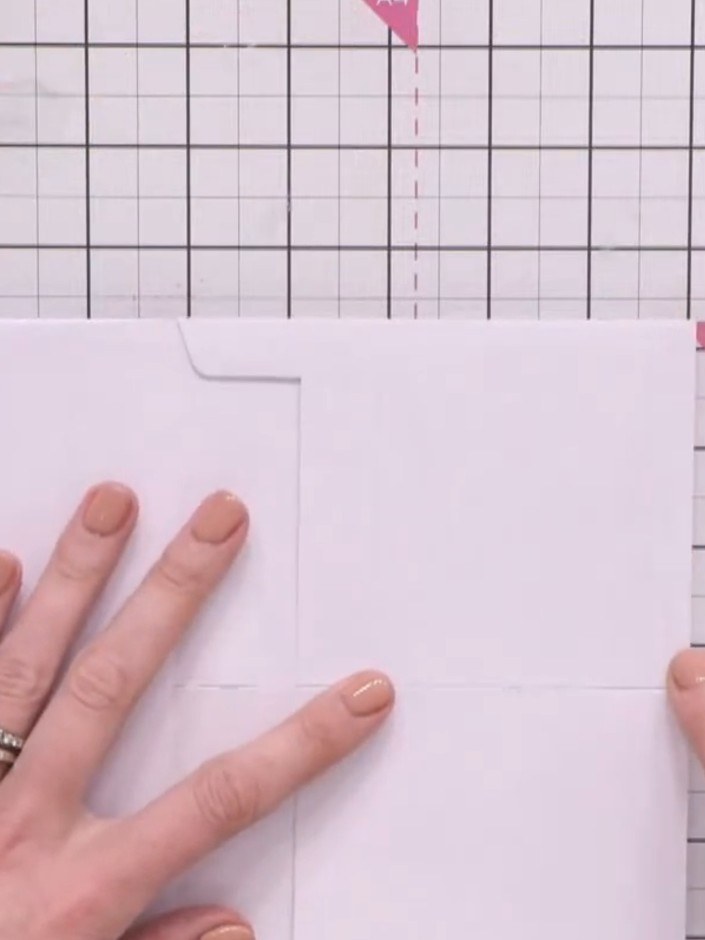
Glue the cut flap onto the back of your base layer to create a pocket. Position the flap to form a two-page system with the pocket opening at the top.
 5
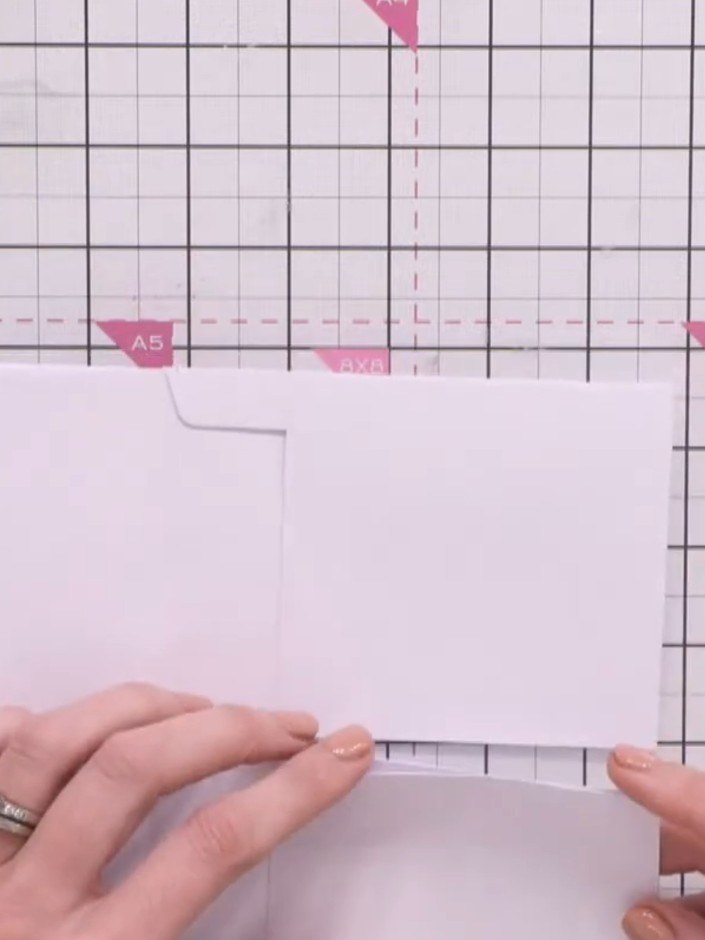
Use a Slither tool or bone folder to seal the bottom edge of the envelope pocket closed, ensuring items won't fall out through the opening.
 6
Use the guillotine to trim a small slither from the end of the envelope to create an open pocket.
 7
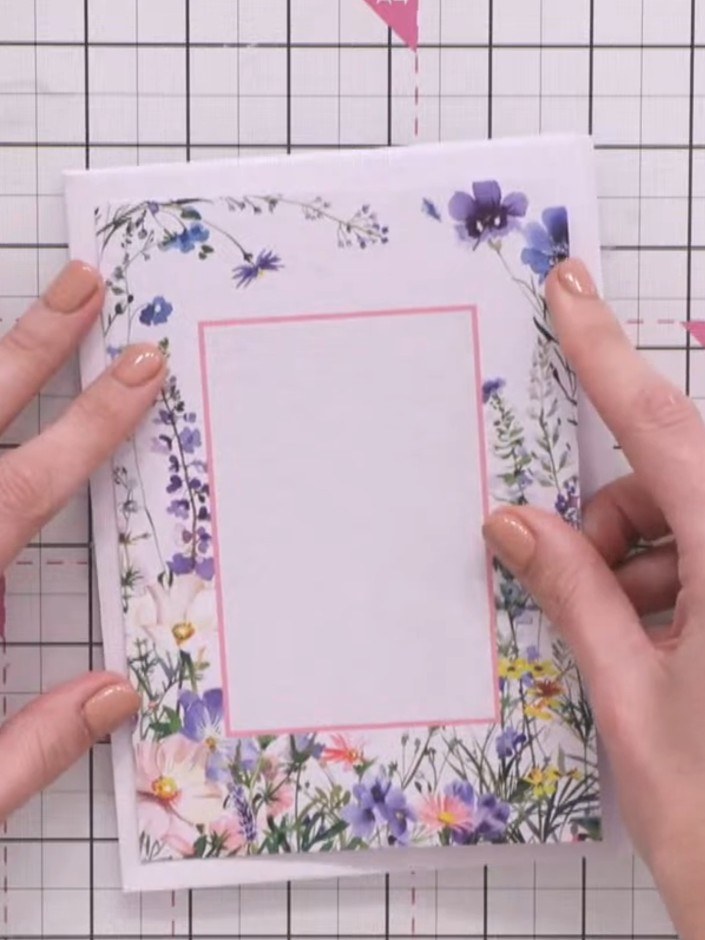
Attach a coordinating floral topper to the front cover using foam pads for added dimension. Position it centrally over the pink frame area.
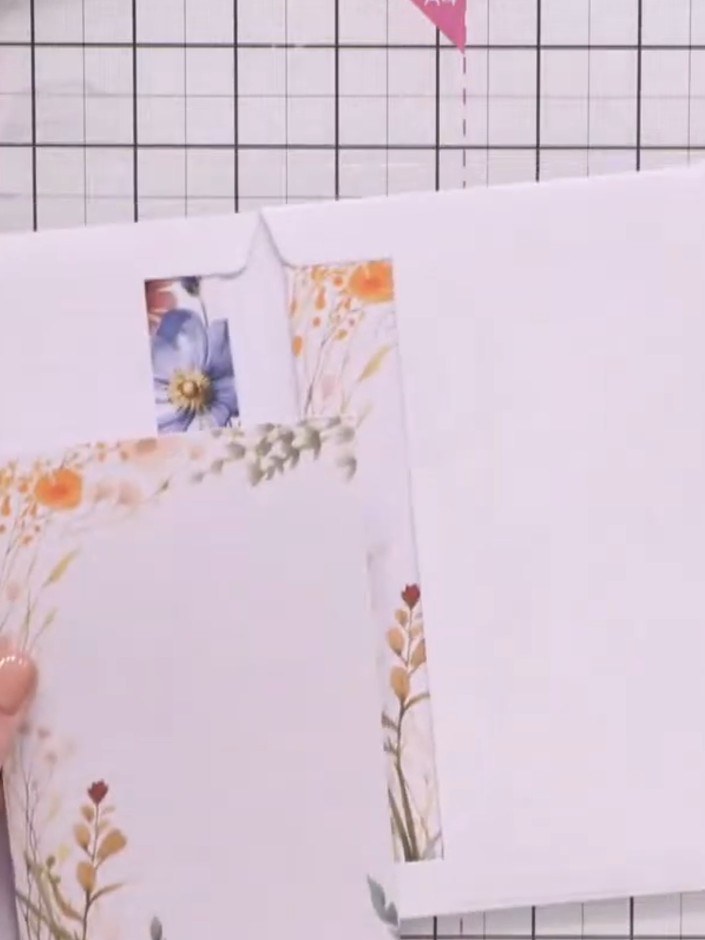 8
Place decorative toppers or cut pieces inside the envelope pockets. Use glue to secure them in place so they don't slide out.
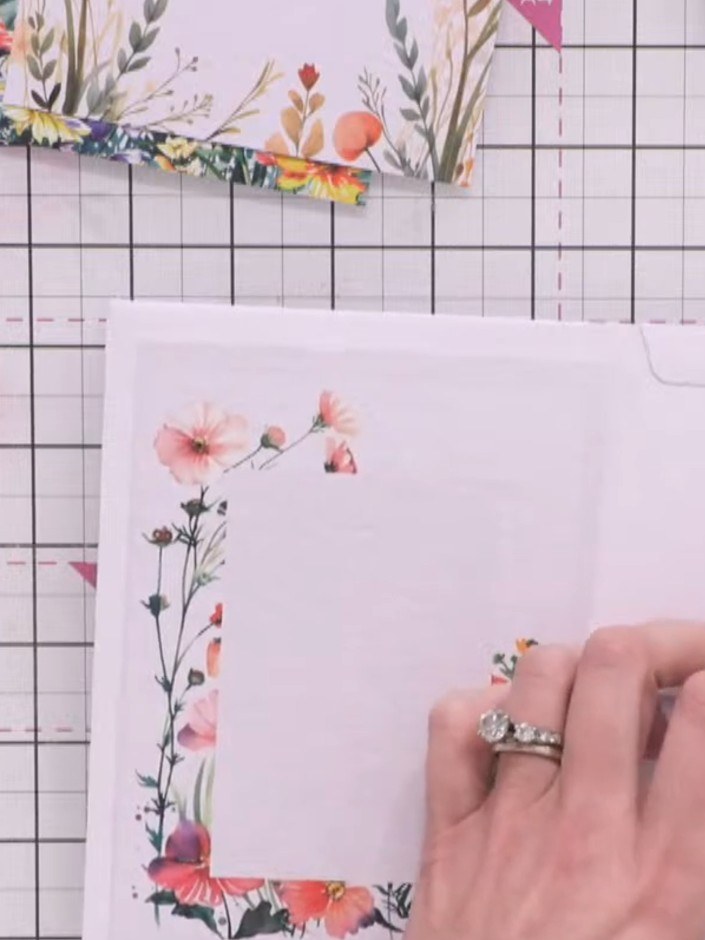 9
Create a corner pocket by applying tape to one side and the bottom edge of a floral topper. Position the topper in the corner of the envelope to create hidden storage.
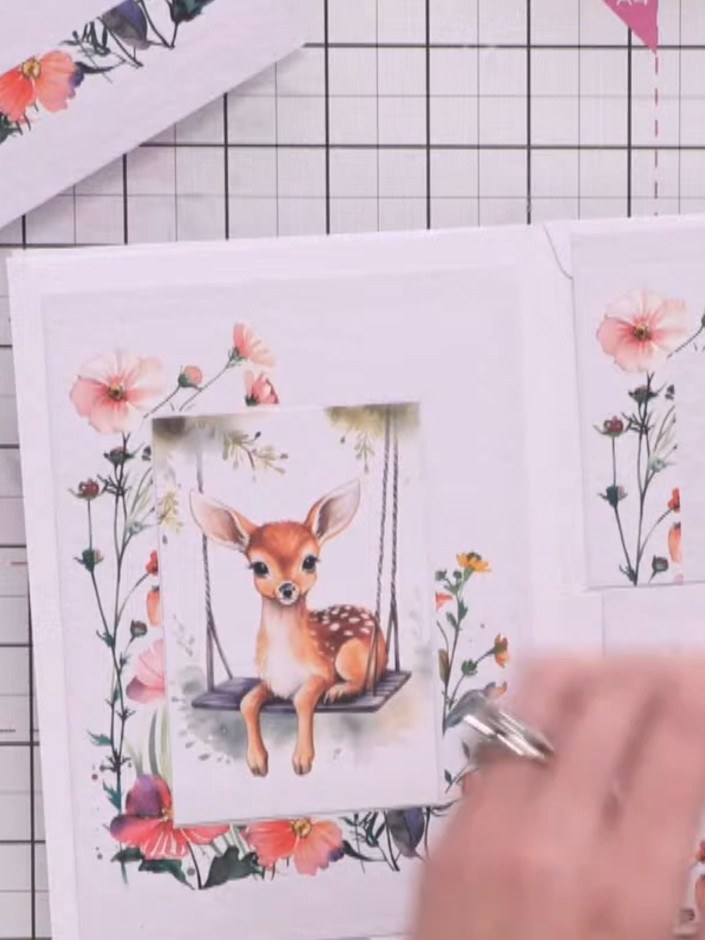 10
Place a decorative topper at the bottom edge of the pocket so it extends below the pocket opening, creating a pull-out tab. Position the topper so it stands proud when the pocket contents are pulled out.
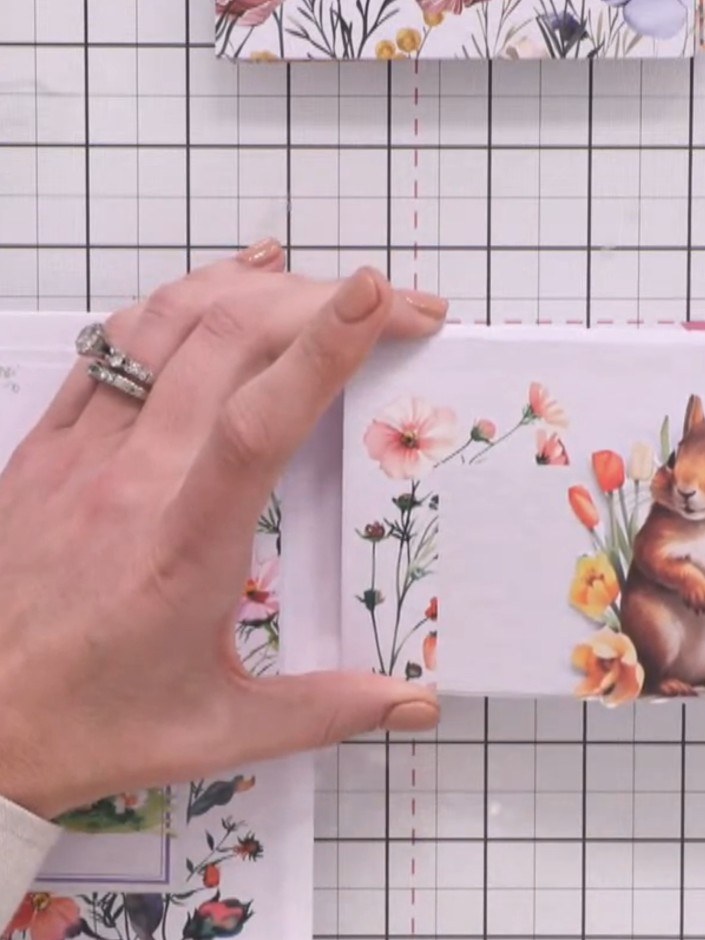 11
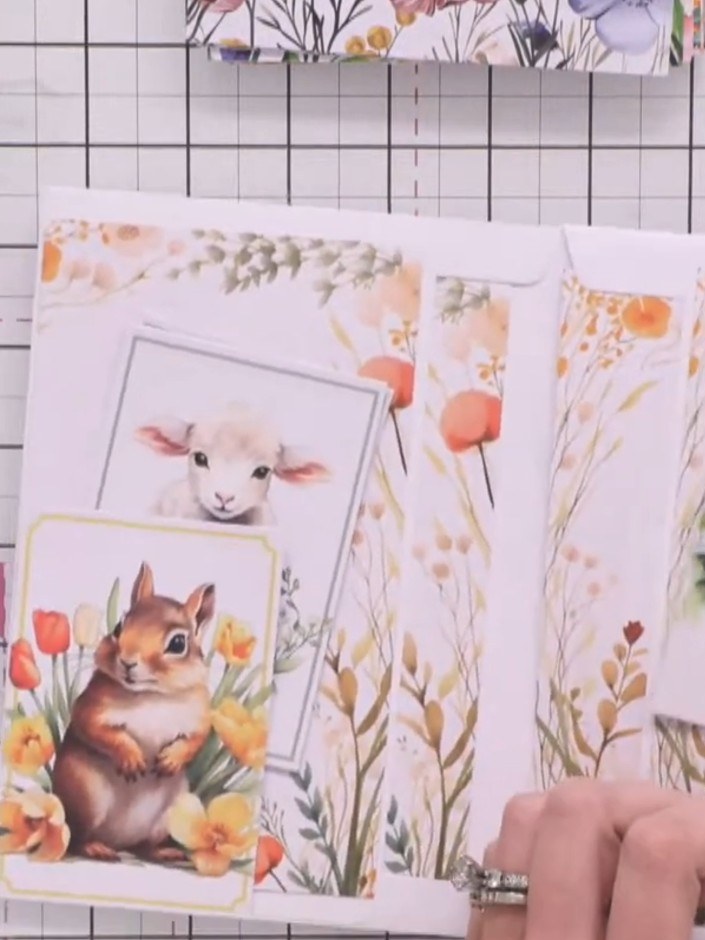
Fussy cut the animal toppers with scissors to create 3D embellishments. Attach them to corners or pockets using foam pads for dimension.
 12
Arrange additional decorative animal images and floral elements inside the pockets and pages. Layer the cute animal toppers with the botanical designs to create charming scenes throughout your album.
Share your make with the Stamps By Me community - and keep this guide for next time.
Written up from the show itself. See every guide from our shows · free how-to guides · watch live on My Telly · the previous layout


