Give your friends £10 off their first order!
Refer a FRIEND








Prices change straight away. Every language is our own translation, not Google.
A project from our live show MY PODCAST - Catch my latest updates broadcast 14th April 2025 · 14/04/2025
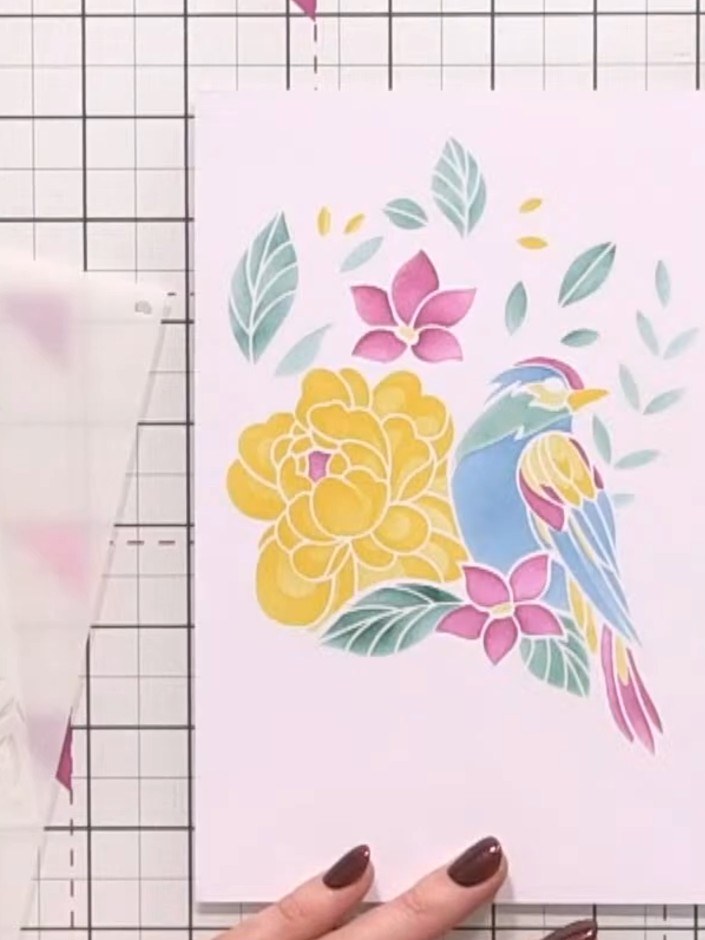
Create a stunning dimensional bird card featuring a colourful parrot surrounded by vibrant flowers and foliage. This project uses layered stencilling techniques to build up rich colours, then adds a coordinating die-cut overlay to create a striking three-dimensional effect on a shaped card blank. The finished piece showcases beautiful blues, yellows, pinks and greens in a tropical floral design.
 1
Lay out all six stencils from the Spread Your Wings set in numerical order on your work surface. This will help you see the complete layered design you can create with the stencil system.
 2
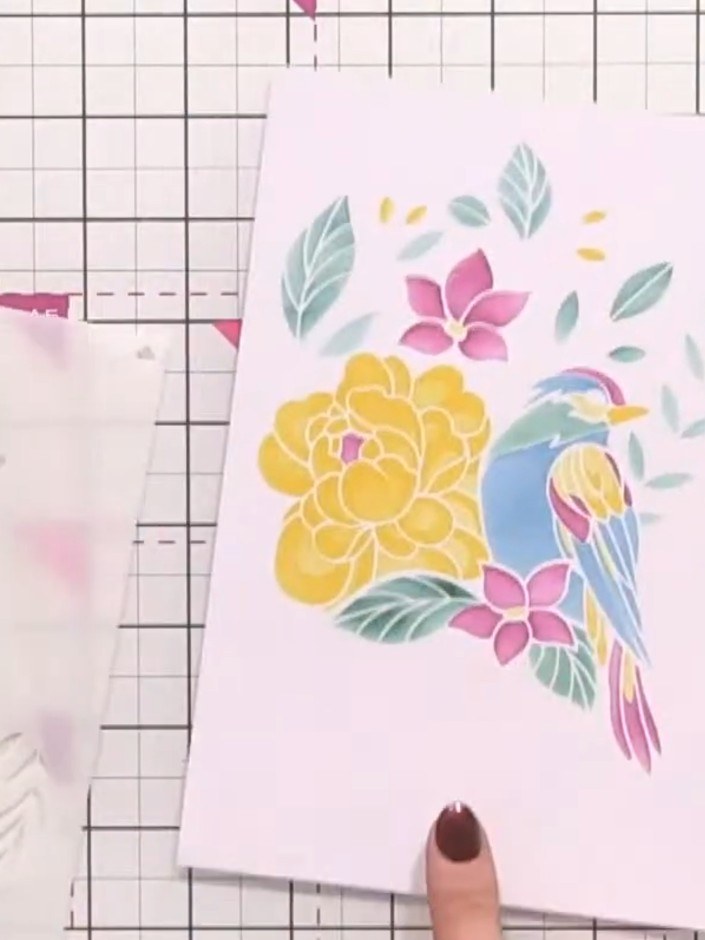
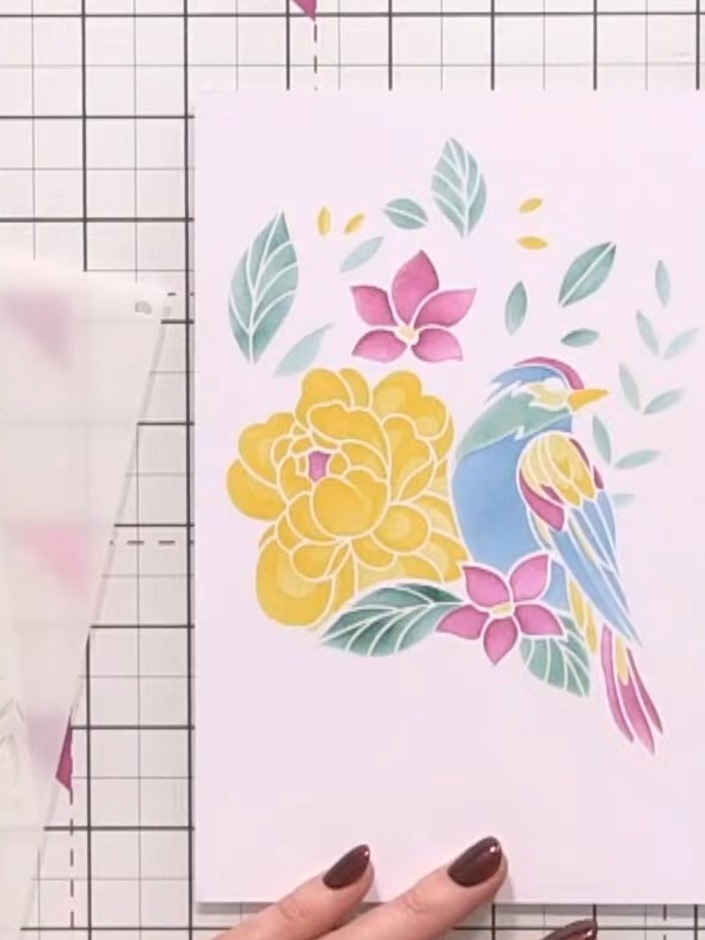
Work through the numbered stencil layers in sequence, applying the corresponding ink pad colours through each stencil onto your white card base. Use the different colours from your ink pad stash to build up the layered floral and bird design.
 3
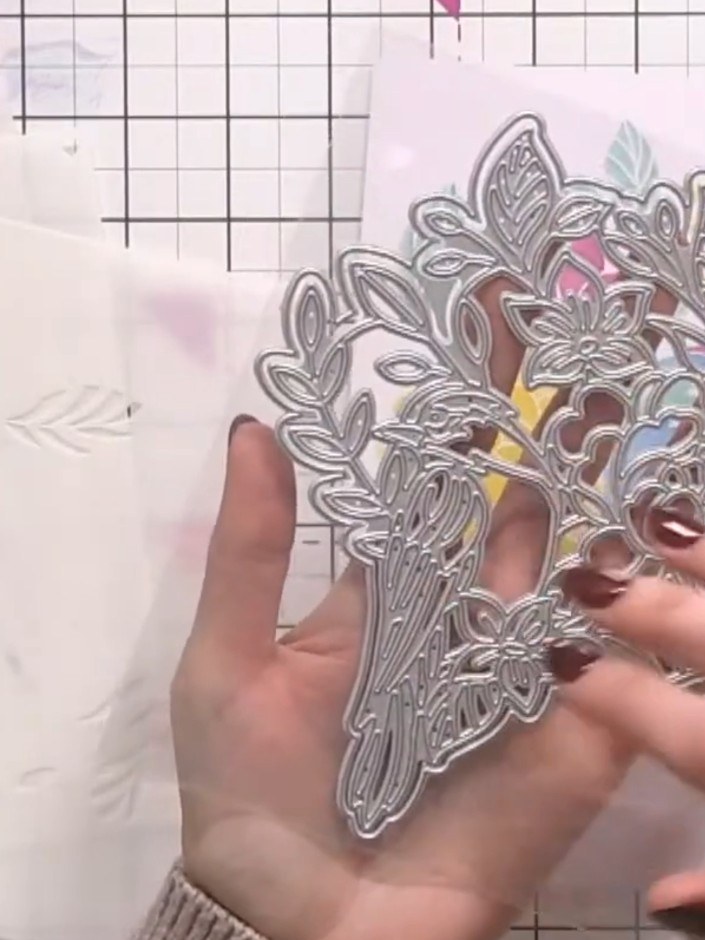
Use the large detailed die to cut out the bird, flower and leaves from your stencilled piece. The die will cut through the design, creating a shaped card with intricate floral and bird details.
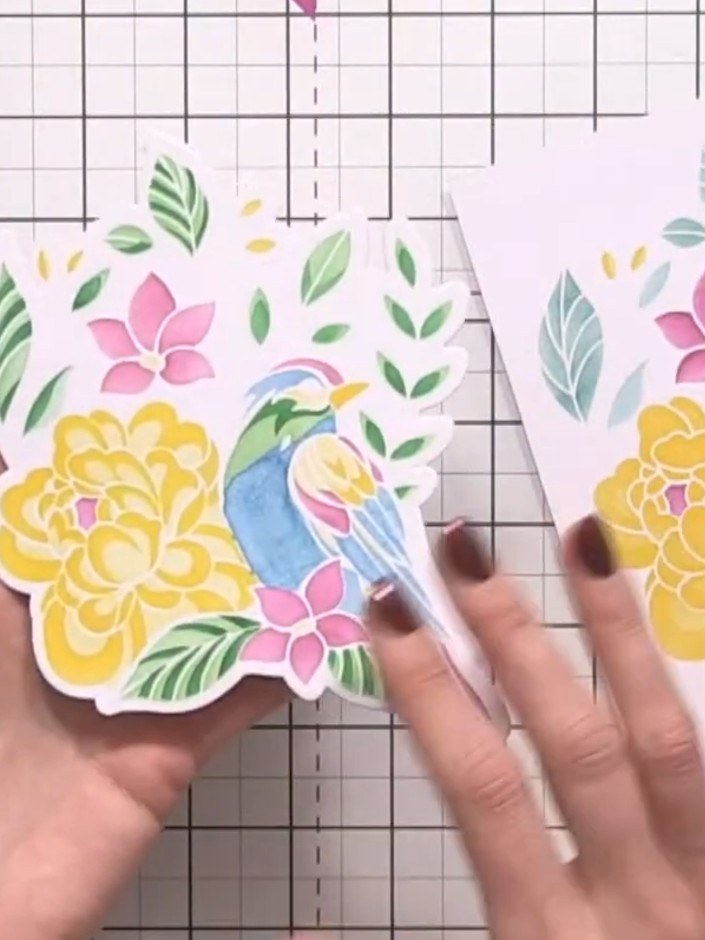 4
Place the outline die over your stencilled floral design. Run through your die-cutting machine to cut out the shaped design with the decorative edge.
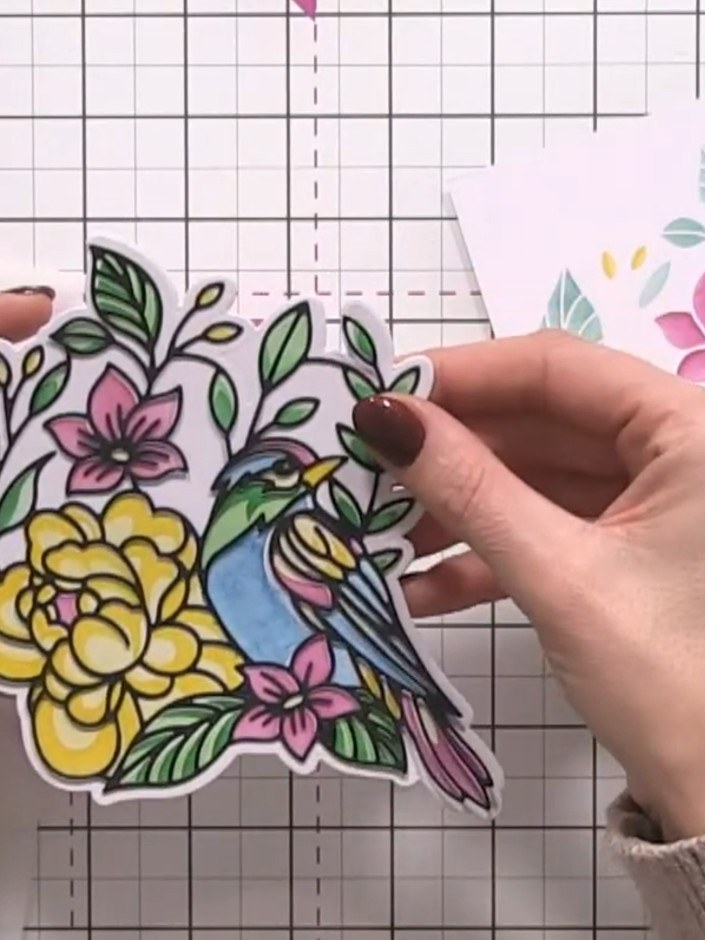 5
Take the detailed floral overlay die-cut from black cardstock and position it over the coloured stamped image. The black outline adds definition and creates a layered effect.
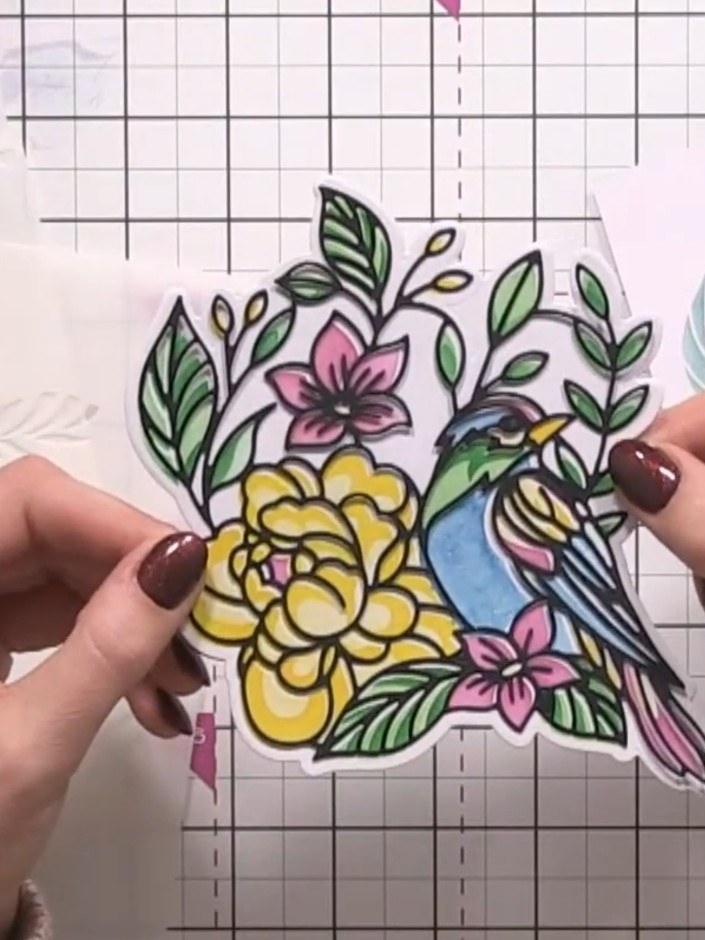 6
Layer the black detailed die-cut piece on top of your coloured stencilled bird to create a 3D effect. Position it carefully to align with the design beneath.
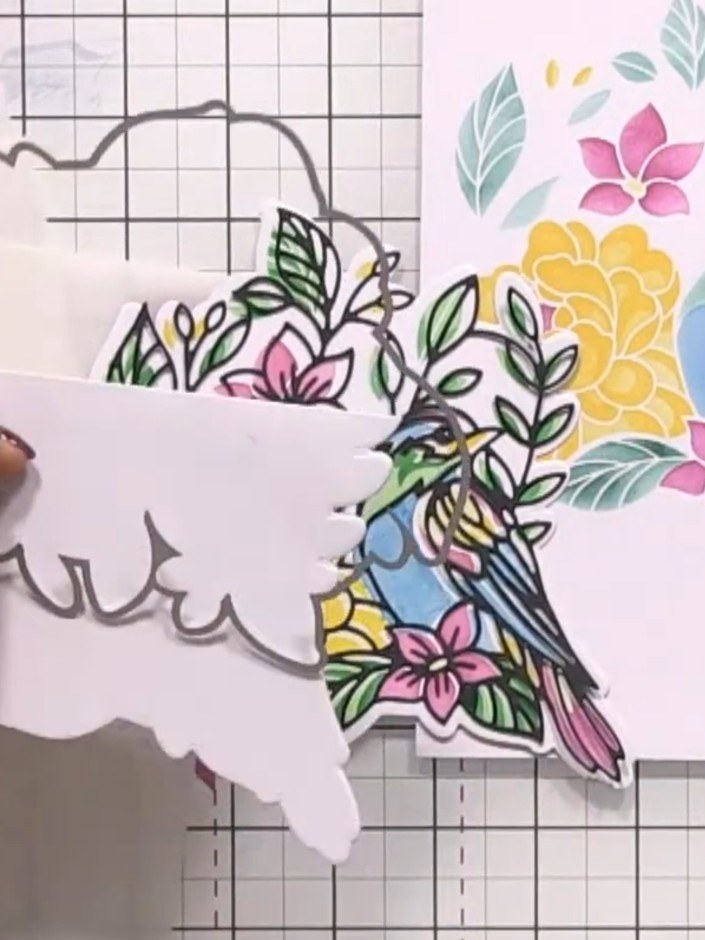 7
Position the outline die on your card blank so it cuts only along the bottom edge, creating a hinged opening. The die should extend beyond the card edges on the sides whilst cutting through the bottom fold.
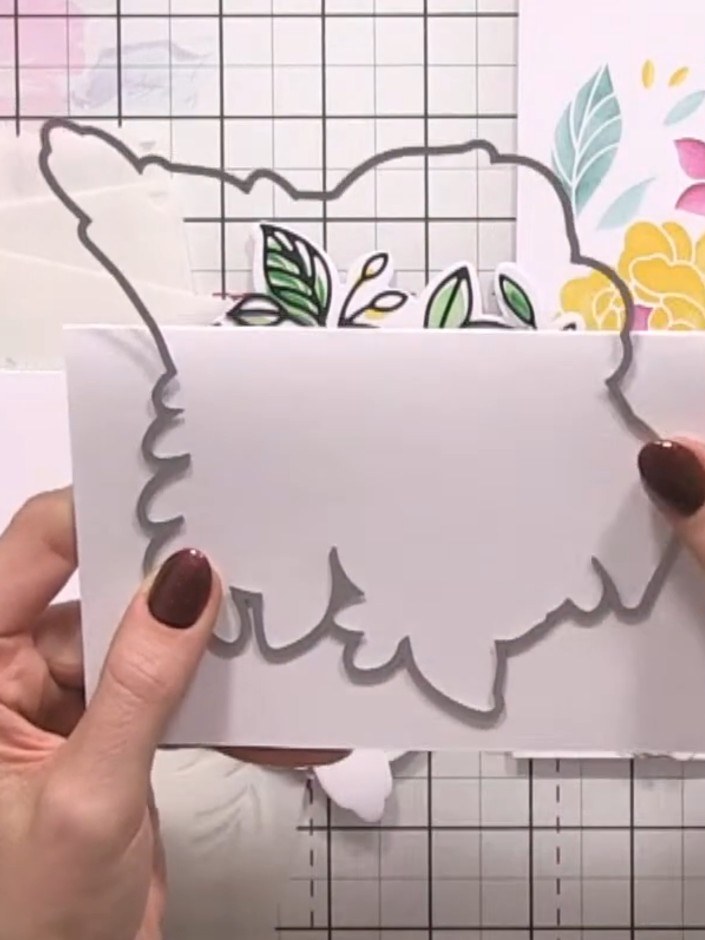 8
Adhere your complete shaped bird piece to the back of the card blank, ensuring it aligns seamlessly with the die-cut opening at the front.
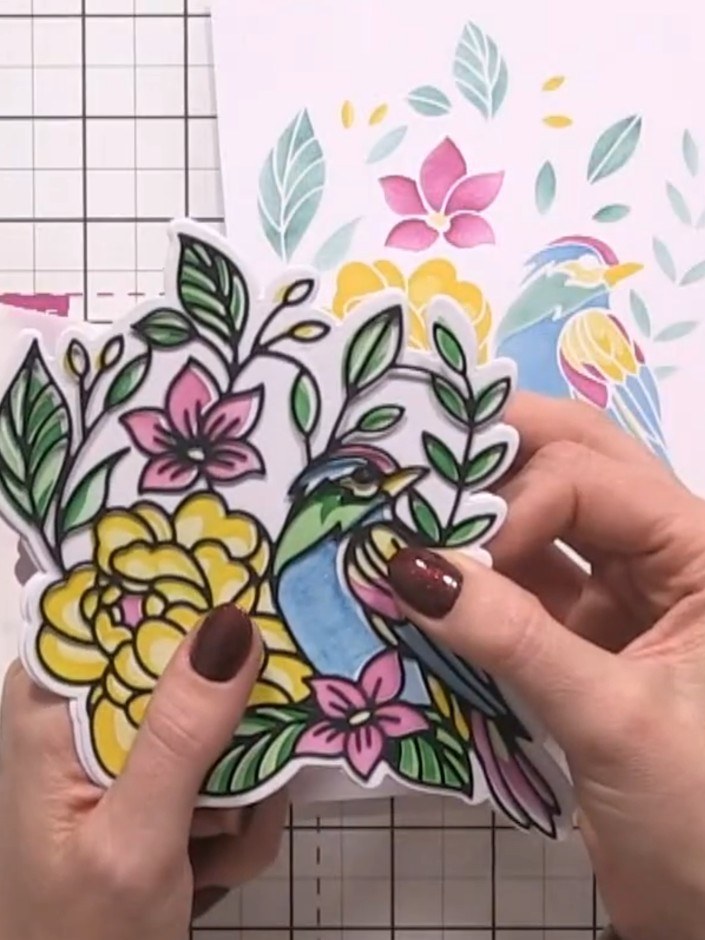 9
Position the completed die-cut bird and floral design on top of your card base to create the finished layered effect.
Share your make with the Stamps By Me community - and keep this guide for next time.
Written up from the show itself. See every guide from our shows · free how-to guides · watch live on My Telly · the previous layout


