Give your friends £10 off their first order!
Refer a FRIEND








A project from our live show ONE DAY SPECIAL - Join Toni for her brand new launch - Broadcast 25th April 2025 · 25/04/2025 · watch it from 34:45
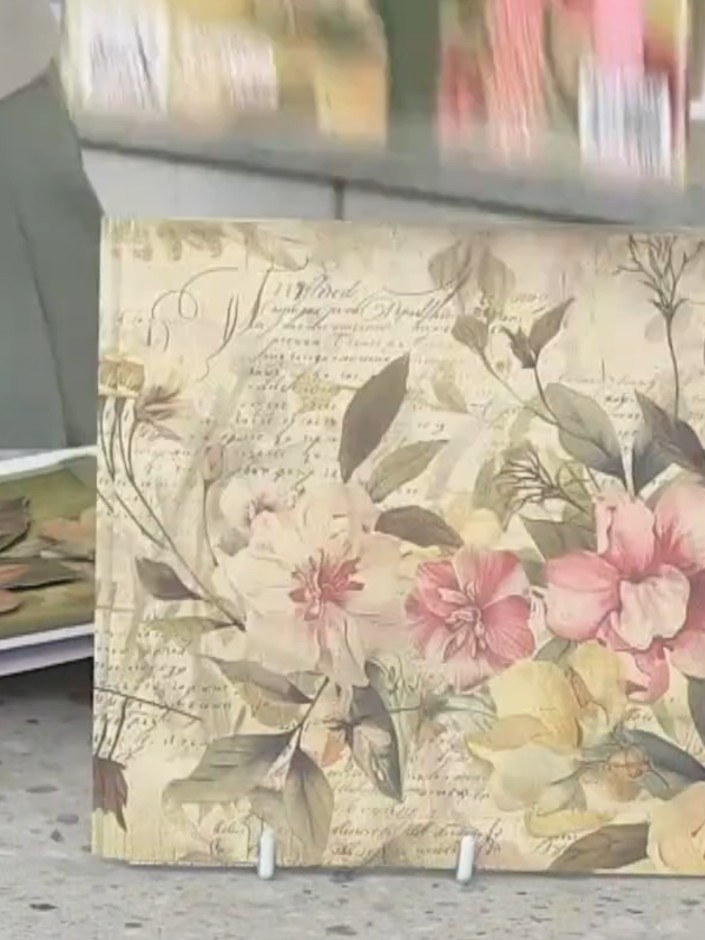
Create a beautiful vintage-style cat portrait featuring soft pink and yellow florals on a cream background with elegant script text. Stamp the detailed cat design and use alcohol markers with watercolour techniques to build depth through tone-on-tone layering. Finish with white gel pen highlights for a striking, dimensional portrait piece.
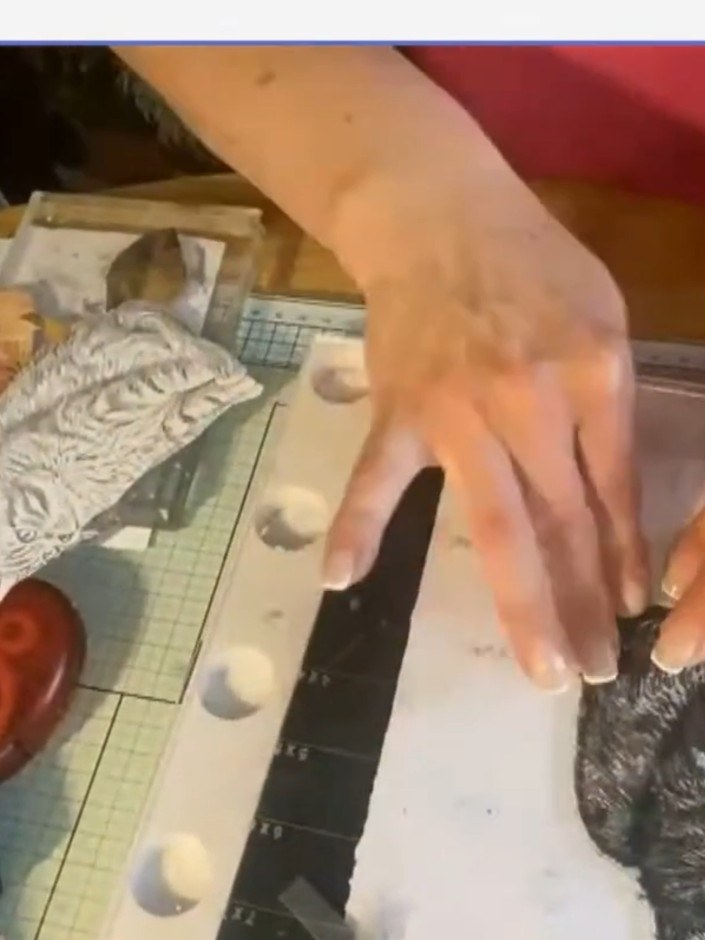
Stamp the cat design onto white cardstock using Versafine black ink. Ensure the image is stamped clearly and evenly on clean paper.
▶ watch this step (35:00)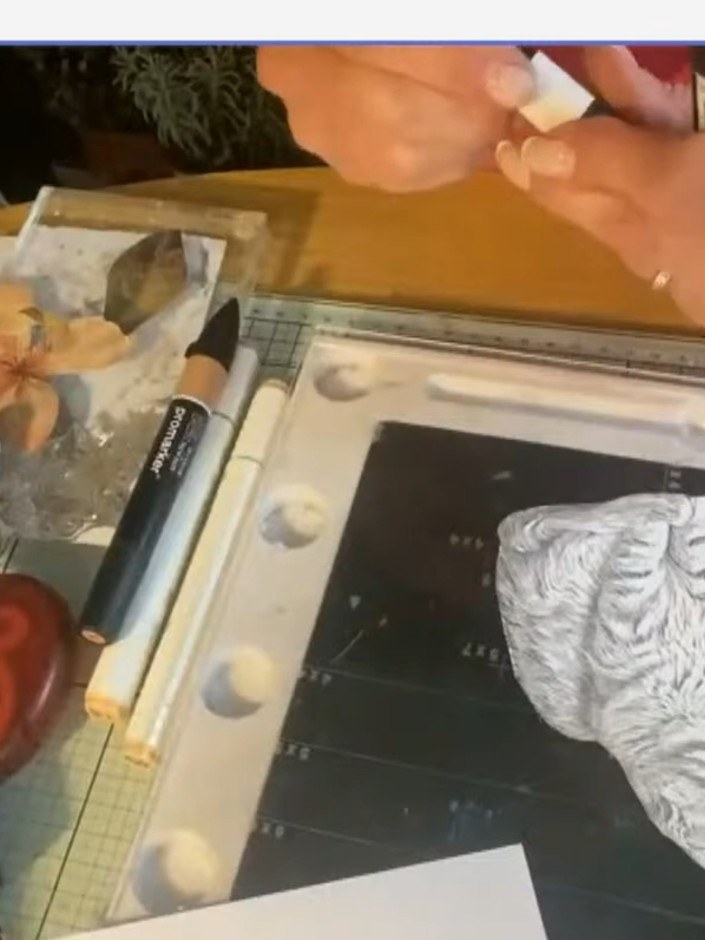
Test your alcohol marker colours on scrap paper before applying them to your image. This ensures you have selected the correct shades to match your design.
▶ watch this step (36:00)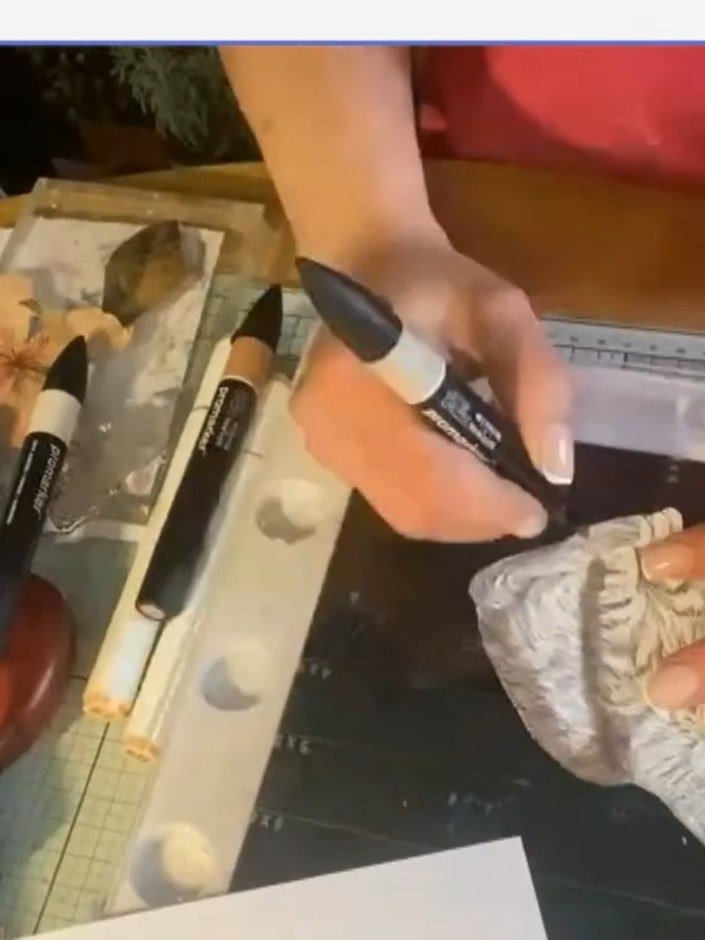
Apply your first colour layer using a chiselled-edge alcohol marker. Focus on the darker areas already present in the stamped image to build up depth and dimension.
▶ watch this step (36:15)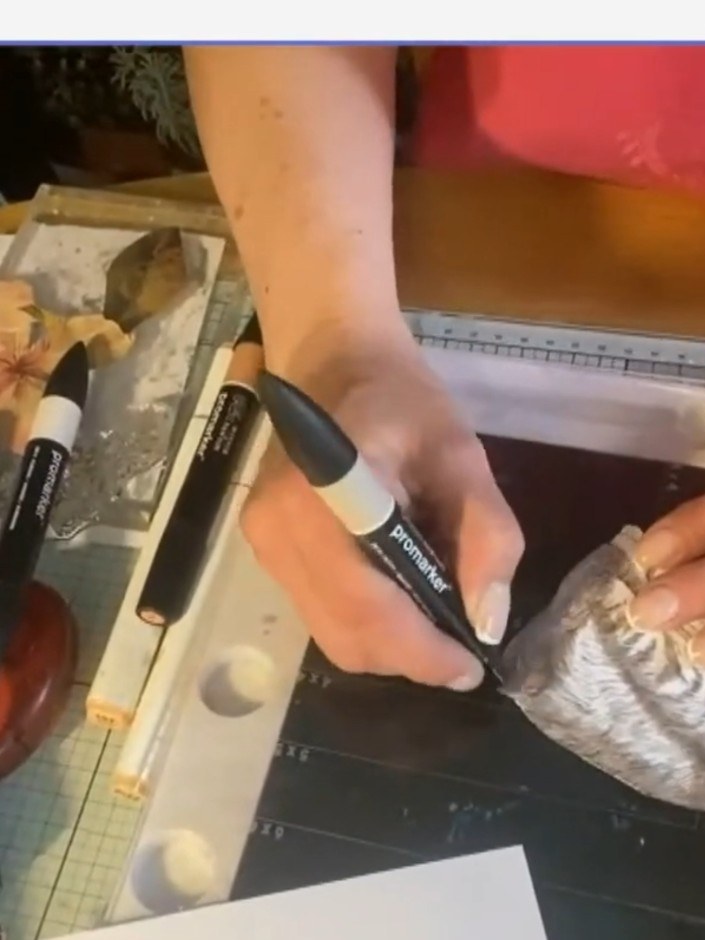
Layer the same colour again over the darker areas of the cat to build depth and dimension. Work the marker over the previously coloured sections, focusing on shadows and deeper tones.
▶ watch this step (36:45)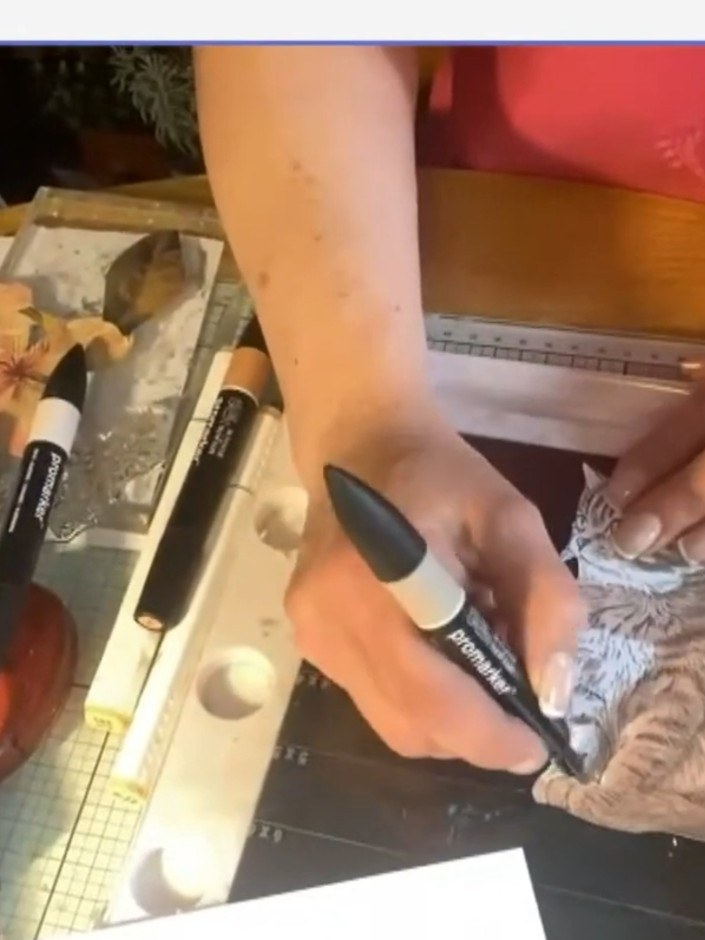
Use a second brown marker to add darker tones and variation to the cat's fur. Build up the detail by adding shading to create depth in the coat, focusing on the darker areas visible in the reference image.
▶ watch this step (37:15)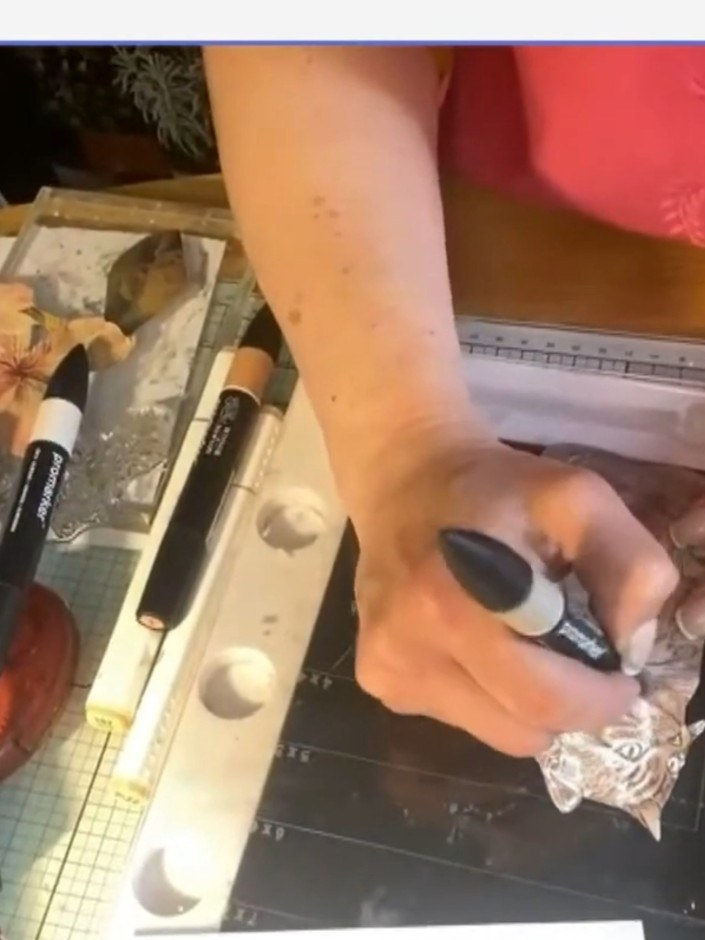
Using a dark grey or black alcohol marker, carefully colour around the nose area. Work in small circular motions to build up the darker tones gradually, creating depth and definition in the facial features.
▶ watch this step (37:45)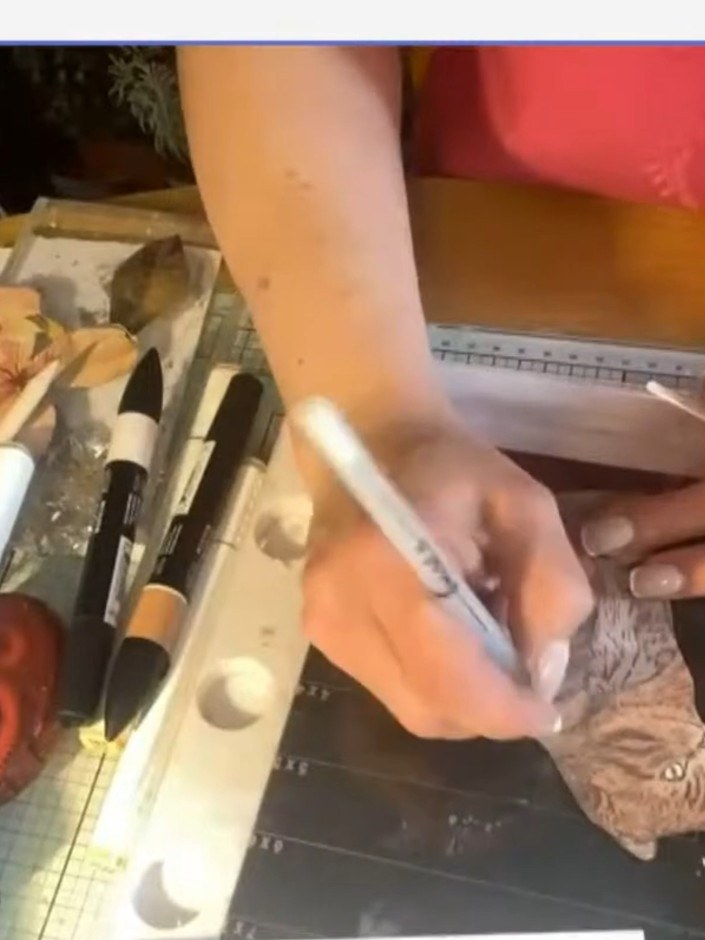
Select a green marker for the cat's eyes to complement the backing papers. Apply the colour to the eye areas of your stamped cat image.
▶ watch this step (38:30)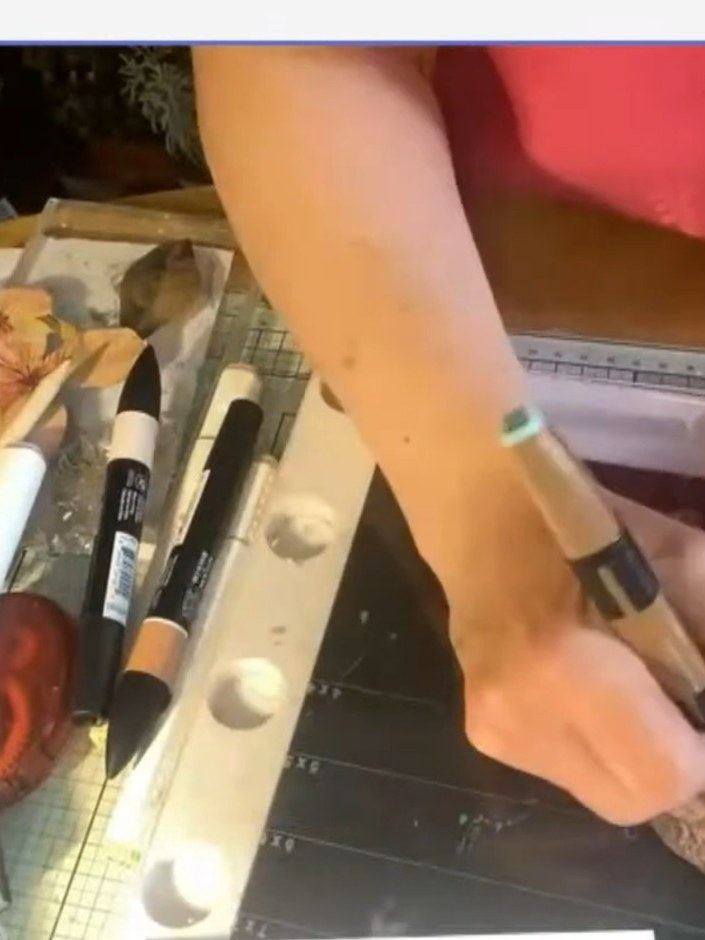
Use a white gel pen to add fine fur texture details over the coloured areas of the cat, creating highlights and definition in the coat.
▶ watch this step (39:30)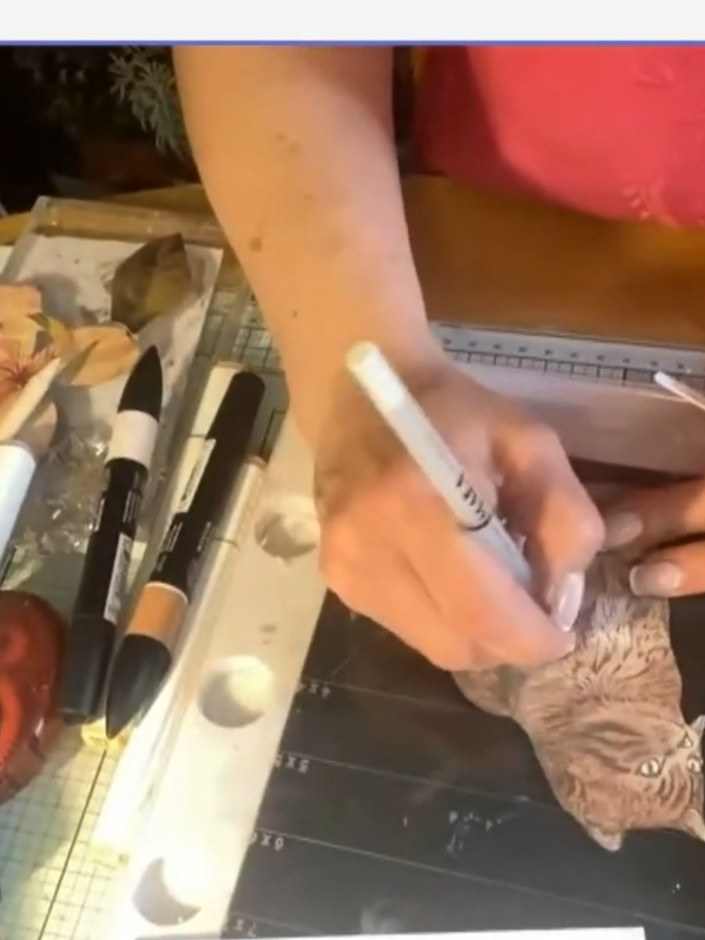
Use a white gel pen to add whisker details to the cat portrait, as these fine details are lost during the colouring process. Go back over darker areas to ensure the white whiskers show clearly against the coloured background.
▶ watch this step (40:00)Written up from the show itself. See every guide from our shows · free how-to guides · watch live on My Telly

