Give your friends £10 off their first order!
Refer a FRIEND








A project from our live show MY PODCAST - Catch my latest updates broadcast 28th April 2025 · 28/04/2025 · watch it from 34:30
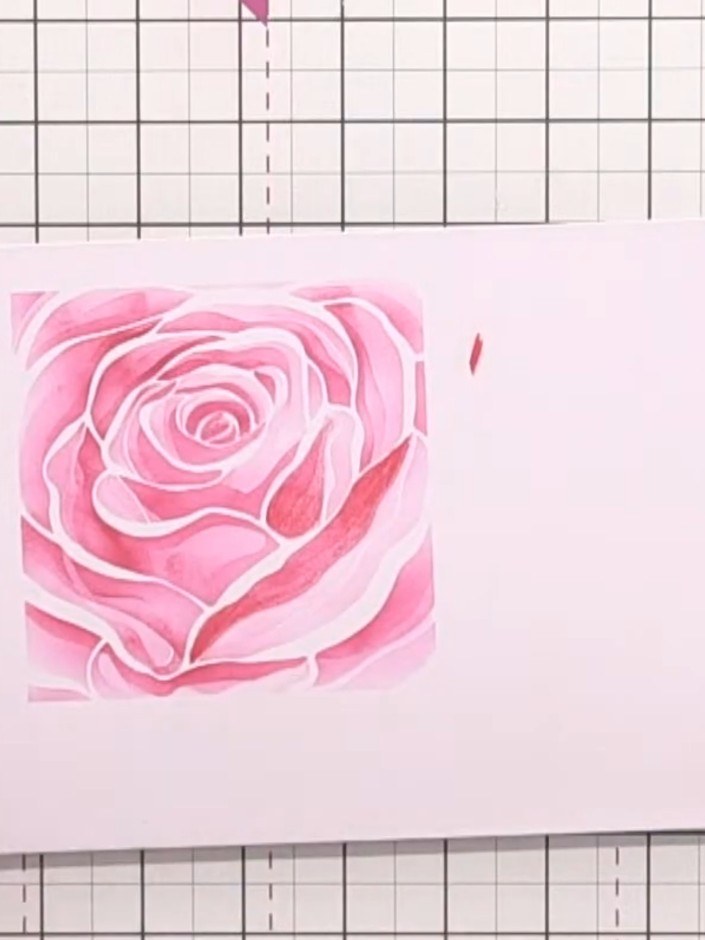
Create a beautiful dimensional rose card featuring delicate pink and coral tones on elegant black cardstock. This project combines layered stencilling with coloured pencil techniques to build depth and dimension. You'll use multiple stencil layers with ink blending, then add hand-colouring with pencils to create a stunning floral focal point perfect for special occasions.
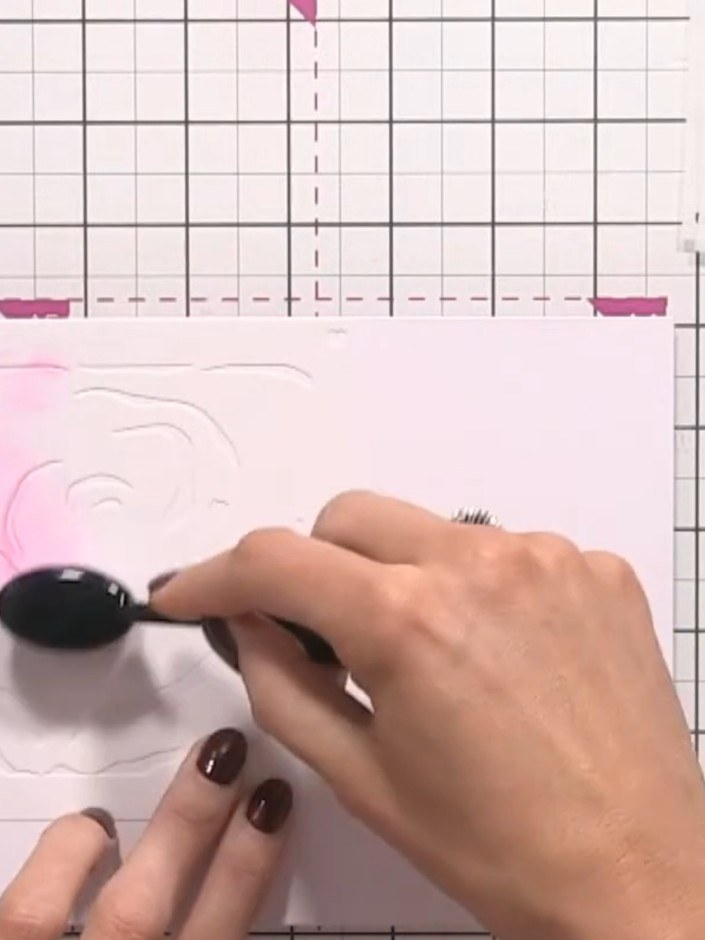
Select stencil number one and position it on your white card blank. Line up the hearts carefully at the edge of the card.
▶ watch this step (42:15)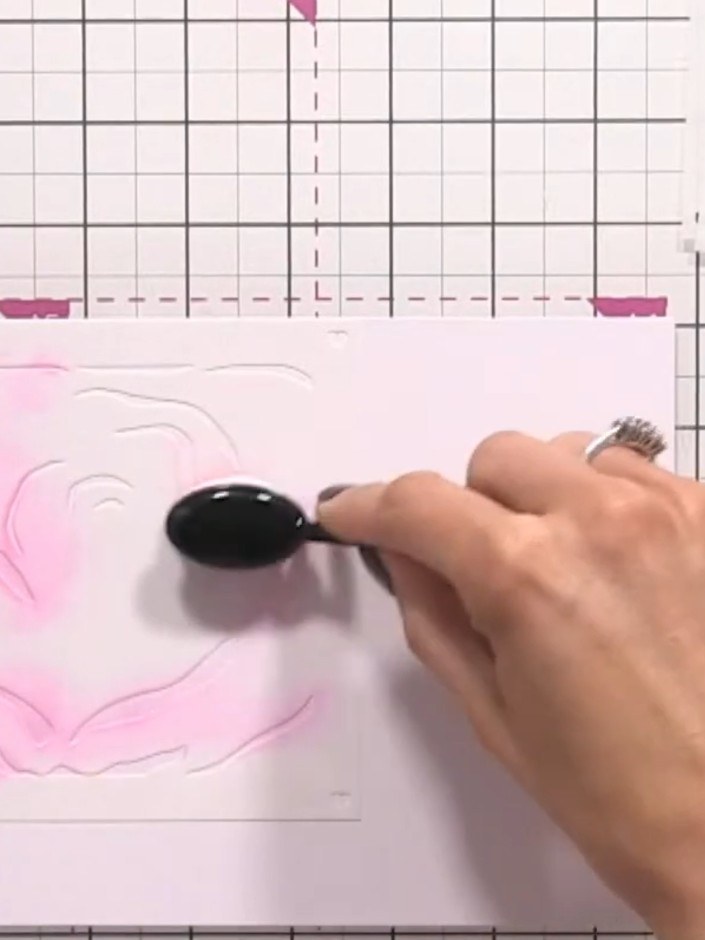
Apply pink ink through the rose stencil using a blending brush, building up the colour lightly to create the first layer. Work gently to achieve a soft, delicate effect on the white card.
▶ watch this step (42:30)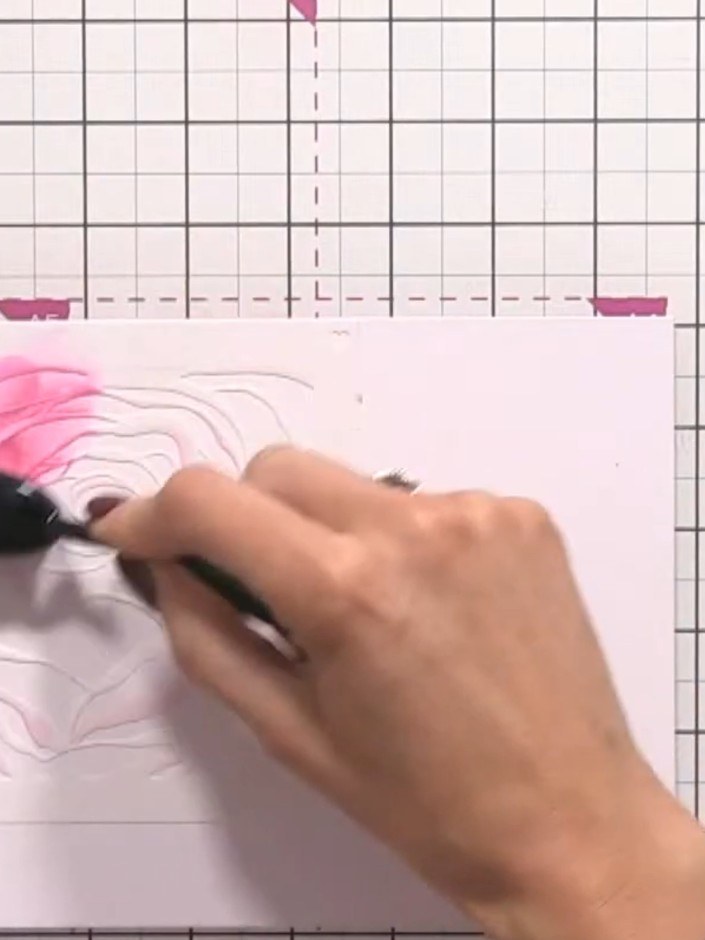
Position stencil number two, aligning it with the edge of your card. Apply pink ink through the stencil using a blending tool, building up the colour in circular motions.
▶ watch this step (42:45)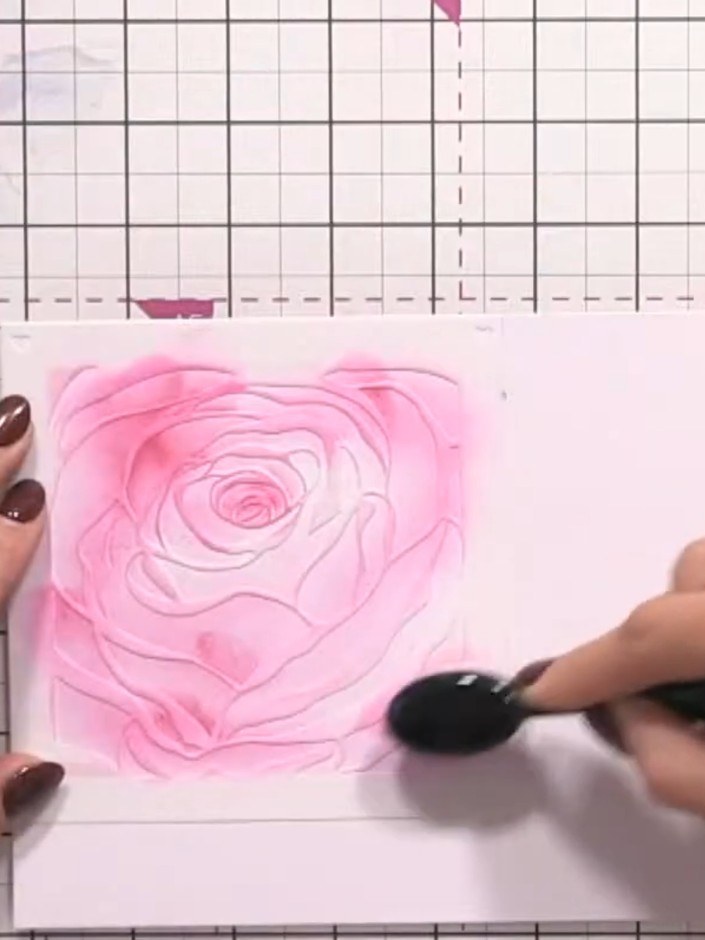
Position stencil number three over your card and apply pink ink using the blending brush, working in circular motions to build up the rose shape. Continue blending the colour to create depth and dimension in the rose design.
▶ watch this step (43:00)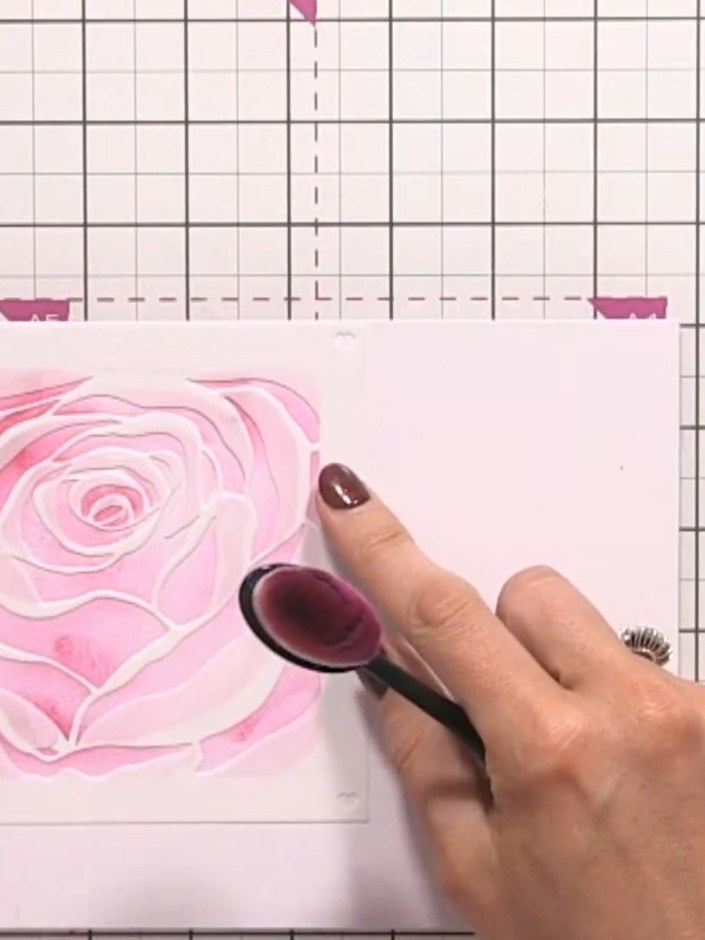
Position the fourth and final stencil layer over your card and apply pink ink using a blending brush to complete the rose silhouette. Use gentle circular motions to blend the colour smoothly.
▶ watch this step (43:30)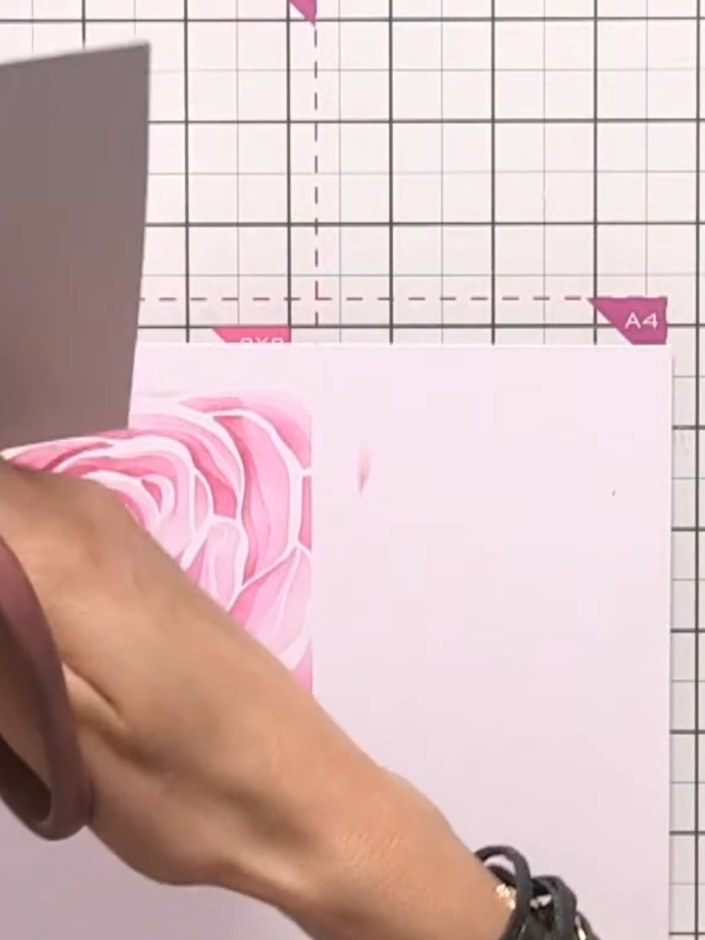
Die-cut the rose outline from grey cardstock using your die-cutting machine. This will create a clean outline to layer over your stamped and coloured rose image.
▶ watch this step (45:15)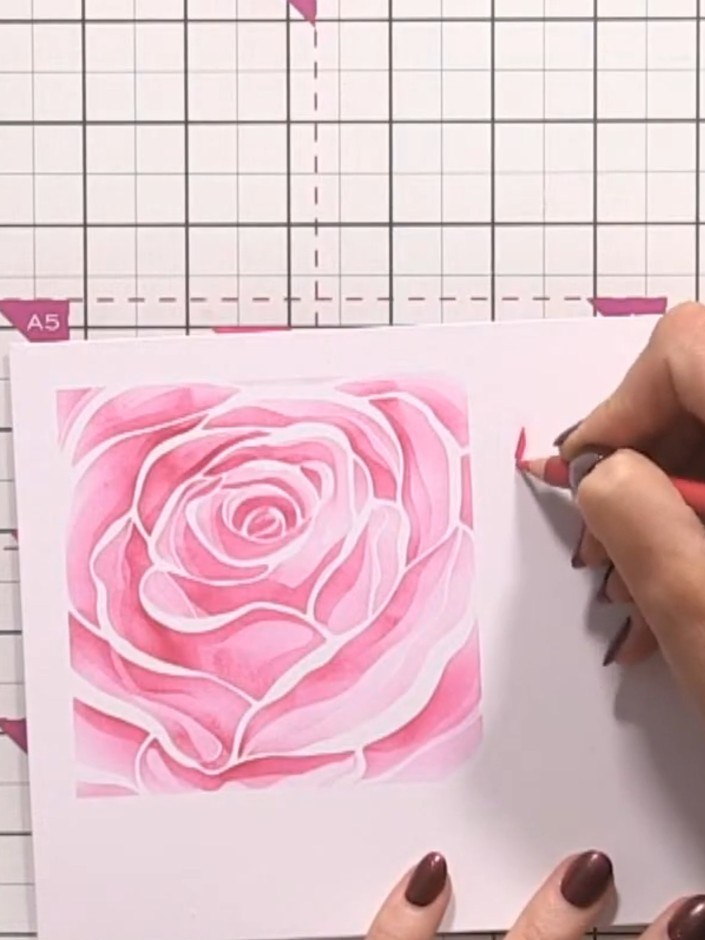
Use your Faber-Castell coloured pencils to add shading to the stencilled rose. Work with darker tones at the edges of the petals and lighter shades towards the centre to create depth and dimension.
▶ watch this step (48:15)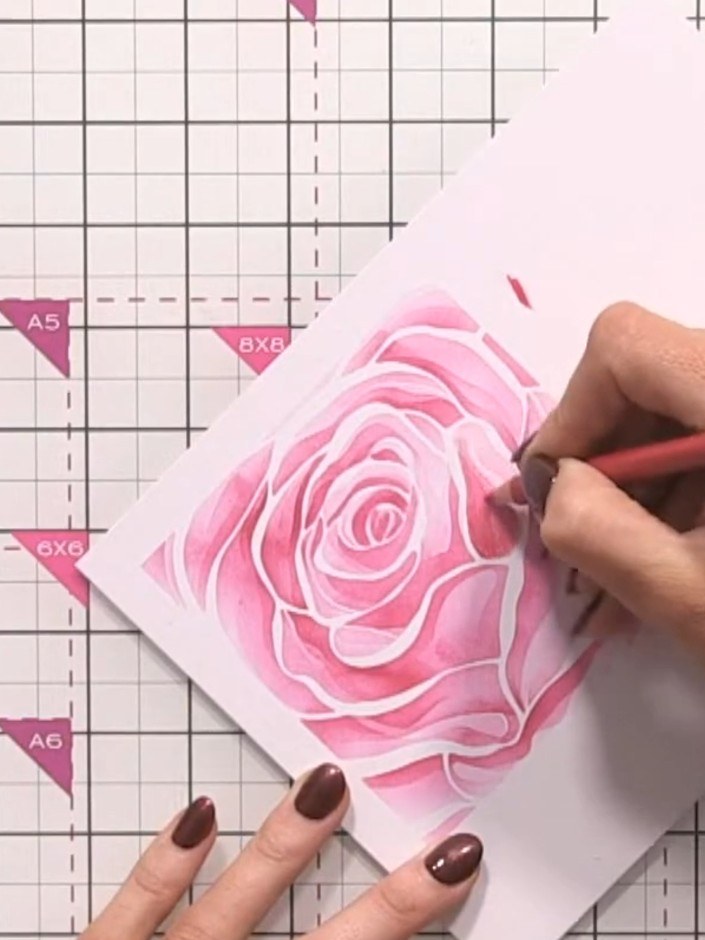
Add darker tones to specific petal areas using a darker pink pencil, varying your pressure to create depth and dimension. Focus on the inner curves and shadowed areas of the petals to enhance the three-dimensional effect of the rose.
▶ watch this step (49:00)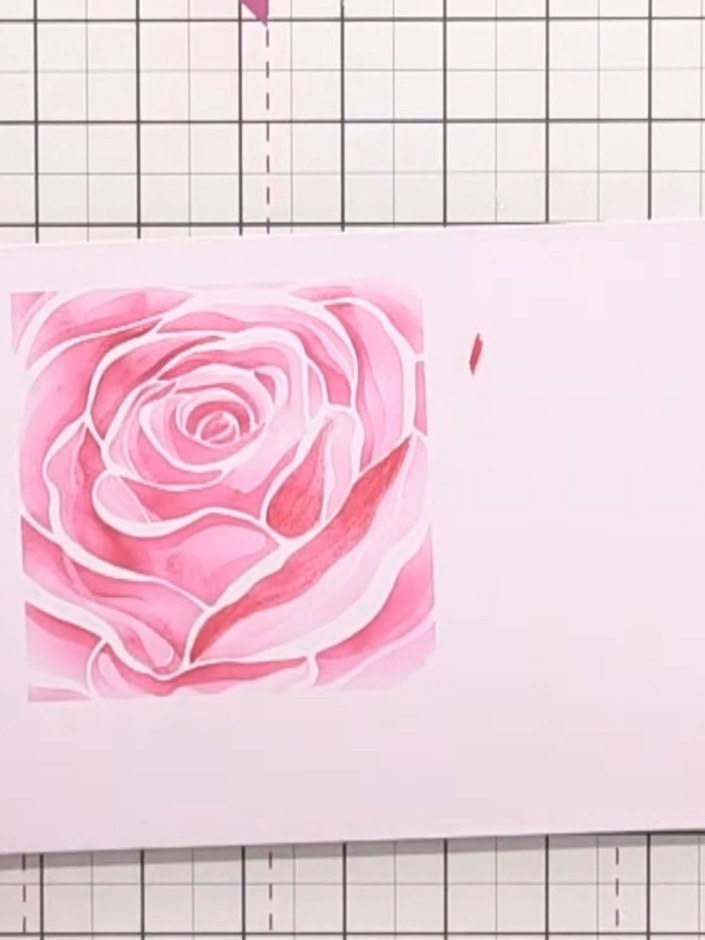
Layer your die-cut rose on top of the stencilled and coloured background using foam pads or glue to complete your card.
▶ watch this step (49:45)Written up from the show itself. See every guide from our shows · free how-to guides · watch live on My Telly
