Give your friends £10 off their first order!
Refer a FRIEND








A project from our live show IDEAL WORLD - Join Toni for the latest Stamps By Me product launch - Broadcast Wed 7th May 12 p.m. · 07/05/2025 · watch it from 55:30
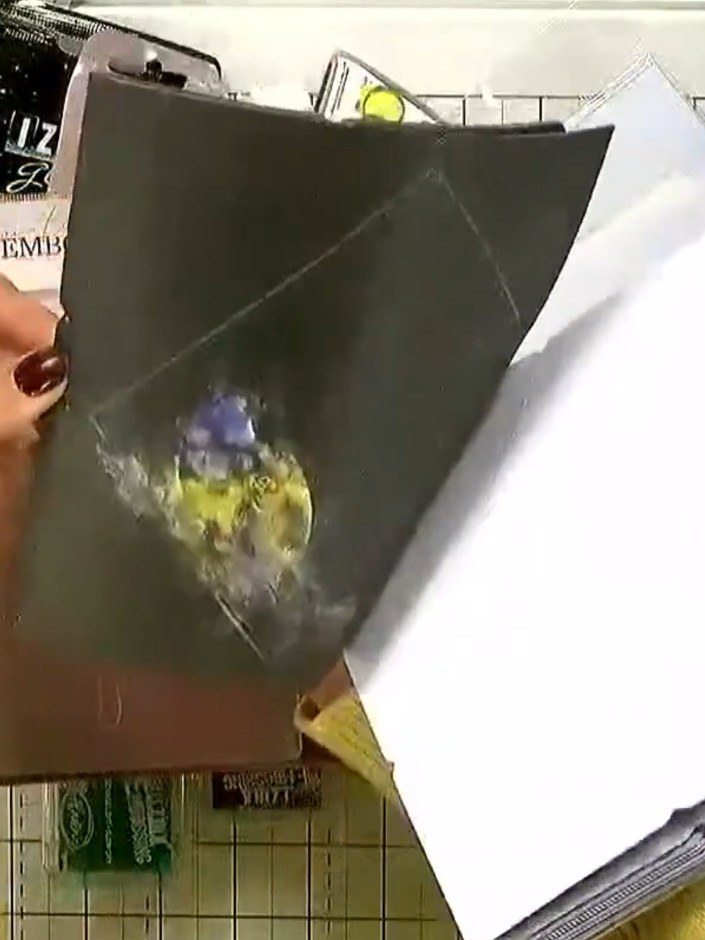
Create an elegant textured card featuring an embossed leather-effect finish in rich olive green tones. This project uses an embossing folder to add beautiful raised dimension to your card stock, combined with decorative elements including nature-themed imagery and delicate floral accents. The technique produces a sophisticated, tactile finish perfect for birthday greetings and special occasions.
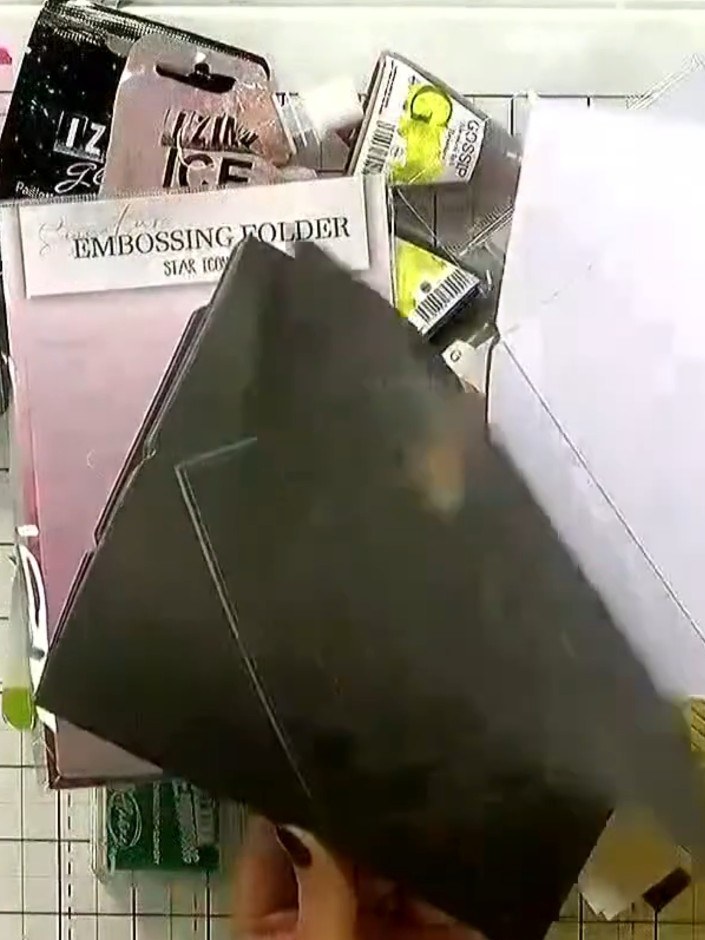
Select a piece of coloured card stock from your kit. The card shown here is a dark olive green shade.
▶ watch this step (55:45)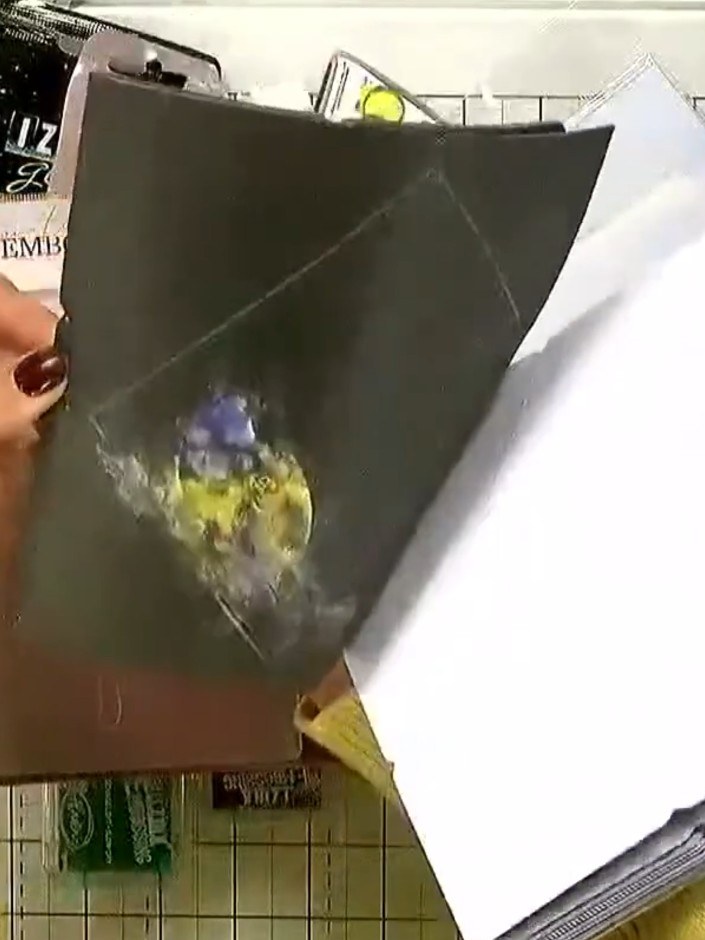
Place the grey card stock into the embossing folder, positioning it centrally over the design area.
▶ watch this step (56:00)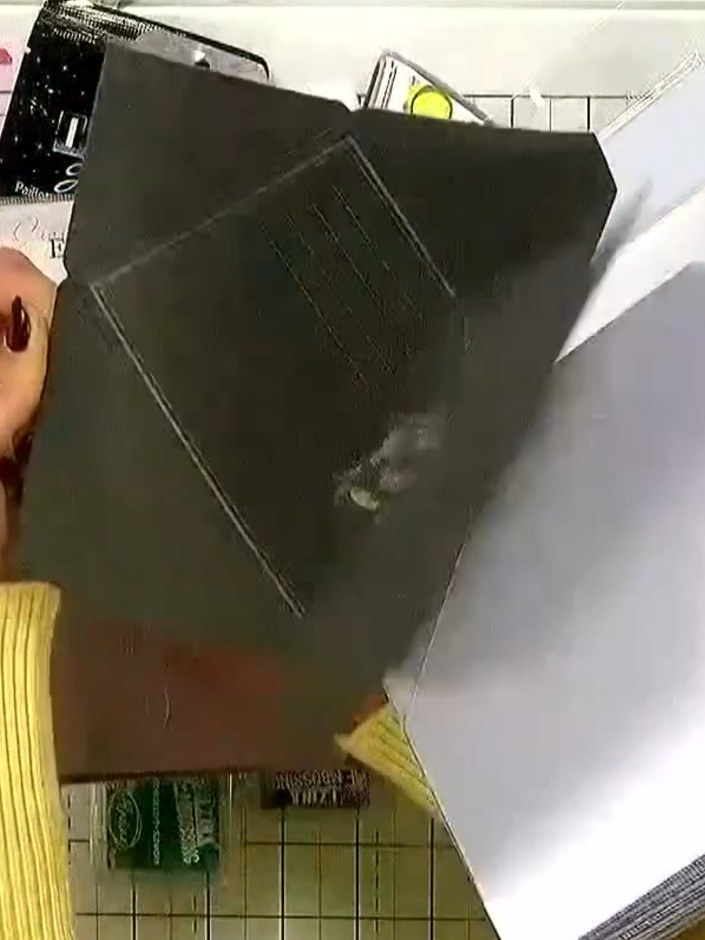
Close the embossing folder firmly with both hands to imprint the 'Happy Birthday' pattern onto the dark grey card.
▶ watch this step (56:10)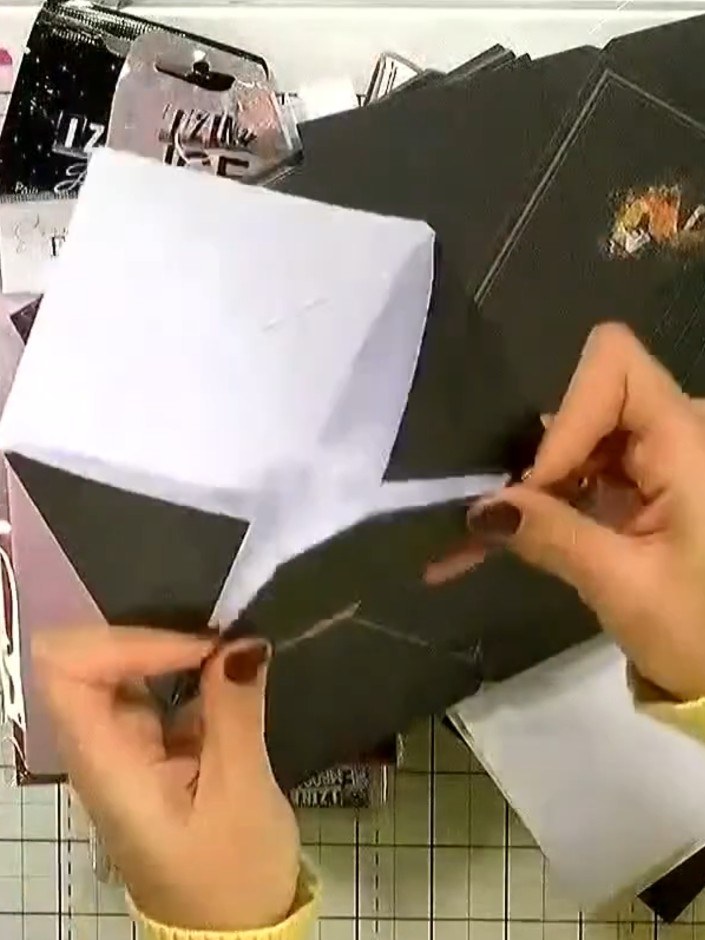
Remove the card from the embossing folder and observe the raised, textured finish on the dark green card. The embossed pattern should show clearly across the surface.
▶ watch this step (56:20)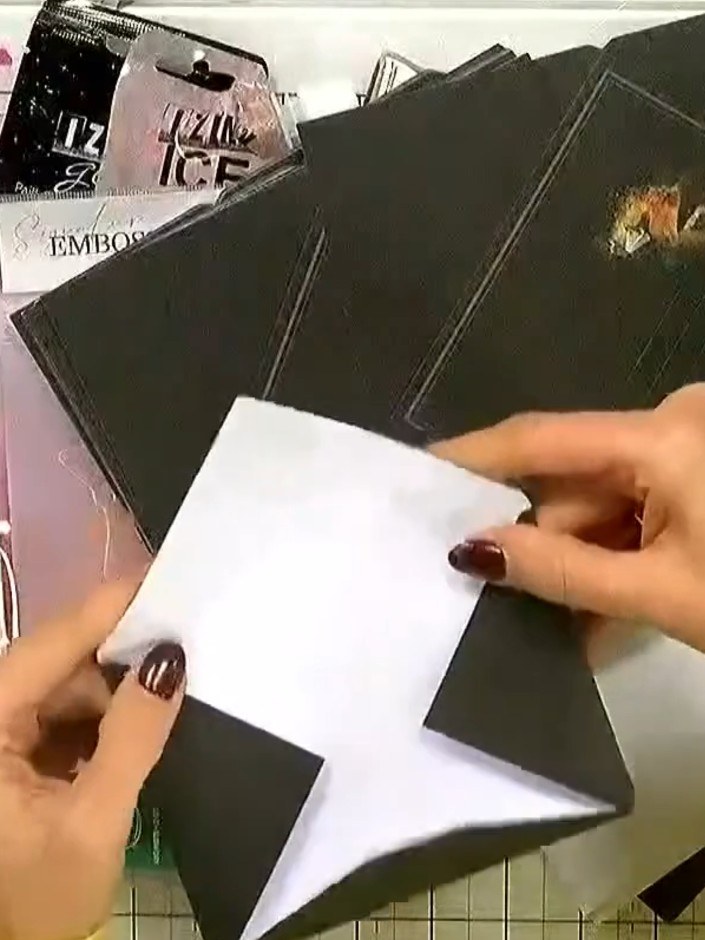
Use the embossed dark grey card as a base for your project, or layer it onto another card blank for added dimension and interest.
▶ watch this step (56:30)Written up from the show itself. See every guide from our shows · free how-to guides · watch live on My Telly