Give your friends £10 off their first order!
Refer a FRIEND








A project from our live show ONE DAY SPECIAL - Join Toni for her brand new launch - Broadcast 16th May 2025 · 16/05/2025 · watch it from 39:00
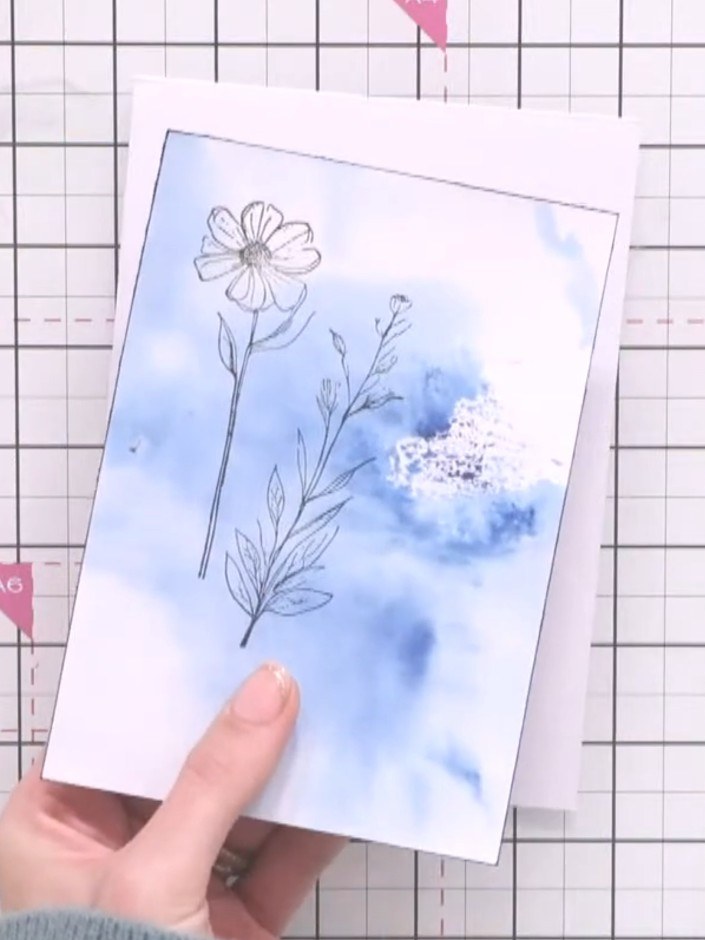
Create a beautiful floral card featuring delicate stamped flowers arranged in a mason jar bouquet. The design uses soft watercolour washes in pink and blue tones, with layered card mounting and inked edges for a dimensional, polished finish. This elegant card combines stamping, watercolouring and paper layering techniques for a stunning handmade result.
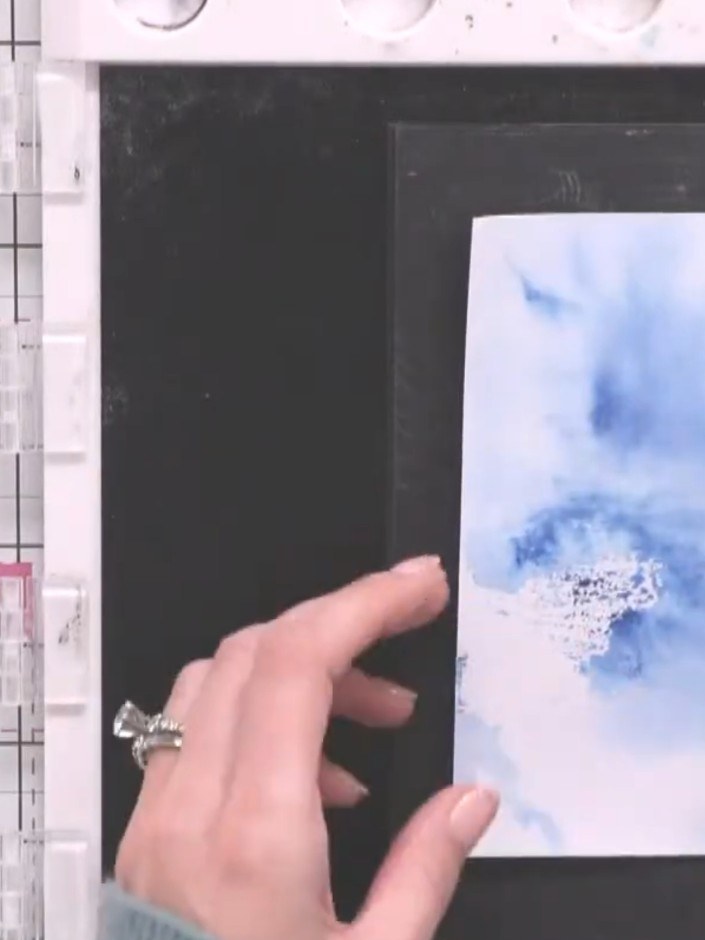
Trim the inky watercolour card piece to remove the lumpy, bumpy edges using a guillotine or craft knife and ruler.
▶ watch this step (43:45)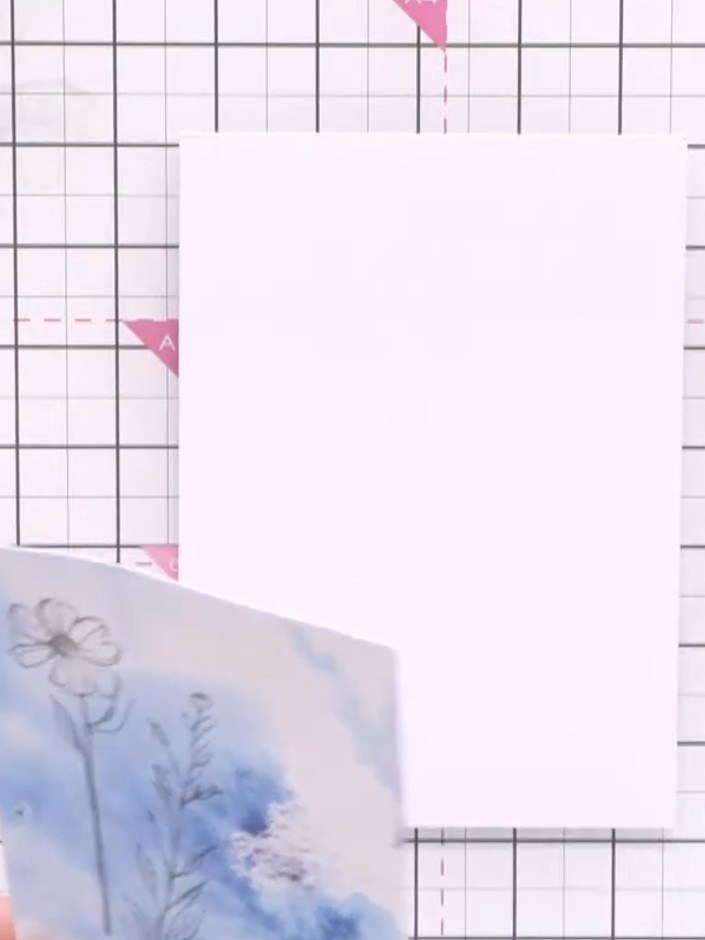
Take your trimmed card piece and edge it with an ink pad to add definition. Run the ink pad along all four edges of the card.
▶ watch this step (46:15)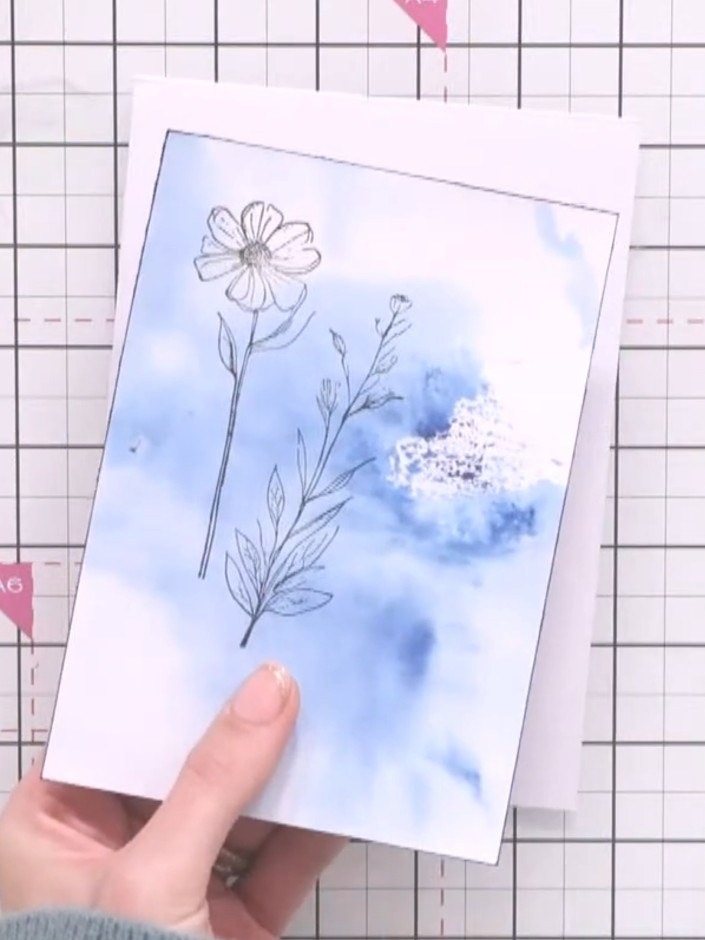
Mount the stamped and watercoloured panel onto a white card blank, positioning it centrally with a narrow border showing around the edges.
▶ watch this step (46:45)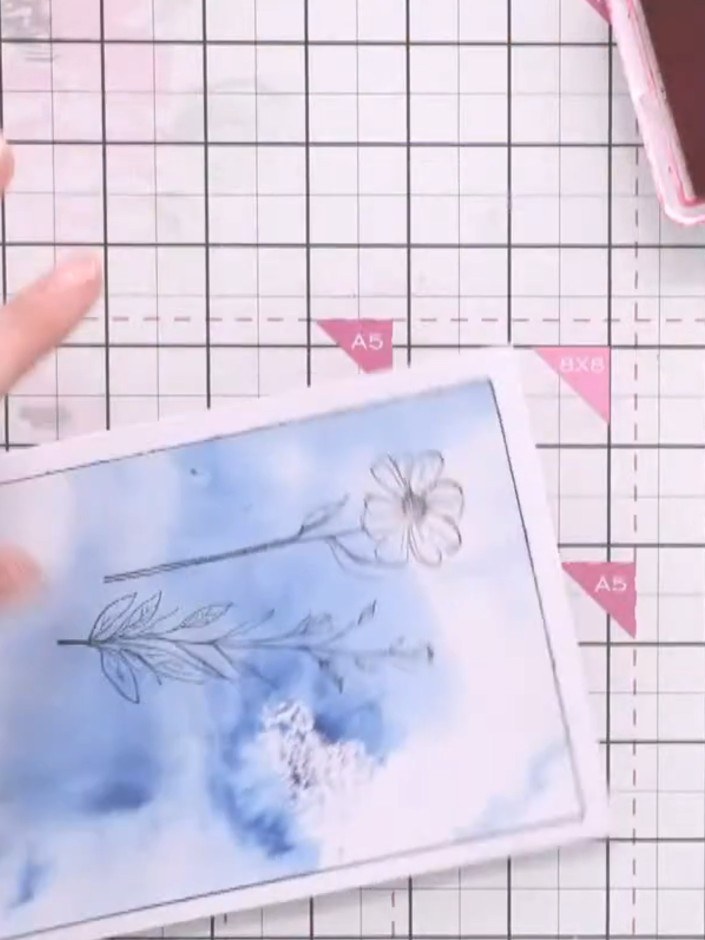
Spray pink ink onto a craft mat with water. Use a brush to pick up the diluted pink ink and colour the flower petals. Add small touches of green ink to accent areas of the stamped image.
▶ watch this step (48:00)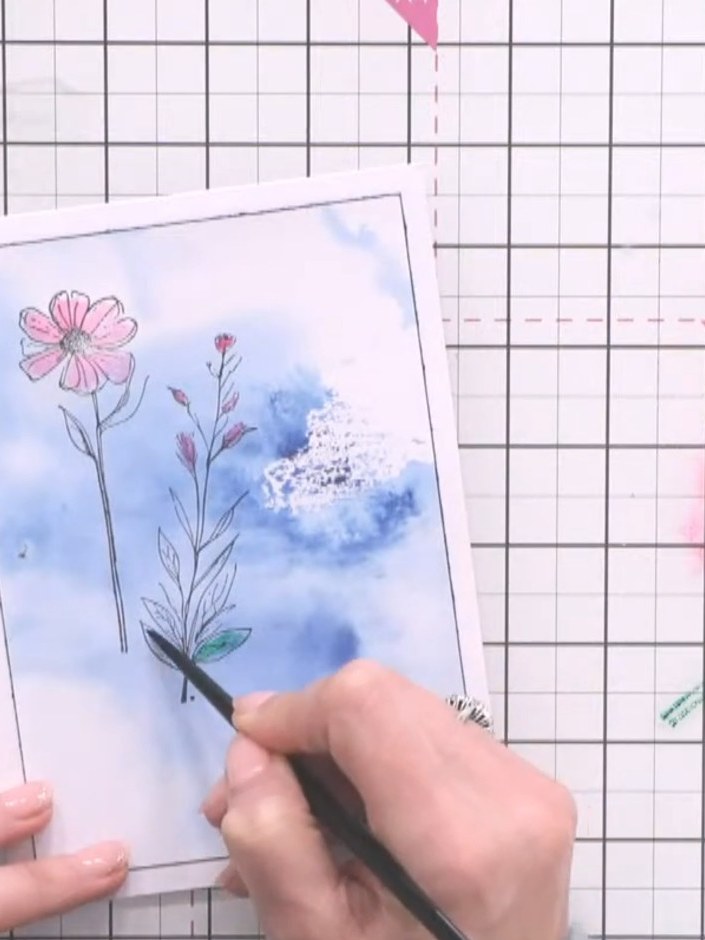
Stamp the flower images from the Berrylicious stamp set onto the dried watercolour wash background. Position the floral stamps over the coloured areas to create your design.
▶ watch this step (49:00)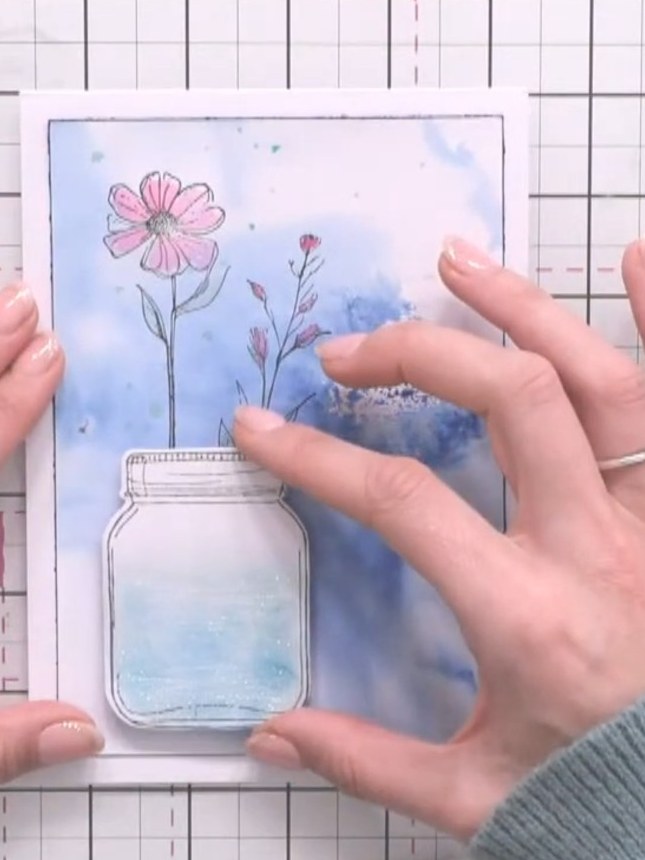
Colour the stamped flowers with watercolour, adding pink to the petals to tie in with the design. Build up the colour gradually on the flowers and stems.
▶ watch this step (50:00)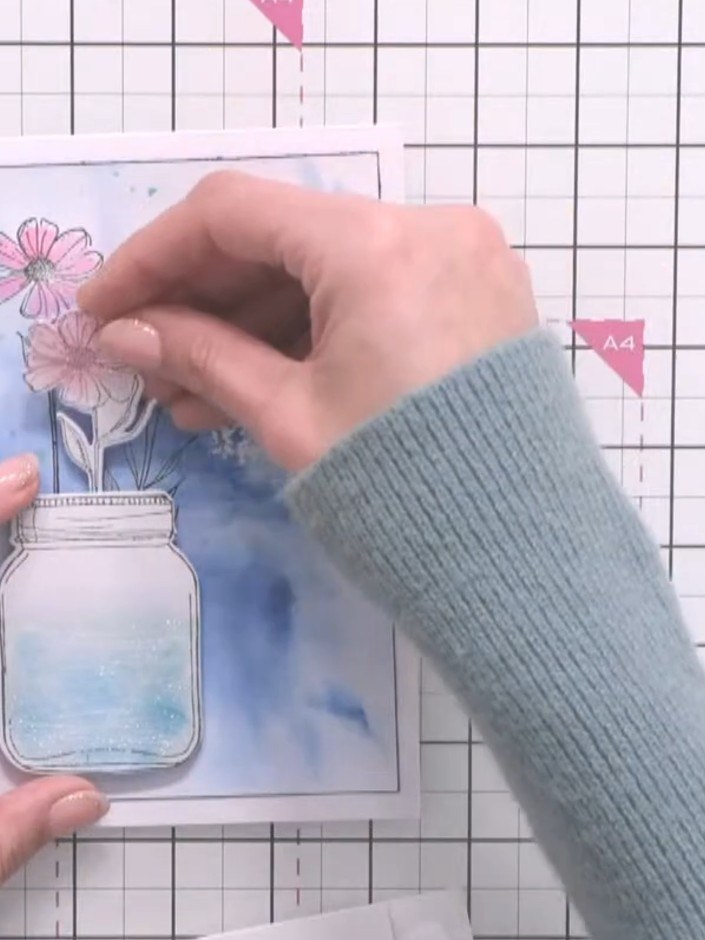
Add foam pads to the back of the stamped flower elements to create dimension on your card.
▶ watch this step (50:30)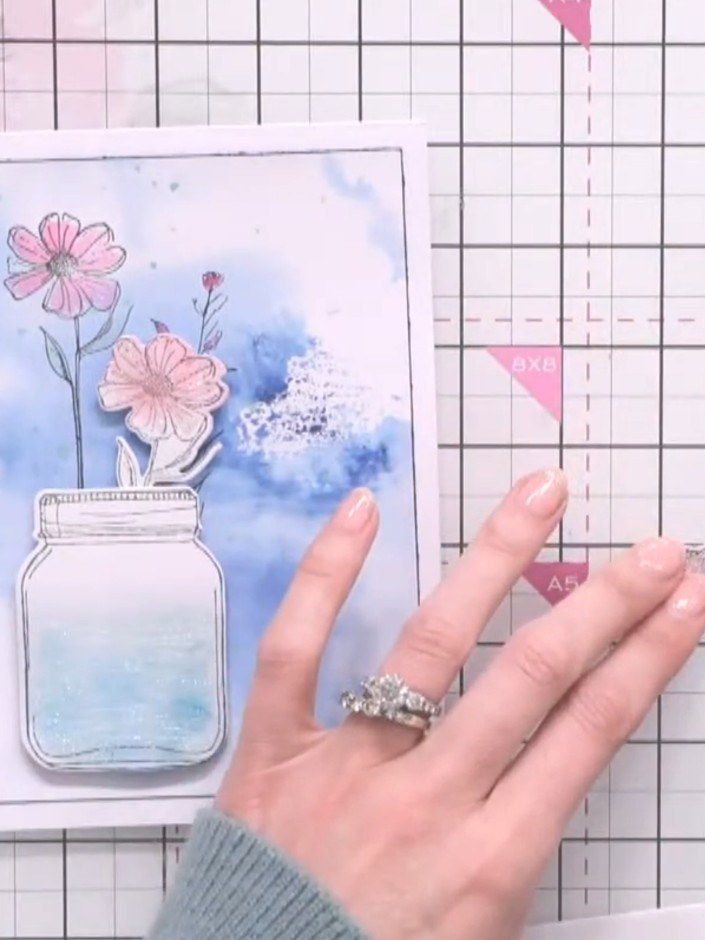
Arrange the dimensional pink flowers onto the card front, positioning them in the jar. Adhere them in place using adhesive to complete the floral bouquet design.
▶ watch this step (51:00)Written up from the show itself. See every guide from our shows · free how-to guides · watch live on My Telly