Give your friends £10 off their first order!
Refer a FRIEND








A project from our live show Create Together Club - 5 Days of Creativity - Broadcast Monday 2ND June 2025 · 02/06/2025 · watch it from 49:45
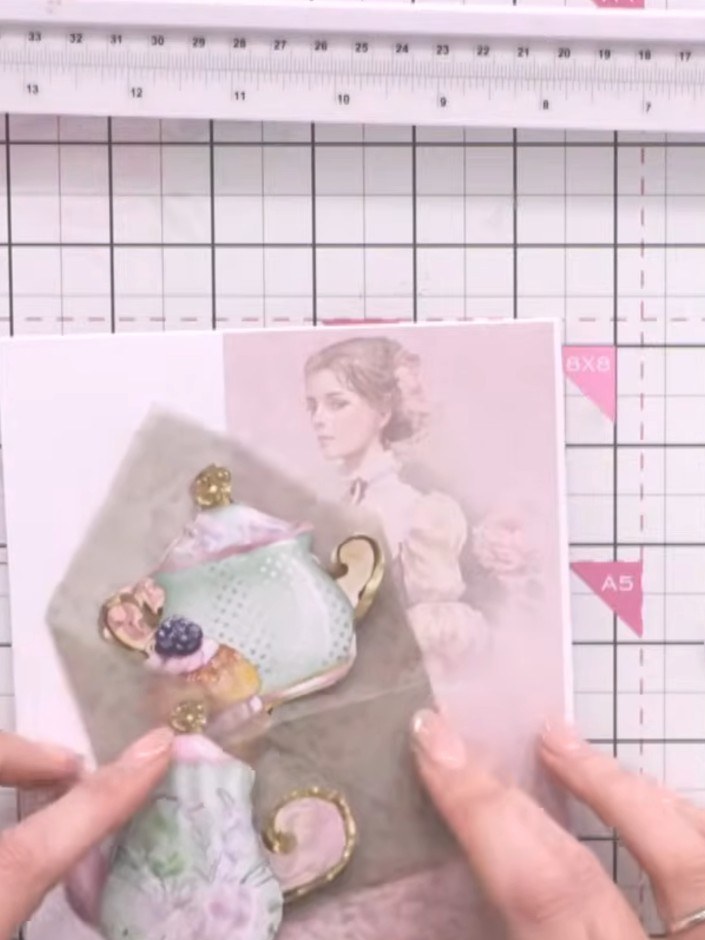
Create an elegant card featuring translucent vellum envelope pockets on the front. This delicate design in soft pinks and vintage tones showcases decorative elements including a teacup embellishment and sentiment strips. The main techniques include working with vellum, creating envelope pockets, and layering dimensional elements for a sophisticated finish.
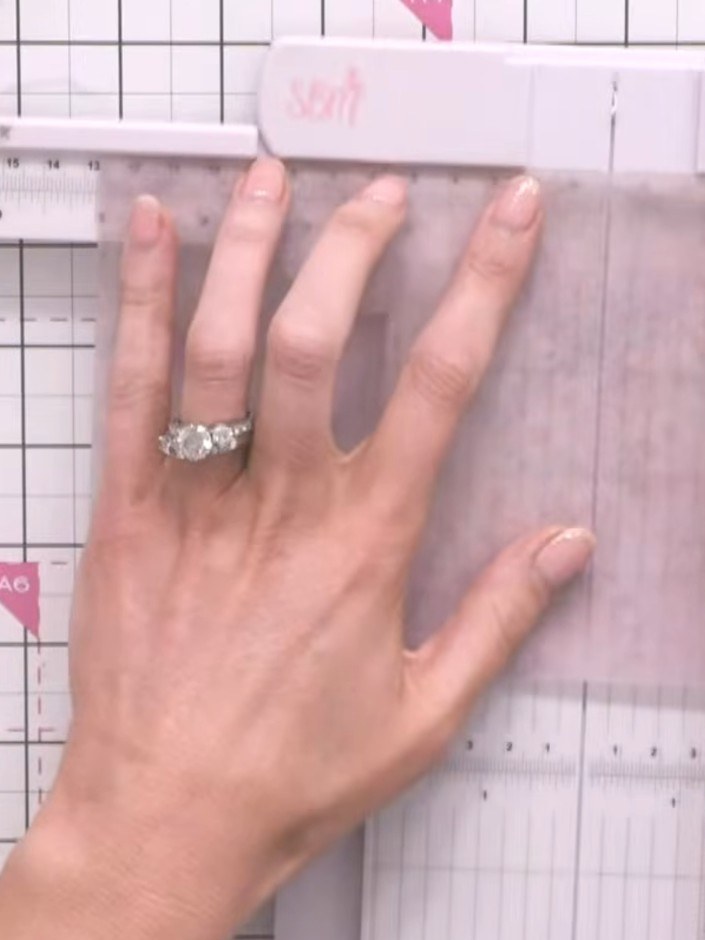
Cut two squares of plain vellum, each measuring 5 by 5 cm.
▶ watch this step (50:00)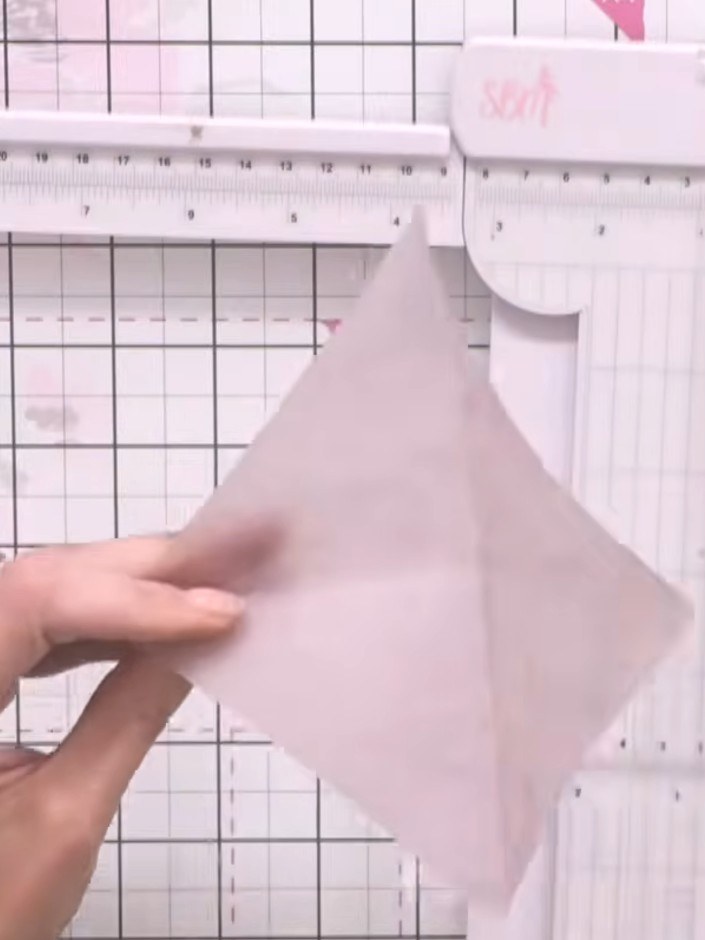
Fold the vellum square diagonally from corner to corner. Then fold the opposite corners in towards the centre to create an envelope shape.
▶ watch this step (50:45)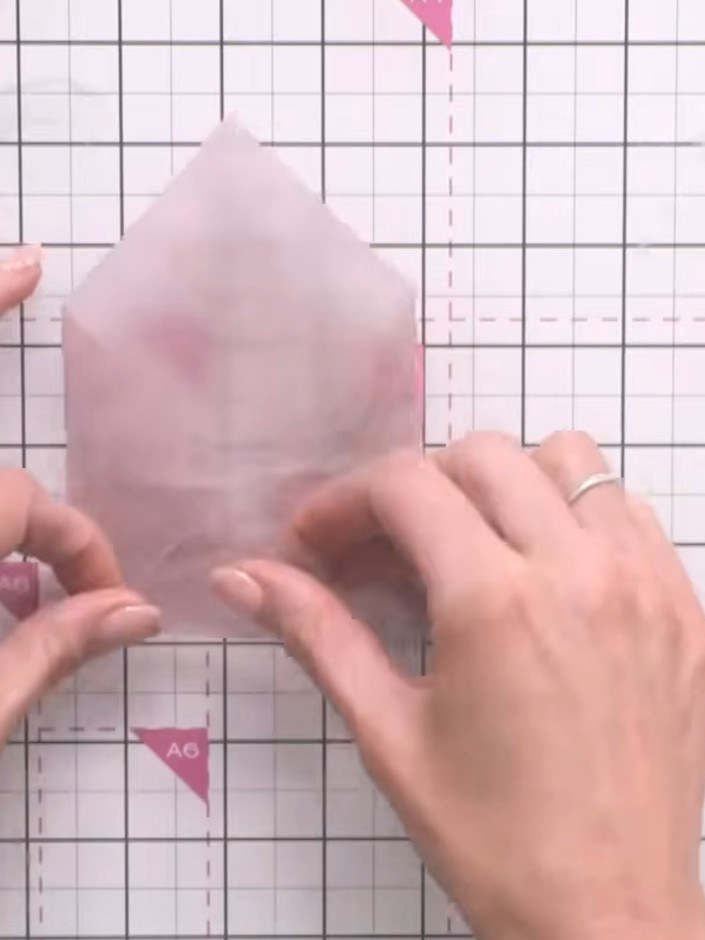
Bring the remaining two points of the vellum together and fold them down to close the envelope pocket.
▶ watch this step (51:30)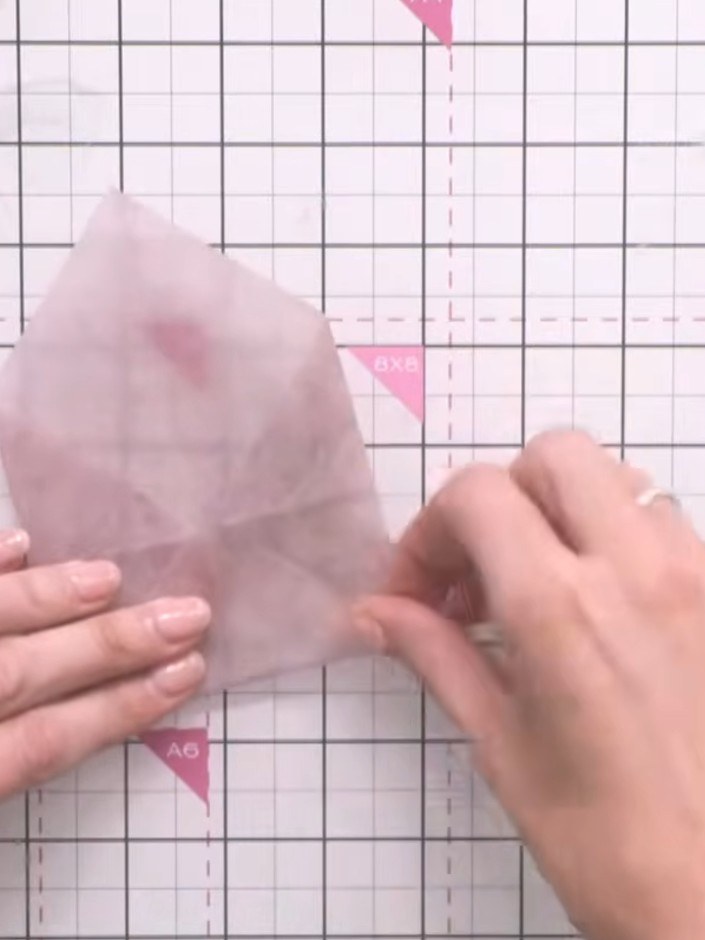
Score the folds firmly with your finger to create crisp edges on the vellum envelope.
▶ watch this step (51:45)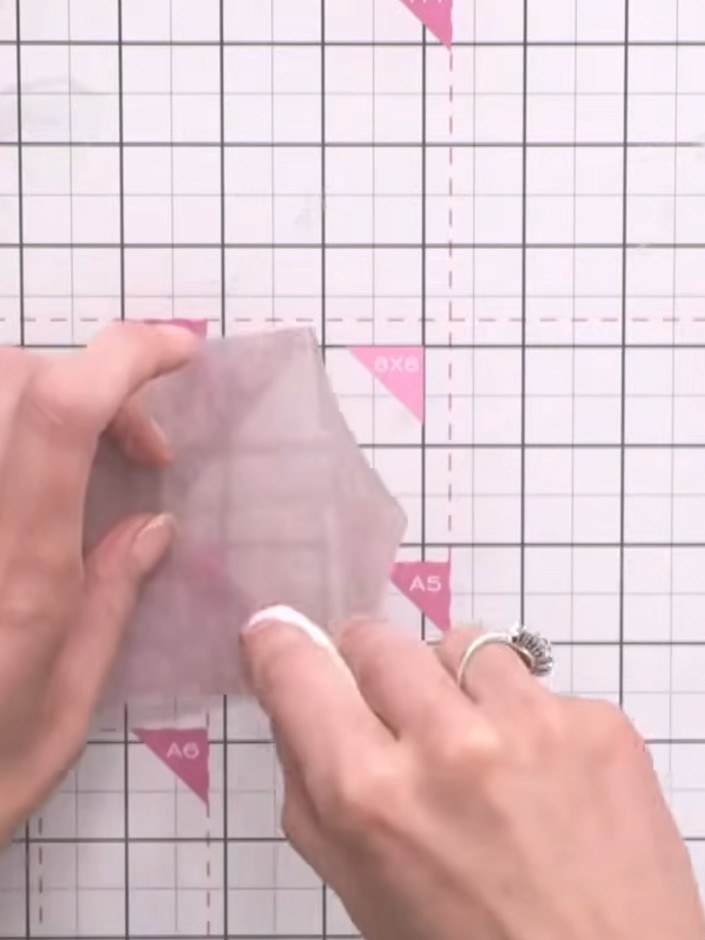
Secure the vellum envelope closed by applying small dots of adhesive along the overlapping edges using a tape pen or adhesive.
▶ watch this step (52:00)
Take the second vellum square and repeat the folding process. Fold the corners to create the envelope pocket shape and secure with double-sided tape.
▶ watch this step (52:45)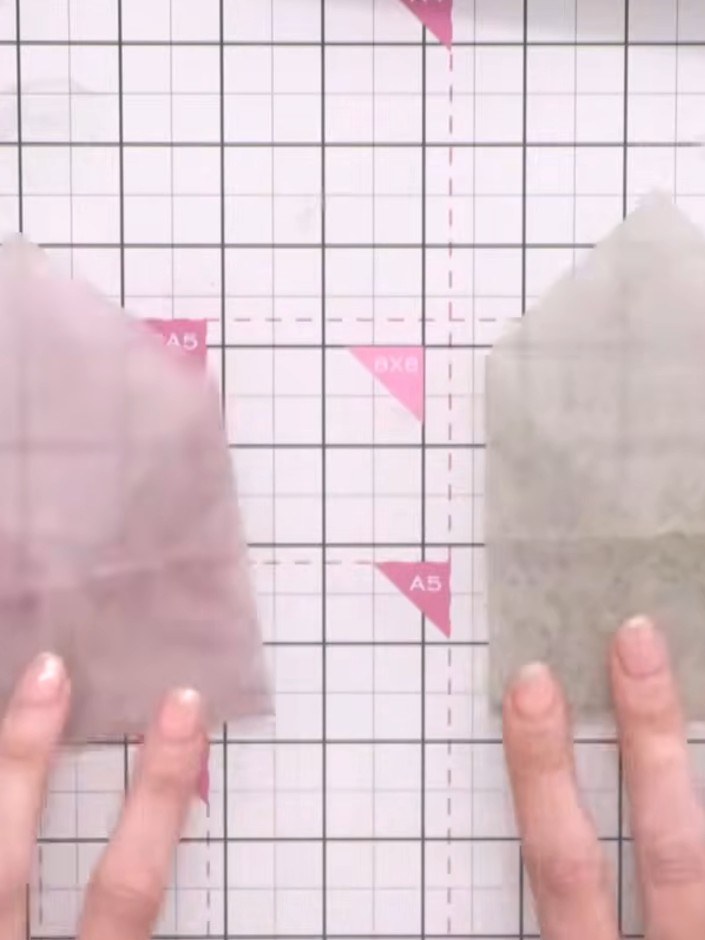
Take two pieces of vellum and place them on your cutting mat. These will be trimmed to create the envelope pockets for your card.
▶ watch this step (55:30)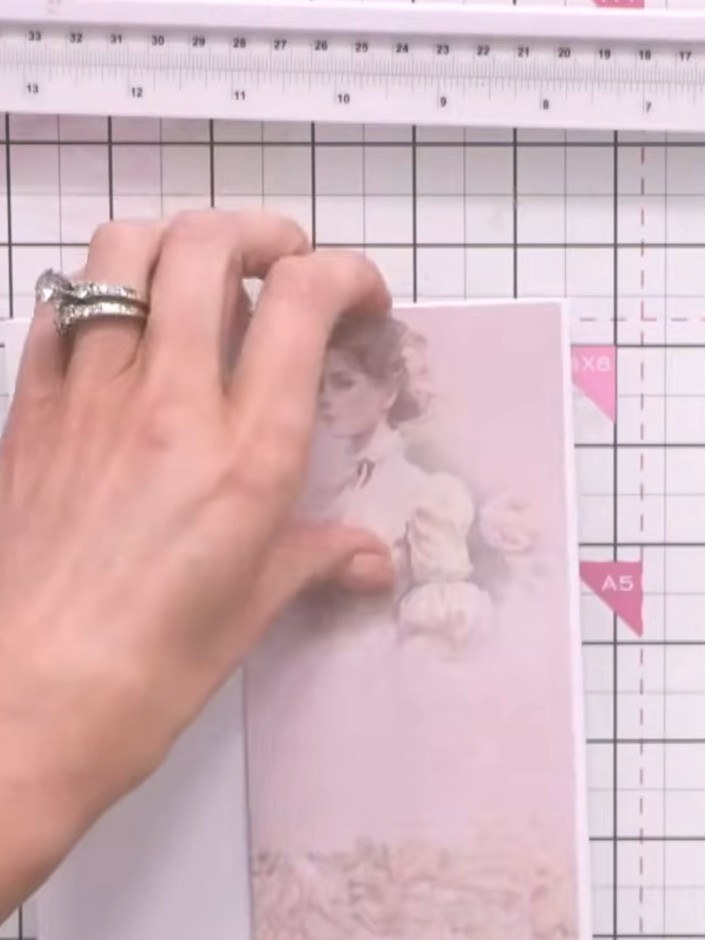
Adhere a patterned paper strip featuring the vintage lady image down one side of the card base, positioning it vertically.
▶ watch this step (56:30)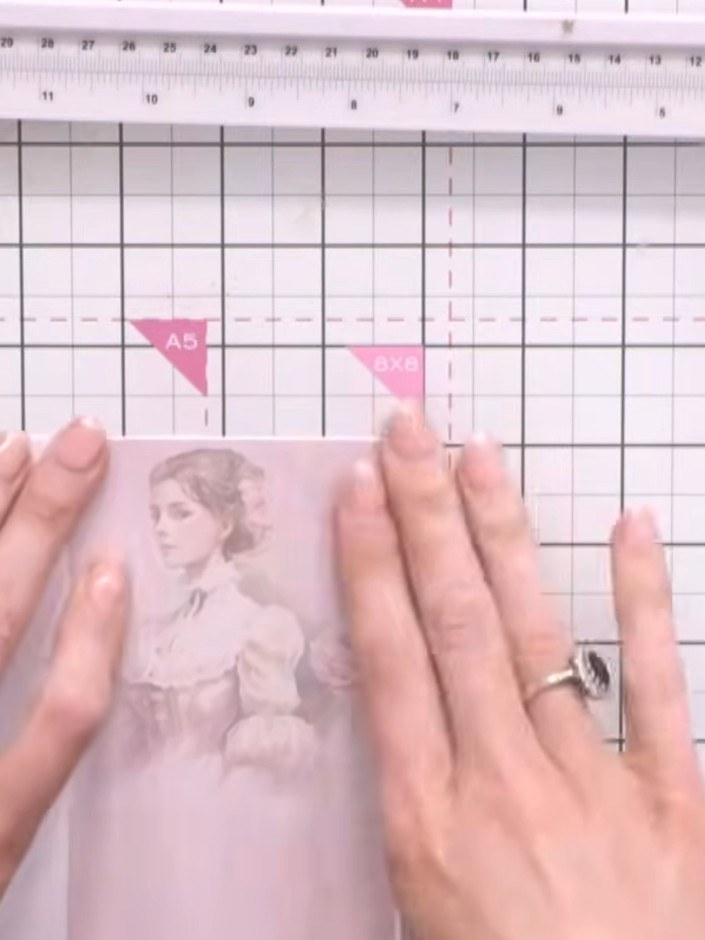
Position and glue the two vellum envelopes onto the card front, arranging them to create visual interest.
▶ watch this step (57:00)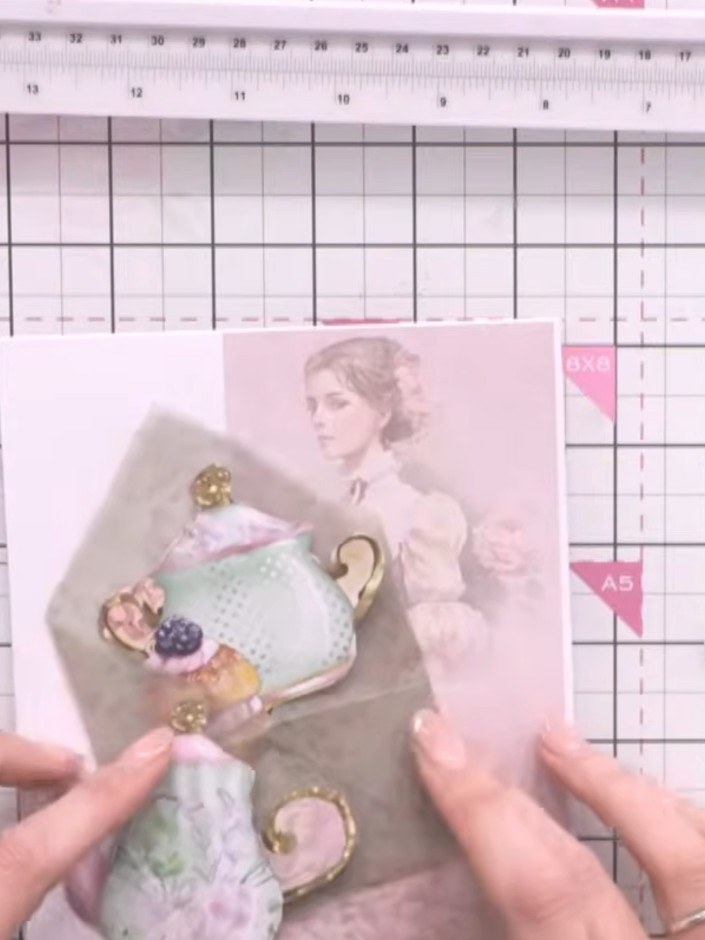
Fussy cut decorative embellishments such as teacups, teapots and cake designs from the patterned papers. Arrange and layer these cut-out elements inside and over the vellum envelopes to create dimension and visual interest.
▶ watch this step (57:45)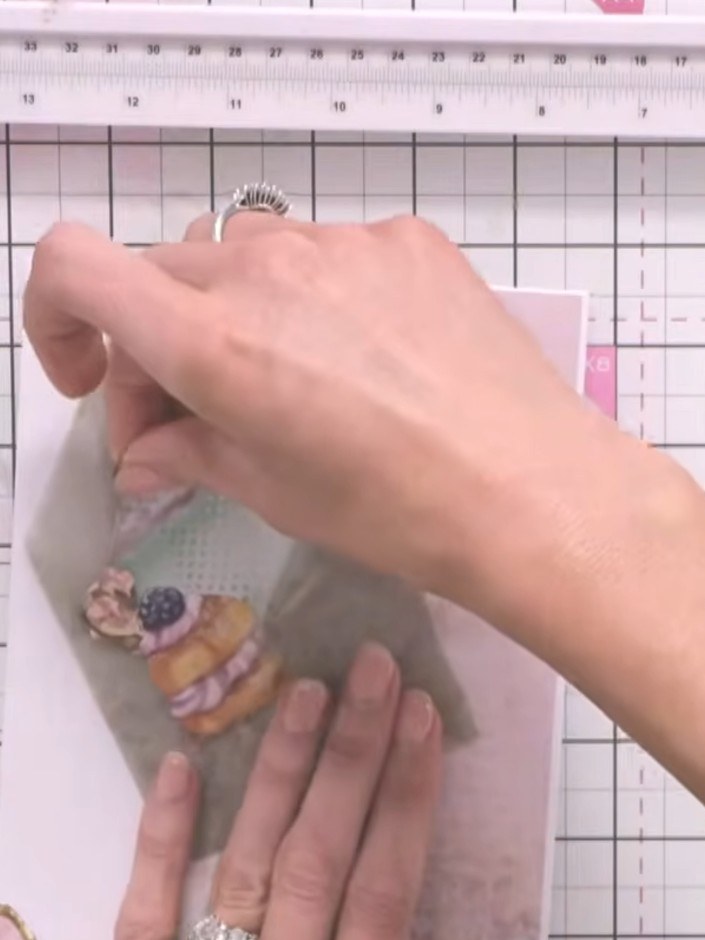
Add foam pads to the back of one of the decorative embellishments to create dimension on your card.
▶ watch this step (58:30)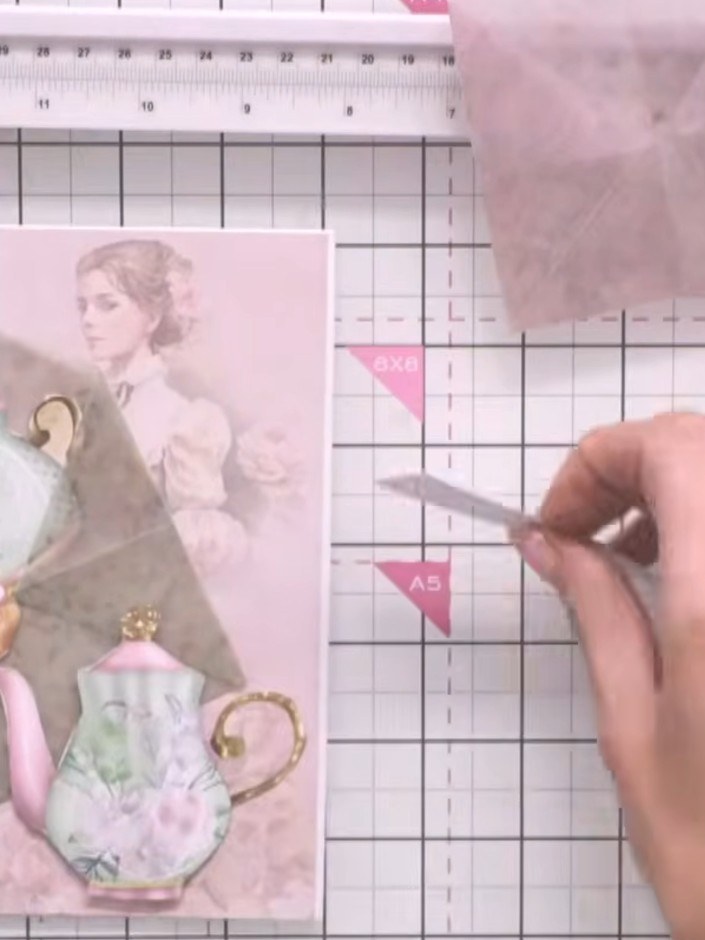
Add a sentiment to the front of the card using washi tape strips or pre-cut word sentiments. Position the sentiment on the vellum pocket to complete your card.
▶ watch this step (59:45)Written up from the show itself. See every guide from our shows · free how-to guides · watch live on My Telly
