Give your friends £10 off their first order!
Refer a FRIEND








A project from our live show Create Together Club - 5 Days of Creativity - Broadcast Tuesday 3RD June 2025 · 03/06/2025 · watch it from 4:45
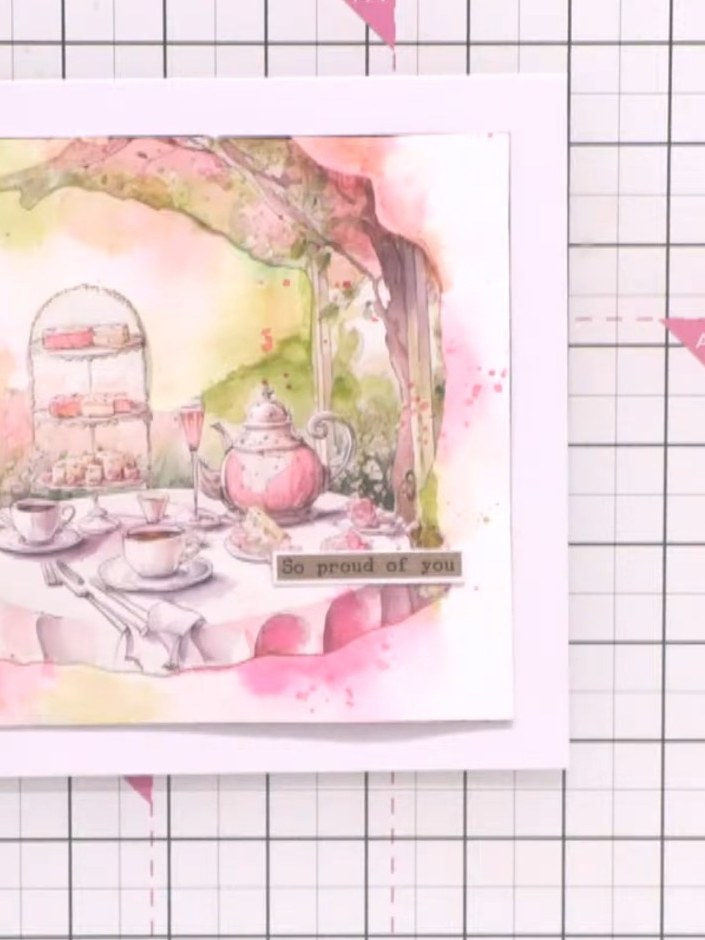
Create a stunning watercolour card featuring a delicate tea party scene with soft pink, yellow and green washes. This project shows you how to enhance a pre-printed topper with your own watercolour painting, blending seamlessly with the existing design to create a bespoke artistic finish. The technique involves adding white paint accents and watercolour washes to make the card look entirely hand-painted.
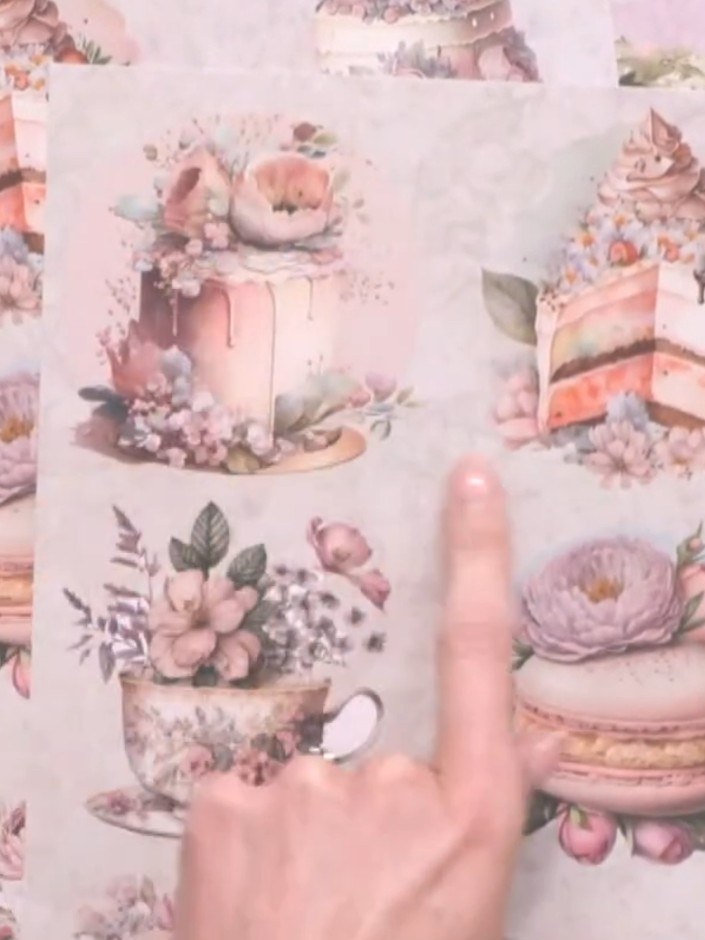
Select a watercolour-edged paper topper from your collection. Choose one with a fluid, organic edge rather than a solid border for best results.
▶ watch this step (4:45)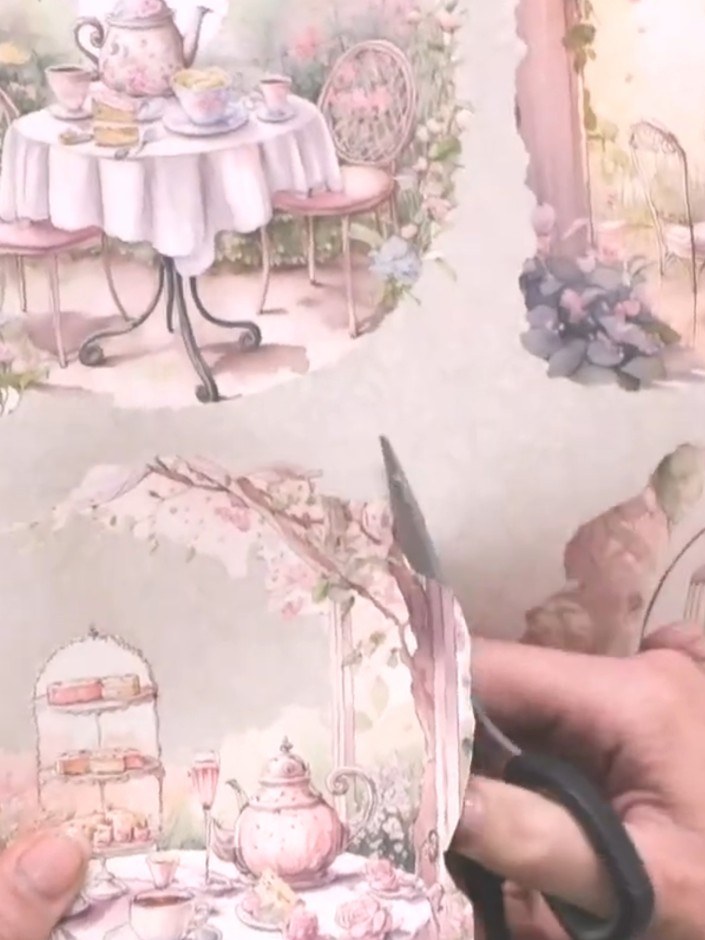
Cut around the design very loosely and roughly, following the outline of the image without needing to be precise.
▶ watch this step (5:15)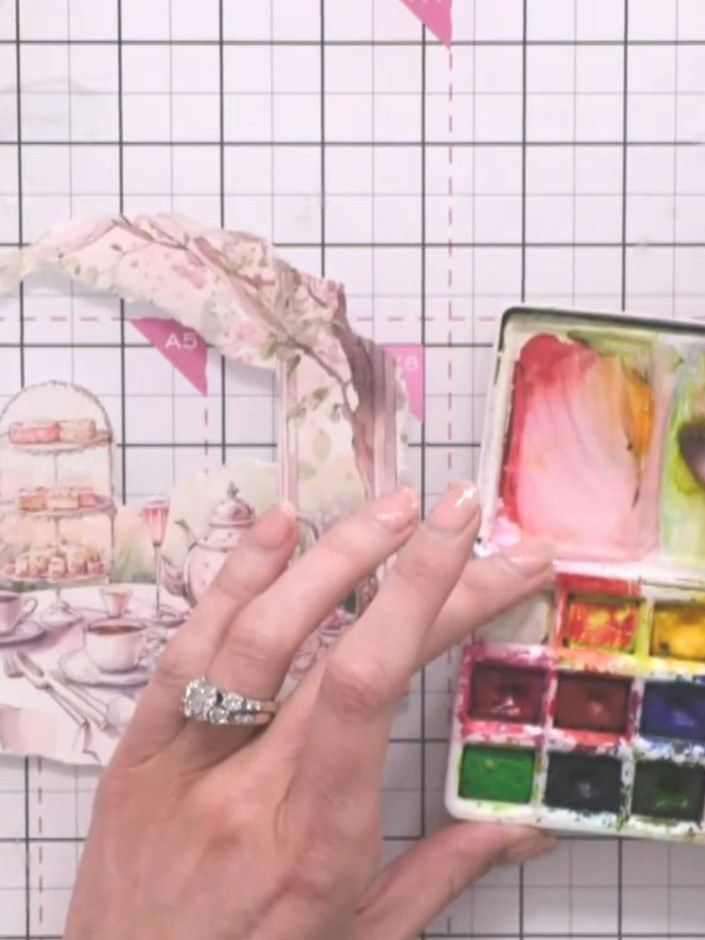
Identify the prominent colours in your design and prepare matching watercolours in your palette. Mix colours such as peach and green to match the elements in your image.
▶ watch this step (10:30)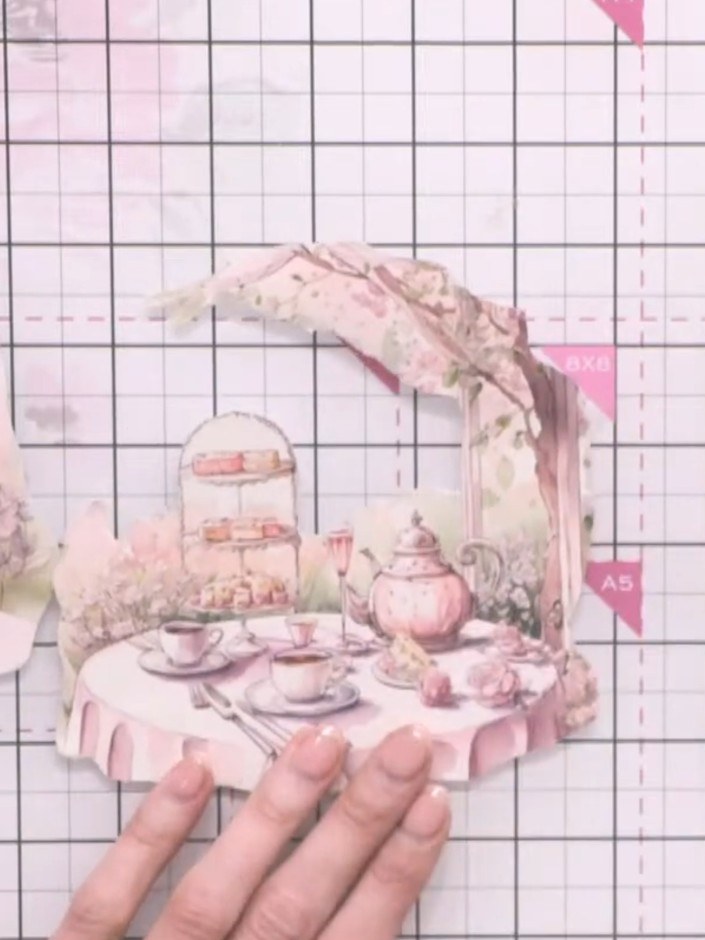
Wet your brush with water first, then apply watercolour paint to enhance the existing colours on your painted paper. Add green to green areas and pink to pink areas to build depth and intensity.
▶ watch this step (10:45)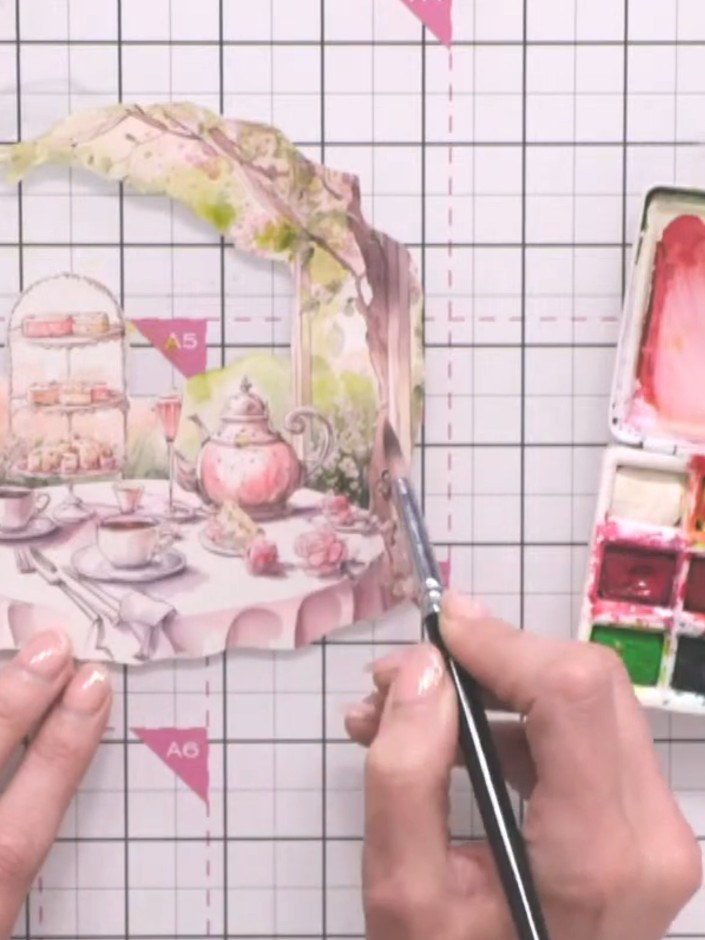
Keep water minimal as you're working on 200 gsm card stock, which won't hold large amounts of water without cockling. Apply the pink watercolour paint carefully to the tea party scene with a fine brush.
▶ watch this step (13:00)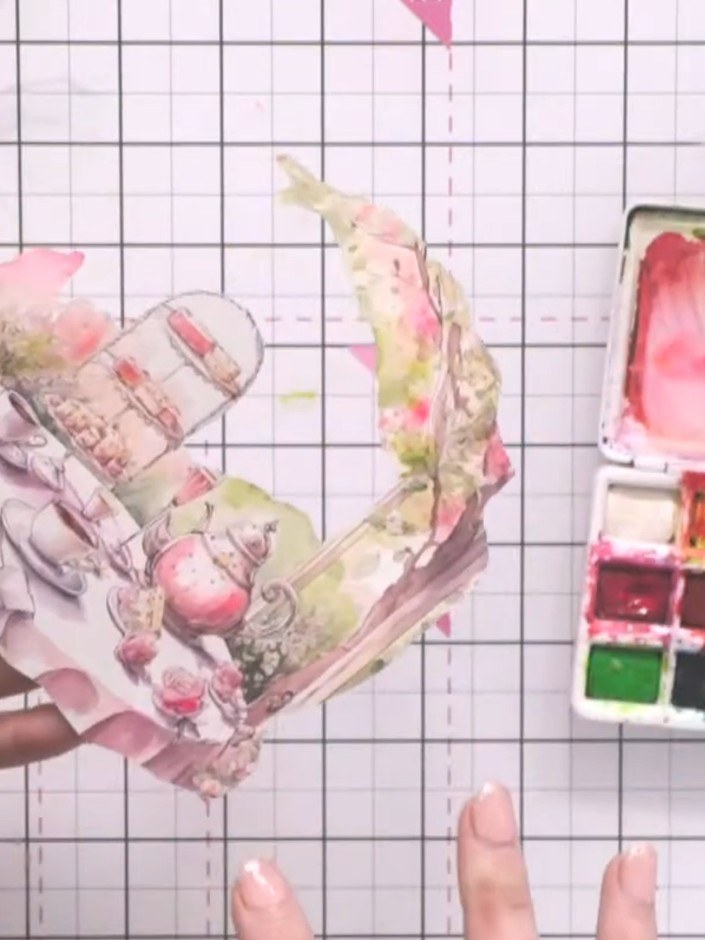
Edge the entire cut piece with watercolour paint to hide the white card edge. Paint around all edges to ensure the piece blends seamlessly when mounted onto your card.
▶ watch this step (15:00)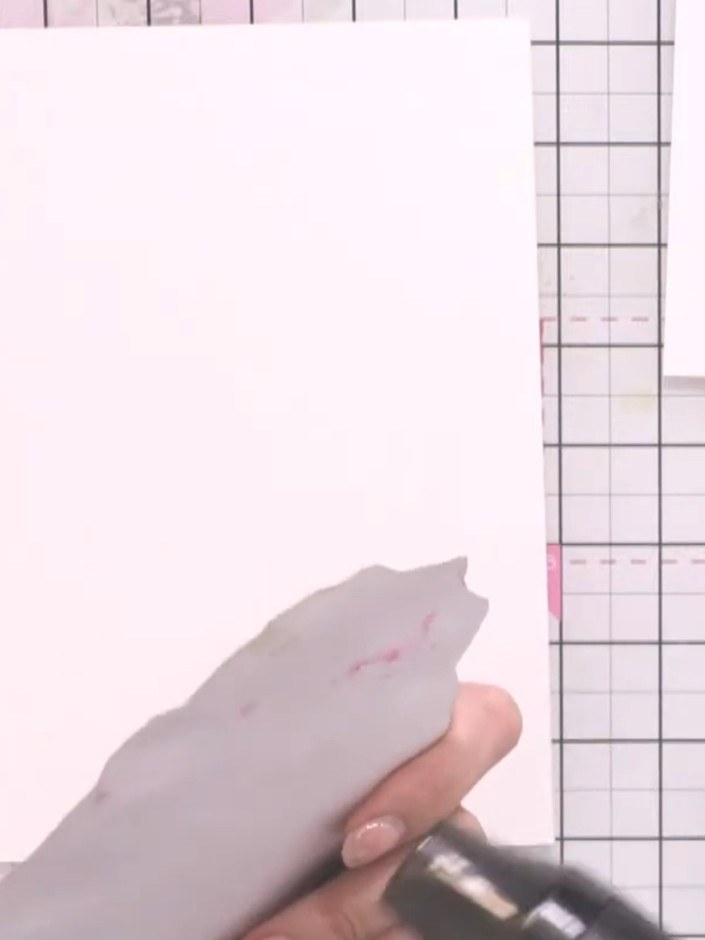
Prepare a watercolour card base and wet it thoroughly with clean water using your brush. Ensure the entire surface is evenly dampened.
▶ watch this step (20:45)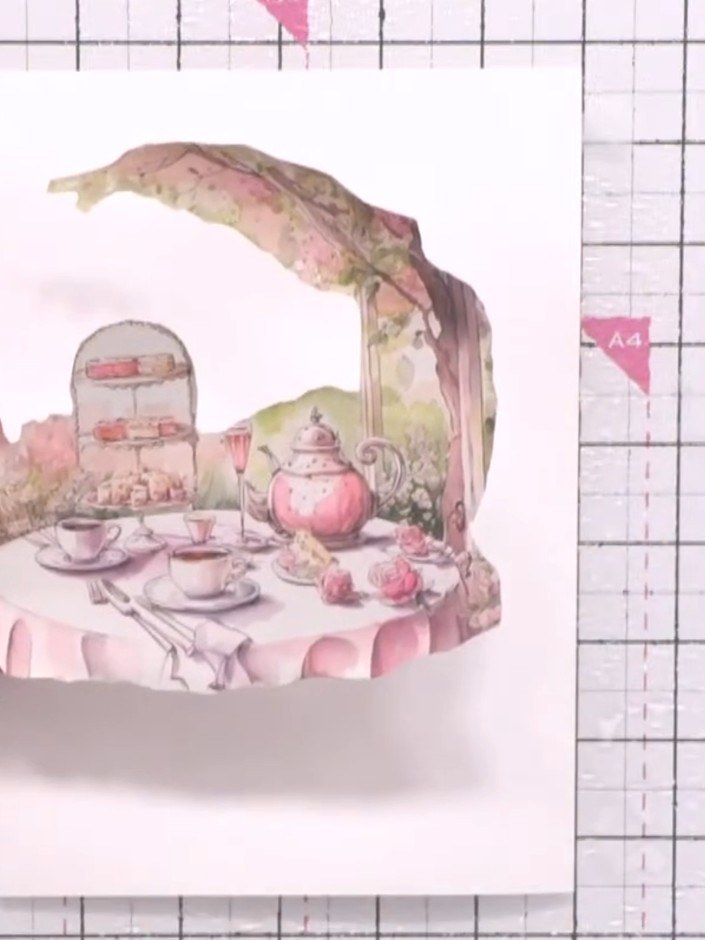
Apply watercolour washes to the base card using colours that match your painted topper. Extend the washes across the background to create a cohesive look that complements the main image.
▶ watch this step (22:45)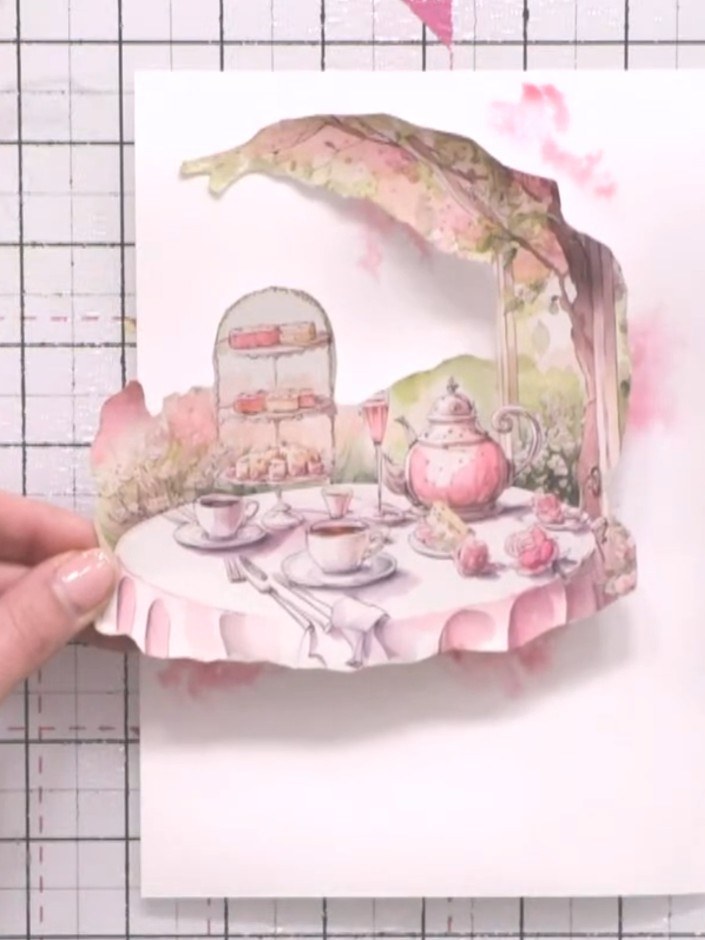
Once the first layer has dried completely, apply a second pass of watercolour to build depth and intensify the colours. Use the same pink tones to add richness to the design.
▶ watch this step (23:30)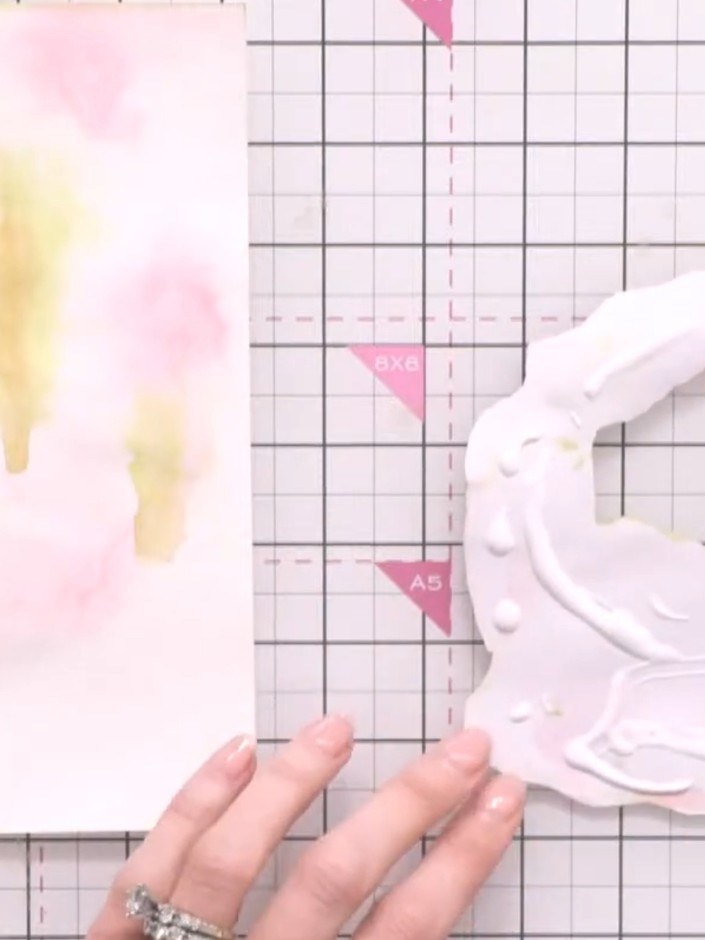
Apply adhesive thoroughly to the back of the painted watercolour topper, ensuring complete coverage across all elements. Carefully position and adhere the topper to the watercolour base card, pressing down firmly to ensure no raised edges remain.
▶ watch this step (36:00)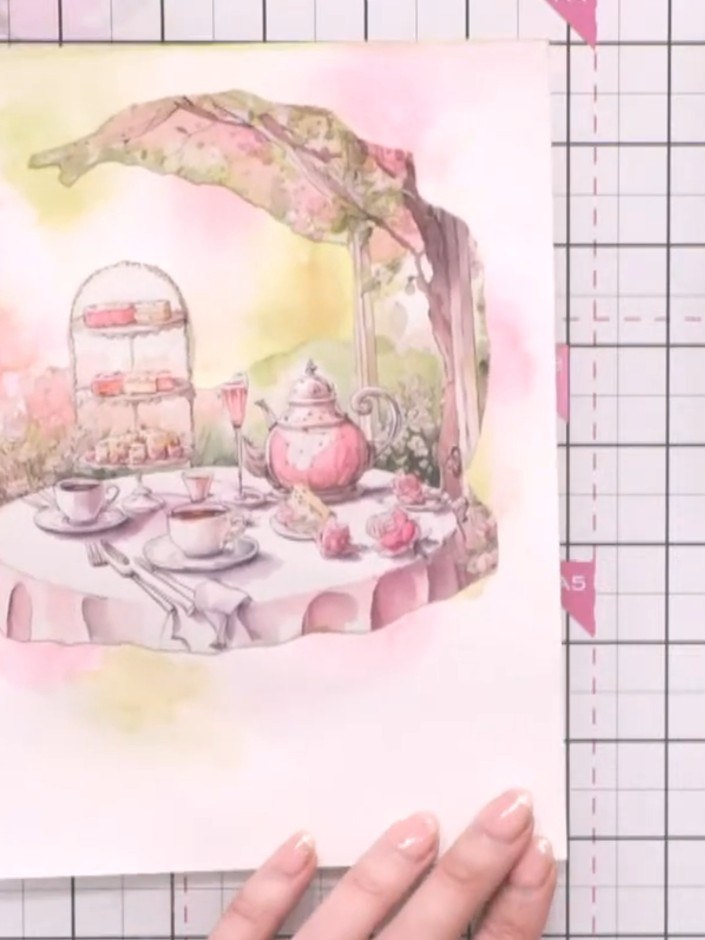
Using a wet brush, paint over the edges where the topper meets the background card, blending the colours together to make the seam invisible.
▶ watch this step (39:00)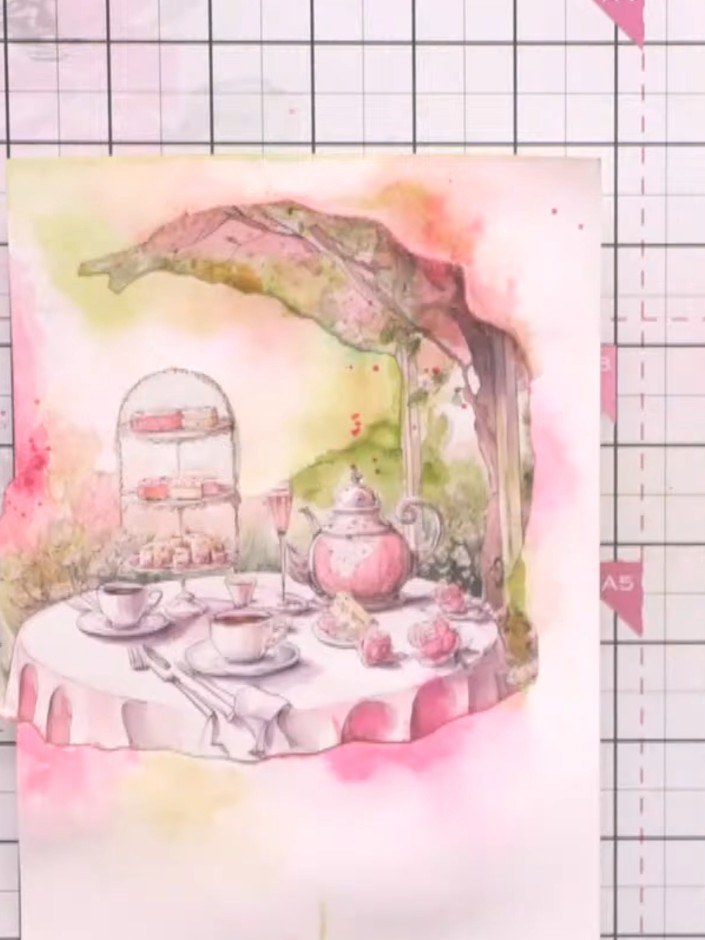
Add watercolour splats around the topper using pink and complementary colours from your palette. This creates artistic cohesion between the topper and the background, tying the elements together.
▶ watch this step (52:00)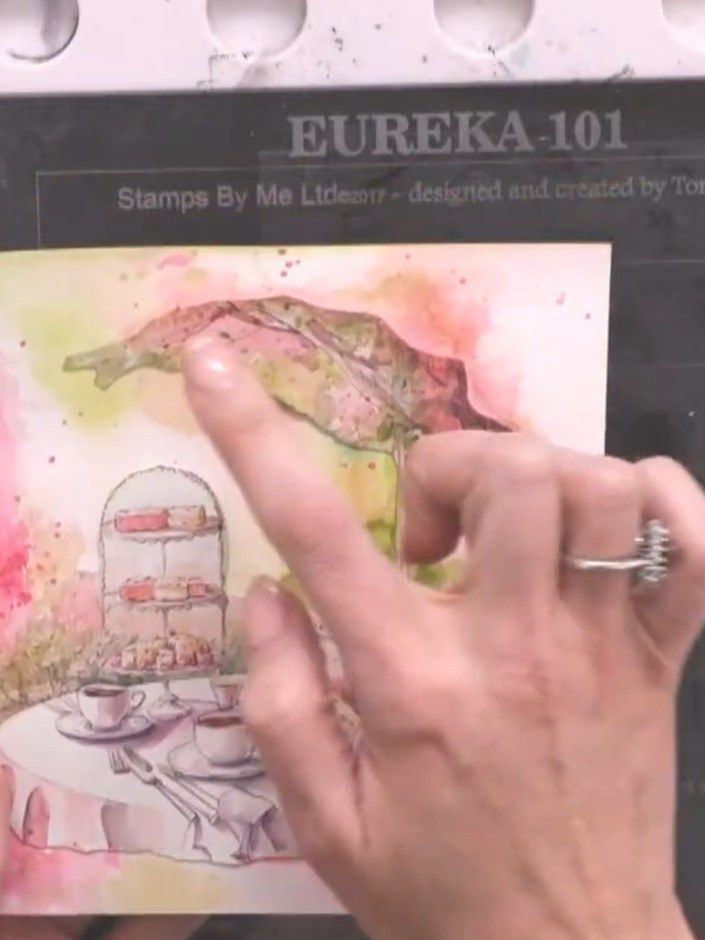
Trim the finished watercolour piece to your desired card size, keeping as much of your painted work as possible.
▶ watch this step (54:45)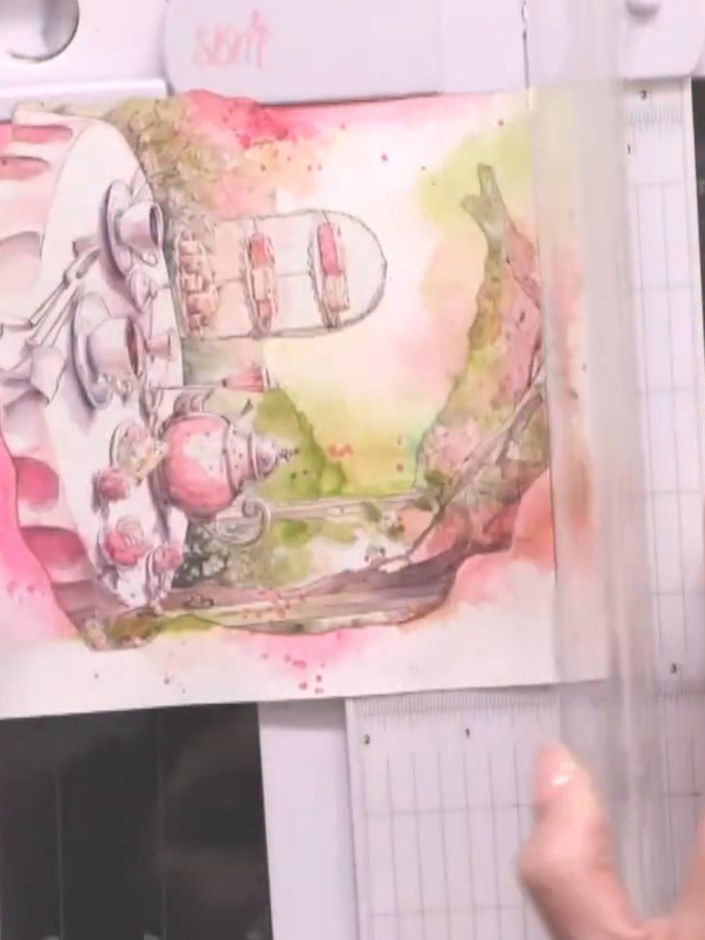
Mount the completed watercolour panel directly onto your card blank without any matting or layering, allowing the watercolour artwork to be the focal point of the card.
▶ watch this step (55:00)Written up from the show itself. See every guide from our shows · free how-to guides · watch live on My Telly
