Give your friends £10 off their first order!
Refer a FRIEND








Prices change straight away. Every language is our own translation, not Google.
A project from our live show HSN PRODUCT INSPIRATION - Join me for a fun filled show broadcast 25th August 2026 · 25/08/2026
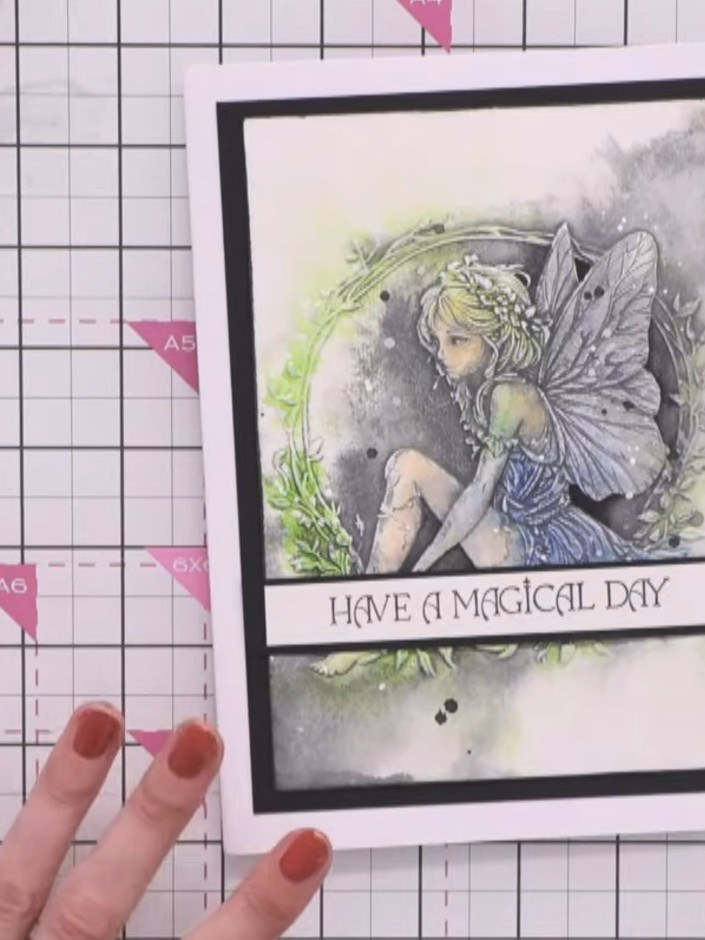
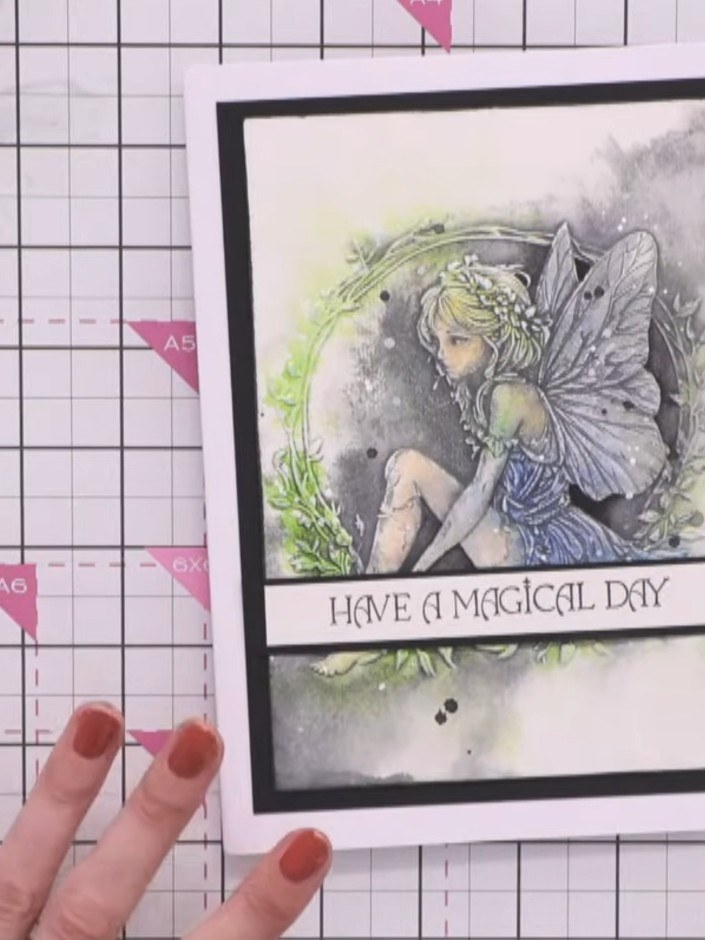
Create an ethereal fairy card using a sophisticated layered ink technique on watercolour card stock. Build up soft, blended colours with multiple ink pads, spray with water for a dreamy effect, and emboss the image several times with different colours. Finish by hand-painting delicate details and pushing back highlights with white ink for a dimensional, mystical result.
 1
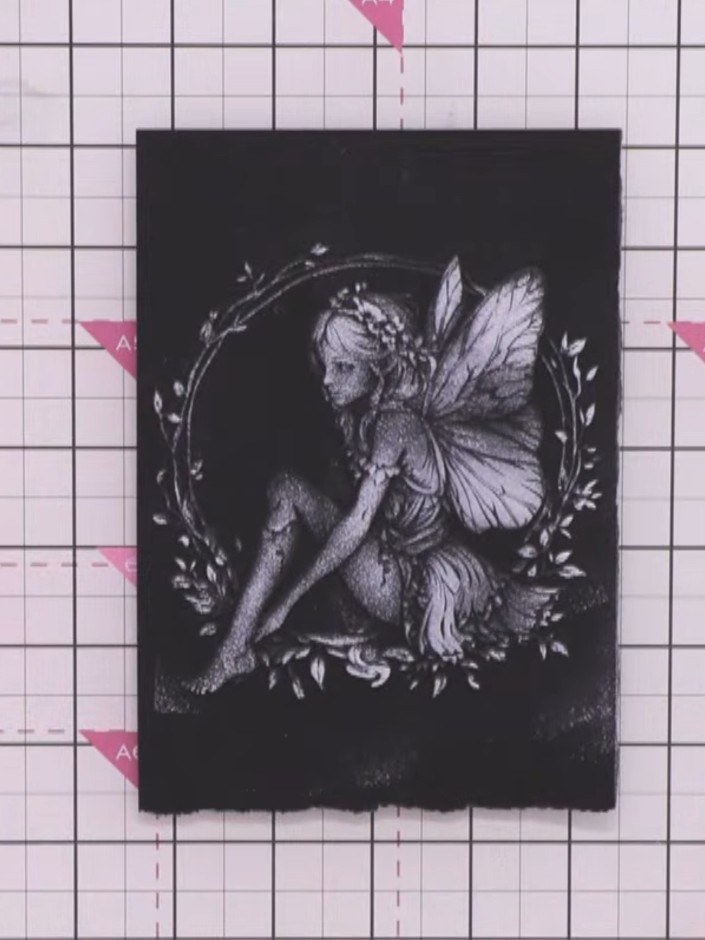
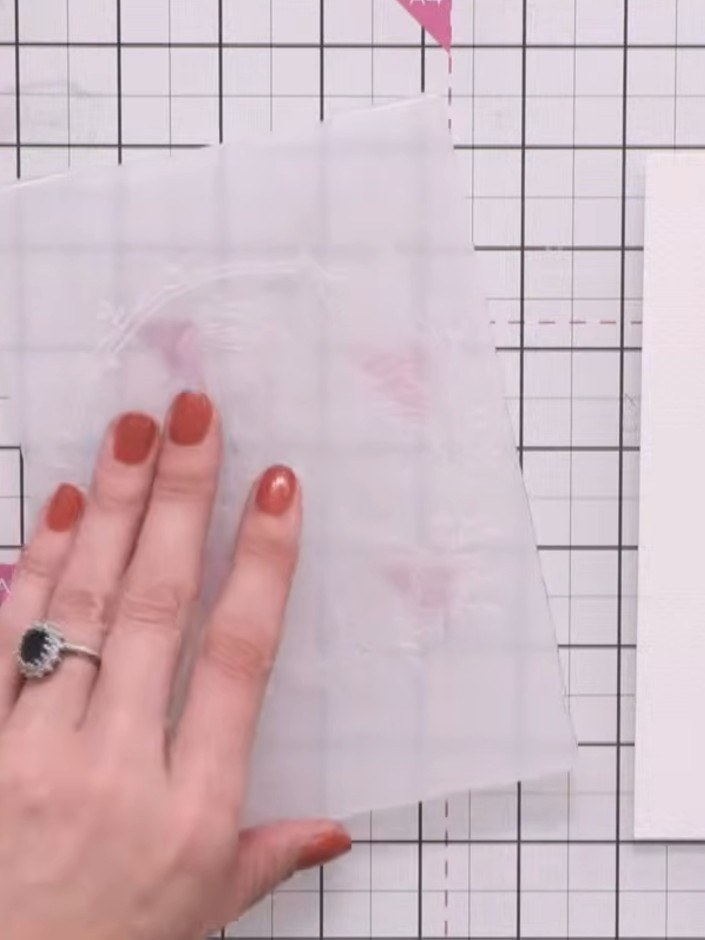
Cut a piece of white watercolour card stock to fit inside your embossing folder. This will be used to create the background for your fairy image. Ink up one corner of the embossing folder with black ink, leaving the rest of the folder clean. Spray the watercolour card stock lightly with water to help the ink move and blend smoothly across the surface. Place the inked card into the embossing folder and run it through the die-cutting machine to transfer the black ink and create the embossed design. Remove the card from your work surface and set it aside to allow the ink to dry slightly before continuing with the next step. Ink up a different corner of the embossing folder with green ink from your ink pad collection.
 2
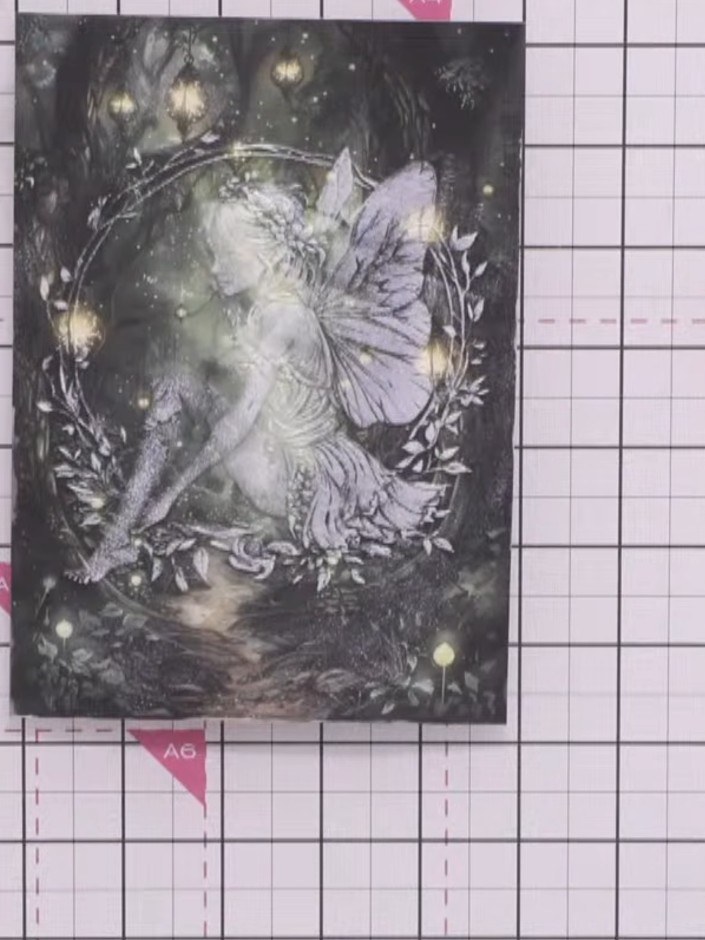
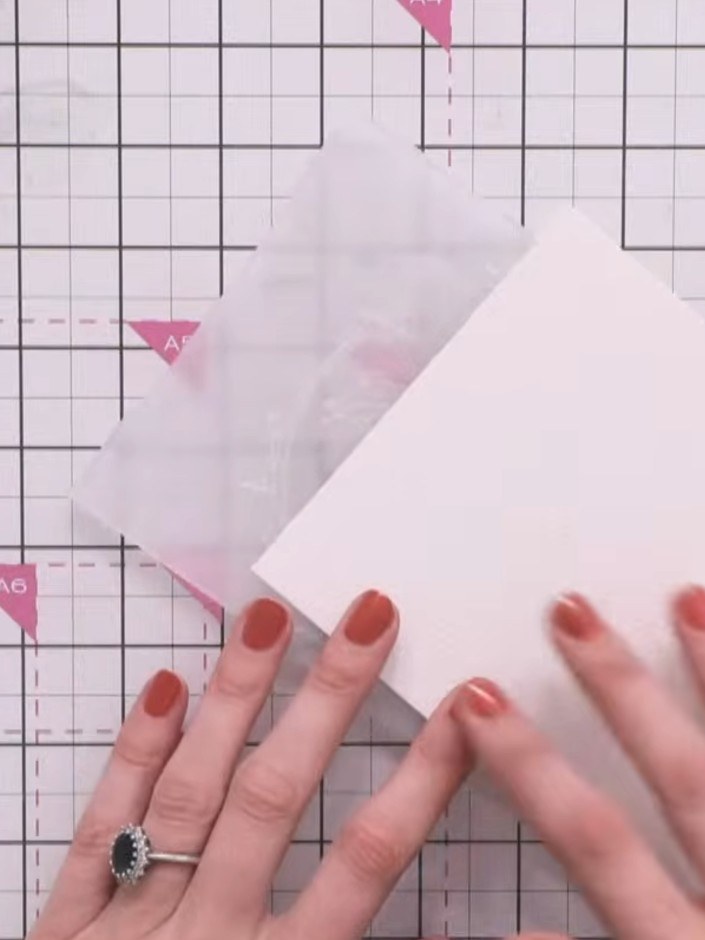
Spray the card again with water. Run it back through the die-cutting machine, carefully lining up the fairy design with the embossing folder.
 3
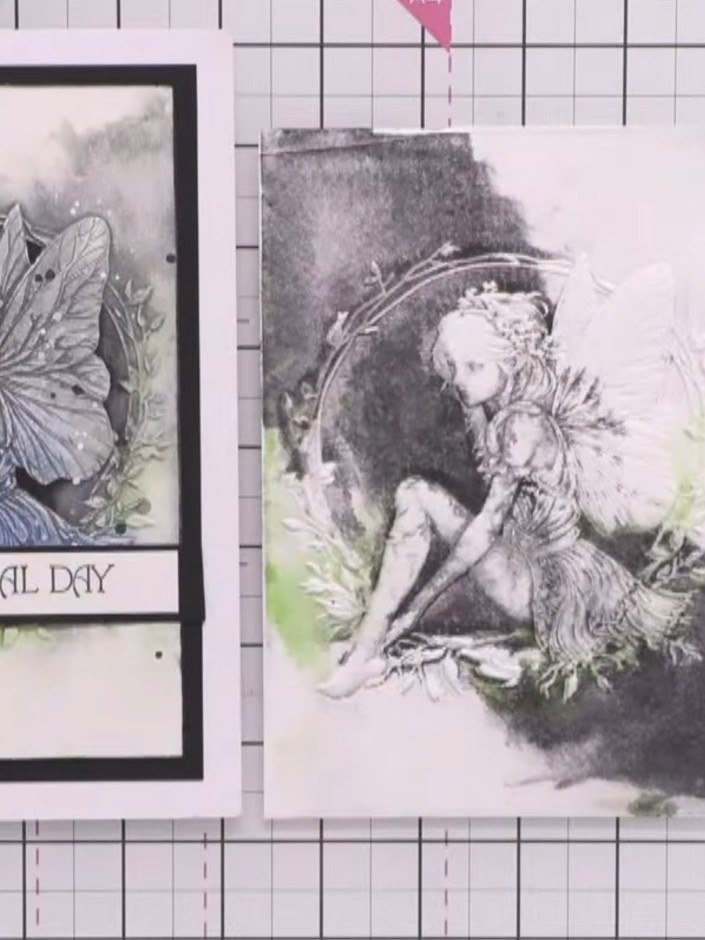
Dry the card using a heat tool to set the ink and watercolour layers.
 4
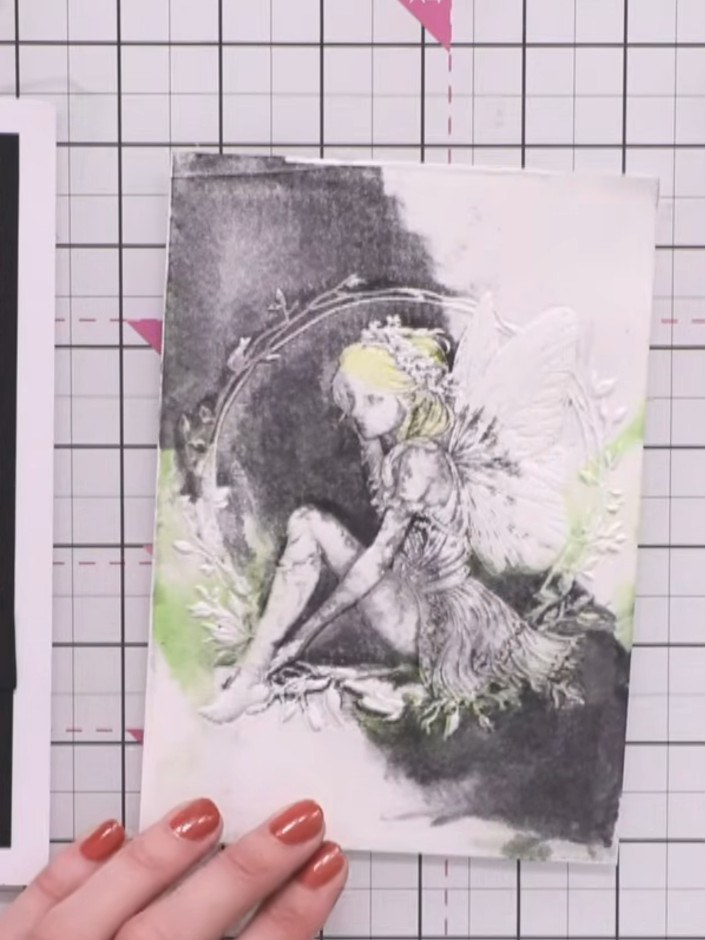
Using a paintbrush, hand-paint colours directly onto the fairy image. Apply yellows to the hair, teals to the dress, oranges to the flowers, and skin tones to the face and arms.
 5
Use a heat tool to completely dry the painted fairy image. Hold the heat tool over the card until all the watercolour is fully dry.
 6
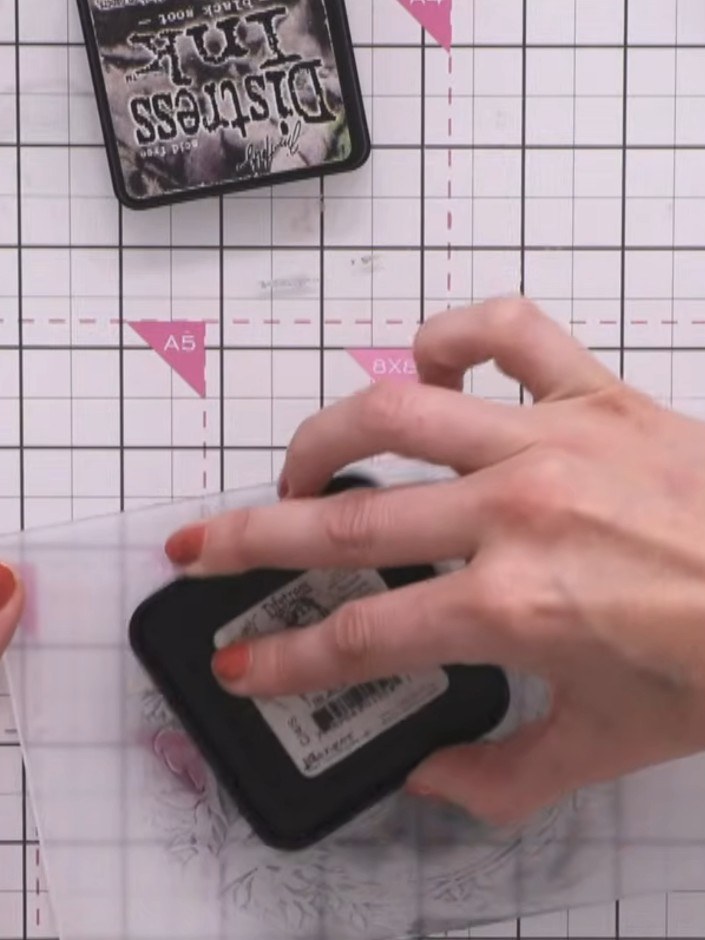
Ink up the entire embossing folder with black ink using an ink pad. Run the card through the die-cutting machine again to bring back all the fine detail and definition to the embossed design.
 7
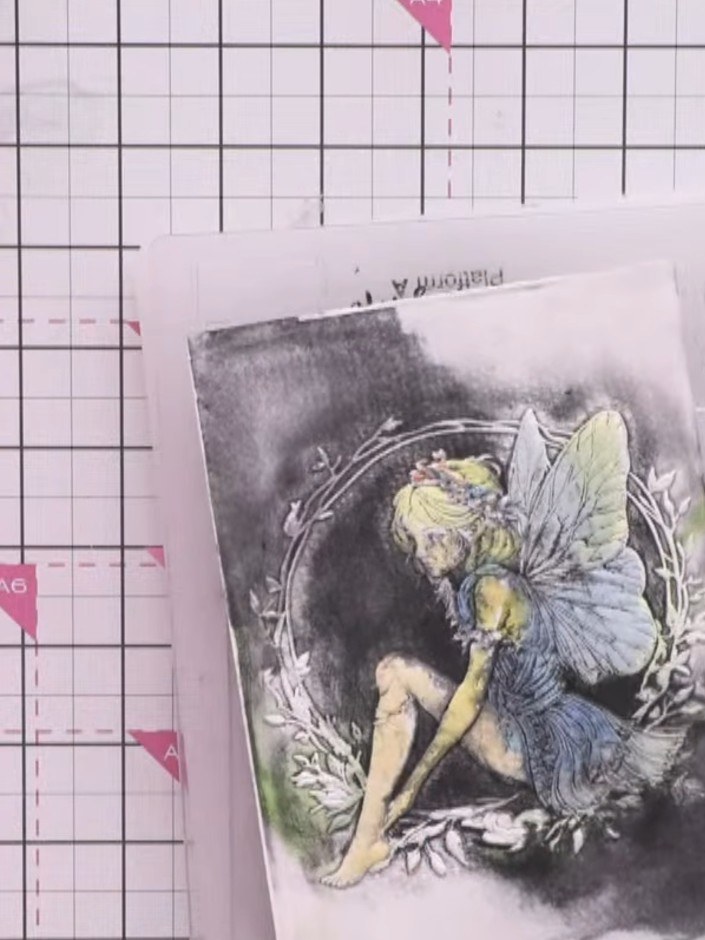
If the fairy's face has become too dark, use a white ink pad to gently dab over the face area to lighten it and push back the detail. Allow the white ink to dry.
 8
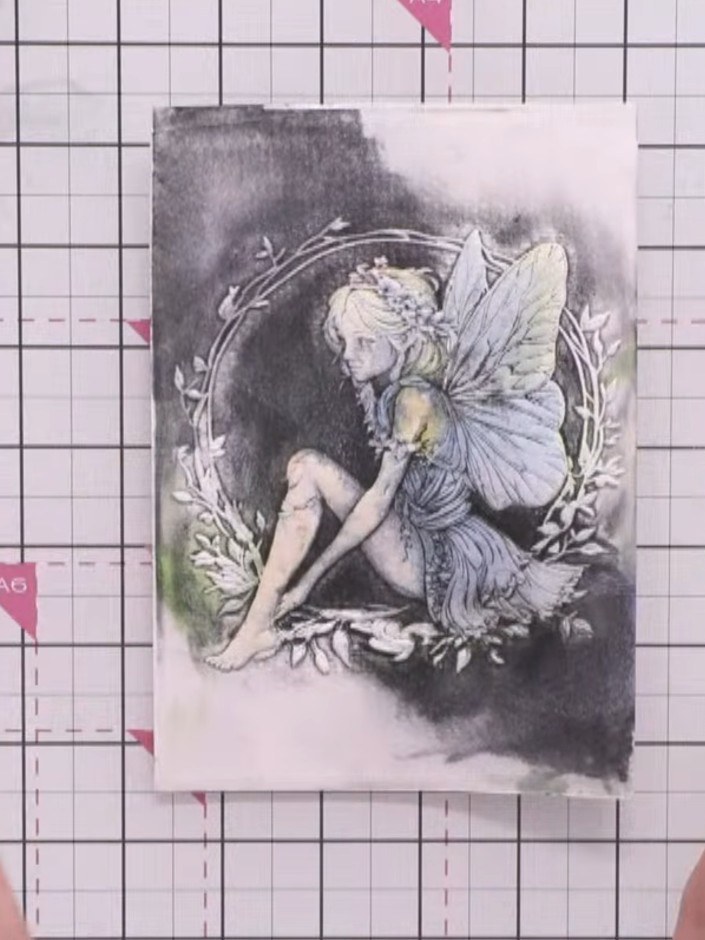
Trim the finished fairy design to your desired size. Mount the trimmed piece onto a card blank to complete your project.
Share your make with the Stamps By Me community - and keep this guide for next time.
Written up from the show itself. See every guide from our shows · free how-to guides · watch live on My Telly · the previous layout