Give your friends £10 off their first order!
Refer a FRIEND








A project from our live show ONE DAY SPECIAL - We are celebrating 3 million VIEWS! - Broadcast 13th June 2025 · 13/06/2025 · watch it from 49:45
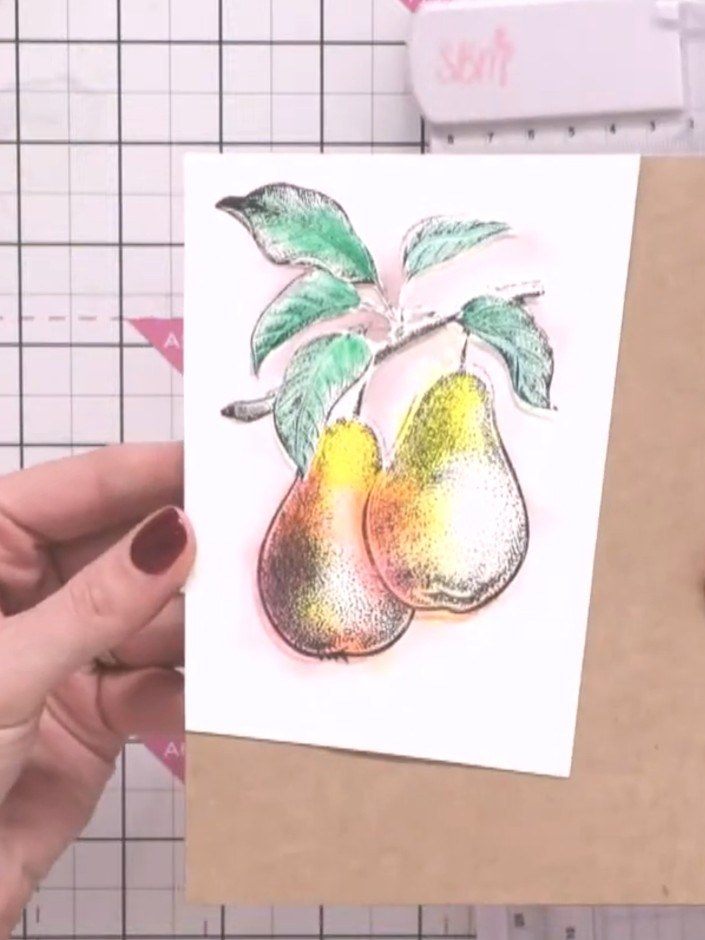
Create a stunning greeting card featuring beautifully watercoloured pears with embossed texture and fine stamped details. The pears are hand-painted in soft yellows, oranges and greens with delicate shading to add depth and dimension. This elegant design is mounted on kraft-coloured card stock, combining watercolour blending techniques with embossing and stamping for a professional finish.
 Stamps & Embossing Folders - Apples & Pears - 191224ASEE IT
 Stamps By Me - Craft Blank Cards & Envelopes 5 X 7 - 110425CSEE IT
 943382 TV - 100268 - HTCN - Stamps By Me Standard Paintbrush Set - 061121ASEE IT
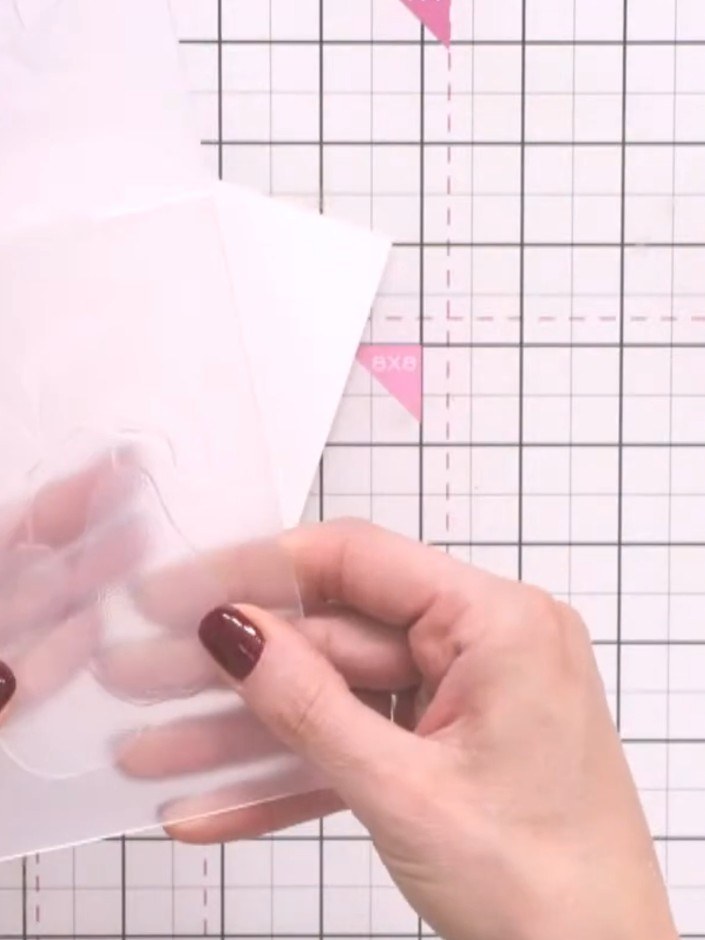
Place your watercolour card into the pear embossing folder. Run the folder through your die-cutting machine to create a raised pear design on the card.
▶ watch this step (53:30)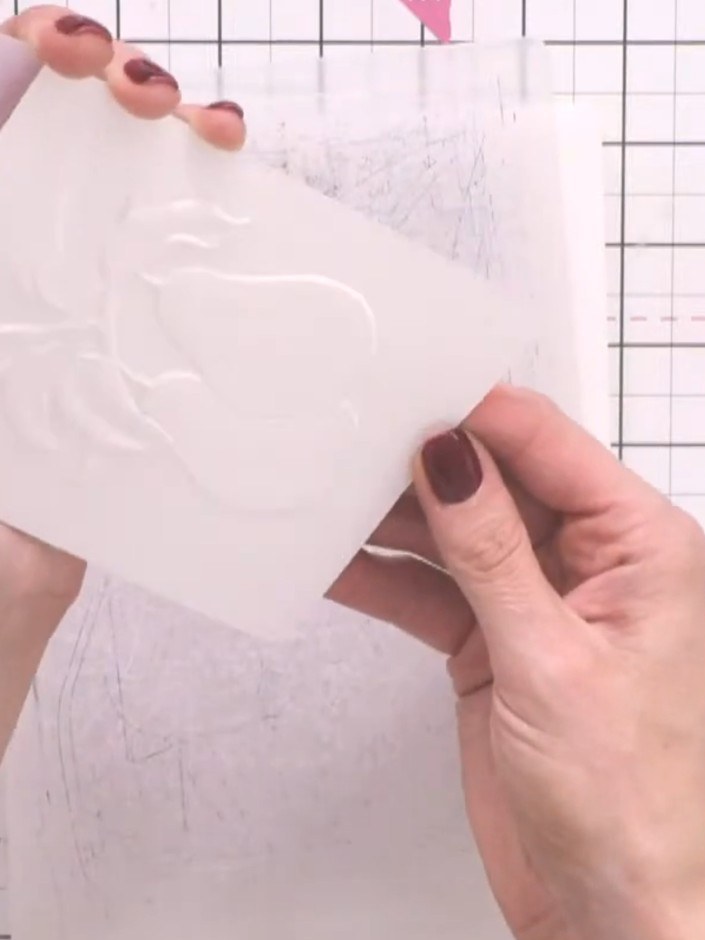
Using a clean watercolour brush, wet the entire embossed pear area with clean water. Ensure the water covers all the raised embossed details of the pear and leaves.
▶ watch this step (54:45)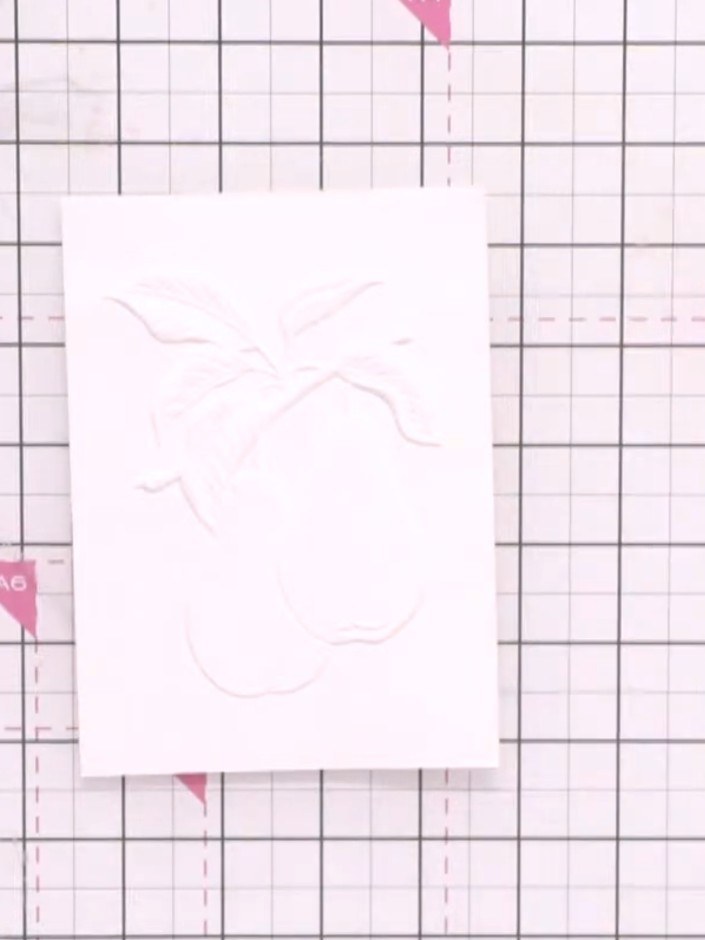
Drop watercolour paint onto the wet embossed pear image in multiple colours including pink, orange and yellow. Allow the water to blend the colours naturally on the card.
▶ watch this step (57:45)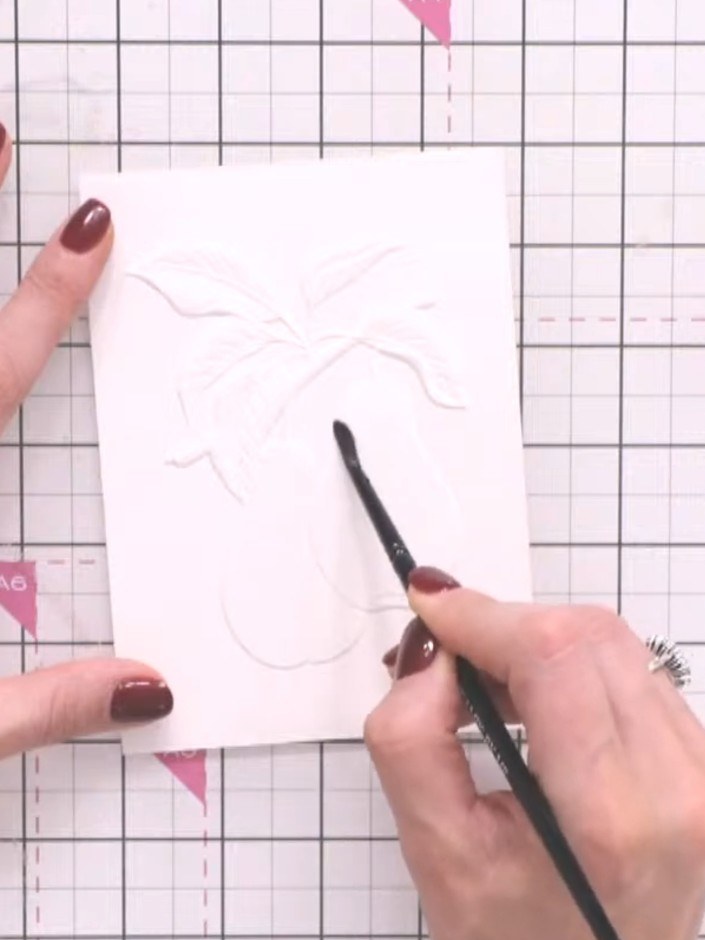
Using a clean, damp brush, soften any harsh colour lines by blending the edges of the watercolour on your pear design. Work gently to create smooth transitions between colours.
▶ watch this step (58:30)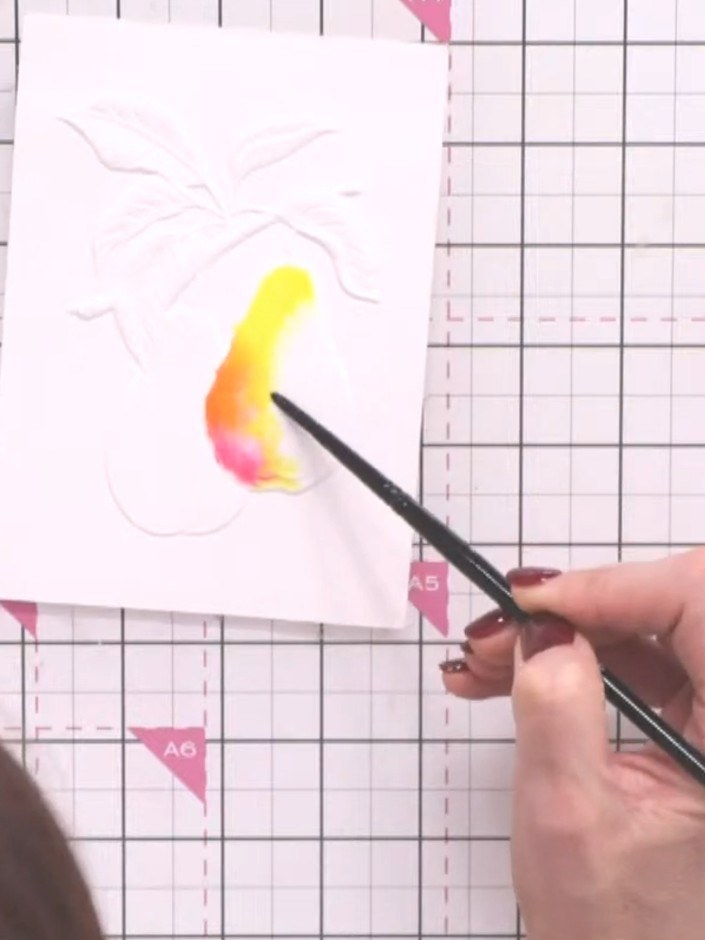
Using a wet paintbrush, add water to the edge of the pear shape. Paint the pear with yellow, orange and pink watercolours, blending the colours together whilst wet.
▶ watch this step (59:00)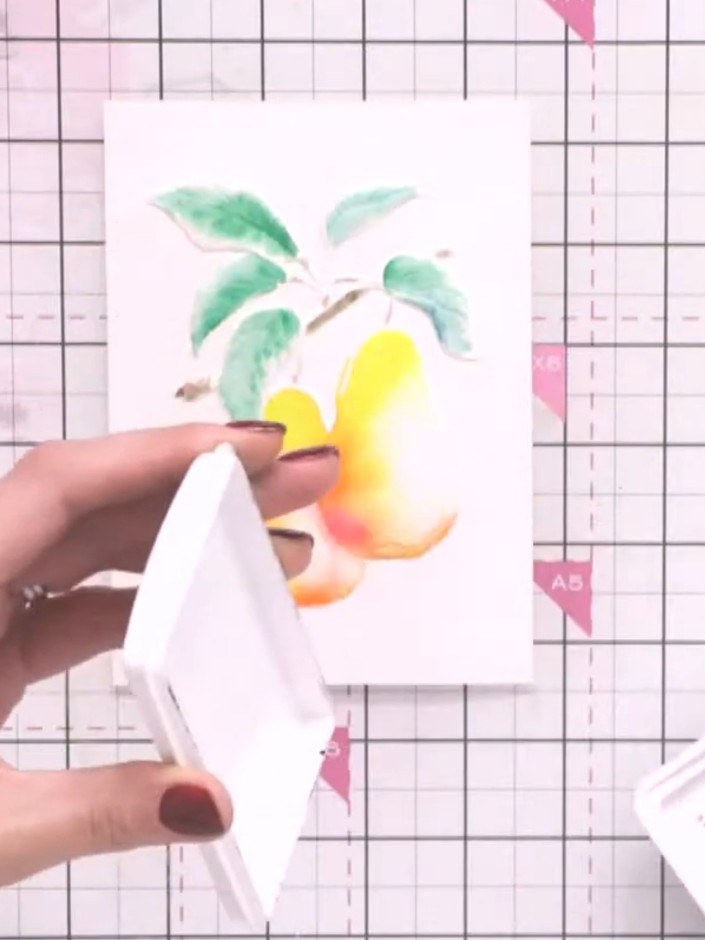
Using a damp brush with diluted grey ink, add shadow definition around the exterior edges of the pears and leaves to create depth.
▶ watch this step (1:05:00)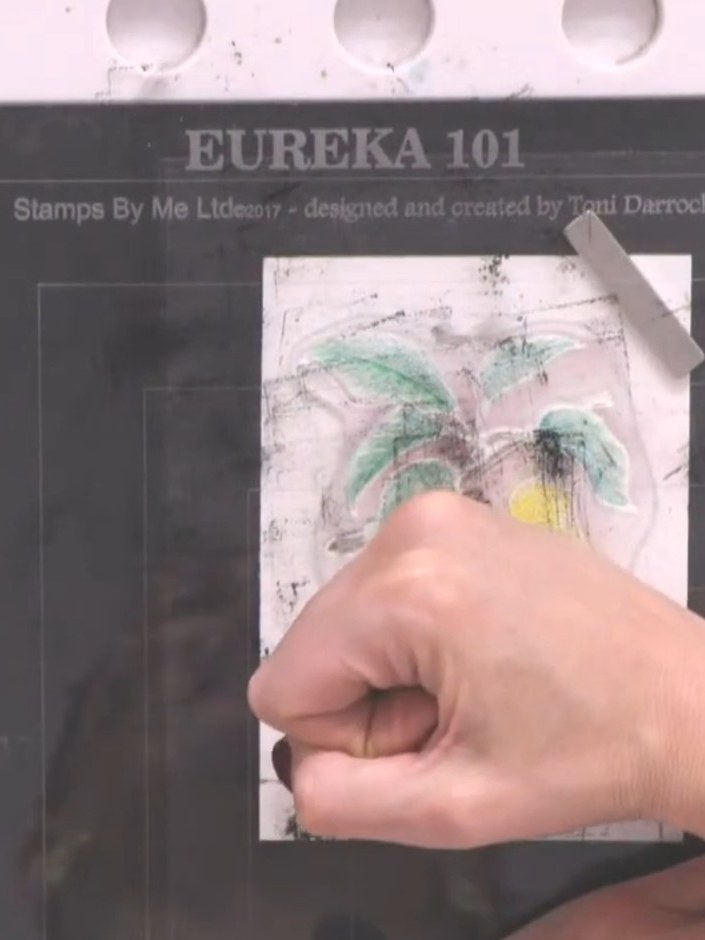
Stamp the pear design over the watercoloured area using black ink to add fine detail and definition to the image.
▶ watch this step (1:14:45)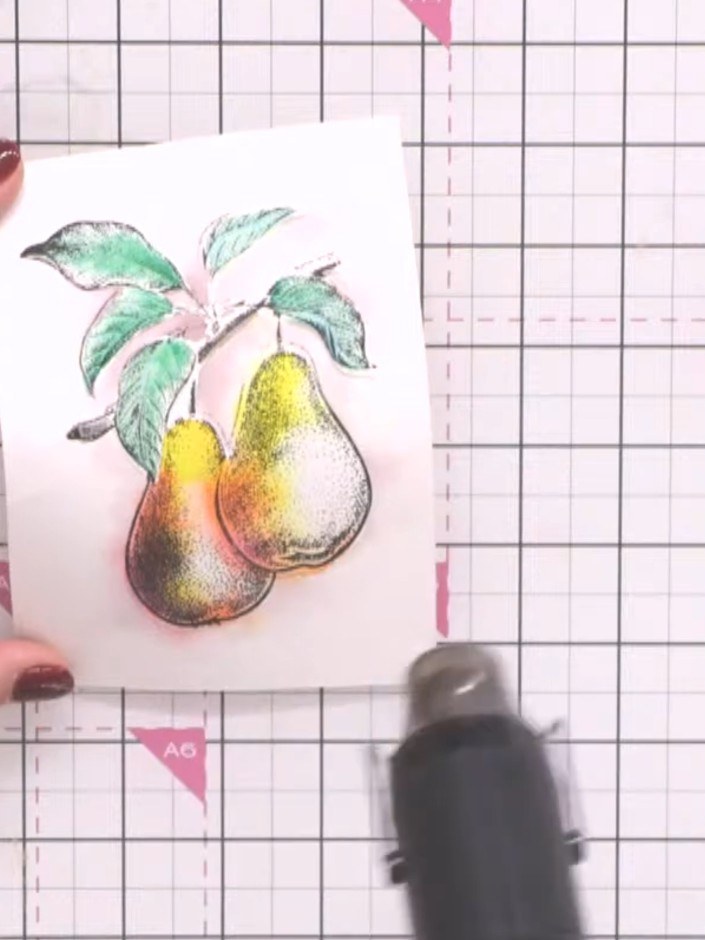
If detail has been lost from watercolouring, place the stamped card back into the embossing folder and run through the die-cutting machine again to restore the raised texture.
▶ watch this step (1:17:00)
Mount the finished painted and stamped card panel onto a craft-coloured card blank using double-sided tape. Position the panel centrally on the card base.
▶ watch this step (1:20:00)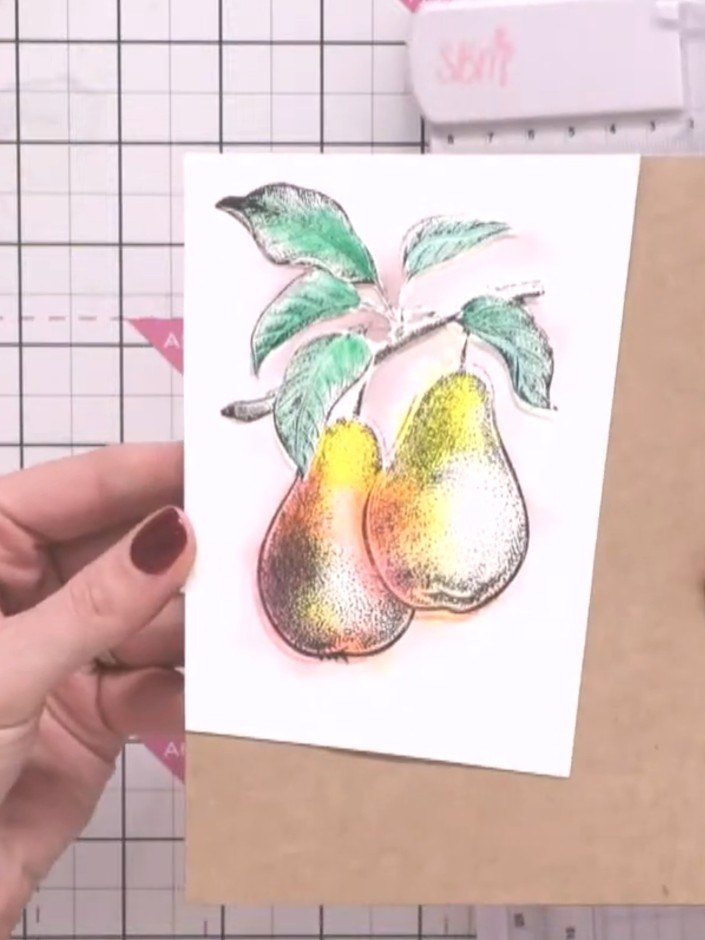
Cut a strip from the painted card at an angle using a guillotine to create a diagonal design element for your card.
▶ watch this step (1:20:30)
Add a sentiment from the stamp set to the bottom of the card. Use washi tape to mask off the area if desired for precise placement.
▶ watch this step (1:20:45)Written up from the show itself. See every guide from our shows · free how-to guides · watch live on My Telly