Give your friends £10 off their first order!
Refer a FRIEND








Prices change straight away. Every language is our own translation, not Google.
A project from our live show MY PODCAST - Catch my latest updates broadcast 7th July 2025 · 07/07/2025
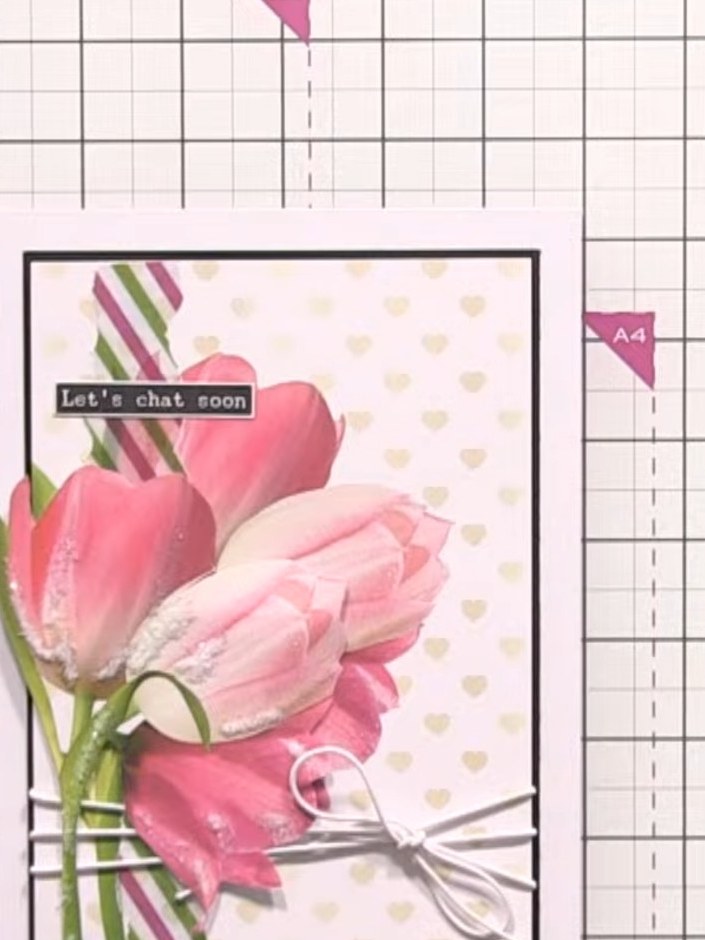
Create an elegant card featuring beautiful pink tulips arranged in a delicate bouquet with sparkle accents and a striped vellum panel. This sophisticated design combines torn paper elements, 3D layering techniques, and a charming bow detail for a minimalist yet eye-catching finish. The soft pink and green colour palette creates a fresh, spring-inspired look perfect for any occasion.
 1
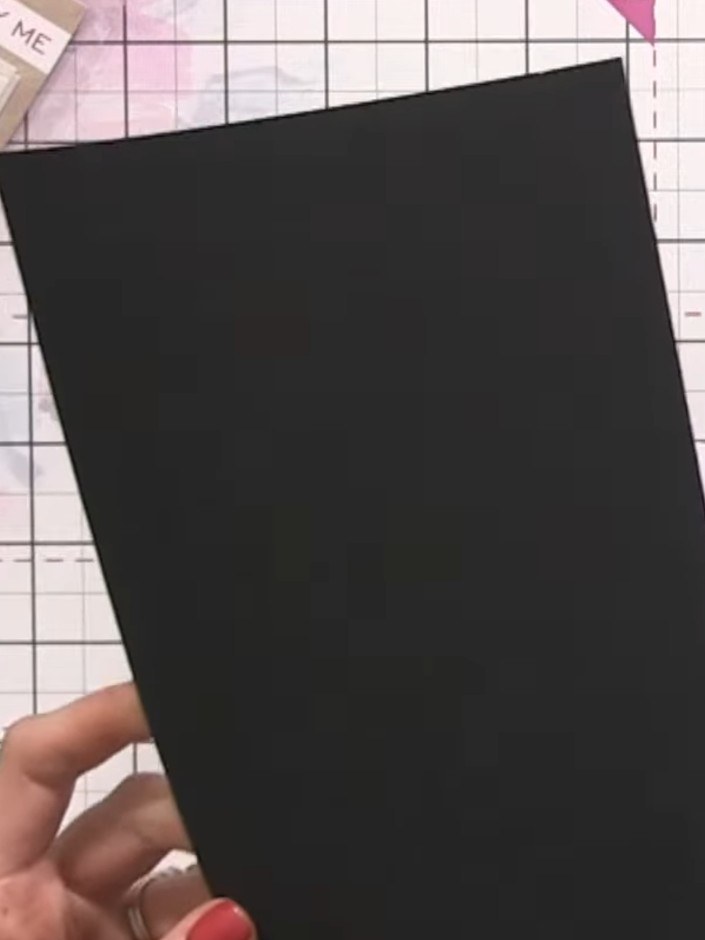
Cut a black cardstock layer and mount it onto your white card base using adhesive. Position the black layer to create a border frame around the edge of the white card.
 2
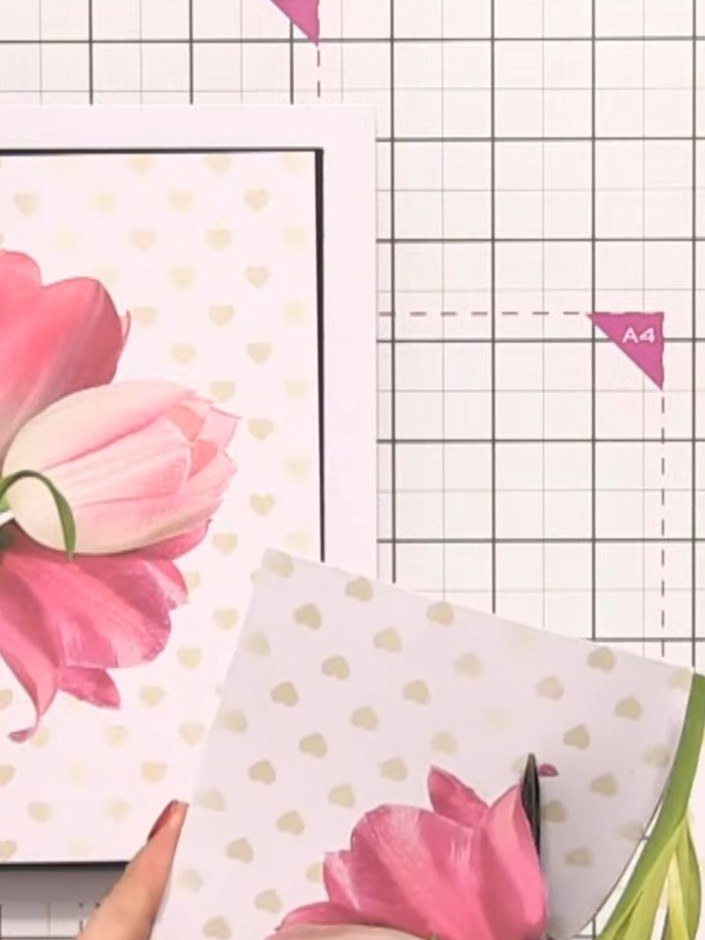
Cut out the tulip designs from the Garden Treasures paper, keeping the stems intact. Carefully cut around the flowers and leaves to create individual tulip motifs.
 3
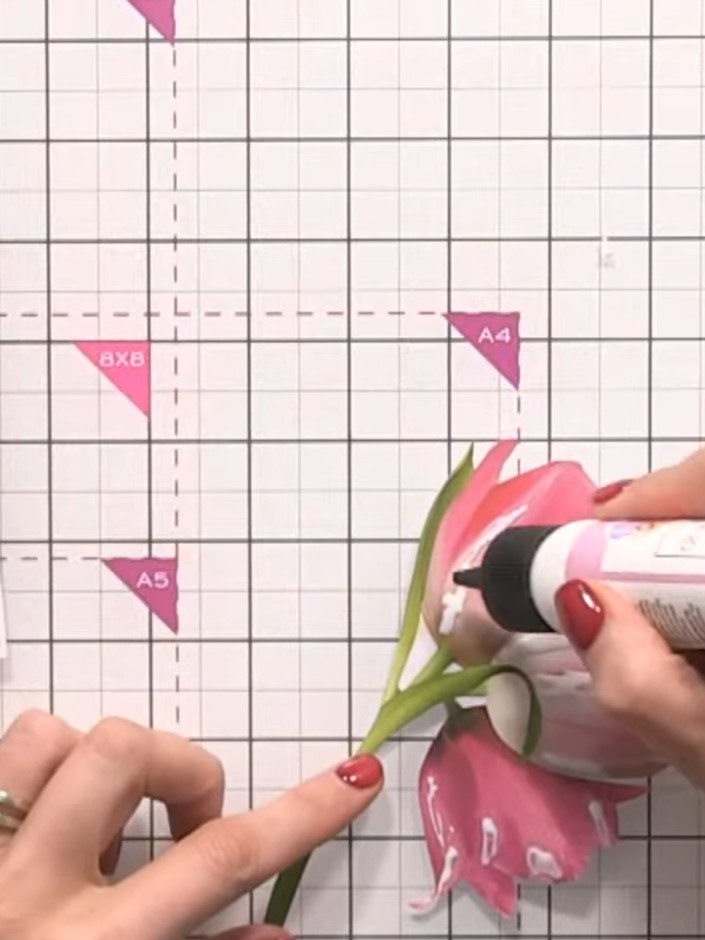
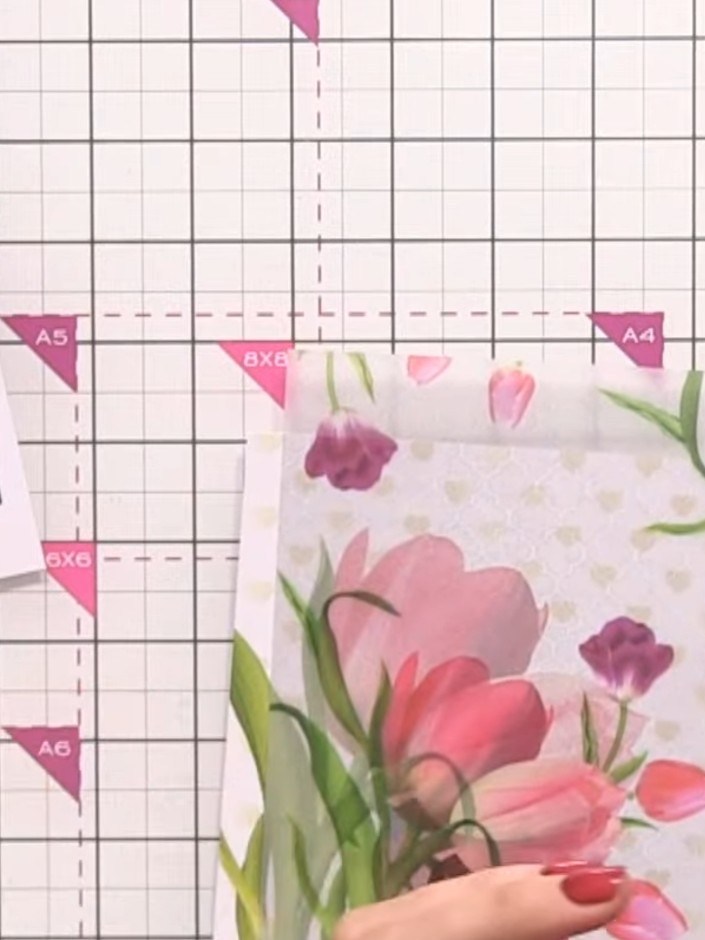
Apply clear glitter glue to the lighter pink petals of the tulip bouquet, adding sparkle to highlight these areas before adhering the piece to your card.
 4
Allow the glitter glue to dry completely until it becomes clear. The tulip design should be fully dry before proceeding to the next step.
 5
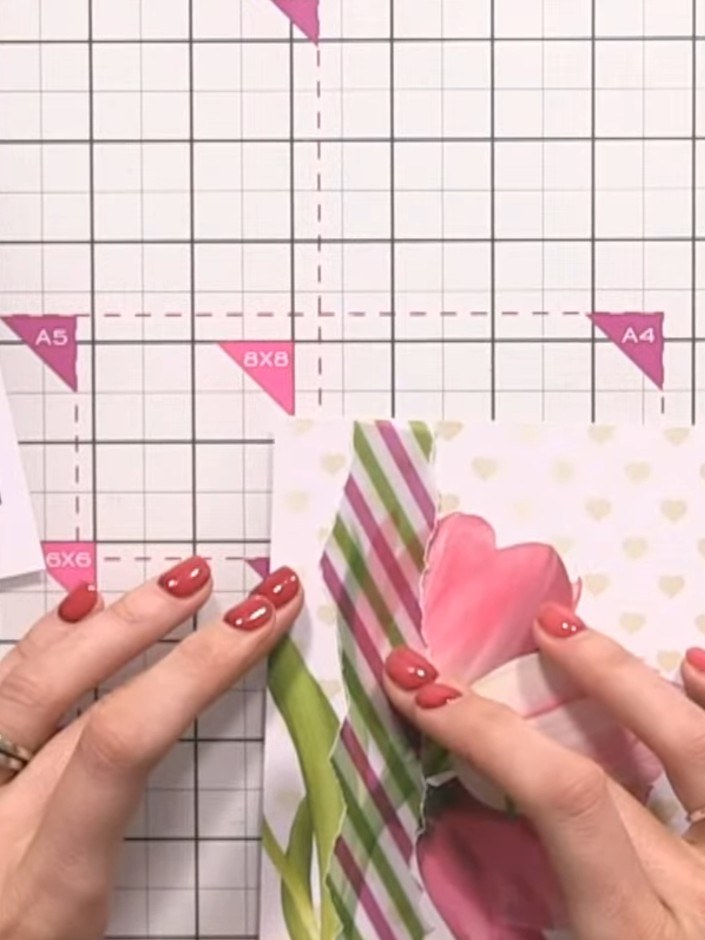
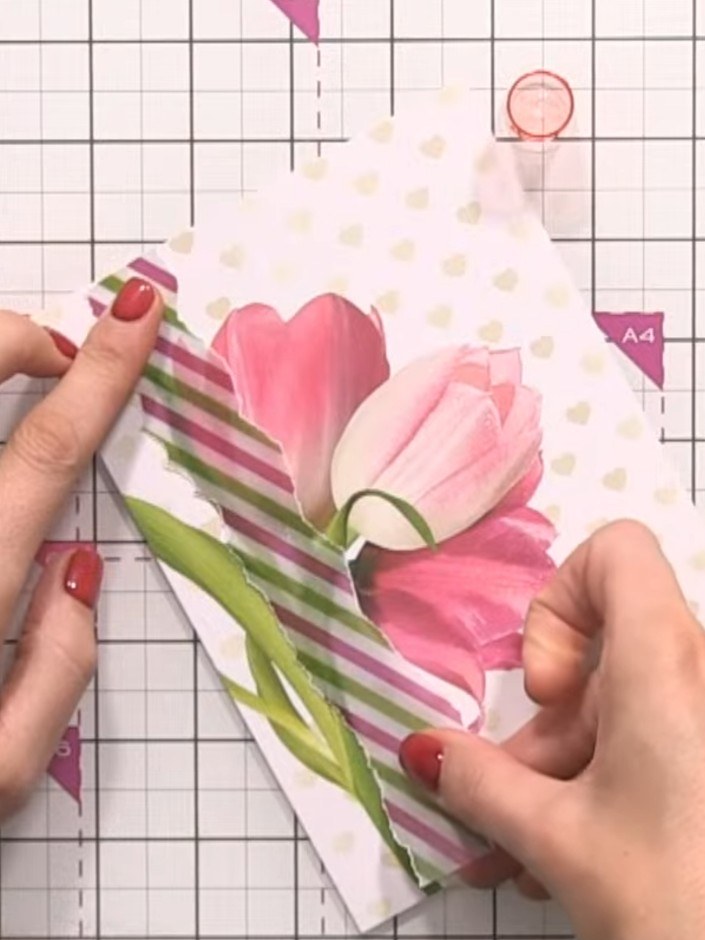
Cut a section of the striped vellum and adhere it vertically across the card front, positioning it over the tulip design.
 6
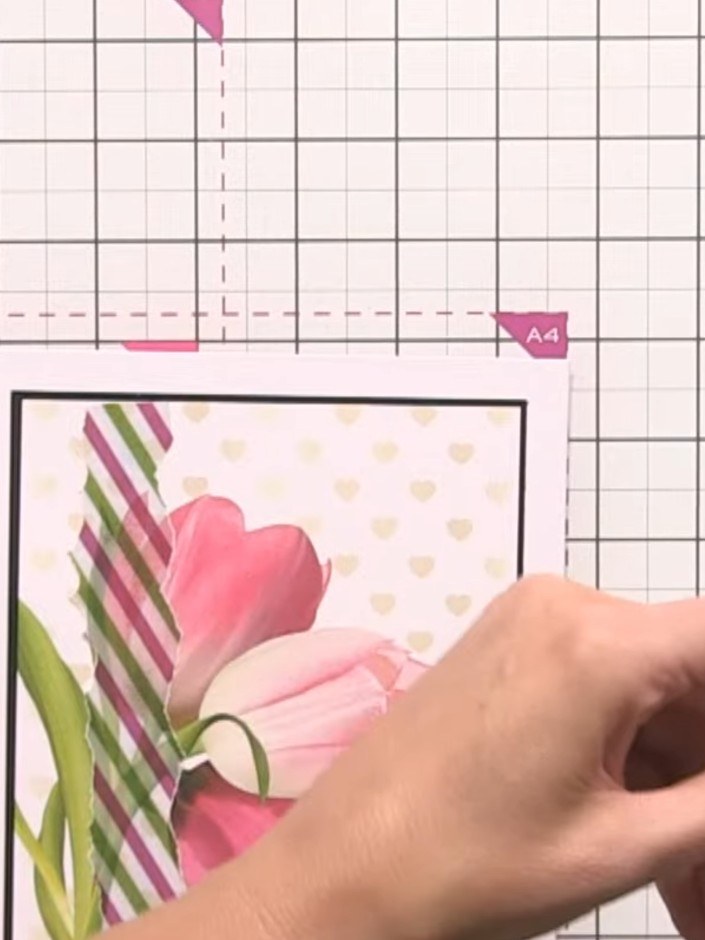
Position the second tulip bouquet onto the vellum panel and glue it in place.
 7
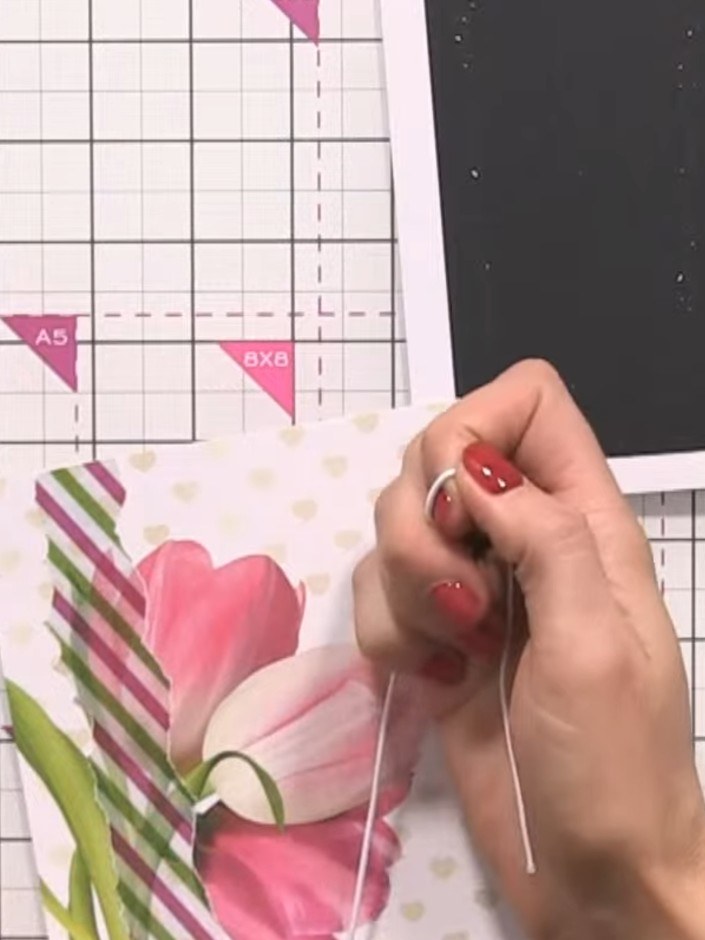
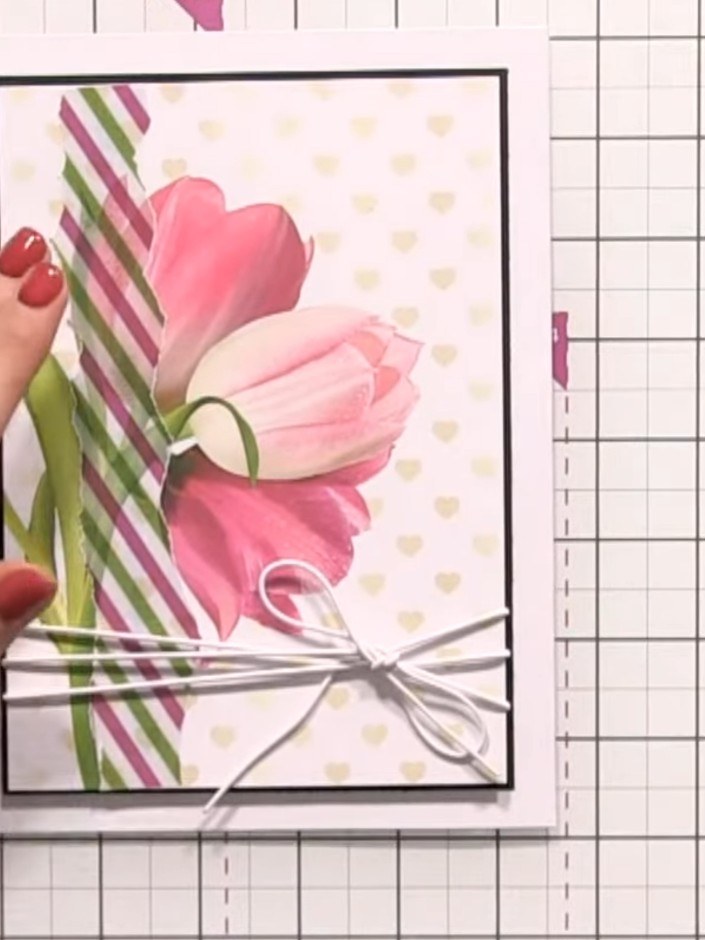
Tie a delicate bow using twine or ribbon and position it on the right side of the card where the tulip stems meet. Secure the bow in place with adhesive.
 8
Add foam pads behind the bow element to create dimension. Position the bow on the card front where desired.
 9
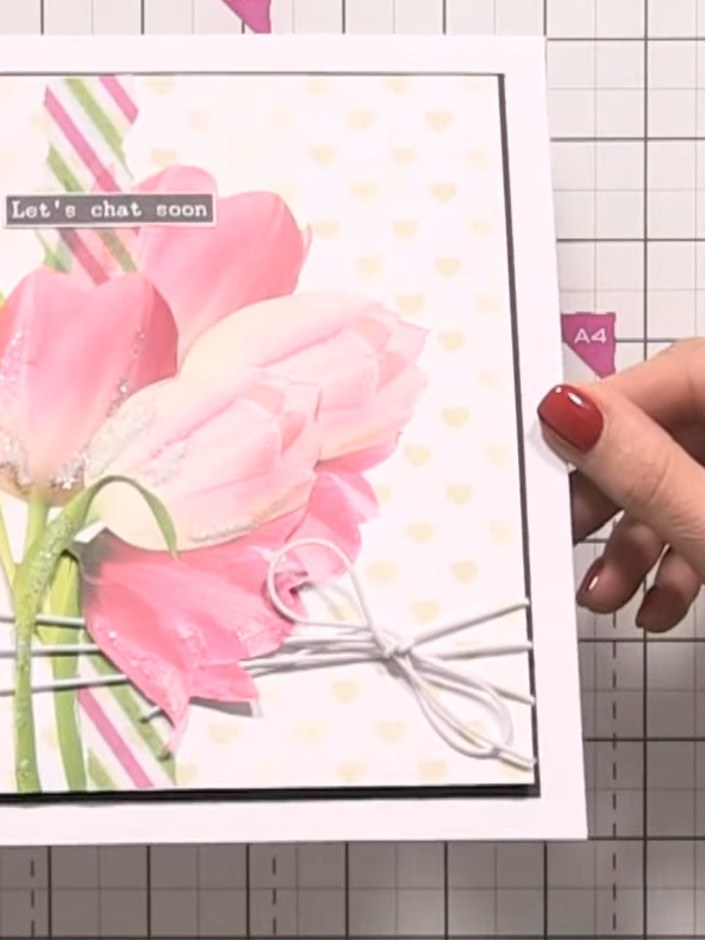
Add a sentiment to your card using washi tape or a stamp if desired. Position it on the card front where you feel it works best with your design.
 10
Review the completed card, checking that all elements are securely attached and the design is balanced. The watercolour tulips with the 'Let's chat soon' sentiment, decorative bow, and striped accents should create a cohesive floral arrangement.
Share your make with the Stamps By Me community - and keep this guide for next time.
Written up from the show itself. See every guide from our shows · free how-to guides · watch live on My Telly · the previous layout


