Give your friends £10 off their first order!
Refer a FRIEND








 The Friday Final CutTomorrow 10am
 Community ShowcaseMon 23 Nov 10am
 Deal HuntersTue 24 Nov 1pm
Prices change straight away. Every language is our own translation, not Google.
A project from our live show Product Demonstation - Lamination Set - Slice of Joy and Time for Tea - 290825A · 29/08/2025
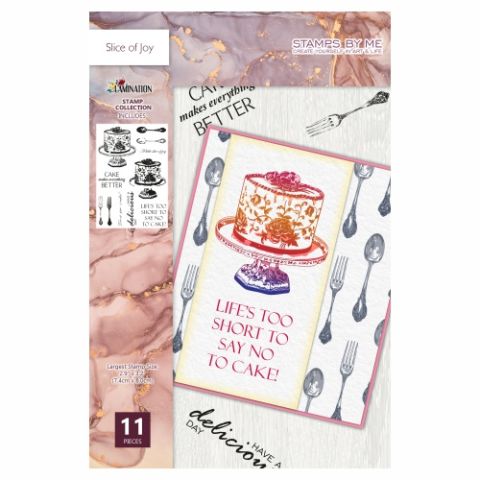
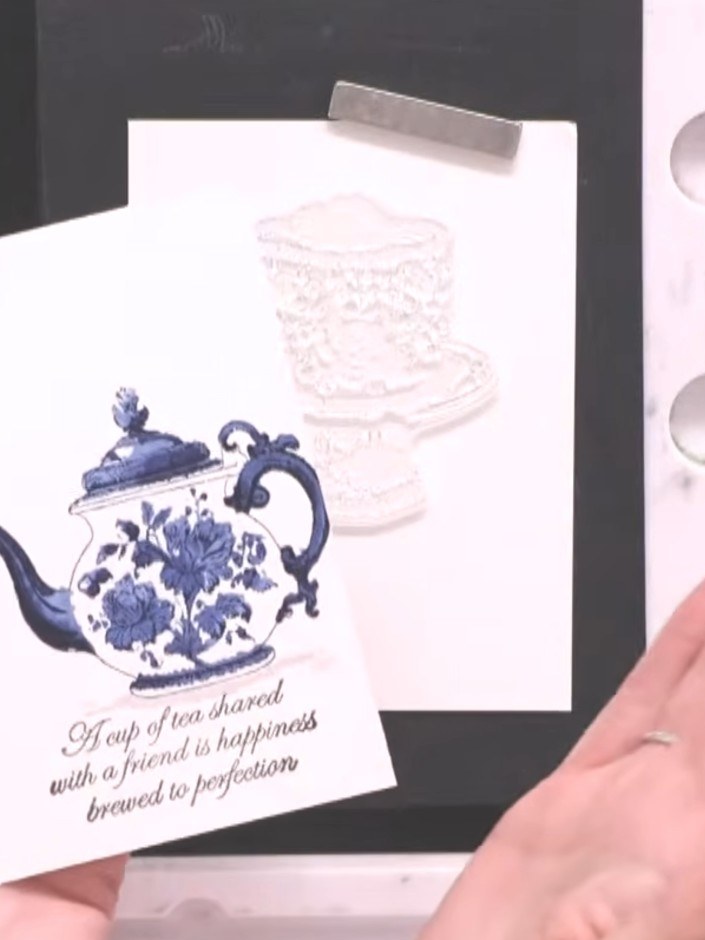
Create elegant greeting cards featuring vintage teapot and cake stand designs with sophisticated multicoloured stamping. Using lamination stamp sets, you'll layer different ink colours to build rich depth and dimension, finishing with complementary sentiments. The technique demonstrates how to achieve a watercolour effect by combining base colour stamping with detailed overlay work on kraft card blanks.
 1
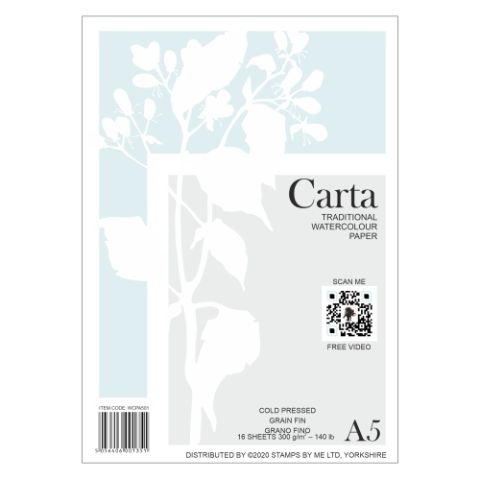
Use the reverse side of your watercolour card or take a fresh piece of A5 traditional watercolour paper.
 2
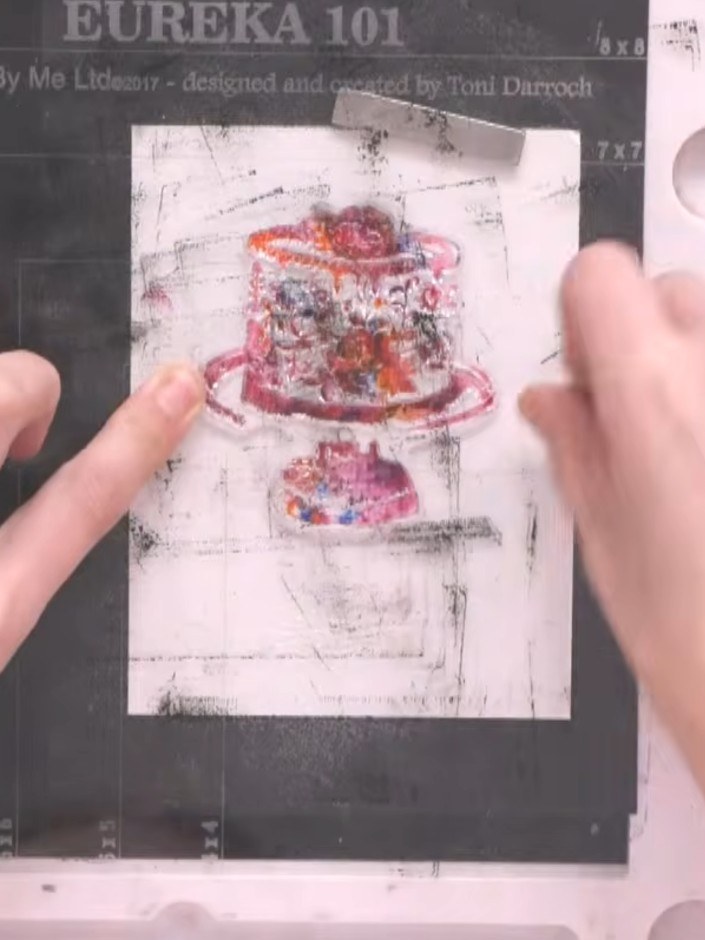
Ink the solid cake stamp with multiple colours. Apply teal, pink, orange and purple ink across the entire stamp surface, covering all areas of the cake design.
 3
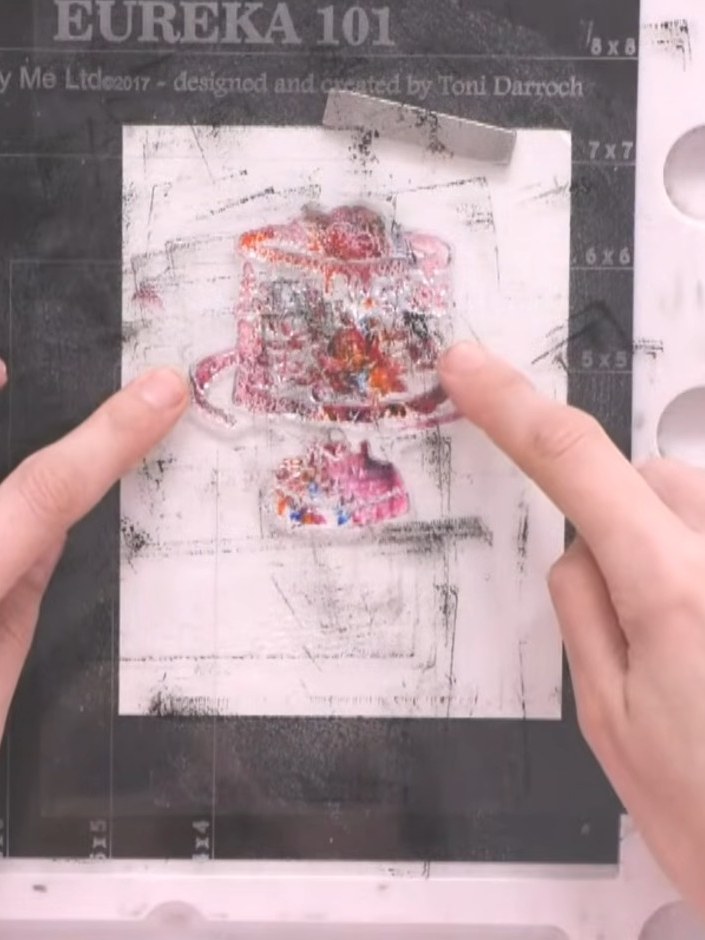
Spray the inked stamp three times with water. Allow the water to activate the ink on the stamped image.
 4
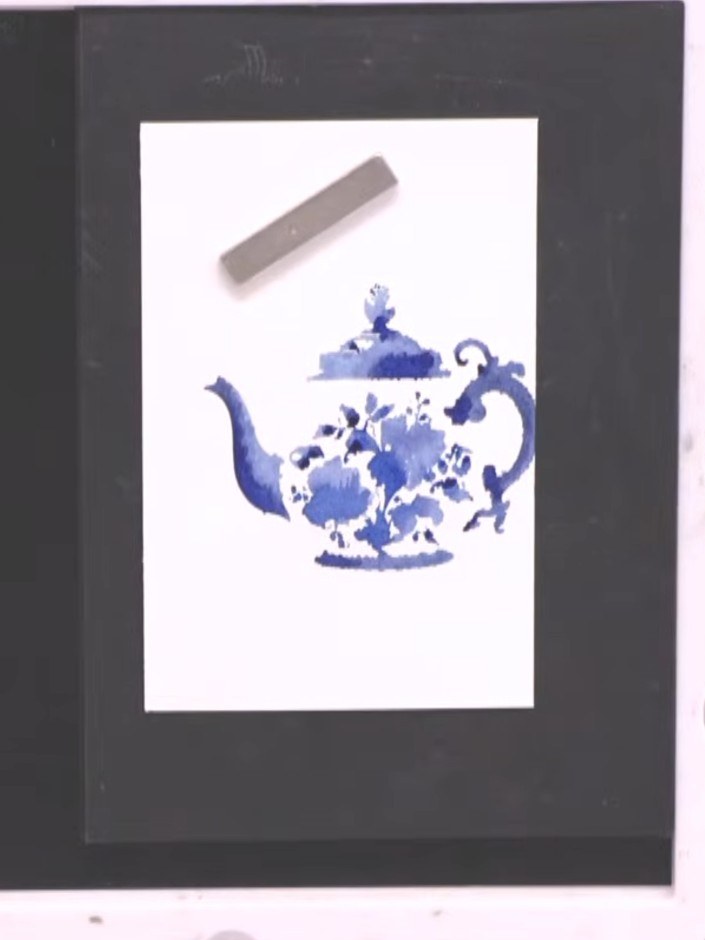
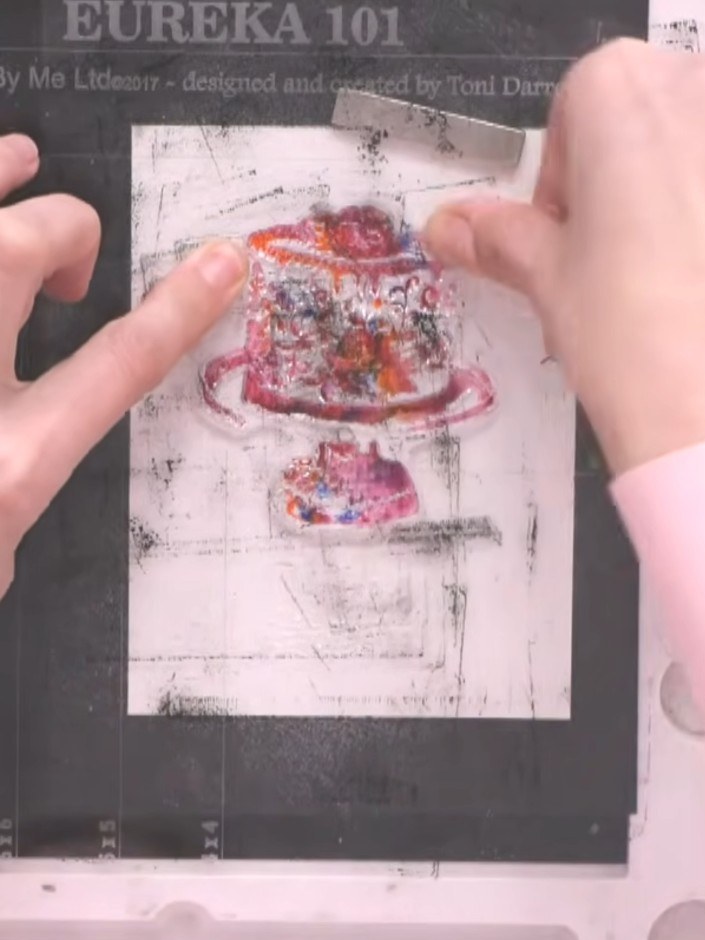
Press the teapot stamp onto the watercolour card. Allow the ink to settle and dry briefly before proceeding.
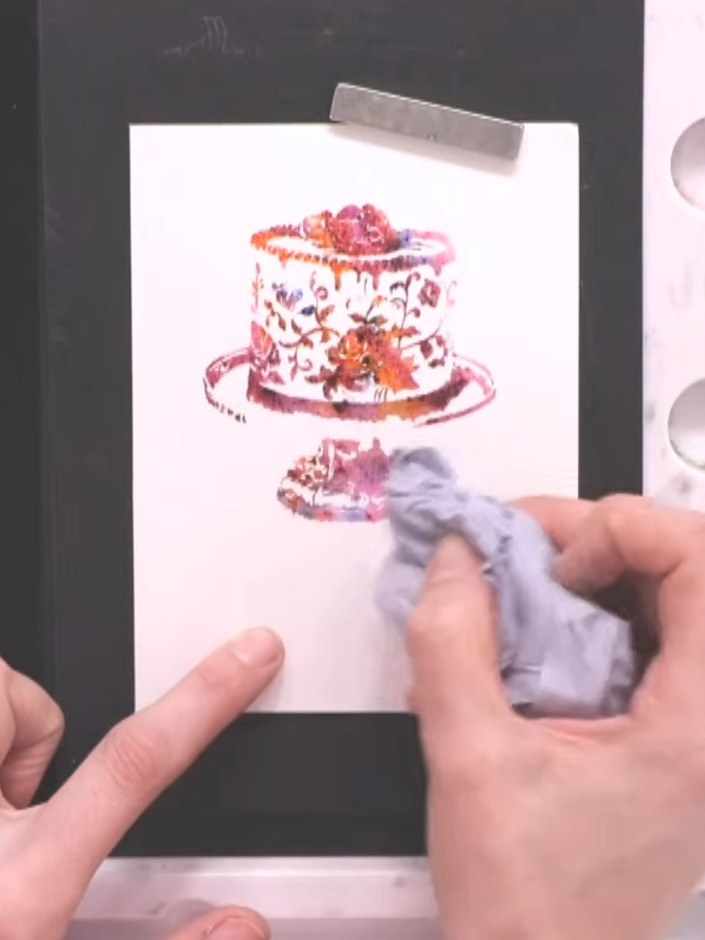 5
Blot any puddles of ink with a dry baby wipe to remove excess colour and prevent pooling on your stamped image.
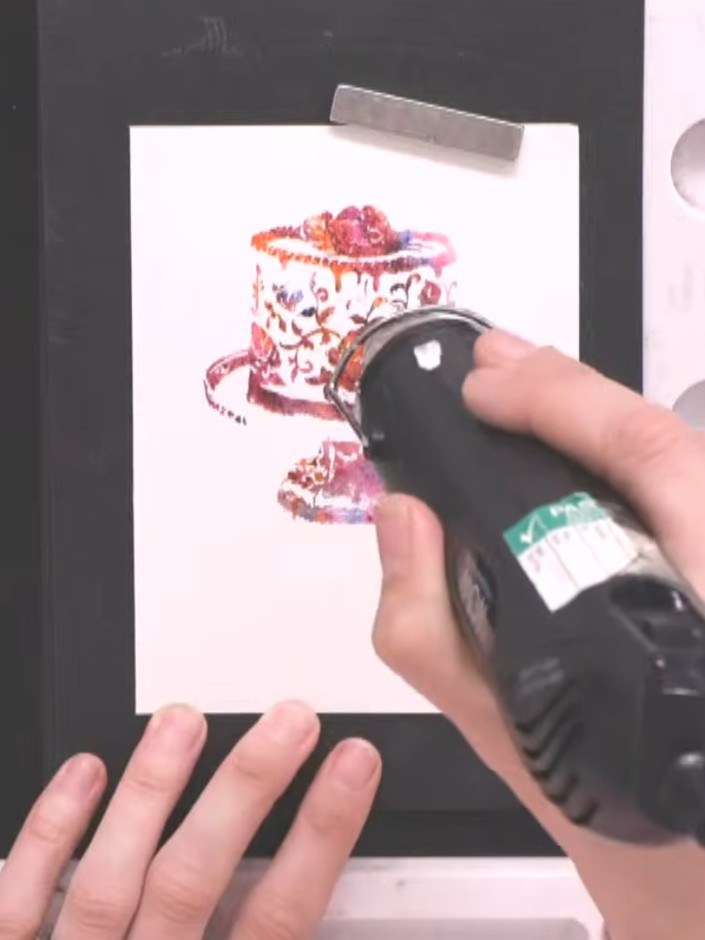 6
Use a heat gun to dry the stamped image thoroughly. Hold the heat gun a few inches above the card and move it gently over the stamped design until completely dry.
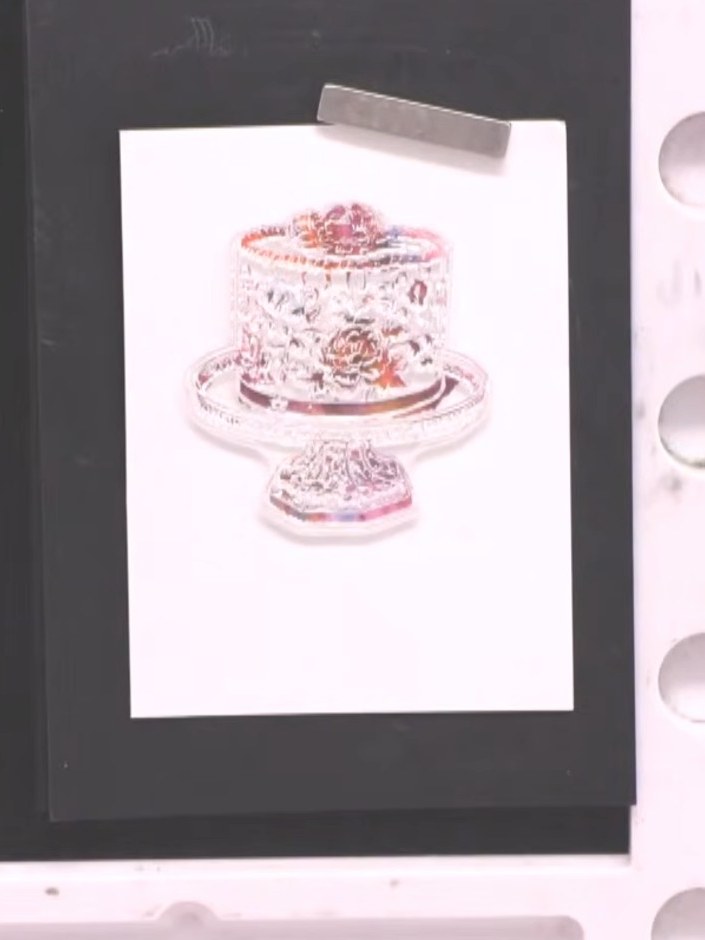 7
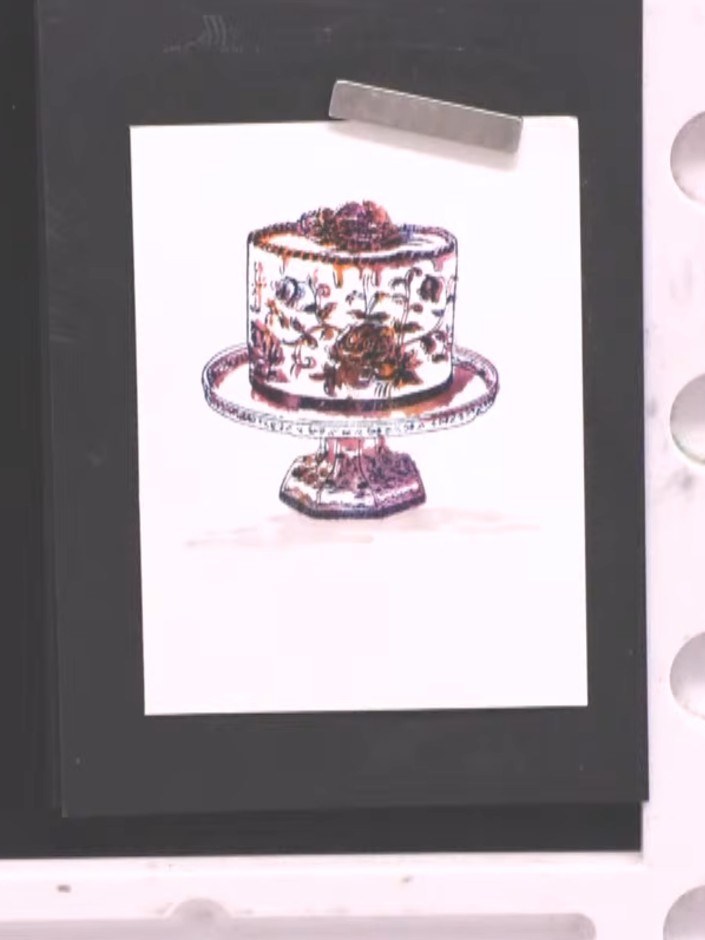
Stamp the cake image again in teal ink onto the white card. Stamp twice if needed for better visibility and coverage.
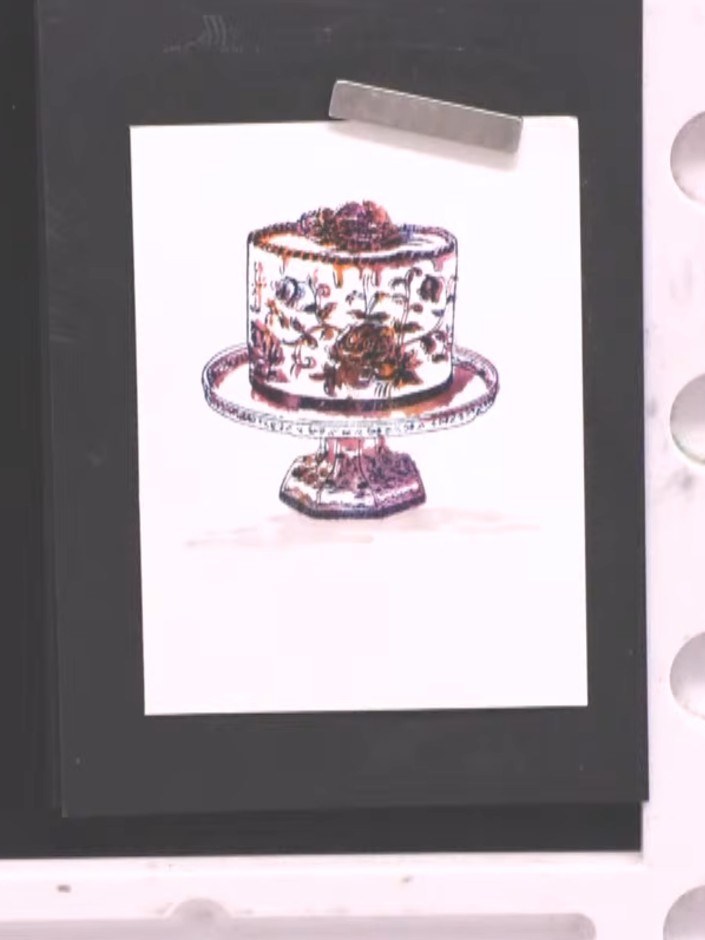 8
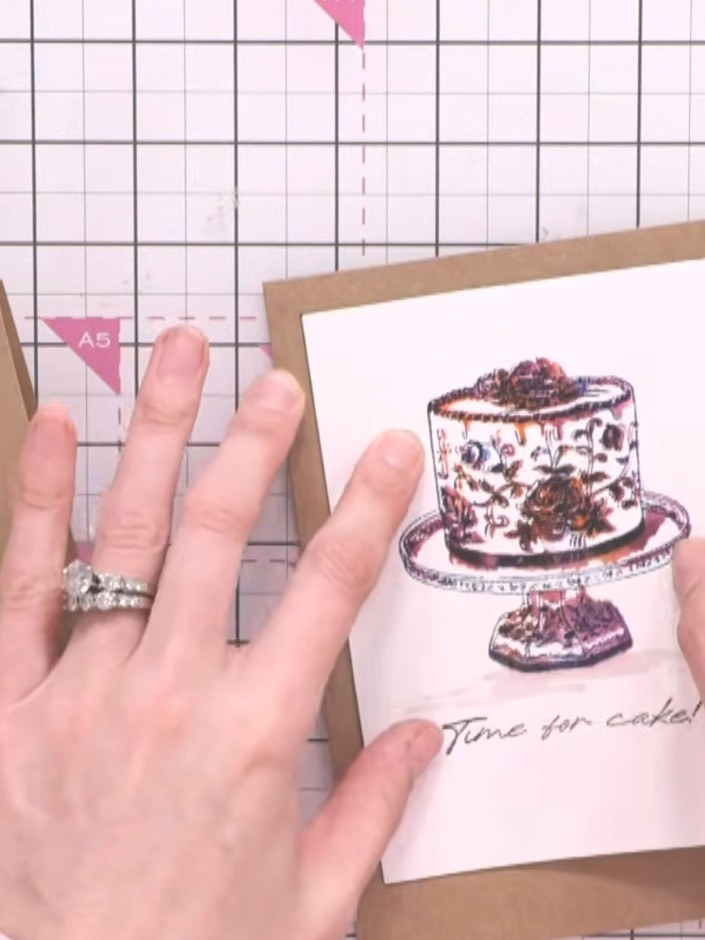
Paint a shadow around the base of the cake using diluted grey paint to make it appear grounded and three-dimensional.
 9
Trim the stamped panel to size and mount it onto a kraft card blank. Use a black ink pad to add a thin inked edge around the panel for definition.
Share your make with the Stamps By Me community - and keep this guide for next time.
Written up from the show itself. See every guide from our shows · free how-to guides · watch live on My Telly · the previous layout